


以下是一个简易版完整案例详细步骤:
用来熟悉文件上传操作
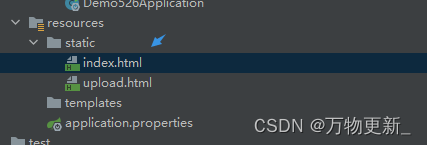
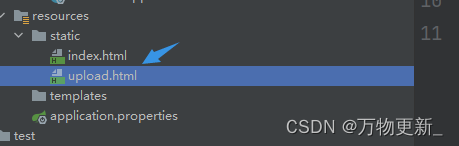
创建工程:
https://blog.csdn.net/YJH000_/article/details/130305008?spm=1001.2014.3001.5501
<!DOCTYPE html>
<html>
<head>
<meta charset="UTF-8">
<!-- import CSS -->
<link rel="stylesheet" href="https://cdn.staticfile.org/element-ui/2.15.9/theme-chalk/index.css">
</head>
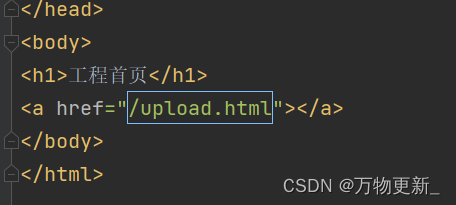
<body>
<div id="app">
</div>
</body>
<!-- import axios -->
<script src="https://cdn.bootcdn.net/ajax/libs/axios/0.21.1/axios.min.js"></script>
<!-- import Vue before Element -->
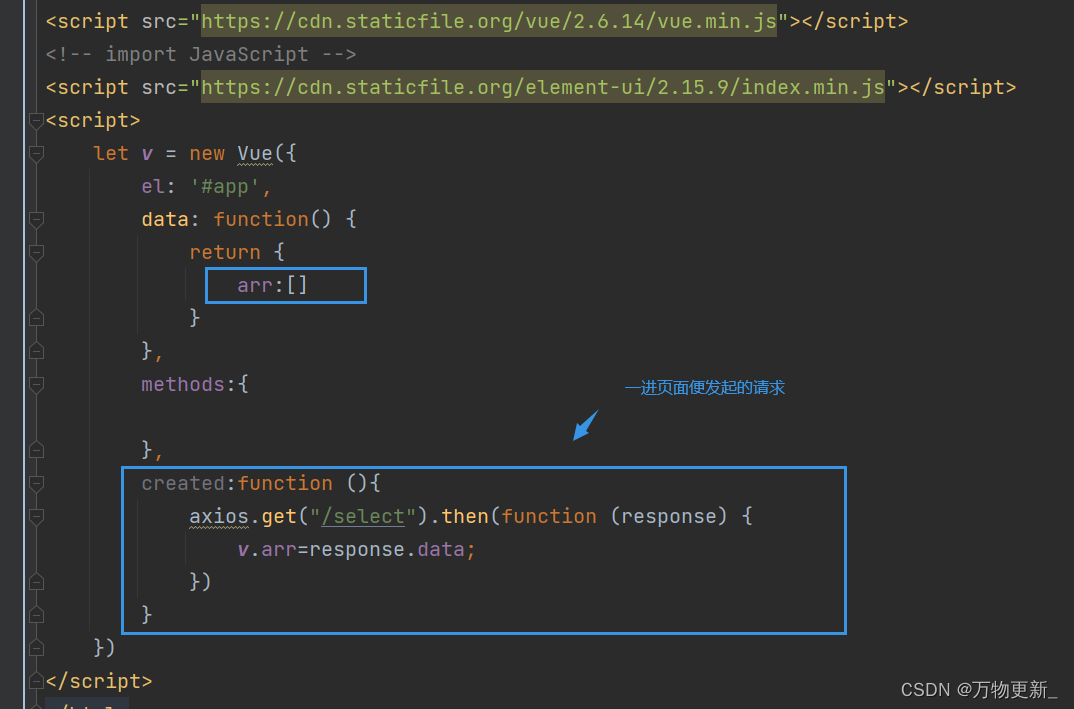
<script src="https://cdn.staticfile.org/vue/2.6.14/vue.min.js"></script>
<!-- import JavaScript -->
<script src="https://cdn.staticfile.org/element-ui/2.15.9/index.min.js"></script>
<script>
let v = new Vue({
el: '#app',
data: function() {
return {
}
},
methods:{
}
})
</script>
</html>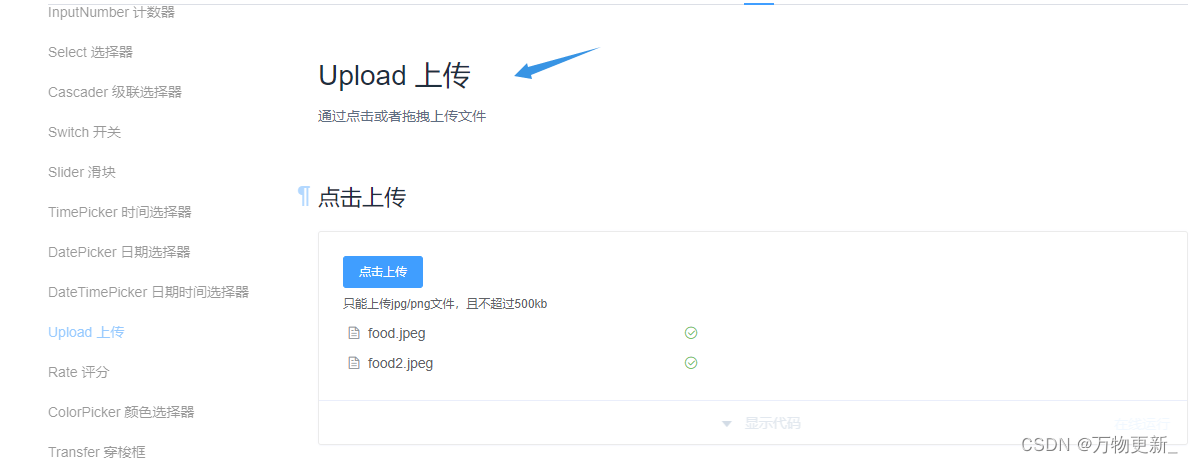
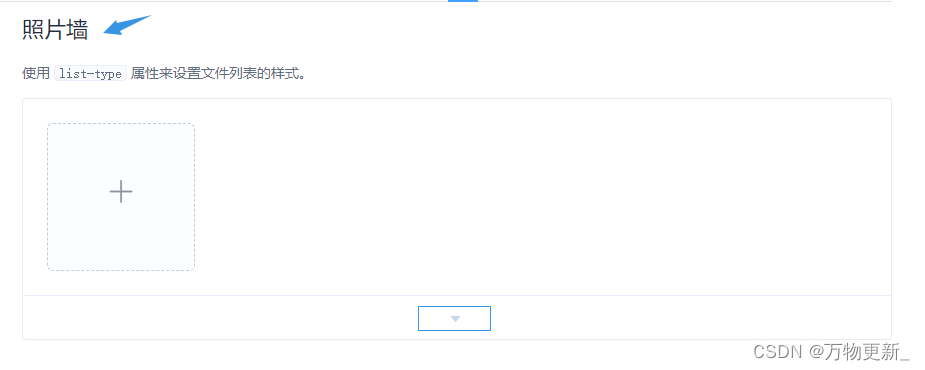
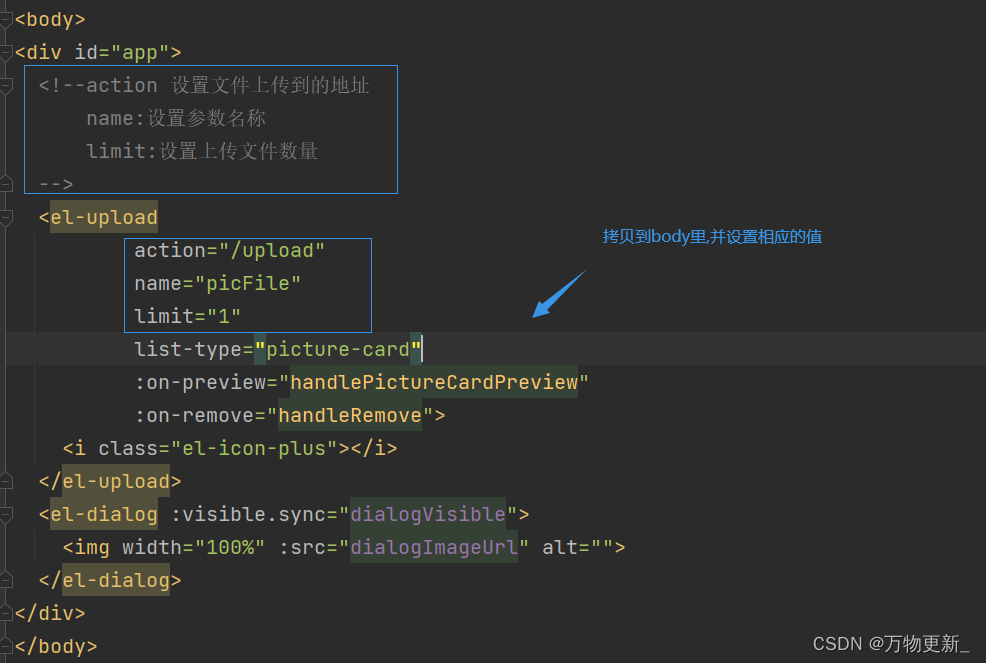
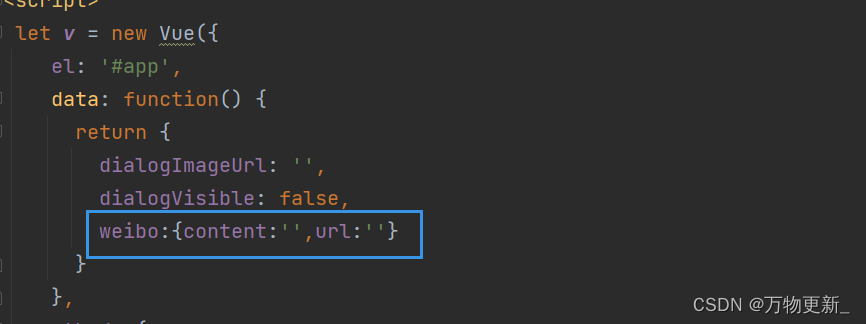
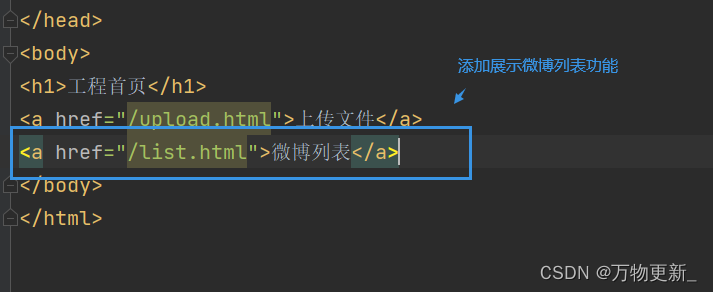
展开代码后: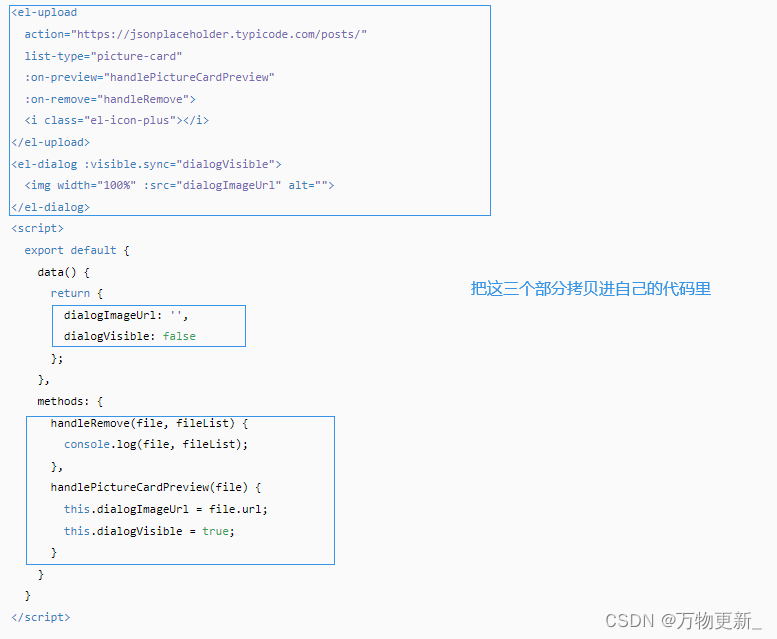
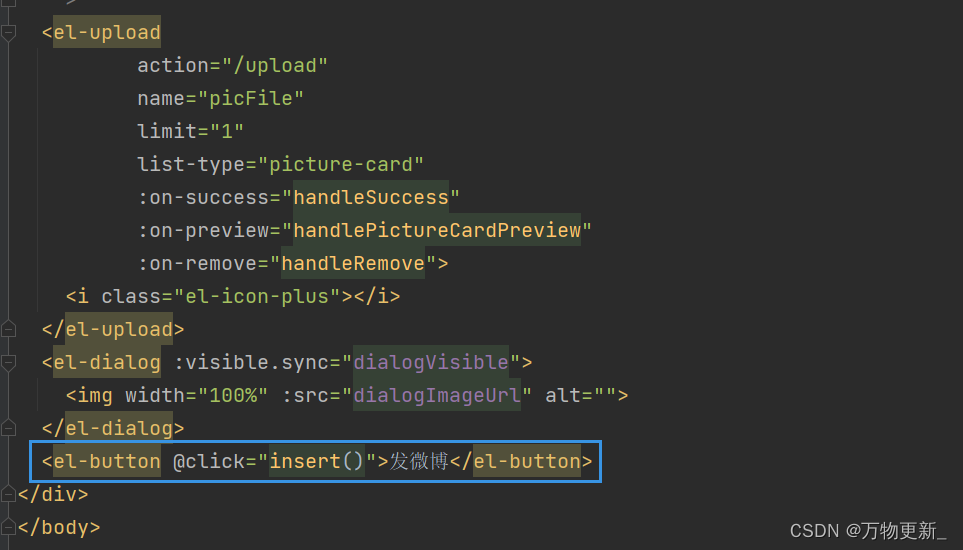
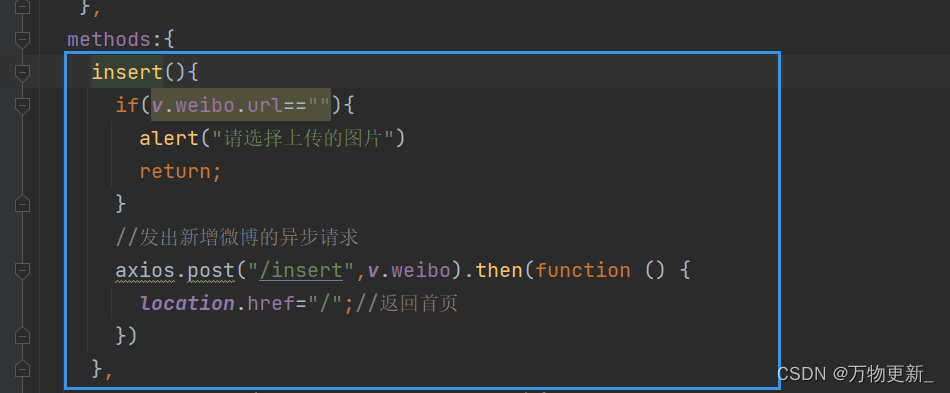
发微博插入时间代码:
insert(){
if(v.weibo.url==""){
alert("请选择上传的图片")
return;
}
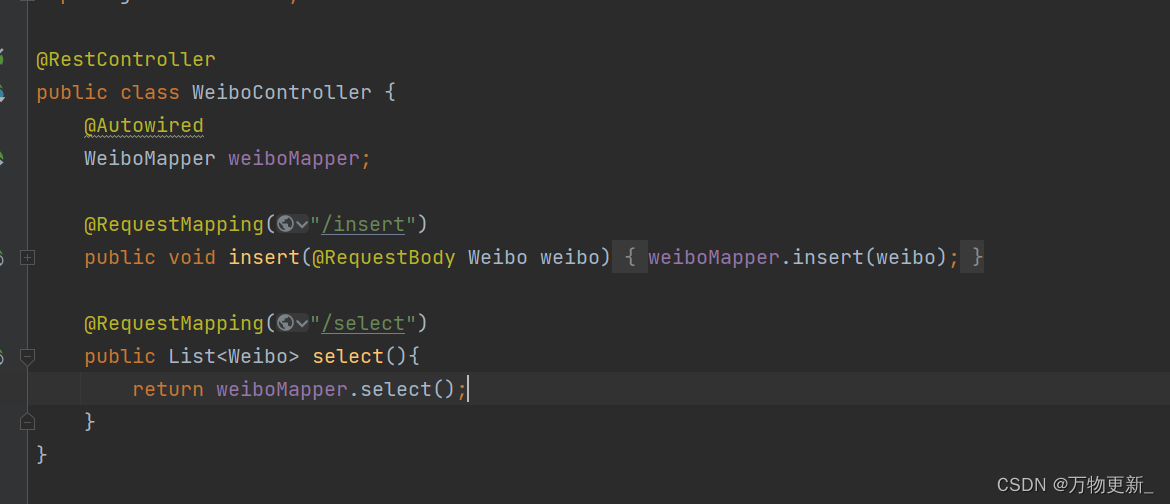
//发出新增微博的异步请求
axios.post("/insert",v.weibo).then(function () {
location.href="/";//返回首页
})
},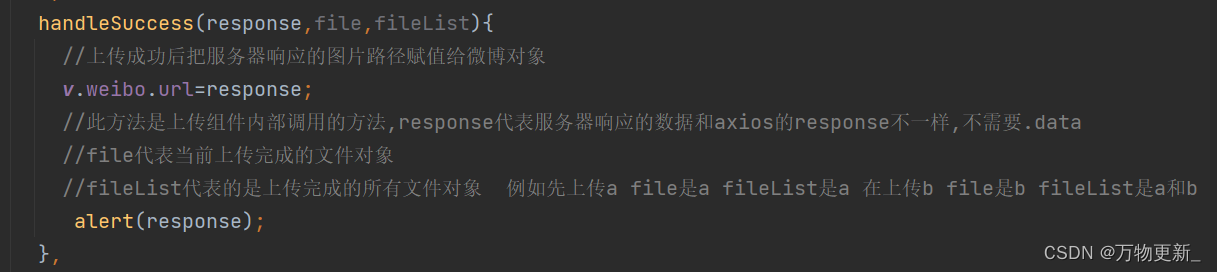
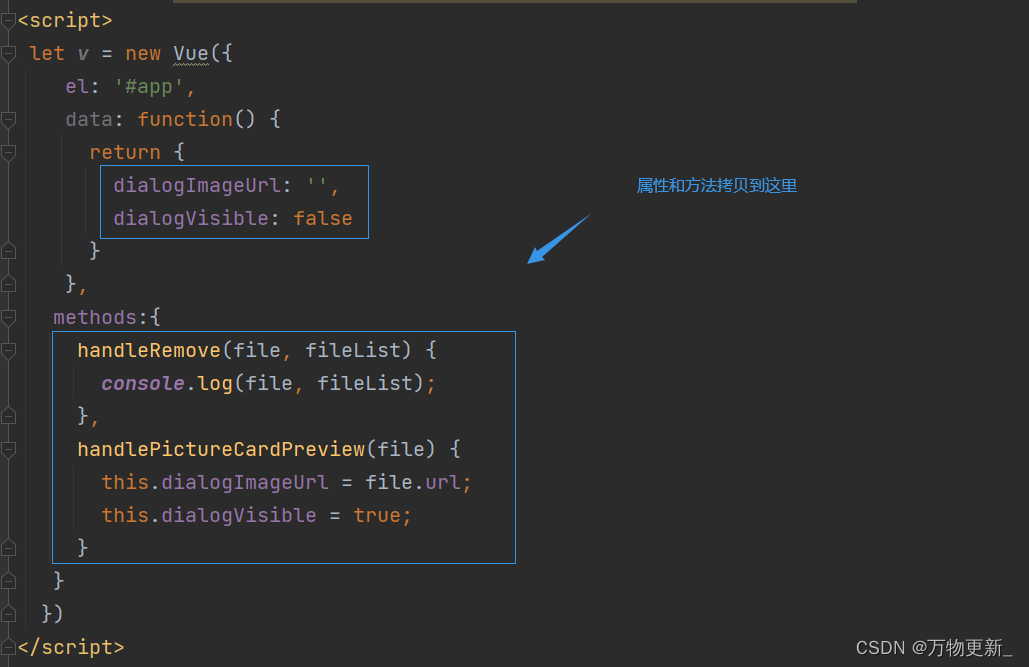
成功是接收客户端响应时间的代码:
  handleSuccess(response,file,fileList){
       //上传成功后把服务器响应的图片路径赋值给微博对象
       v.weibo.url=response;
       //此方法是上传组件内部调用的方法,response代表服务器响应的数据和axios的response不一样,不需要.data
       //file代表当前上传完成的文件对象
       //fileList代表的是上传完成的所有文件对象  例如先上传a file是a fileList是a 在上传b file是b fileList是a和b
        alert(response);
}, 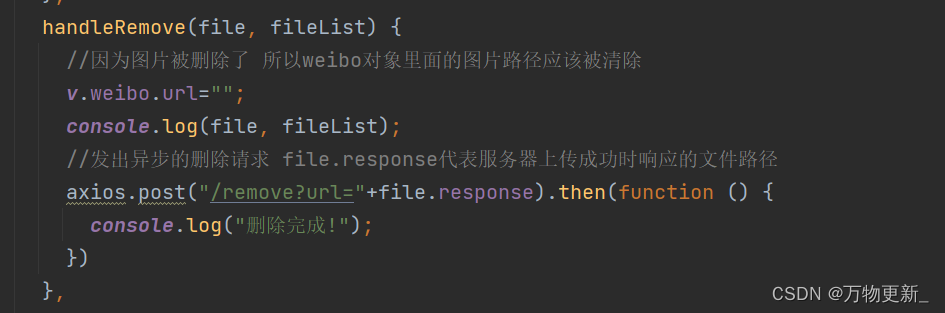
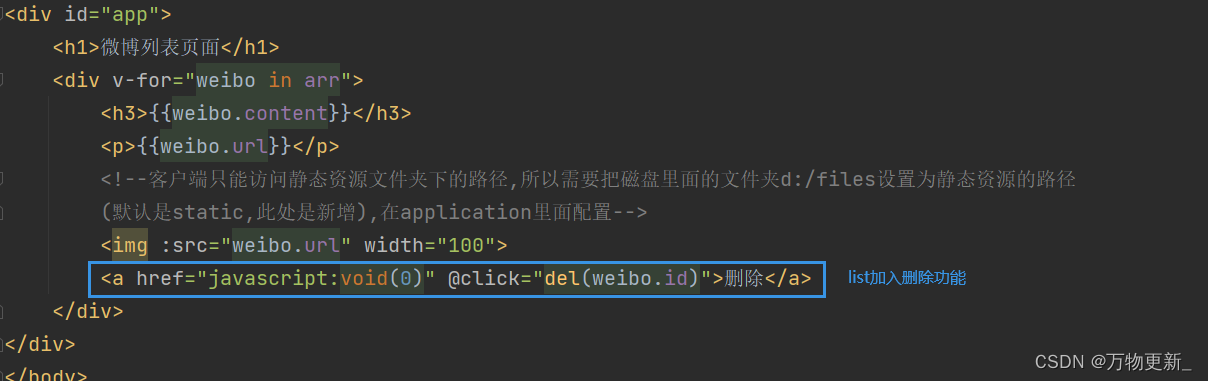
删除事件的代码:
   handleRemove(file, fileList) {
       //因为图片被删除了 所以weibo对象里面的图片路径应该被清除
       v.weibo.url="";
       console.log(file, fileList);
       //发出异步的删除请求 file.response代表服务器上传成功时响应的文件路径
       axios.post("/remove?url="+file.response).then(function () {
         console.log("删除完成!");
       })
     },
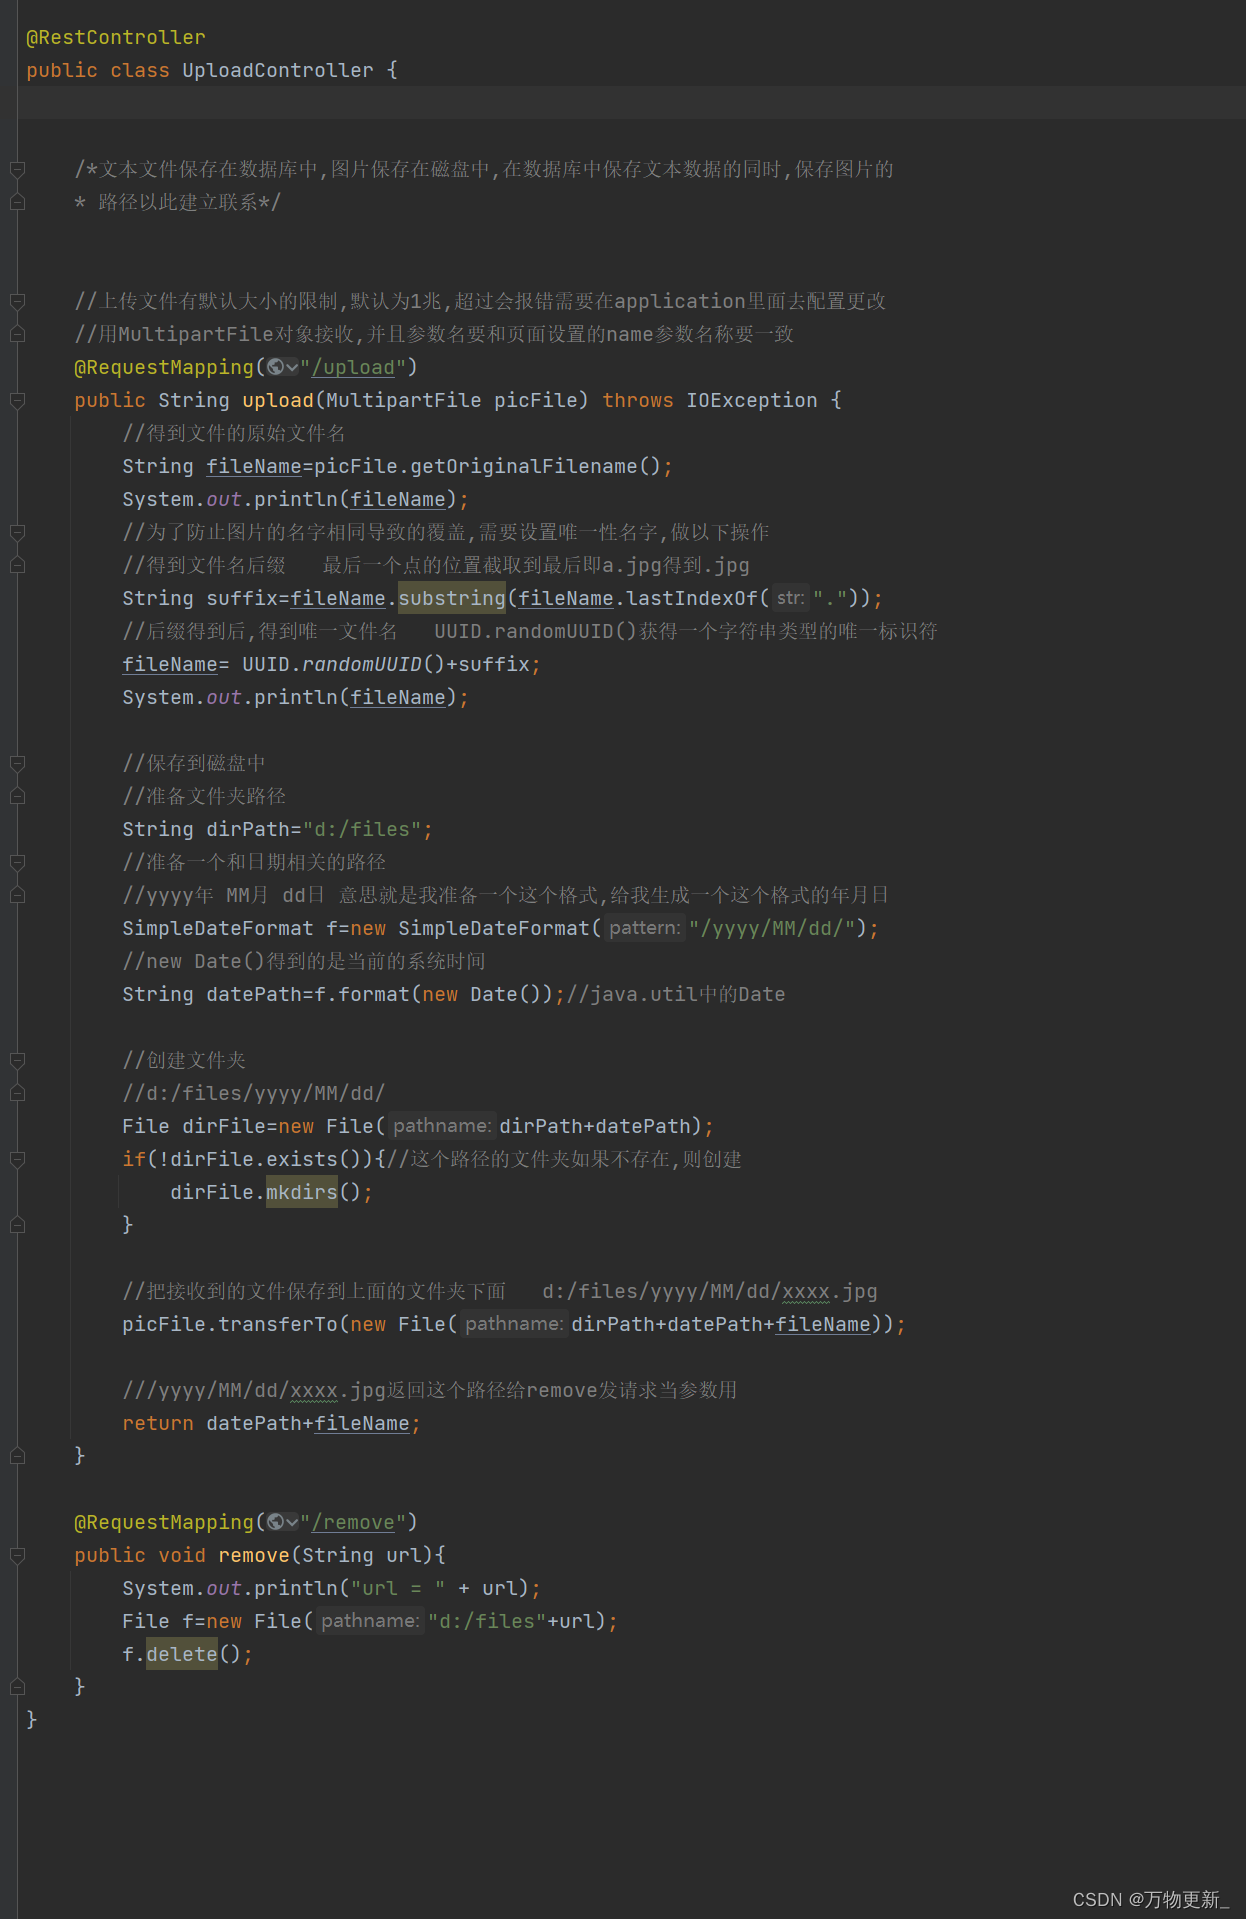

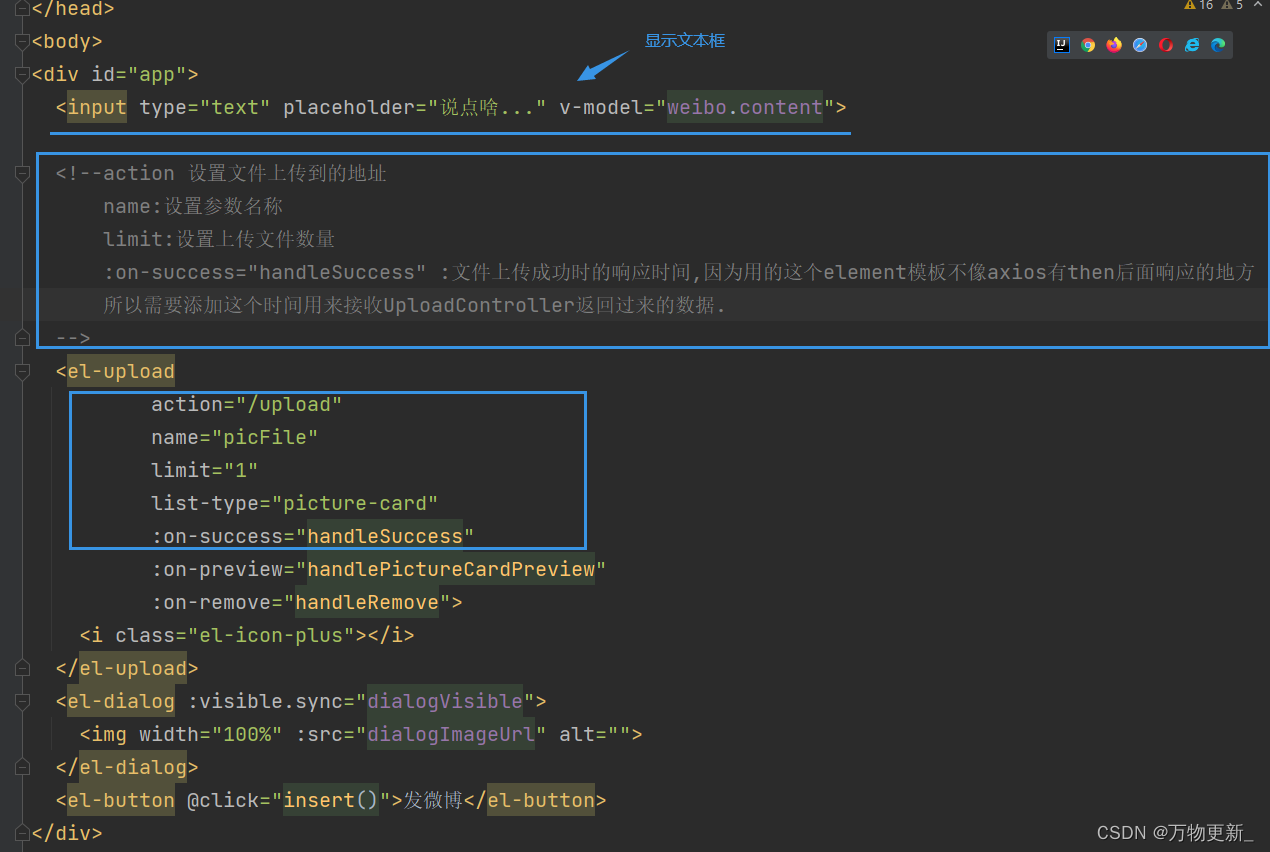
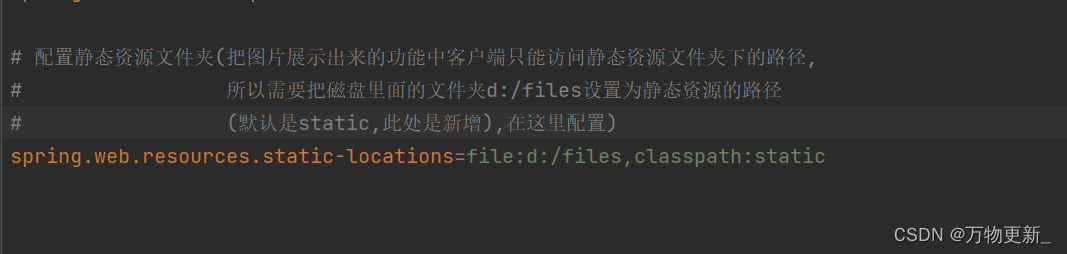
文件上传代码:
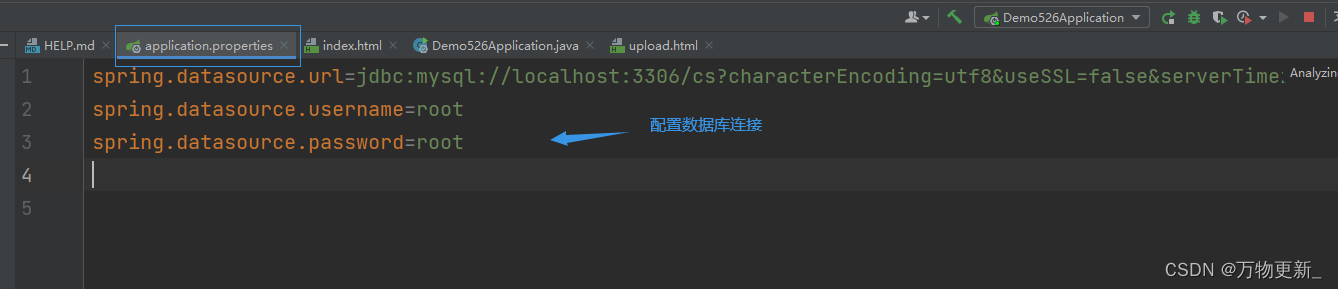
  /*文本文件保存在数据库中,图片保存在磁盘中,在数据库中保存文本数据的同时,保存图片的
    * 路径以此建立联系*/


    //上传文件有默认大小的限制,默认为1兆,超过会报错需要在application里面去配置更改
    //用MultipartFile对象接收,并且参数名要和页面设置的name参数名称要一致
    @RequestMapping("/upload")
    public String upload(MultipartFile picFile) throws IOException {
        //得到文件的原始文件名
        String fileName=picFile.getOriginalFilename();
        System.out.println(fileName);
        //为了防止图片的名字相同导致的覆盖,需要设置唯一性名字,做以下操作
        //得到文件名后缀   最后一个点的位置截取到最后即a.jpg得到.jpg
        String suffix=fileName.substring(fileName.lastIndexOf("."));
        //后缀得到后,得到唯一文件名   UUID.randomUUID()获得一个字符串类型的唯一标识符
        fileName= UUID.randomUUID()+suffix;
        System.out.println(fileName);

        //保存到磁盘中
        //准备文件夹路径
        String dirPath="d:/files";
        //准备一个和日期相关的路径
        //yyyy年 MM月 dd日 意思就是我准备一个这个格式,给我生成一个这个格式的年月日
        SimpleDateFormat f=new SimpleDateFormat("/yyyy/MM/dd/");
        //new Date()得到的是当前的系统时间
        String datePath=f.format(new Date());//java.util中的Date

        //创建文件夹
        //d:/files/yyyy/MM/dd/
        File dirFile=new File(dirPath+datePath);
        if(!dirFile.exists()){//这个路径的文件夹如果不存在,则创建
            dirFile.mkdirs();
        }

        //把接收到的文件保存到上面的文件夹下面   d:/files/yyyy/MM/dd/xxxx.jpg
        picFile.transferTo(new File(dirPath+datePath+fileName));

        ///yyyy/MM/dd/xxxx.jpg返回这个路径给remove发请求当参数用
        return datePath+fileName;
    }
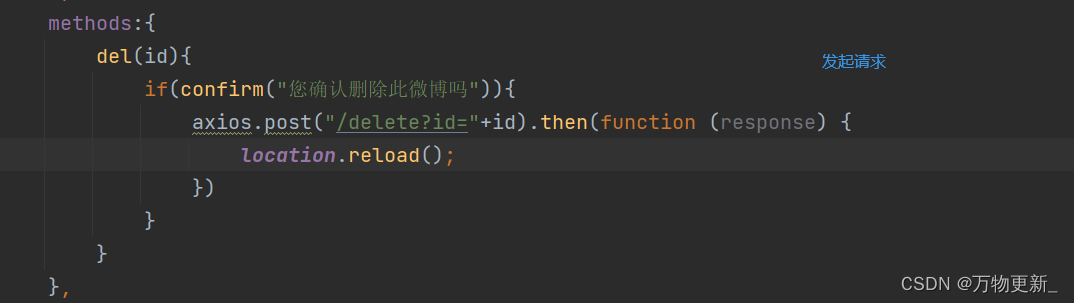
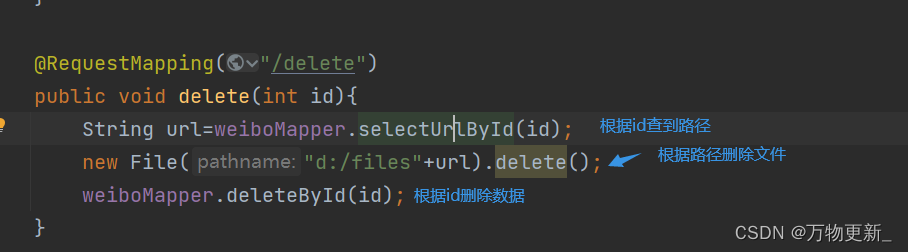
文件删除代码:
   @RequestMapping("/remove")
    public void remove(String url){
        System.out.println("url = " + url);
        File f=new File("d:/files"+url);
        f.delete();
    }


 203
203


 被折叠的 条评论
为什么被折叠?
被折叠的 条评论
为什么被折叠?
 到【灌水乐园】发言


