


Selenium是一个用于Web应用程序测试的工具。Selenium测试直接运行在浏览器中,就像真正的用户在操作一样。支持的浏览器包括IE(7, 8, 9, 10, 11),Mozilla Firefox,Safari,Google Chrome,Opera,Edge等。这个工具的主要功能包括:测试与浏览器的兼容性——测试应用程序看是否能够很好得工作在不同浏览器和操作系统之上。
随着时代的发展,在使用python做自动化时,与之前差生了很大的变化,这些变化都是一个老程序员所必须要踩坑的地方,也是由于已经会了老版本,在使用新版本的时候,需要多次探索,本文从当前最新版的Selenium出发,以Chrome驱动为例,总结了新版的使用方法,免得到处去搜索、踩坑。
01 设置驱动
当前Selenium版本:4.3.0,请核对你的版本是否是4.0以上的版本
注意:
请查看你的浏览器版本,然后再去下载对应的驱动,通常来说版本号时一致的,如果没有你的版本号,那就选择和你浏览器版本号最相近的版本。
1. selenium4推荐方法
由于传统的设置驱动方式过于繁琐,因此GitHub大佬SergeyPirogov写了浏览器驱动管理器,可以使设置驱动变得更加方便。
首先,需要安装该管理器,使用以下命令
pip install webdriver-manager
- 1
然后导入该包
from webdriver_manager.chrome import ChromeDriverManager
- 1
设置service,通过ChromeDriverManager().install()来获取驱动,从而省去了下载驱动和设置驱动的步骤
service = ChromeService(executable_path=ChromeDriverManager().install())
- 1
然后驱动加载该service
driver = webdriver.Chrome(service=service)
- 1
此处贴出完整代码,以供参考
from selenium import webdriver

from selenium.webdriver.chrome.service import Service as ChromeService

from webdriver_manager.chrome import ChromeDriverManager

service = ChromeService(executable_path=ChromeDriverManager().install())

driver = webdriver.Chrome(service=service)

driver.quit()
- 1
- 2
- 3
- 4
- 5
- 6
- 7
- 8
- 9
- 10
- 11
2. 传统方法
这里使用传统方法来设置Selenium的驱动,也就是导入webdriver,然后设置可执行程序的路径。
首先,在Selenium4中,设置驱动位置,不再是直接在webdriver.Chrome中直接设置,而是引入了Service。
因此先导入Service的包
from selenium import webdriver

from selenium.webdriver.chrome.service import Service as ChromeService
- 1
- 2
- 3
然后通过Service设置驱动,CHROMEDRIVER_PATH替换为你的驱动位置
service = ChromeService(executable_path=CHROMEDRIVER_PATH)
- 1
最后在webdriver.Chrome中调用这个service
driver = webdriver.Chrome(service=service)
- 1
给出完整代码予以参考
from selenium import webdriver

from selenium.webdriver.chrome.service import Service as ChromeService

options = webdriver.ChromeOptions()

options.add_experimental_option("excludeSwitches", ["enable-automation"])

options.add_experimental_option("useAutomationExtension", False)

service = ChromeService(executable_path=CHROMEDRIVER_PATH)

driver = webdriver.Chrome(service=service, options=options)
- 1
- 2
- 3
- 4
- 5
- 6
- 7
- 8
- 9
- 10
- 11
- 12
- 13
02 查找元素
在selenium4中,一系列的findElement方法如findElementByClassName、findElementById等都被整合成为了一个方法——findElement。并且通过By.method来选择你的查找元素方法,例如下。
如果你想根据类名查找元素,你可以使用以下方法
driver.findElement(By.className("className"));
- 1
如果你想通过css选择器来查找元素,你可以使用以下方法
driver.findElement(By.cssSelector(".className"));
- 1
这里贴出与以往对应的所有查找元素方法,更新前
driver.findElementByCssSelector(".className");

driver.findElementById("elementId");

driver.findElementByLinkText("linkText");

driver.findElementByName("elementName");

driver.findElementByPartialLinkText("partialText");

driver.findElementByTagName("elementTagName");

driver.findElementByXPath("xPath");
- 1
- 2
- 3
- 4
- 5
- 6
- 7
- 8
- 9
- 10
- 11
- 12
- 13
更新后
driver.find_element(By.XPATH,'XPATH')

driver.find_element(By.CLASS_NAME,'CLASS_NAME')

driver.find_element(By.CSS_SELECTOR,'CSS_SELECTOR')

driver.find_element(By.ID,'ID')

driver.find_element(By.LINK_TEXT,'LINK_TEXT')

driver.find_element(By.PARTIAL_LINK_TEXT,'PARTIAL_LINK_TEXT')

driver.find_element(By.TAG_NAME,'TAG_NAME')
- 1
- 2
- 3
- 4
- 5
- 6
- 7
- 8
- 9
- 10
- 11
- 12
- 13
如果你查找的是多个元素,只需要将其中的find_element替换成find_elements即可。
等待元素出现
有时候某个元素不是直接出现的,如果不做判断则会导致程序崩溃,因此一般可以做异常处理,这里还有等待元素出现的方法。
首先,需要导入等待的包
from selenium.webdriver.support.ui import WebDriverWait
- 1
然后使用以下方法等待元素出现,driver就是浏览器驱动,timeout就是等待的时长,后是判断元素是否出现的,
el = WebDriverWait(driver, timeout=3).until(lambda d: d.find_element_by_tag_name("p"))
- 1
03 动作API
动作API是网上资料比较少的,因为之前的查找元素,调用click等已经可以解决很多的问题了,在翻看官方文档时,发现selenium还支持动作API来模拟动作。
动作API分为四个部分,分别是键盘、鼠标、笔、滚轮。这里先说明以下公共部分的。
暂停(pause)
光标移动,滚轮滚动期间,会有一些时间空隙,这里可以使用暂停来实现,这里是支持链式调用的,这里贴出官方给出的例子
clickable = driver.find_element(By.ID, "clickable")

ActionChains(driver)\

        .move_to_element(clickable)\

        .pause(1)\

        .click_and_hold()\

        .pause(1)\

        .send_keys("abc")\

        .perform()
- 1
- 2
- 3
- 4
- 5
- 6
- 7
- 8
- 9
- 10
- 11
- 12
- 13
- 14
- 15
释放所有动作
当前有动作执行时,可以使用以下方法停止这些动作
ActionBuilder(driver).clear_actions()
- 1
键盘
键盘代码表
如果你有兴趣,可以看一下,地址在这里,可以看到完整的列表。
按下某键,以输入shift+abc为例
ActionChains(driver)\

    .key_down(Keys.SHIFT)\

    .send_keys("abc")\

    .perform()
- 1
- 2
- 3
- 4
- 5
- 6
- 7
弹起某键,以输入shift+a和shift+b为例
ActionChains(driver)\

    .key_down(Keys.SHIFT)\

    .send_keys("a")\

    .key_up(Keys.SHIFT)\

    .send_keys("b")\

    .perform()
- 1
- 2
- 3
- 4
- 5
- 6
- 7
- 8
- 9
- 10
- 11
浏览器输入某串字符(不指定元素)
ActionChains(driver)\

    .send_keys("abc")\

    .perform()
- 1
- 2
- 3
- 4
- 5
指定元素输入字符串
text_input = driver.find_element(By.ID, "textInput")

ActionChains(driver)\

    .send_keys_to_element(text_input, "abc")\

    .perform()
- 1
- 2
- 3
- 4
- 5
- 6
- 7
复制和粘贴
cmd_ctrl = Keys.COMMAND if sys.platform == 'darwin' else Keys.CONTROL

ActionChains(driver)\

        .send_keys("Selenium!")\

        .send_keys(Keys.ARROW_LEFT)\

        .key_down(Keys.SHIFT)\

        .send_keys(Keys.ARROW_UP)\

        .key_up(Keys.SHIFT)\

        .key_down(cmd_ctrl)\

        .send_keys("xvv")\

        .key_up(cmd_ctrl)\

        .perform()
![]()
- 1
- 2
- 3
- 4
- 5
- 6
- 7
- 8
- 9
- 10
- 11
- 12
- 13
- 14
- 15
- 16
- 17
- 18
- 19
- 20
- 21
鼠标
鼠标点击保持,该方法将鼠标移动到元素中心与按下鼠标左键相结合。
这有助于聚焦特定元素:
clickable = driver.find_element(By.ID, "clickable")

ActionChains(driver)\

    .click_and_hold(clickable)\

    .perform()
- 1
- 2
- 3
- 4
- 5
- 6
- 7
鼠标点击释放
clickable = driver.find_element(By.ID, "click")

ActionChains(driver)\

    .click(clickable)\

    .perform()
- 1
- 2
- 3
- 4
- 5
- 6
- 7
鼠标定义的5种按键
0——鼠标左键
1——鼠标中键
2——鼠标右键
3——X1(后退键)
4——X2(前进键)
鼠标右击
clickable = driver.find_element(By.ID, "clickable")

ActionChains(driver)\

    .context_click(clickable)\

    .perform()
- 1
- 2
- 3
- 4
- 5
- 6
- 7
按下鼠标3键
action = ActionBuilder(driver)

action.pointer_action.pointer_down(MouseButton.BACK)

action.pointer_action.pointer_up(MouseButton.BACK)

action.perform()
- 1
- 2
- 3
- 4
- 5
- 6
- 7
按下鼠标4键
action = ActionBuilder(driver)

action.pointer_action.pointer_down(MouseButton.FORWARD)

action.pointer_action.pointer_up(MouseButton.FORWARD)

action.perform()
- 1
- 2
- 3
- 4
- 5
- 6
- 7
鼠标双击
clickable = driver.find_element(By.ID, "clickable")

ActionChains(driver)\

    .double_click(clickable)\

    .perform()
- 1
- 2
- 3
- 4
- 5
- 6
- 7
鼠标移动到元素上
hoverable = driver.find_element(By.ID, "hover")

ActionChains(driver)\

    .move_to_element(hoverable)\

    .perform()
- 1
- 2
- 3
- 4
- 5
- 6
- 7
鼠标位移
就是通过像素点来进行位移操作
从元素左顶边进行位移
mouse_tracker = driver.find_element(By.ID, "mouse-tracker")

ActionChains(driver)\

    .move_to_element_with_offset(mouse_tracker, 8, 11)\

    .perform()
- 1
- 2
- 3
- 4
- 5
- 6
- 7
从元素中心进行位移(请期待)
从当前窗口左上角位移
action = ActionBuilder(driver)

action.pointer_action.move_to_location(8, 12)

action.perform()
- 1
- 2
- 3
- 4
- 5
从当前鼠标位置位移
ActionChains(driver)\

    .move_by_offset( 13, 15)\

    .perform()
- 1
- 2
- 3
- 4
- 5
拖拽元素
该方法首先单击并按住源元素,移动到目标元素的位置,然后释放鼠标。
draggable = driver.find_element(By.ID, "draggable")

droppable = driver.find_element(By.ID, "droppable")

ActionChains(driver)\

    .drag_and_drop(draggable, droppable)\

    .perform()
- 1
- 2
- 3
- 4
- 5
- 6
- 7
- 8
- 9
通过位移拖拽
draggable = driver.find_element(By.ID, "draggable")

start = draggable.location

finish = driver.find_element(By.ID, "droppable").location

ActionChains(driver)\

    .drag_and_drop_by_offset(draggable, finish['x'] - start['x'], finish['y'] - start['y'])\

    .perform()
- 1
- 2
- 3
- 4
- 5
- 6
- 7
- 8
- 9
- 10
- 11
笔(部分浏览器生效)
由于笔只在部分浏览器生效,这里就不写了,如果你感兴趣,或者有需求可以去官方文档查看,这里贴出官方文档地址。
滚轮(只有谷歌内核浏览器生效)
滚动到某元素位置
iframe = driver.find_element(By.TAG_NAME, "iframe")

ActionChains(driver)\

    .scroll_to_element(iframe)\

    .perform()
- 1
- 2
- 3
- 4
- 5
- 6
- 7
定量滚动
footer = driver.find_element(By.TAG_NAME, "footer")

delta_y = footer.rect['y']

ActionChains(driver)\

    .scroll_by_amount(0, delta_y)\

    .perform()
- 1
- 2
- 3
- 4
- 5
- 6
- 7
- 8
- 9
从一个元素滚动指定量
iframe = driver.find_element(By.TAG_NAME, "iframe")

scroll_origin = ScrollOrigin.from_element(iframe)

ActionChains(driver)\

    .scroll_from_origin(scroll_origin, 0, 200)\

    .perform()
- 1
- 2
- 3
- 4
- 5
- 6
- 7
- 8
- 9
从一个元素滚动,并指定位移
footer = driver.find_element(By.TAG_NAME, "footer")

scroll_origin = ScrollOrigin.from_element(footer, 0, -50)

ActionChains(driver)\

    .scroll_from_origin(scroll_origin, 0, 200)\

    .perform()
- 1
- 2
- 3
- 4
- 5
- 6
- 7
- 8
- 9
从一个元素的原点位移
ActionChains(driver)\

    .scroll_from_origin(scroll_origin, 0, 200)\

    .perform()
- 1
- 2
- 3
- 4
- 5
总结
以上就是本文的所有内容,总结了selenium4在使用过程中常见的一些坑,以及官方所推荐使用的方式
总结:
感谢每一个认真阅读我文章的人!!!
作为一位过来人也是希望大家少走一些弯路,如果你不想再体验一次学习时找不到资料,没人解答问题,坚持几天便放弃的感受的话,在这里我给大家分享一些自动化测试的学习资源,希望能给你前进的路上带来帮助。
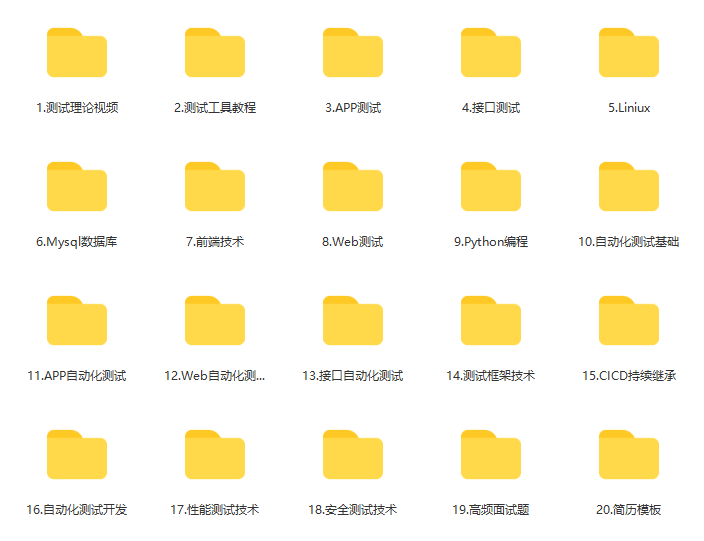
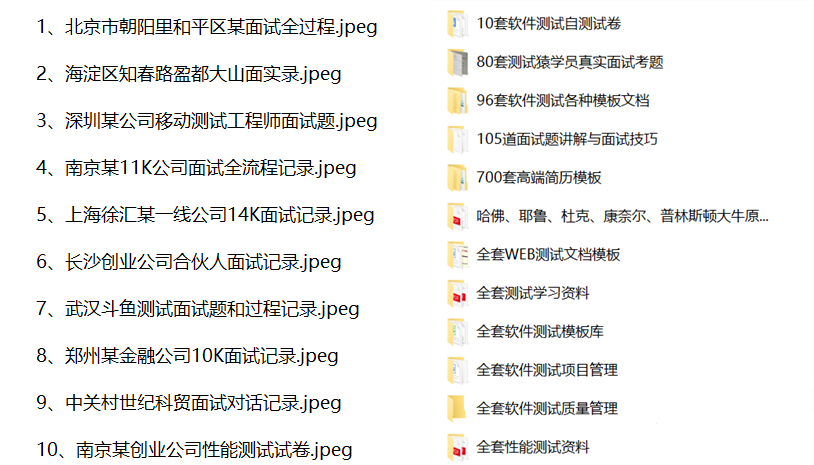
软件测试面试文档
我们学习必然是为了找到高薪的工作,下面这些面试题是来自阿里、腾讯、字节等一线互联网大厂最新的面试资料,并且有字节大佬给出了权威的解答,刷完这一套面试资料相信大家都能找到满意的工作。
视频文档获取方式:
这份文档和视频资料,对于想从事【软件测试】的朋友来说应该是最全面最完整的备战仓库,这个仓库也陪伴我走过了最艰难的路程,希望也能帮助到你!以上均可以分享,点下方小卡片即可自行领取。


 4万+
4万+

 被折叠的 条评论
为什么被折叠?
被折叠的 条评论
为什么被折叠?
 到【灌水乐园】发言


