


下文将介绍基于CentOs 6.5操作系统搭建Maven Nexus3.6.1-02私服以及简单使用,并且会说明如何将jar包手动上传到私服上。
Maven Nexus的官方下载路径:http://www.sonatype.com/download-oss-sonatype
1. 安装启动maven nexus:
1.1 下载下来之后进入私服的工作目录的etc目录下,将nexus的端口设置为8081:
[root@centos-server-yzr local]# cd nexus/
[root@centos-server-yzr nexus]# ls
nexus-3.6.1-02  nexus-3.6.1-02-unix.tar.gz  sonatype-work
[root@centos-server-yzr nexus]# cd sonatype-work/
[root@centos-server-yzr sonatype-work]# ls
nexus3
[root@centos-server-yzr sonatype-work]# cd nexus3/
[root@centos-server-yzr nexus3]# ls
backup  blobs  cache  db  elasticsearch  etc  generated-bundles  health-check  instances  keystores  lock  log  orient  port  tmp
[root@centos-server-yzr nexus3]# cd etc
[root@centos-server-yzr etc]# ls
logback  nexus.properties
[root@centos-server-yzr etc]# vi nexus.properties
# Jetty section
application-port=8081
# application-host=0.0.0.0
# nexus-args=${jetty.etc}/jetty.xml,${jetty.etc}/jetty-http.xml,${jetty.etc}/jetty-requestlog.xml
# nexus-context-path=/

# Nexus section
# nexus-edition=nexus-pro-edition
# nexus-features=\
#  nexus-pro-feature

http://localhost:8081
1.2. 开放防火墙8081端口
添加-A INPUT -m state --state NEW -m tcp -p tcp --dport 8081 -j ACCEPT
[root@centos-server-yzr bin]# vi /etc/sysconfig/iptables
-A INPUT -m state --state NEW -m tcp -p tcp --dport 8081 -j ACCEPT
[root@centos-server-yzr bin]# service iptables restart
iptables: Setting chains to policy ACCEPT: filter          [  OK  ]
iptables: Flushing firewall rules:                         [  OK  ]
iptables: Unloading modules:                               [  OK  ]
iptables: Applying firewall rules:                         [  OK  ]
1.3. 启动nexus服务器
[root@centos-server-yzr bin]# ./nexus start
WARNING: ************************************************************
WARNING: Detected execution as "root" user.  This is NOT recommended!
WARNING: ************************************************************
Starting nexus
点击右上角“Log in”,
输入默认用户名(admin)和默认密码(admin123)登录
可以点击上面的“设置”图标,在“设置”里可以添加用户、角色,对接LDAP等的设置,如下:
5.注意下面几点说明:
1.component name的一些说明:
1)maven-central:maven中央库,默认从 https://repo1.maven.org/maven2/拉取jar
2)maven-releases:私库发行版jar
3)maven-snapshots:私库快照(调试版本)jar
4)maven-public:仓库分组,把上面三个仓库组合在一起对外提供服务,在本地maven基础配置settings.xml中使用。
2.Nexus默认的仓库类型有以下四种:
1)group(仓库组类型):又叫组仓库,用于方便开发人员自己设定的仓库;
2)hosted(宿主类型):内部项目的发布仓库(内部开发人员,发布上去存放的仓库);
3)proxy(代理类型):从远程中央仓库中寻找数据的仓库(可以点击对应的仓库的Configuration页签下Remote Storage
2 使用nexus创建项目仓库
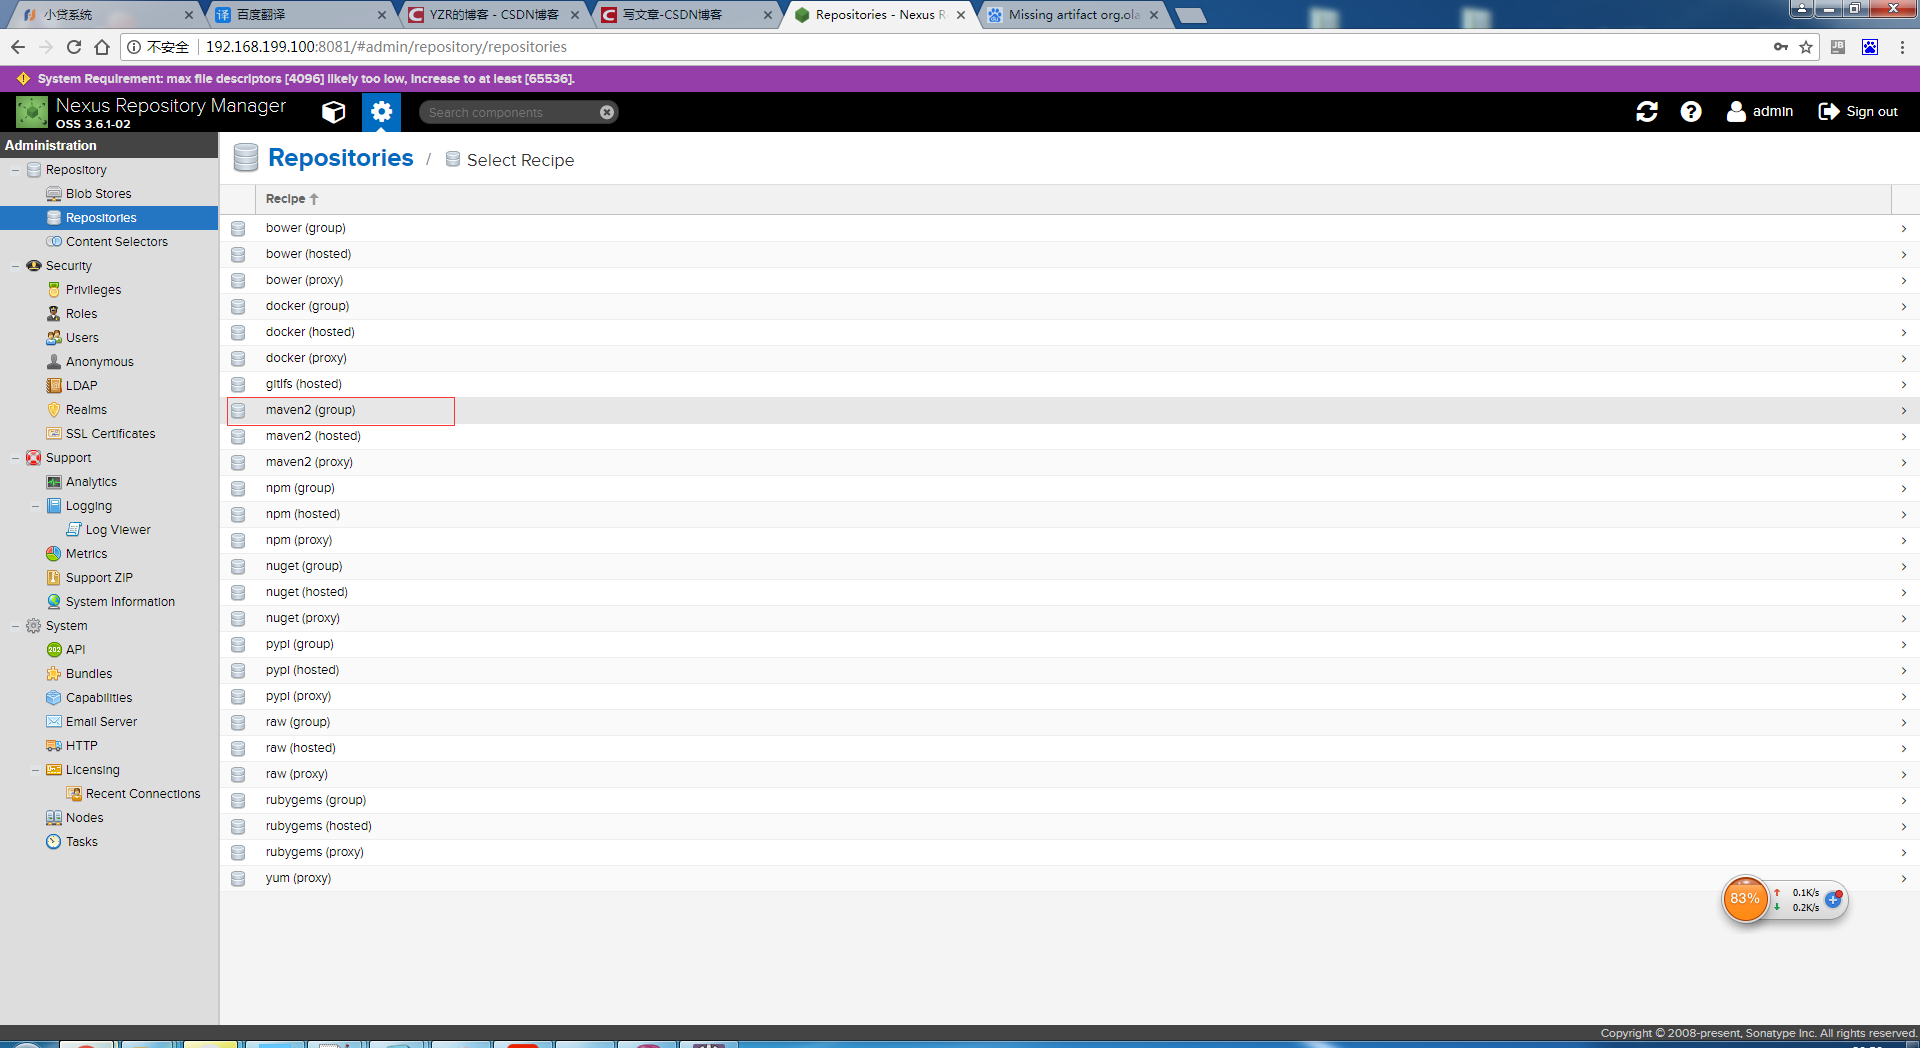
2.1使用admin登录之后创建三个仓库

首先创建eboy-hosted-release和eboy-hosted-snapshot,选择maven2(hosted)类型


之后接着创建仓库组eboy-hosted-public,选择maven2(group)类型
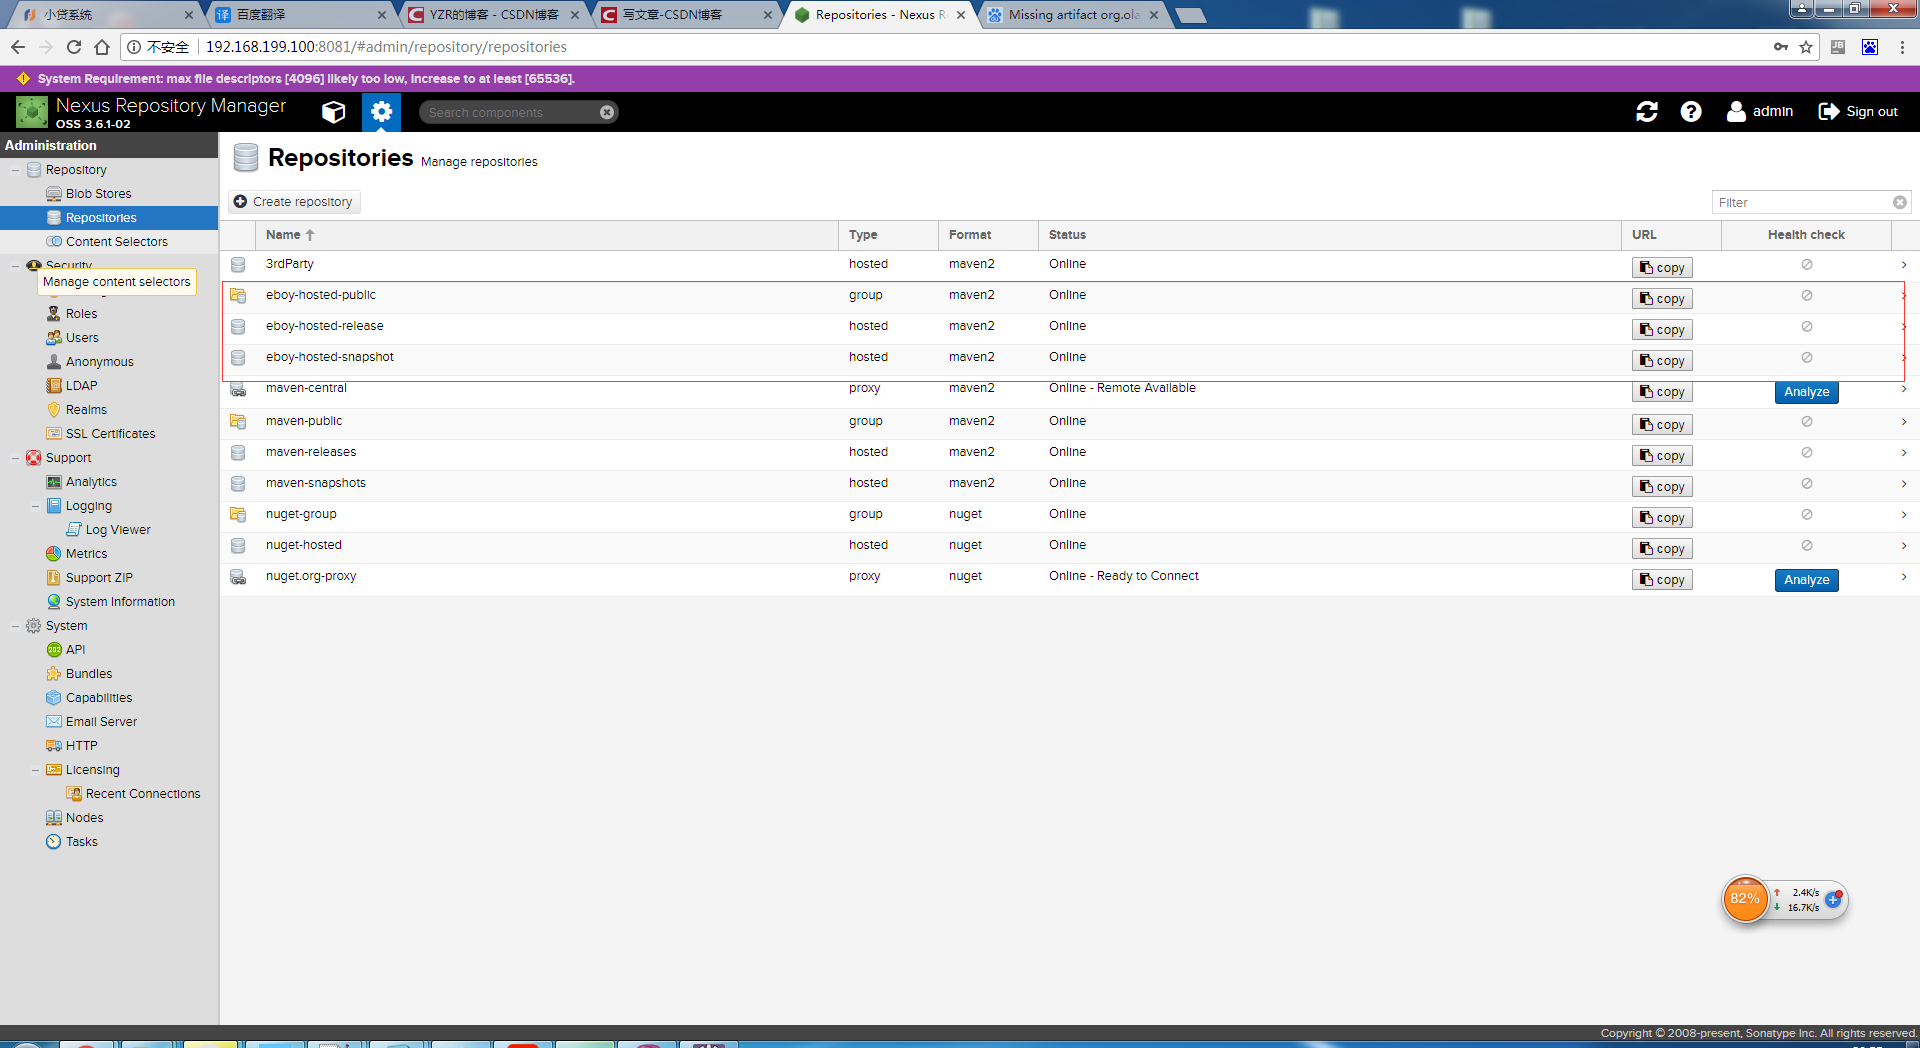
在Hosted同理也要选择Allow Deploy项。
结果下图所示:
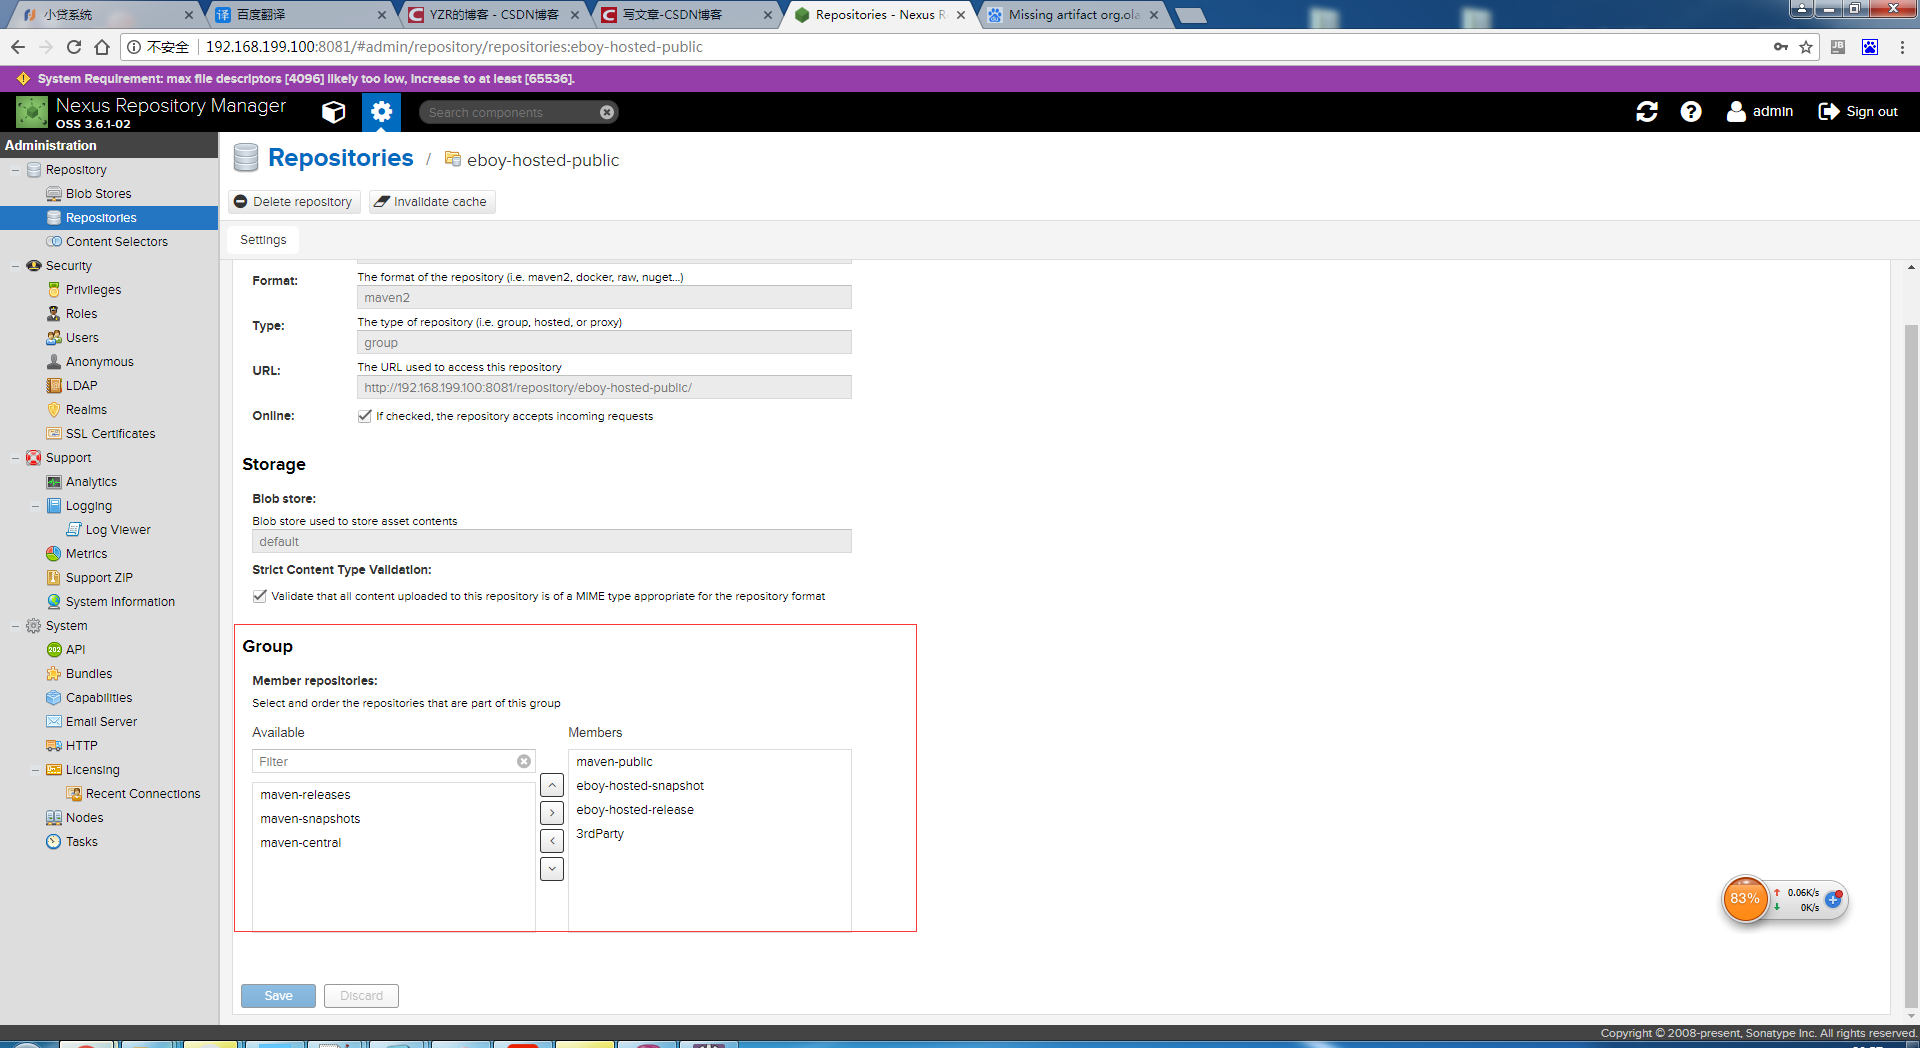
接下来将eboy-hosted-release和eboy-hosted-snapshot加入eboy-hosted-public组中(注意也要把maven-public加上)
2.2 配置maven的conf下的settings.xml文件
<?xml version="1.0" encoding="UTF-8"?>
<settings xmlns="http://maven.apache.org/SETTINGS/1.0.0"
		  xmlns:xsi="http://www.w3.org/2001/XMLSchema-instance"
          xsi:schemaLocation="http://maven.apache.org/SETTINGS/1.0.0 http://maven.apache.org/xsd/settings-1.0.0.xsd">
	<localRepository>F:/repository</localRepository>
  	<!--配置服务端的一些设置。一些设置如安全证书不应该和pom.xml一起分发。这种类型的信息应该存在于构建服务器上的settings.xml文件中。 -->
    <servers>
		<server>
			<id>eboy-hosted-release</id>
			<username>admin</username>
			<password>admin123</password>
		</server>
		<server>
			<id>eboy-hosted-snapshot</id>
			<username>admin</username>
			<password>admin123</password>
		</server>
        <!--将项目发布到私服中需要用到
        <server>
            <id>3rdParty</id>
            <username>admin</username>
            <password>admin123</password>
			<filePermissions>664</filePermissions>
			<directoryPermissions>775</directoryPermissions>
        </server>-->
    </servers>
	<mirrors>
		<mirror>
            <!--该镜像的唯一标识符。id用来区分不同的mirror元素。  -->
            <id>eboy-hosted-public</id>
            <!--此处配置所有的构建均从私有仓库中下载 *代表所有,也可以写central -->
            <mirrorOf>*</mirrorOf>
            <name>eboy-hosted-public</name>
            <!--该镜像的URL。构建系统会优先考虑使用该URL,而非使用默认的服务器URL。  -->
            <url>http://192.168.199.100:8081/repository/eboy-hosted-public/</url>
        </mirror>
		<mirror>
            <!--该镜像的唯一标识符。id用来区分不同的mirror元素。  -->
            <id>eboy-hosted-snapshot</id>
            <!--此处配置所有的构建均从私有仓库中下载 *代表所有,也可以写central -->
            <mirrorOf>*</mirrorOf>
            <name>eboy-hosted-snapshot</name>
            <!--该镜像的URL。构建系统会优先考虑使用该URL,而非使用默认的服务器URL。  -->
            <url>http://192.168.199.100:8081/repository/eboy-hosted-snapshot</url>
        </mirror>
		<mirror>
            <!--该镜像的唯一标识符。id用来区分不同的mirror元素。  -->
            <id>eboy-hosted-release</id>
            <!--此处配置所有的构建均从私有仓库中下载 *代表所有,也可以写central -->
            <mirrorOf>*</mirrorOf>
            <name>eboy-hosted-release</name>
            <!--该镜像的URL。构建系统会优先考虑使用该URL,而非使用默认的服务器URL。  -->
            <url>http://192.168.199.100:8081/repository/eboy-hosted-release/</url>
        </mirror>

    </mirrors>
</settings>
2.3 配置pom.xml文件
 <distributionManagement>
        <repository>
            <id>eboy-hosted-release</id>
            <name>Nexus Release Repository</name>
            <url>http://192.168.199.100:8081/repository/eboy-hosted-release/</url>
        </repository>
        <snapshotRepository>
            <id>eboy-hosted-snapshot</id>
            <name>Nexus Snapshot Repository</name>
            <url>http://192.168.199.100:8081/repository/eboy-hosted-snapshot/</url>
        </snapshotRepository>
    </distributionManagement>
2.4 发布jar包到私服(两种方式)
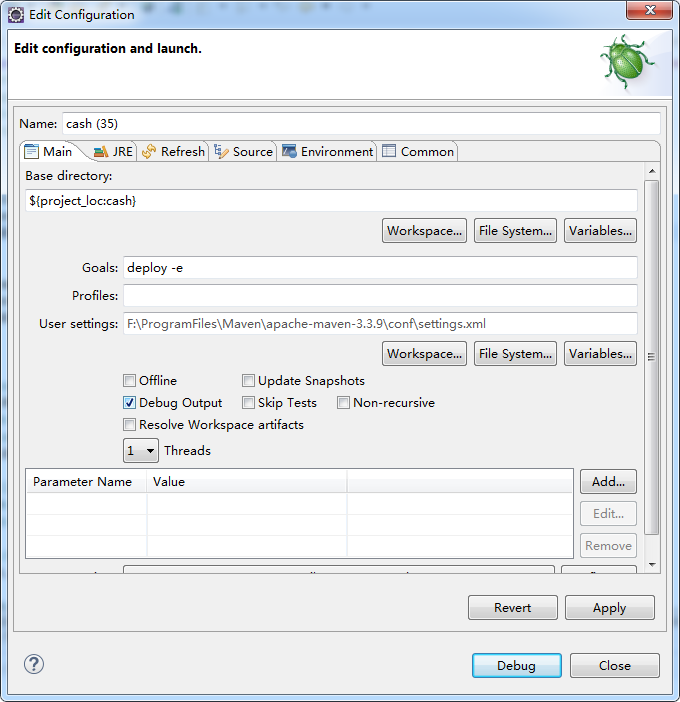
2.4.1 方式一使用maven build下的deploy
在eclipse中右键项目—>Debug As—>Maven build..—>在Goals输入框中输入"deploy -e":
2.4.2 方式二使用maven update
在eclipse中右键项目—>Maven—>update porject
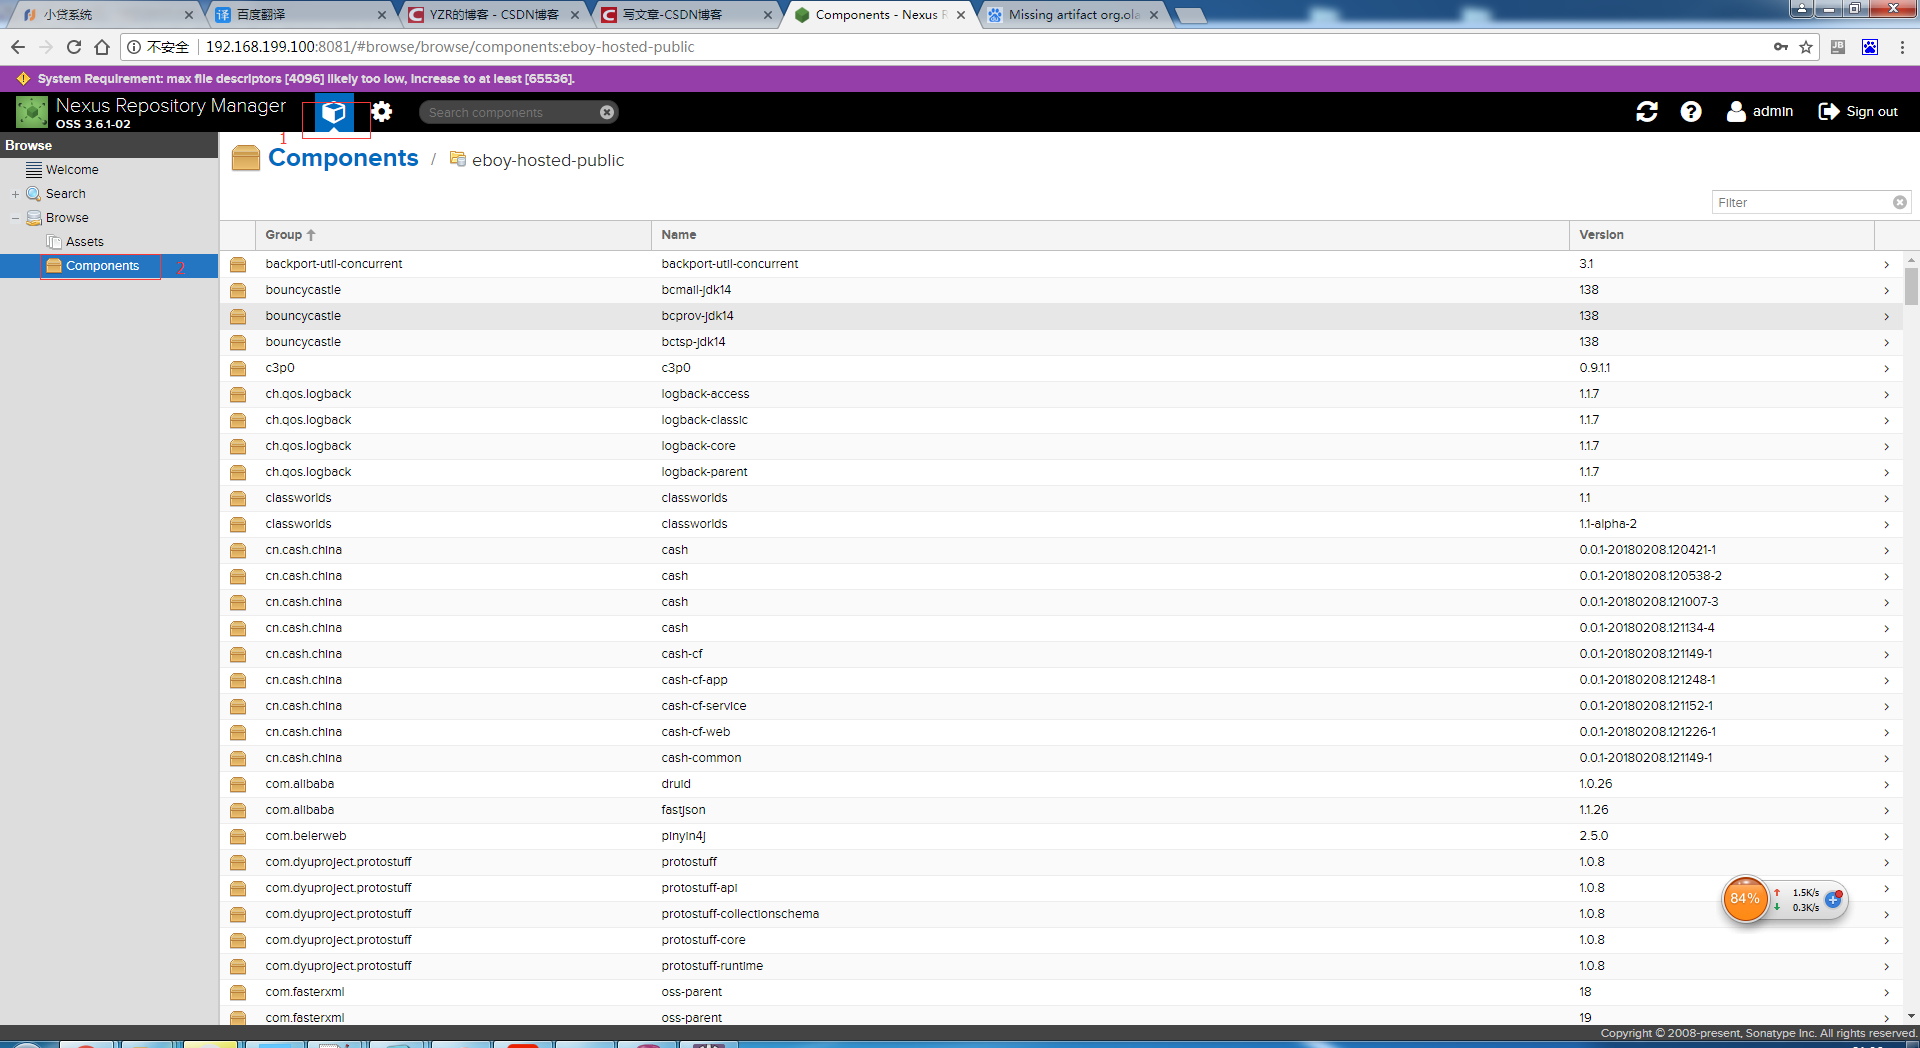
回过头看可以在私服上看到jar包了:
3. 手动上传jar包
3.1 很多时候一些jar包由于其要收费的原因,比如ojdbc6,在maven的中央仓库中是不会存在的,需要自己手动上传。
deploy:deploy-file -DgroupId=com.oracle -DartifactId=ojdbc6 -Dversion=11.2.0.1.0 -Dpackaging=jar -Dfile=D:\nexus-jar\ojdbc6-11.2.0.1.0.jar -Durl=http://192.168.199.100:8081/repository/eboy-hosted-release/ -DrepositoryId=eboy-hosted-releaseDgroupId:groupId的值
DartifactId:artifactId的值
Dversion:jar包版本号
Dfile:jar的存放路径(将需要上传的jar不要放在本地的repository里面,单独放到其他的文件夹上)
Durl:私服仓库的位置
DrepositoryId:私服仓库名
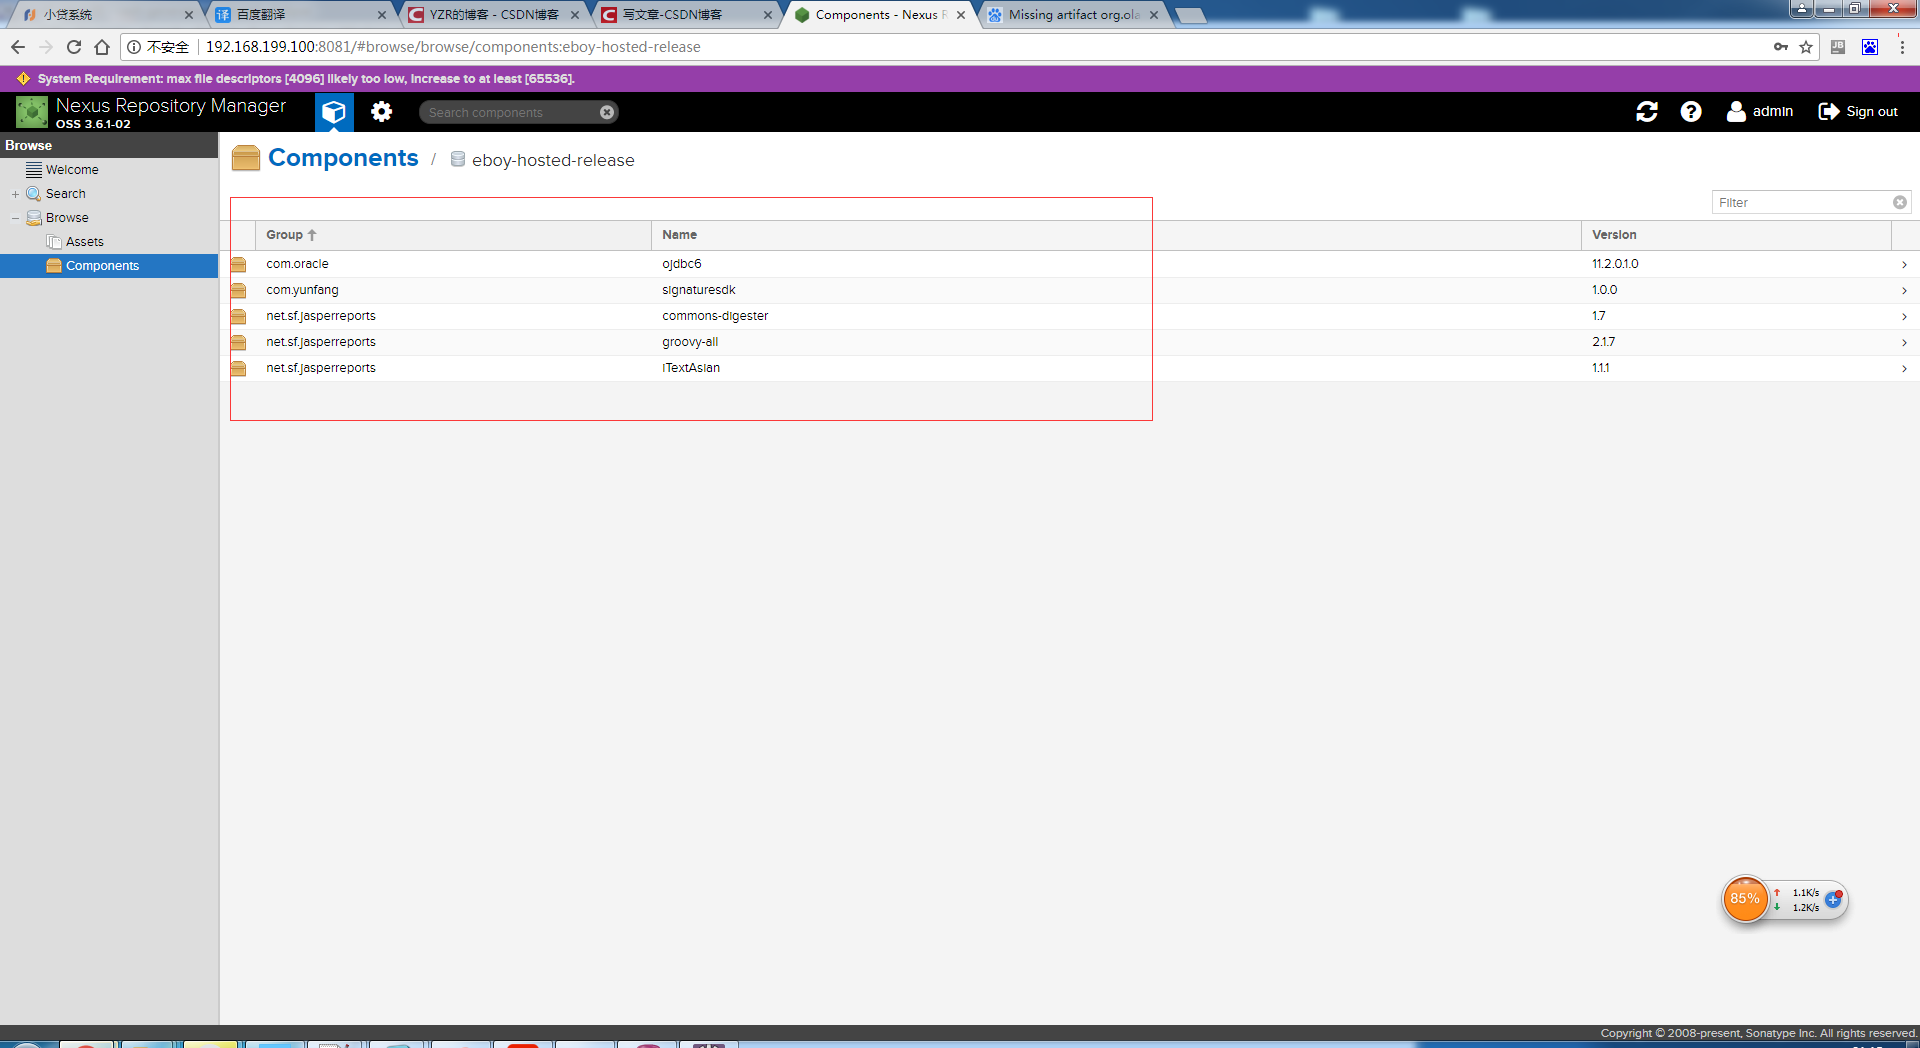
3.2 上传jar包
在eclipse中右键项目—>Debug As—>Maven build..—>在Goals输入框中输入"deploy -e":
将上面那段代码复制到Goals输入框中,执行。
4 测试
将maven下conf的settings.xml指定的repository文件夹删除。
在eclipse中右键项目—>Maven—>update porject
会发现会从私服中重新下载下来。
5.补充
如果在上面叙述的实现过程中maven update时报not find 私服仓库时,可以将更改一下settings.xml的配置,如下所示,然后再尝试操作。
<mirrors>
		<mirror>
            <!--该镜像的唯一标识符。id用来区分不同的mirror元素。  -->
            <id>nexus</id>
            <!--此处配置所有的构建均从私有仓库中下载 *代表所有,也可以写central -->
            <mirrorOf>*</mirrorOf>
            <name>central repository</name>
            <!--该镜像的URL。构建系统会优先考虑使用该URL,而非使用默认的服务器URL。  -->
            <url>http://192.168.199.100:8081/repository/maven-public/</url>
        </mirror>
    </mirrors>


 1207
1207

 被折叠的 条评论
为什么被折叠?
被折叠的 条评论
为什么被折叠?
 到【灌水乐园】发言


