


maven依赖
# flowable-process依赖 运行flowable实例
  <dependency>
            <groupId>org.flowable</groupId>
            <artifactId>flowable-spring-boot-starter</artifactId>
            <version>6.7.0</version>
        </dependency>
#flowable ui依赖相关 以下几个包按需取用
        <dependency>
            <groupId>org.flowable</groupId>
            <artifactId>flowable-spring-boot-starter-ui-modeler</artifactId>
            <version>6.7.0</version>
        </dependency>

        <dependency>
            <groupId>org.flowable</groupId>
            <artifactId>flowable-spring-boot-starter-ui-admin</artifactId>
            <version>6.7.0</version>
        </dependency>

        <dependency>
            <groupId>org.flowable</groupId>
            <artifactId>flowable-spring-boot-starter-ui-idm</artifactId>
            <version>6.7.0</version>
        </dependency>

        <dependency>
            <groupId>org.flowable</groupId>
            <artifactId>flowable-spring-boot-starter-ui-task</artifactId>
            <version>6.7.0</version>
        </dependency>
#使用方法
- 搭建一个springboot项目在application.yml中配置数据库地址
spring:
  datasource:
    username: root
    password: 1234
    url: jdbc:mysql://localhost:3306/fooflowableui?characterEncoding=UTF-8&serverTimezone=UTC&nullCatalogMeansCurrent=true&useSSL=false
    driver-class-name: com.mysql.cj.jdbc.Driver
flowable:
  async-executor-activate: false
  database-schema-update: true
注意如果数据库用的root角色的话 flow会在数据库中遍历所有的数据库表 只要有个数据库存在过flowable的数据表信息,启动项目将会报错,表xx找不到
所以需要再url中指定&nullCatalogMeansCurrent=true 在当前数据库表中执行。
项目启动成功后 访问http://127.0.0.1:8080/。8080是你项目指定的端口号,可更改。输入初始账号密码admin/test登录
如下图:
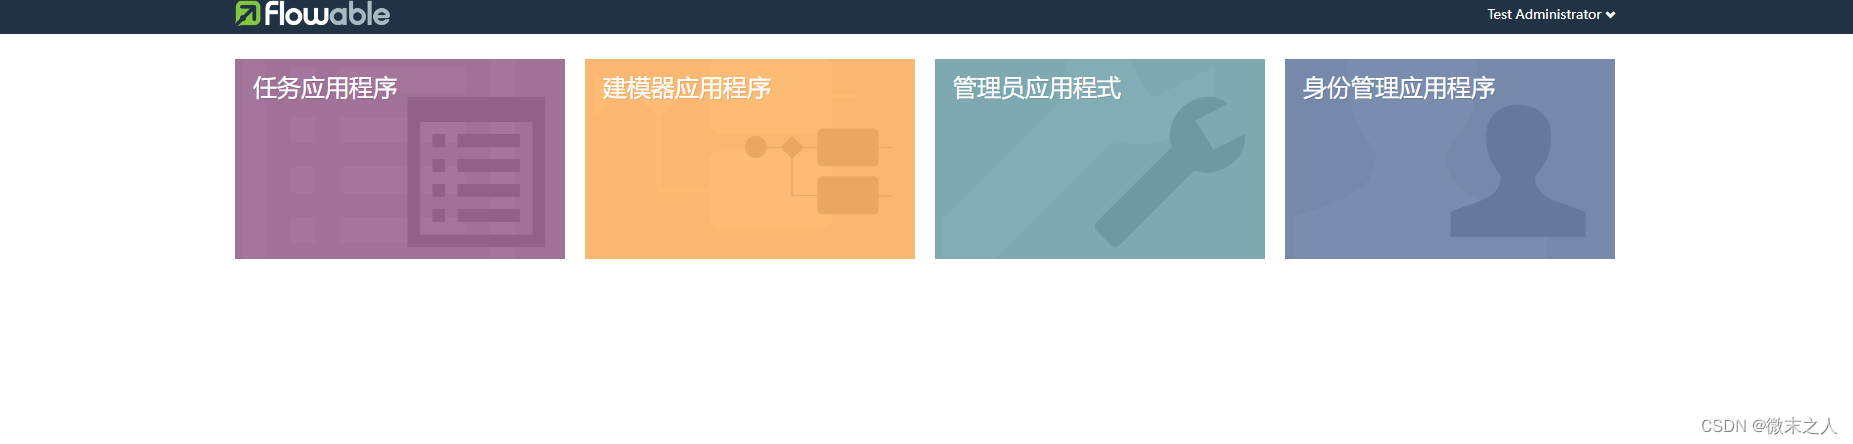
账号密码可以在身份管理中进行变更操作。
最后附上flowable 6.x版本的中文文档地址


 672
672


 被折叠的 条评论
为什么被折叠?
被折叠的 条评论
为什么被折叠?
 到【灌水乐园】发言


