


应用已经写好验证视图,但是如果现在运行服务器的话,无论访问哪个 URL ,都会 看到一个 TemplateNotFound 错误。这是因为前文(四)中,登录注册函数return的视图调用了 render_template() ,但是模板还没有写。模板文件会储存在 flaskr 包内的 templates 文件夹内。
如果不想自己敲,可在gitee中下载html文件 flaskr: 学习flask,自建网站,
可以知道的是,所有网站,自己站内的网页外框都是统一格式的,这样我们只需要写一个统一的模板,继承过去就可以了,中间部分再作修改.
基础模板
flaskr/templates/base.html
<!doctype html>
<title>{% block title %}{% endblock %} - Flaskr</title>
<link rel="stylesheet" href="{{ url_for('static', filename='style.css') }}">
<nav>
  <h1>Flaskr</h1>
  <ul>
    {% if g.user %}
      <li><span>{{ g.user['username'] }}</span>
      <li><a href="{{ url_for('auth.logout') }}">Log Out</a>
    {% else %}
      <li><a href="{{ url_for('auth.register') }}">Register</a>
      <li><a href="{{ url_for('auth.login') }}">Log In</a>
    {% endif %}
  </ul>
</nav>
<section class="content">
  <header>
    {% block header %}{% endblock %}
  </header>
  {% for message in get_flashed_messages() %}
    <div class="flash">{{ message }}</div>
  {% endfor %}
  {% block content %}{% endblock %}
</section>
g 在模板中自动可用。 根据 g.user 是否被设置(在 load_logged_in_user 中进行),要么显示 用户名和注销连接,要么显示注册和登录连接。 url_for() 也是自动可用的,可用于生成视图的 URL ,而不用手动来指定。
在标题下面,正文内容前面,模板会循环显示 get_flashed_messages() 返回 的每个消息。在视图中使用 flash() 来处理出错信息,在模板中就可以这样 显示出出来。
模板中定义三个块,这些块会被其他模板重载。
-
{% block title %}会改变显示在浏览器标签和窗口中的标题。 -
{% block header %}类似于title,但是会改变页面的标题。 -
{% block content %}是每个页面的具体内容,如登录表单或者博客帖子。
注册:
flaskr/templates/auth/register.html
{% extends 'base.html' %}

{% block header %}
  <h1>{% block title %}Register{% endblock %}</h1>
{% endblock %}

{% block content %}
  <form method="post">
    <label for="username">Username</label>
    <input name="username" id="username" required>
    <label for="password">Password</label>
    <input type="password" name="password" id="password" required>
    <input type="submit" value="Register">
  </form>
{% endblock %}
{% extends 'base.html' %} 告诉 Jinja 这个模板基于基础模板,并且需要替换 相应的块。所有替换的内容必须位于 {% block %} 标签之内。
一个实用的模式是把 {% block title %} 放在 {% block header %} 内部。 这里不但可以设置 title 块,还可以把其值作为 header 块的内容, 一举两得。
input 标记使用了 required 属性。
登录
flaskr/templates/auth/login.html
{% extends 'base.html' %}

{% block header %}
  <h1>{% block title %}Log In{% endblock %}</h1>
{% endblock %}

{% block content %}
  <form method="post">
    <label for="username">Username</label>
    <input name="username" id="username" required>
    <label for="password">Password</label>
    <input type="password" name="password" id="password" required>
    <input type="submit" value="Log In">
  </form>
{% endblock %}
这里与注册并无太大区别
运行代码 flask run 然后 访问 http://127.0.0.1:5000/auth/register 就可以看到界面.
界面还比较简洁,我们来加点css修饰一下
Flask 自动添加一个 static 视图,视图使用相对于 flaskr/static 的相对路径。 base.html 模板已经使用了一个 style.css 文件连接:
{{ url_for('static', filename='style.css') }}
除了 CSS ,其他类型的静态文件可以是 JavaScript 函数文件或者 logo 图片。它们 都放置于 flaskr/static 文件夹中,并使用 url_for('static', filename='...') 引用。
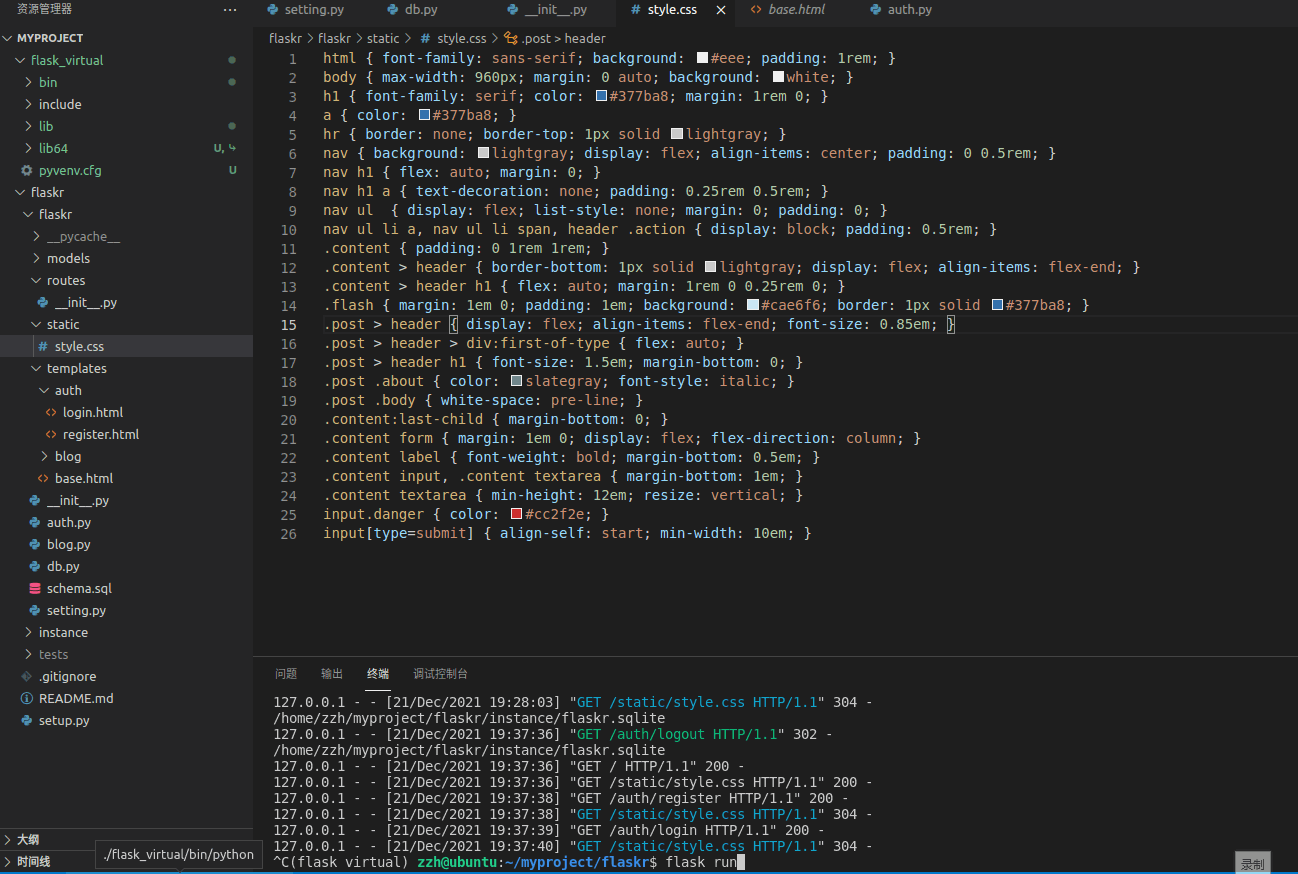
flaskr/static/style.css
html { font-family: sans-serif; background: #eee; padding: 1rem; }
body { max-width: 960px; margin: 0 auto; background: white; }
h1 { font-family: serif; color: #377ba8; margin: 1rem 0; }
a { color: #377ba8; }
hr { border: none; border-top: 1px solid lightgray; }
nav { background: lightgray; display: flex; align-items: center; padding: 0 0.5rem; }
nav h1 { flex: auto; margin: 0; }
nav h1 a { text-decoration: none; padding: 0.25rem 0.5rem; }
nav ul  { display: flex; list-style: none; margin: 0; padding: 0; }
nav ul li a, nav ul li span, header .action { display: block; padding: 0.5rem; }
.content { padding: 0 1rem 1rem; }
.content > header { border-bottom: 1px solid lightgray; display: flex; align-items: flex-end; }
.content > header h1 { flex: auto; margin: 1rem 0 0.25rem 0; }
.flash { margin: 1em 0; padding: 1em; background: #cae6f6; border: 1px solid #377ba8; }
.post > header { display: flex; align-items: flex-end; font-size: 0.85em; }
.post > header > div:first-of-type { flex: auto; }
.post > header h1 { font-size: 1.5em; margin-bottom: 0; }
.post .about { color: slategray; font-style: italic; }
.post .body { white-space: pre-line; }
.content:last-child { margin-bottom: 0; }
.content form { margin: 1em 0; display: flex; flex-direction: column; }
.content label { font-weight: bold; margin-bottom: 0.5em; }
.content input, .content textarea { margin-bottom: 1em; }
.content textarea { min-height: 12em; resize: vertical; }
input.danger { color: #cc2f2e; }
input[type=submit] { align-self: start; min-width: 10em; }
访问 http://127.0.0.1:5000/auth/login ,页面如下所示:
上图所展示的博客文章将在下文(六)中详细说明


 237
237


 被折叠的 条评论
为什么被折叠?
被折叠的 条评论
为什么被折叠?
 到【灌水乐园】发言


