


🎈一、创建SpringBoot项目🎈
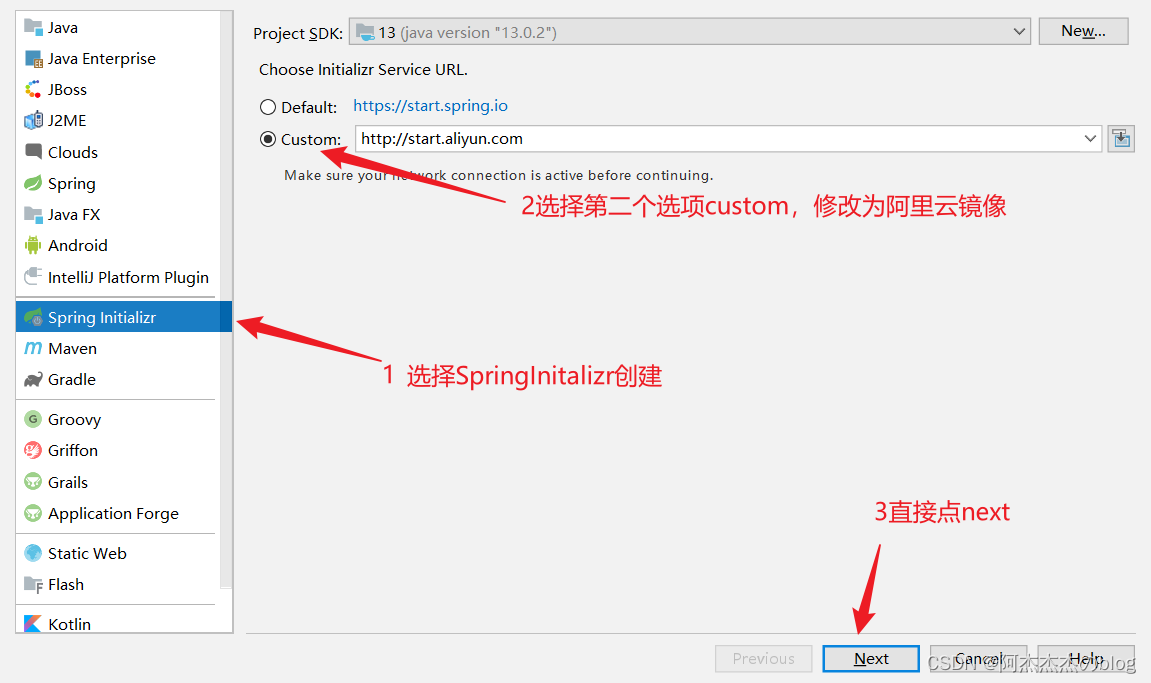
🎆1. 步骤一:创建项目时选择Spring Initalizr,如下图所示
注意这里要选择阿里云镜像创建,下载依赖更快!!!!
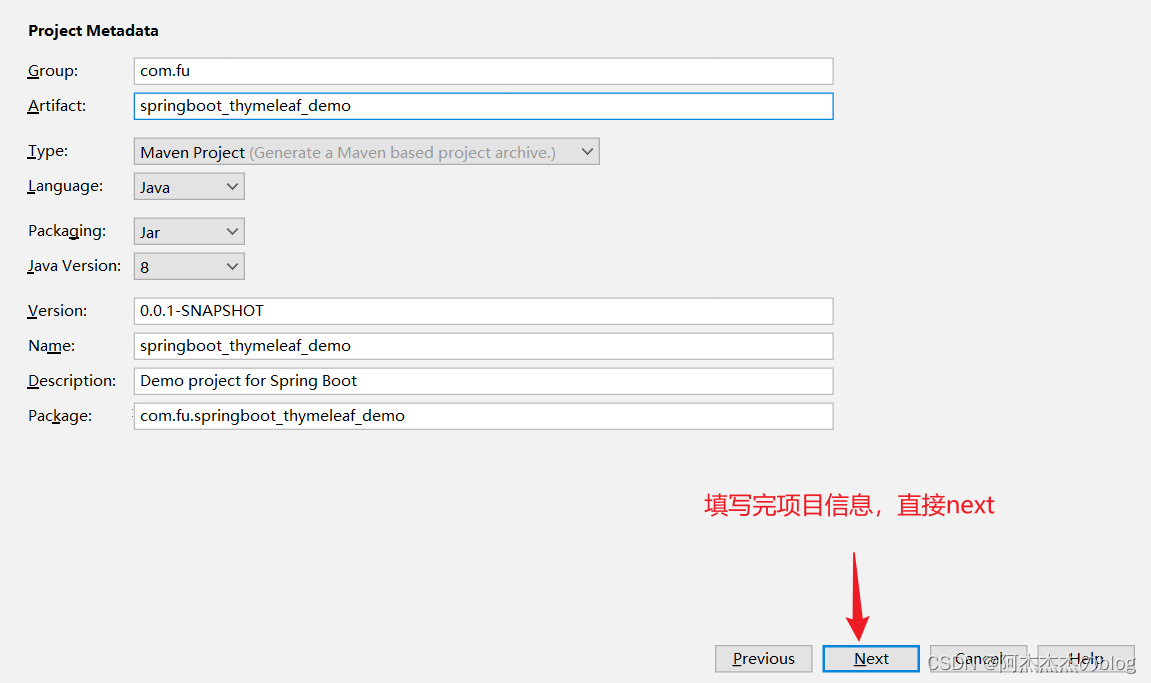
🎃2. 输入项目基本信息,如下图:
在这里输入项目的基本信息,组织id、模块名称、项目构建类型
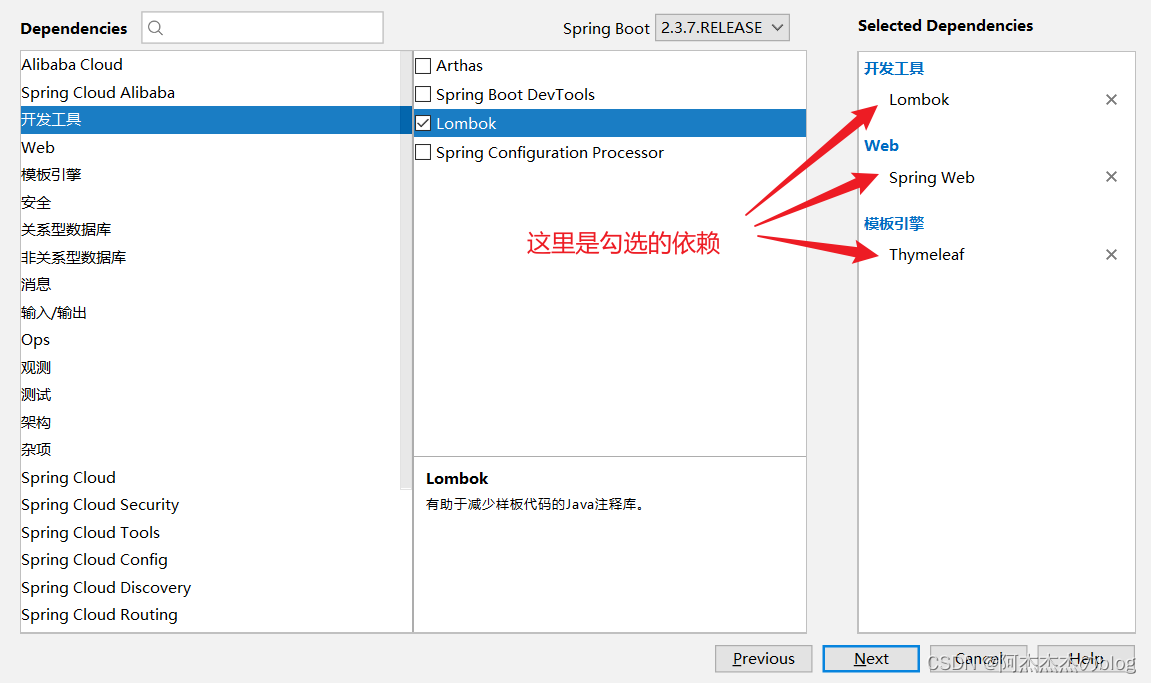
🎃3. 选择依赖,点击Next
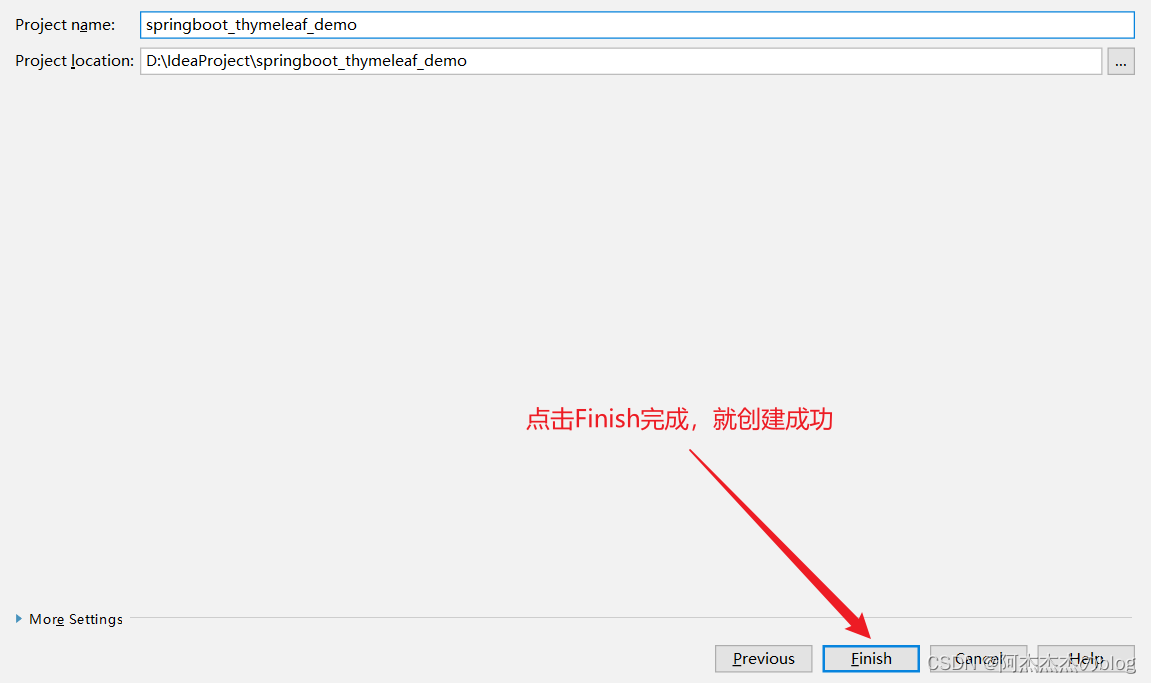
🎃4. 最后SpringBoot+Themeleaf演示项目就创建成功了。
🎈二、整合Thymeleaf🎈
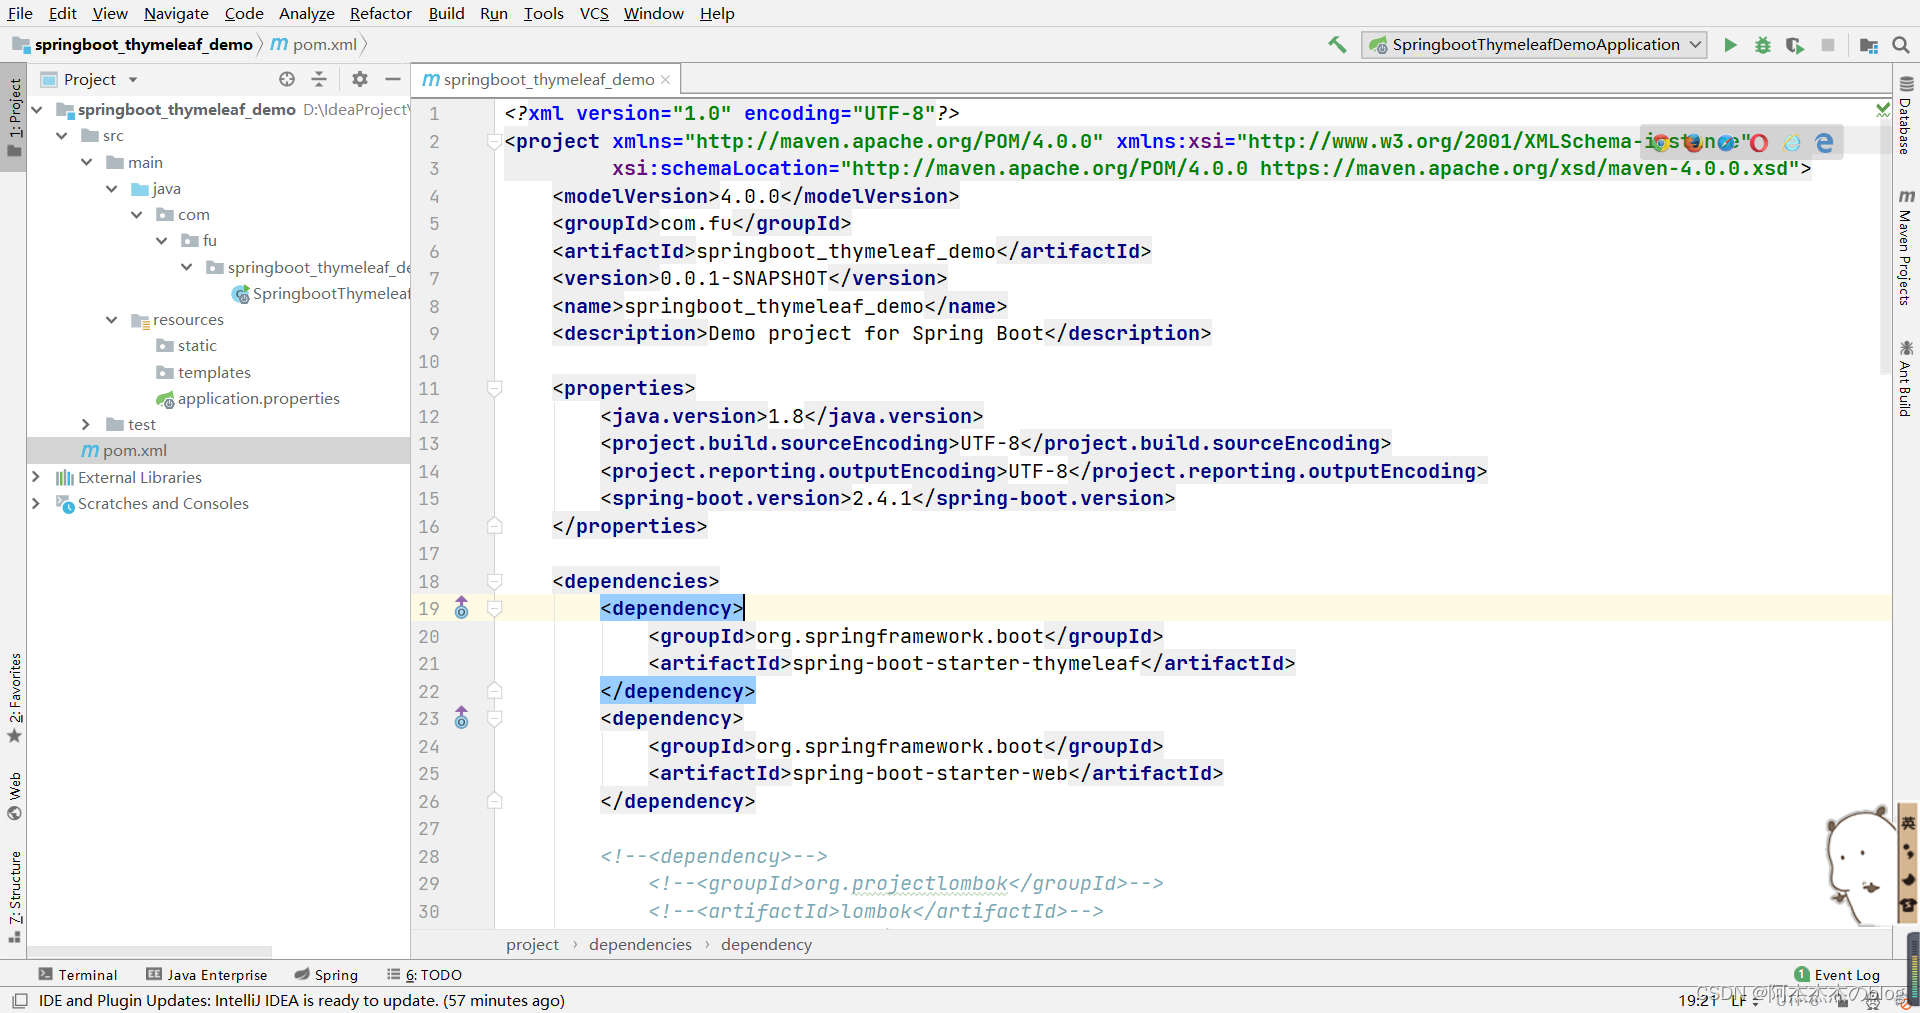
- 添加依赖,添加spring-boot-starter-thymeleaf,在上一步中我们已经通过勾选thymeleaf依赖添加过了,代码如下:
<dependency>
            <groupId>org.springframework.boot</groupId>
            <artifactId>spring-boot-starter-thymeleaf</artifactId>
        </dependency>
        <dependency>
            <groupId>org.springframework.boot</groupId>
            <artifactId>spring-boot-starter-web</artifactId>
</dependency>
🎃2. 配置Thymeleaf
# 应用名称
spring.application.name=springboot_thymeleaf_demo
# 应用服务 WEB 访问端口
server.port=8080
# THYMELEAF (ThymeleafAutoConfiguration)
# 开启模板缓存(默认值: true )
spring.thymeleaf.cache=false
# 检查模板是否存在,然后再呈现
spring.thymeleaf.check-template=true
# 检查模板位置是否正确(默认值 :true )
spring.thymeleaf.check-template-location=true
#Content-Type 的值(默认值: text/html )
spring.thymeleaf.content-type=text/html
# 开启 MVC Thymeleaf 视图解析(默认值: true )
spring.thymeleaf.enabled=true
# 模板编码
spring.thymeleaf.encoding=UTF-8
# 要被排除在解析之外的视图名称列表,⽤逗号分隔
spring.thymeleaf.excluded-view-names=
# 要运⽤于模板之上的模板模式。另⻅ StandardTemplate-ModeHandlers( 默认值: HTML5)
spring.thymeleaf.mode=HTML5
# 在构建 URL 时添加到视图名称前的前缀(默认值: classpath:/templates/ )
spring.thymeleaf.prefix=classpath:/templates/
# 在构建 URL 时添加到视图名称后的后缀(默认值: .html )
spring.thymeleaf.suffix=.html
🎃3. 配置控制器Controller
创建Book实体类,然后在controller中返回ModelAndView,代码如下:
package com.fu.springboot_thymeleaf_demo.domain;

public class Book {
    private Integer id;
    private String name;
    private String author;

    public Integer getId() {
        return id;
    }

    public void setId(Integer id) {
        this.id = id;
    }

    public String getName() {
        return name;
    }

    public void setName(String name) {
        this.name = name;
    }

    public String getAuthor() {
        return author;
    }

    public void setAuthor(String author) {
        this.author = author;
    }
}
package com.fu.springboot_thymeleaf_demo.controller;

import com.fu.springboot_thymeleaf_demo.domain.Book;
import org.springframework.stereotype.Controller;
import org.springframework.web.bind.annotation.GetMapping;
import org.springframework.web.servlet.ModelAndView;

import java.util.ArrayList;
import java.util.List;

@Controller
public class BookController {

    @GetMapping("/books")
    public ModelAndView books(){
        List<Book> books = new ArrayList<>();
        Book b1 = new Book();
        b1.setId(1);
        b1.setName("springboot");
        b1.setAuthor("zhangsan");
        Book b2 = new Book();
        b2.setId(2);
        b2.setName("springboot");
        b2.setAuthor("zhangsan");
        books.add(b1);
        books.add(b2);
        ModelAndView mv = new ModelAndView();
        mv.addObject("books",books);
        mv.setViewName("books");
        return mv;
    }

}
🎃4. 创建视图
在resources目录下的templates目录中创建books.html,代码如下:
<!DOCTYPE html>
<html lang="ch" xmlns:th="http://www.thymeleaf.org">
<head>
    <meta charset="UTF-8">
    <title th:text="title">图书列表</title>
</head>
<body>
<table border="1">
    <tr>
        <td>图书编号</td>
        <td>图书名称</td>
        <td>图书作者</td>
    </tr>
    <tr th:each="book:${books}">
        <td th:text="${book.id}"></td>
        <td th:text="${book.name}"></td>
        <td th:text="${book.author}"></td>
    </tr>
</table>

</body>
</html>
🎃5. 运行
在浏览器地址栏输入“http://localhost:8080/books",即可看到运行效果


 1196
1196


 被折叠的 条评论
为什么被折叠?
被折叠的 条评论
为什么被折叠?
 到【灌水乐园】发言


