


ansible部署单机lnmp
编写lnmp的yaml文件
- name: nginx
  hosts: dbservers
  remote_user: root
  gather_facts: false
  tasks:
    - name: check mount
      shell: df -h | grep /dev/sr0 || mount /dev/sr0 /mnt
    - name: test connection
      ping:
    - name: disable seliux
      command: '/sbin/setenforce 0'
      ignore_errors: true
    - name: set yum
      copy: src=/opt/nginx.repo dest=/etc/yum.repos.d/nginx.repo
      notify:
        - restart nginx
    - name: install nginx
      yum: name=nginx state=latest
    - name: start nginx service
      service: name=nginx state=started enabled=yes
  handlers:
    - name: restart nginx
      service: name=nginx state=restarted
- name: mysql
  gather_facts: false
  hosts: dbservers
  remote_user: root
  tasks:
    - name: test connection
      ping:
    - name: disable seliux
      command: '/sbin/setenforce 0'
      ignore_errors: true
    - name: remove mariadb
      yum: name=mariadb* state=absent
    - name: wget
      command: wget -i -c http://dev.mysql.com/get/mysql57-community-release-el7-10.noarch.rpm
    - name: install mysql
      yum: name=mysql57-community-release-el7-10.noarch.rpm
    - name: install mysql
      yum: name=mysql-community-server state=latest
    - name: start mysql service
      service: name=mysqld state=started enabled=yes
    - name: modify password                                   #获取mysql的登录密码并进行更改,需要大小写字母加符号和数字的组合
      shell: mysqladmin -u root -p"$(grep "password" /var/log/mysqld.log | awk 'NR==1{print $NF}')" password "Admin@123"
    - name: shouquan                                          #授予登录权限
      shell: mysql -uroot -p'Admin@123' -e "grant all privileges on *.* to root@'%' identified by 'Admin@123' with grant option;" -e "flush privileges;"
    - name: remove mysql57
      yum: name=mysql57-community-release-el7-10.noarch state=absent
- name: php
  gather_facts: false
  hosts: dbservers
  remote_user: root
  tasks:
    - name: rpm three
      shell: rpm -Uvh http://download-ib01.fedoraproject.org/pub/epel/7/x86_64/Packages/l/libargon2-20161029-3.el7.x86_64.rpm && rpm -Uvh https://dl.fedoraproject.org/pub/epel/epel-release-latest-7.noarch.rpm  && rpm -Uvh https://mirror.webtatic.com/yum/el7/webtatic-release.rpm
    - name: install php
      shell: yum -y install php72w php72w-cli php72w-common php72w-devel php72w-embedded php72w-gd php72w-mbstring php72w-pdo php72w-xml php72w-fpm php72w-mysqlnd php72w-opcache php72w-redis
    - name: start php
      service: name=php-fpm state=started enabled=true
    - name: nginx support php
      copy: src=/opt/default.conf dest=/etc/nginx/conf.d/default.conf
      notify:
        - restart nginx
    - name: modify index.php
      copy: src=/opt/index.php dest=/usr/share/nginx/html/index.php
  handlers:
    - name: restart nginx
      service: name=nginx state=restarted
准备index.php、nginx.repo、default.conf
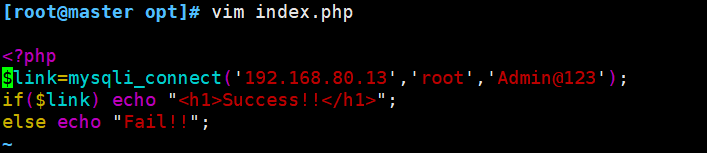
vim /opt/index.php #用来测试php连接mysql
<?php
$link=mysqli_connect('192.168.80.13','root','Admin@123');
if($link) echo "<h1>Success!!</h1>";
else echo "Fail!!";
============================================================
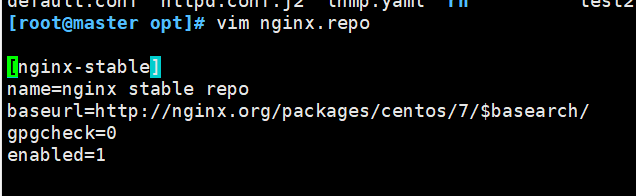
vim /opt/nginx.repo #nginx源
[nginx-stable]
name=nginx stable repo
baseurl=http://nginx.org/packages/centos/7/$basearch/
gpgcheck=0
enabled=1
============================================================
vim /opt/default.conf #让nginx与php对接
location ~ \.php$ { #29行开始修改
root html;
fastcgi_pass 127.0.0.1:9000;
fastcgi_index index.php;
fastcgi_param SCRIPT_FILENAME /usr/share/nginx/html$fastcgi_script_name;
include fastcgi_params;
}

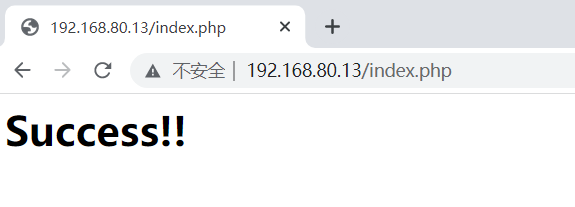
浏览器测试
http://192.168.80.13/index.php


 4517
4517


 被折叠的 条评论
为什么被折叠?
被折叠的 条评论
为什么被折叠?
 到【灌水乐园】发言


