目录
前言
最近研究Flutter源码的时候,发现Flutter中有一个refresh控件可以用来实现下拉刷新
效果。我们知道Flutter实现了两种风格的脚手架,一种是iOS风格的,一种是material风格的。刷新组件也一样,Flutter中Materi风格的widget名称叫做RefreshIndicator,iOS风格的widget名称叫做CupertinoSliverRefreshControl。官方文档也提供了两个例子:
图1.RefreshIndicator效果图1 图2.RefreshIndicator效果图1
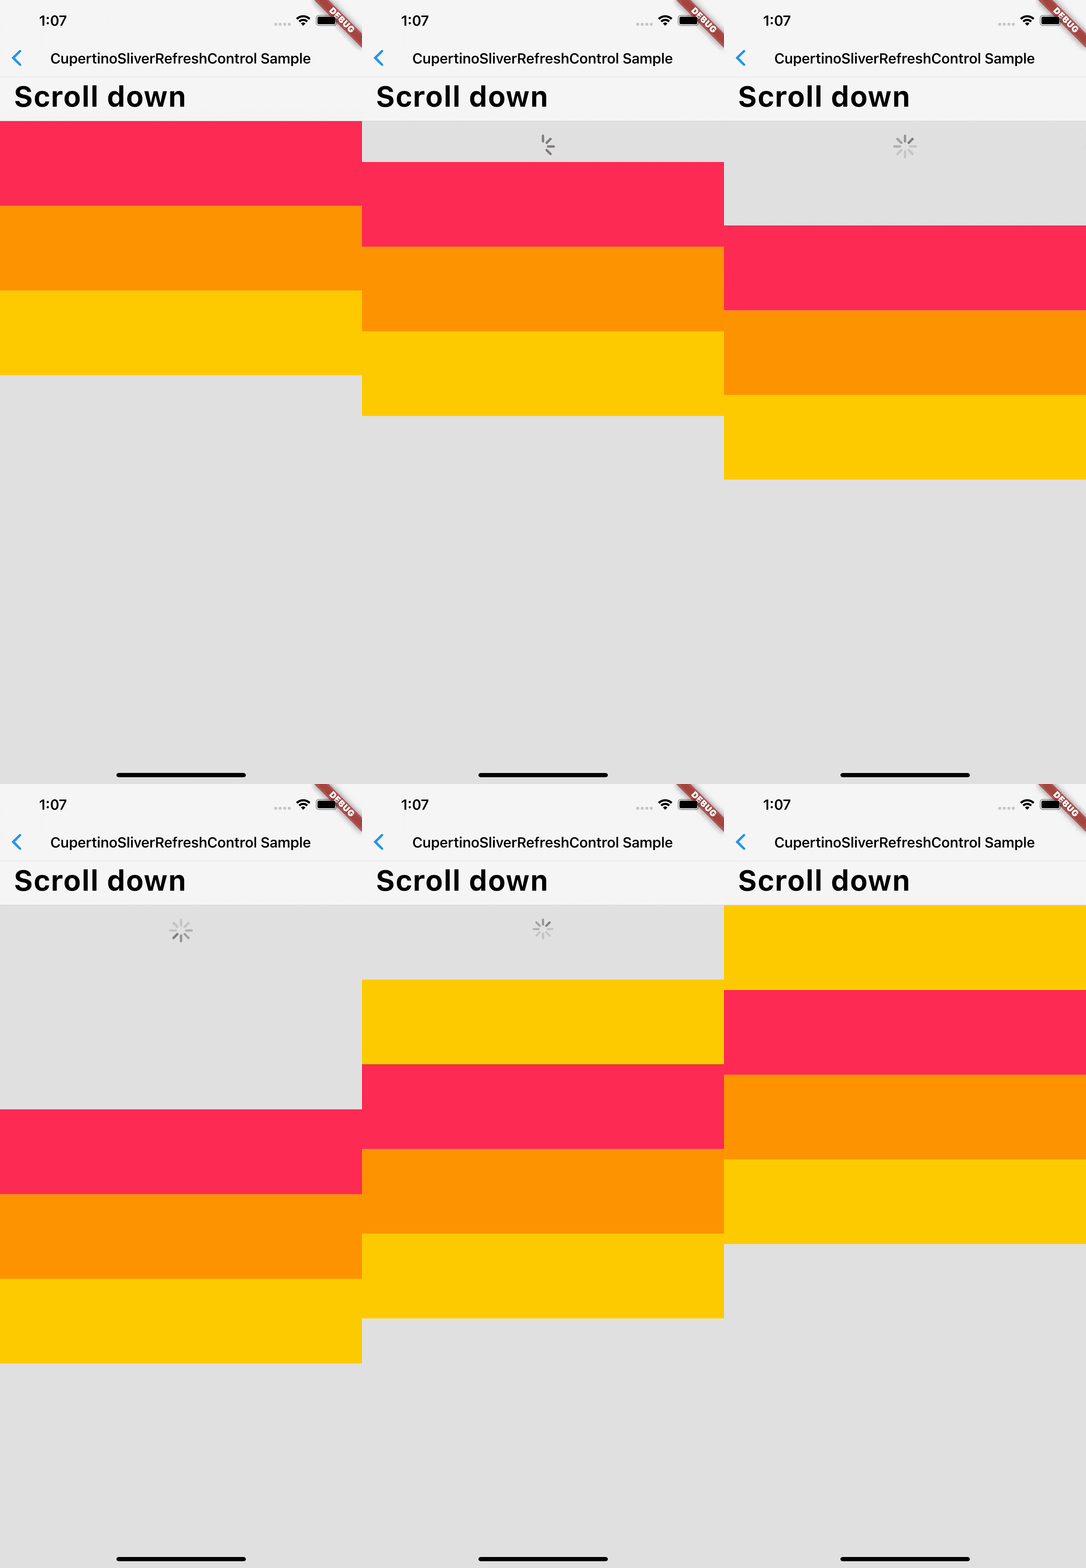
iOS风格的效果图如下图:

图3.CupertinoSliverRefreshControl实现下拉刷新效果
这里我使用的Flutter的版本号是3.7.7.
一、RefreshIndicator文档
看下RefreshIndicator定义:
const RefreshIndicator({
  super.key,
  required this.child,
  this.displacement = 40.0,
  this.edgeOffset = 0.0,
  required this.onRefresh,
  this.color,
  this.backgroundColor,
  this.notificationPredicate = defaultScrollNotificationPredicate,
  this.semanticsLabel,
  this.semanticsValue,
  this.strokeWidth = RefreshProgressIndicator.defaultStrokeWidth,
  this.triggerMode = RefreshIndicatorTriggerMode.onEdge,
}) : assert(child != null),
     assert(onRefresh != null),
     assert(notificationPredicate != null),
     assert(strokeWidth != null),
     assert(triggerMode != null);
RefreshIndicator有两个必选方法:child和onRefresh。
child表示子widget,onRefresh是下拉刷新完成之后的回调。
二、简单的用法
代码如下(示例):
例如我们要实现一个下拉刷新的列表,刷新之后,改变背景颜色。
实现起来也是非常的简单:把要加载的ListView设置成RefreshIndicator的child,然后在onRefresh的回调方法中实现数据源的刷新。
import 'dart:math' as math;

import 'package:flutter/material.dart';

class RefreshIndicatorDemoPage extends StatefulWidget {
  const RefreshIndicatorDemoPage({Key? key}) : super(key: key);

  @override
  State<RefreshIndicatorDemoPage> createState() => _RefreshIndicatorExampleState();
}

class _RefreshIndicatorExampleState extends State<RefreshIndicatorDemoPage> {
  final keyRefresh = GlobalKey<RefreshIndicatorState>();


  List<Widget> list = [];
  Color getRandomColor({int r = 255, int g = 255, int b = 255, a = 255}) {
    if (r == 0 || g == 0 || b == 0) return Colors.black;
    if (a == 0) return Colors.white;
    return Color.fromARGB(
      a,
      r != 255 ? r : math.Random.secure().nextInt(r),
      g != 255 ? g : math.Random.secure().nextInt(g),
      b != 255 ? b : math.Random.secure().nextInt(b),
    );
  }

  Future generateWidgetList() async{
    // keyRefresh.currentState?.show();
    Future.delayed(const Duration(seconds: 1)).then((value){
      setState(() {
        list = List.generate(10, (index) => Container(
          margin: const EdgeInsets.all(20),
          decoration:  BoxDecoration(
              color: getRandomColor(),
              borderRadius: const BorderRadius.all(Radius.circular(10))
          ),
          height: 50,
          child: Center(child: Text('$index',style: TextStyle(fontSize: 12,color: getRandomColor()),)),
        ));
      });
    });
  }
  @override
  Widget build(BuildContext context) {
    return Scaffold(
      appBar: AppBar(
        title: const Text('RefreshIndicator',style: TextStyle(fontWeight: FontWeight.bold,fontSize: 12),),
        actions: [
          ElevatedButton(onPressed: () {
            generateWidgetList();
          },child: const Icon(Icons.refresh),),
        ],
      ),
      body: RefreshIndicator(
        // key: keyRefresh,
        onRefresh: () async{
          generateWidgetList();
        },
        child: ListView.builder(itemBuilder: (BuildContext context, int index) {
          return list[index];
        },itemCount: list.length,),
      ),
    );
  }
}


 783
783


 被折叠的 条评论
为什么被折叠?


