


一、登录权限认证
1、在pom.xml导入security依赖包,以及thymeleaf security拓展包
<dependency>
         <groupId>org.springframework.boot</groupId>
            <artifactId>spring-boot-starter-security</artifactId>
        </dependency>
        <dependency>
            <groupId>org.thymeleaf.extras</groupId>
            <artifactId>thymeleaf-extras-springsecurity5</artifactId>
        </dependency>
2、在application中修改官方的用户名和密码
spring:
  security:
    user:
      name: admin
      password: admin
此刻,运行会跳转到官方的登录页面,此刻的用户名为admin密码为admin(PS:官方默认的为user,密码为后端打印的密码)
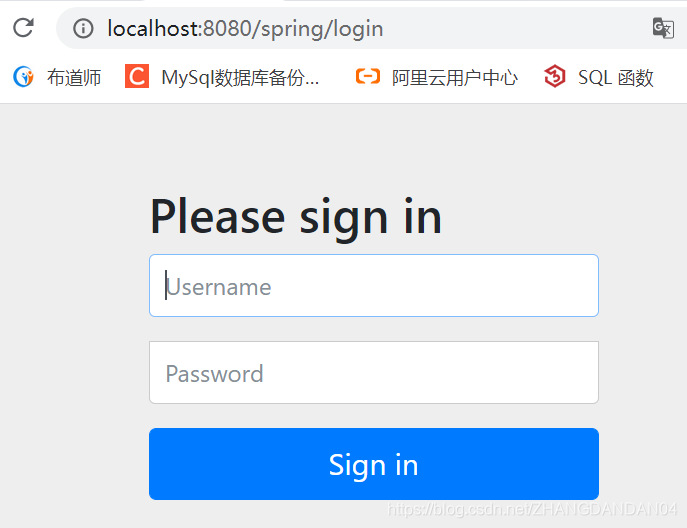
如果发现登录不进去,那么应该看一下自己的项目有没有添加拦截器哟~

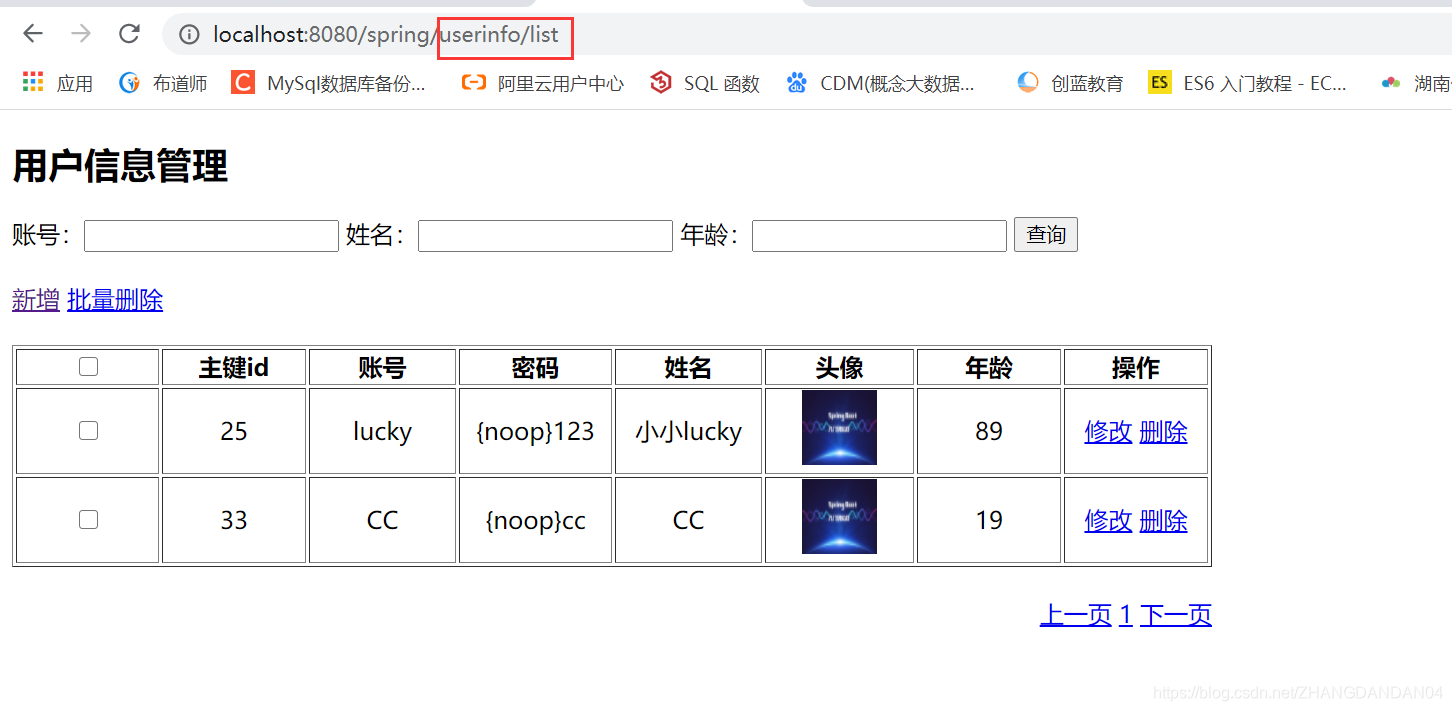
登录进来会显示是404页面,那是因为没有重定向路径

此刻我们只需+上自己的方法路径即可
二、前端授权
以登录为例,想要login表的用户进行登录并进行验证,此刻,需要我们自己自定义接口啦~
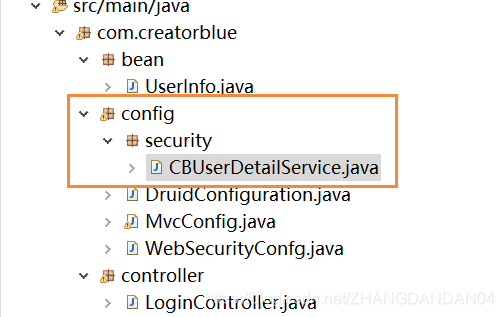
1、创建以下的目录结构
2、重写UserDetailService方法
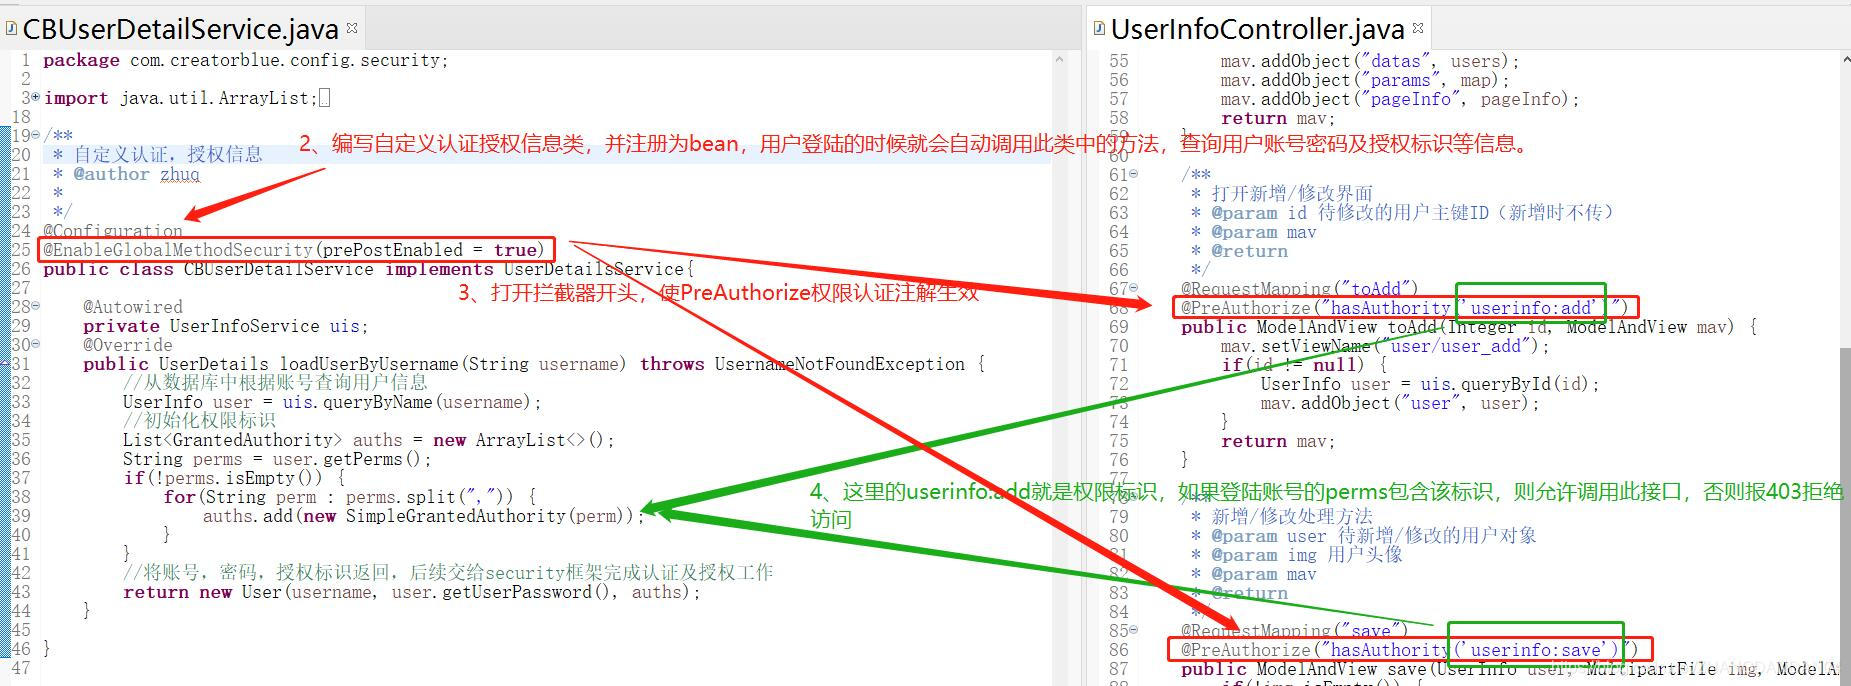
@Configuration
@EnableGlobalMethodSecurity(prePostEnabled = true)
public class CBUserDetailService implements UserDetailsService{

	@Autowired
	private UserInfoService us;

	@Override
	public UserDetails loadUserByUsername(String username) throws UsernameNotFoundException {

		UserInfo user = us.queryByName(username);
		System.out.println(user);
		List<GrantedAuthority> auths = new ArrayList<>();
		System.out.println(auths);
		String prems = user.getPrems();
		if (!prems.isEmpty()) {
			for(String prem : prems.split(",")) {
				auths.add(new SimpleGrantedAuthority(prem));
			}
		}
		return new User(username,user.getUserPassword(),auths);
	}

}
3、spring security 在数据库中使用noop密码加密

4、controller中添加
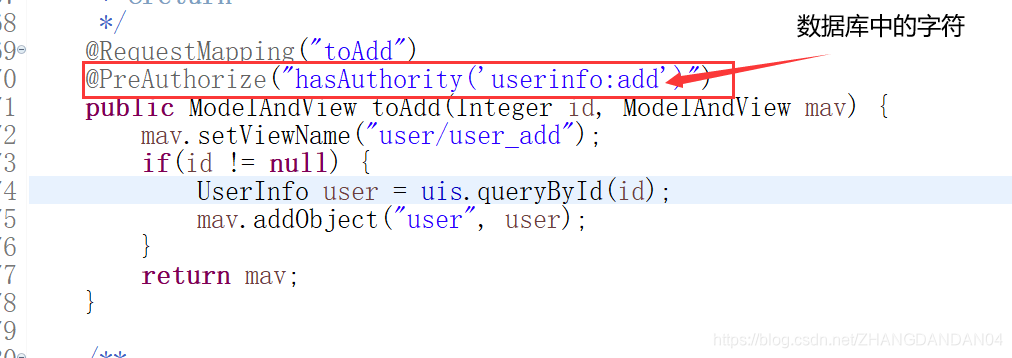
@PreAuthorize("hasAuthority('userinfo:add')")
5、在前端引用
首先引入<html lang="en" xmlns:th="http://www.thymeleaf.org" xmlns:sec="http://www.thymeleaf.org/thymeleaf-extras-springsecurity5">
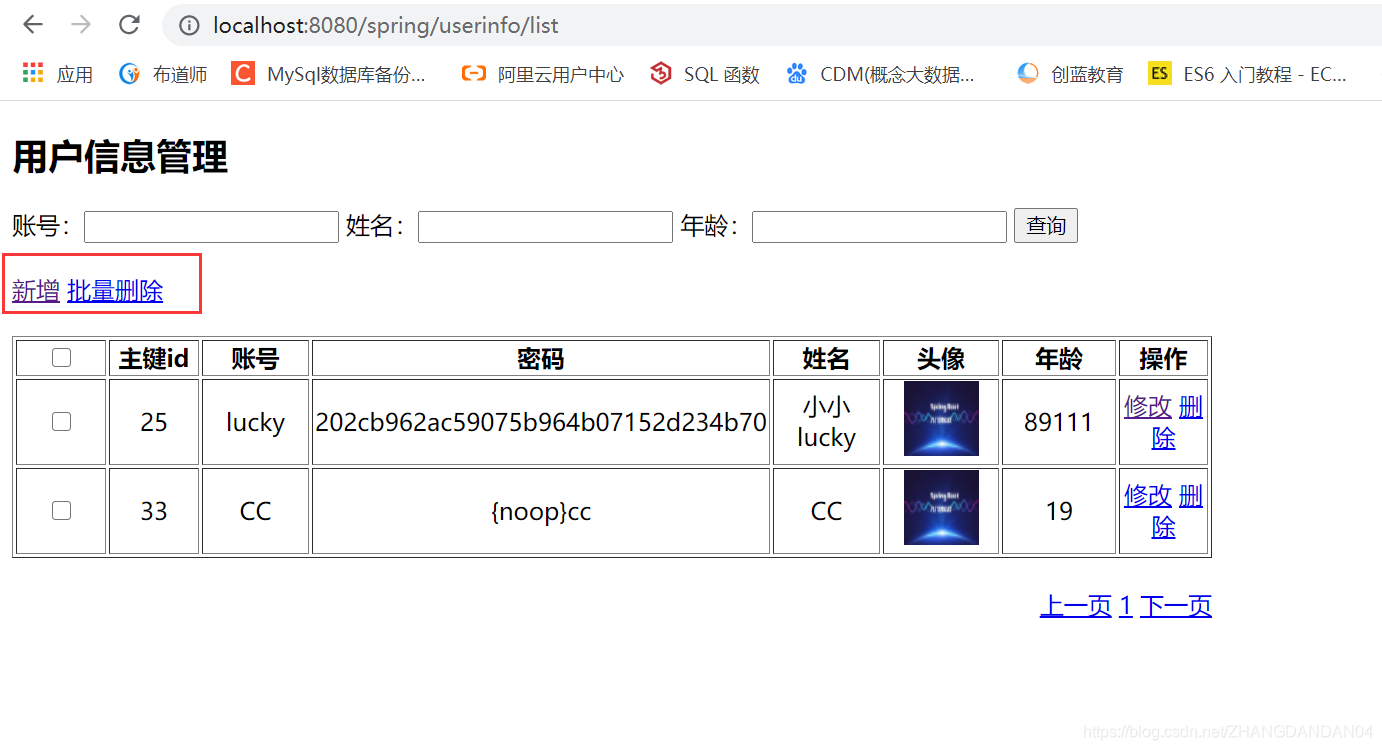
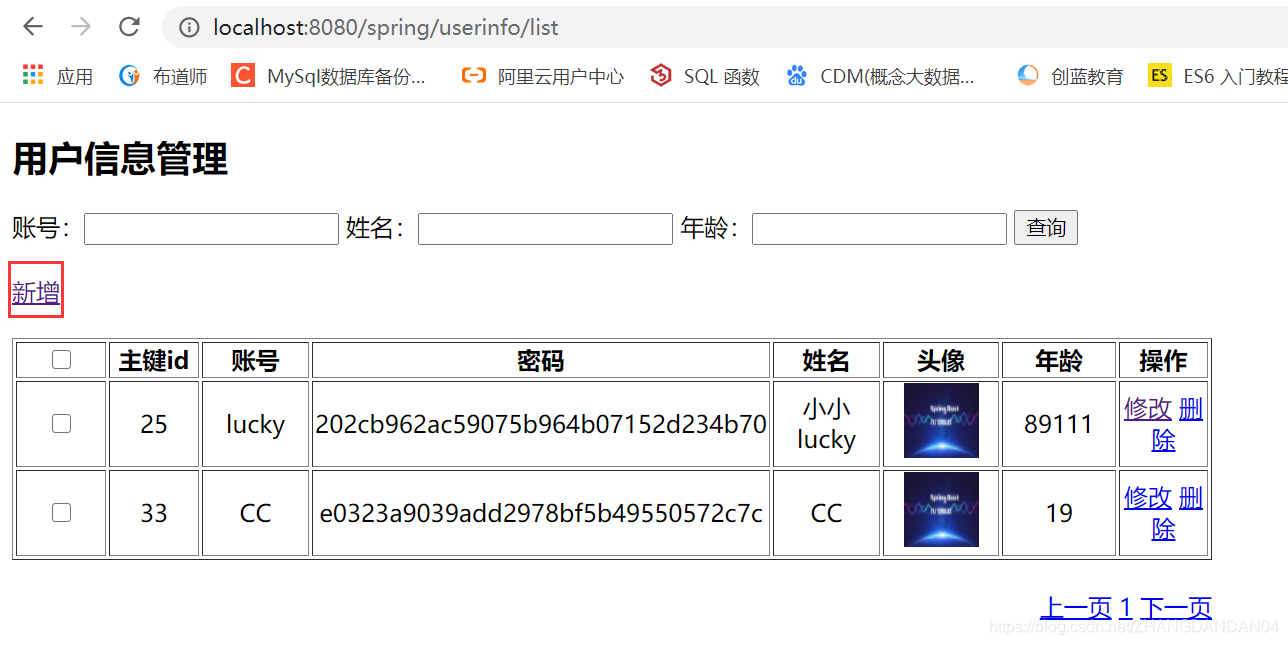
其次使用sec:authorize="hasAuthority('userinfo:add')"
6、测试,在登录不同的用户时,用户的权限就不同


 576
576


 被折叠的 条评论
为什么被折叠?
被折叠的 条评论
为什么被折叠?
 到【灌水乐园】发言


