前端Vue监听路由变化, 点击页面内按钮跳转菜单更改导航菜单选中状态

104 篇文章 28 订阅
76 篇文章 10 订阅

实际项目开发中有时候需要根据路由的变化去实进行一些操作,在此,我总结了三种方法。

1、watch监听

// 监听,当路由发生变化的时候执行
watch:{
  $route(to,from){
    console.log(to.path);
  }
},
或者
// 监听,当路由发生变化的时候执行
watch: {
  $route: {
    handler: function(val, oldVal){
      console.log(val);
    },
    // 深度观察监听
    deep: true
  }
},
或者
// 监听,当路由发生变化的时候执行
watch: {
  '$route':'getPath'
},
methods: {
  getPath(){
    console.log(this.$route.path);
  }
}

2、:key 阻止复用
vue 为你提供了一种方式来声明“这两个元素是完全独立的——不要复用它们”。只需添加一个具有唯一值的 key 属性即可(Vue文档原话)
使用computed属性和Date()可以保证每一次的key都是不同的,这样就可以如愿刷新数据了。

<router-view :key="key"></router-view>
computed: {
  key() {
    return this.$route.name !== undefined? this.$route.name +new Date(): this.$route +new Date()
  }
}

3、vue-router 的钩子函数

<script>
  export default {
    name: 'app',
    // 监听,当路由发生变化的时候执行
    beforeRouteEnter (to, from, next) {
      // 在渲染该组件的对应路由被 confirm 前调用
      // 不!能!获取组件实例 `this`
      // 因为当钩子执行前,组件实例还没被创建
    },
    beforeRouteUpdate (to, from, next) {
      // 在当前路由改变,但是该组件被复用时调用
      // 举例来说,对于一个带有动态参数的路径 /foo/:id,在 /foo/1 和 /foo/2 之间跳转的时候,
      // 由于会渲染同样的 Foo 组件,因此组件实例会被复用。而这个钩子就会在这个情况下被调用。
      // 可以访问组件实例 `this`
    },
    beforeRouteLeave (to, from, next) {
      // 导航离开该组件的对应路由时调用
      // 可以访问组件实例 `this`
    }
</script>

使用场景:
点击页面内跳转按钮 导航菜单选中
在element中有个NavMenu 导航菜单 组件
在这里插入图片描述
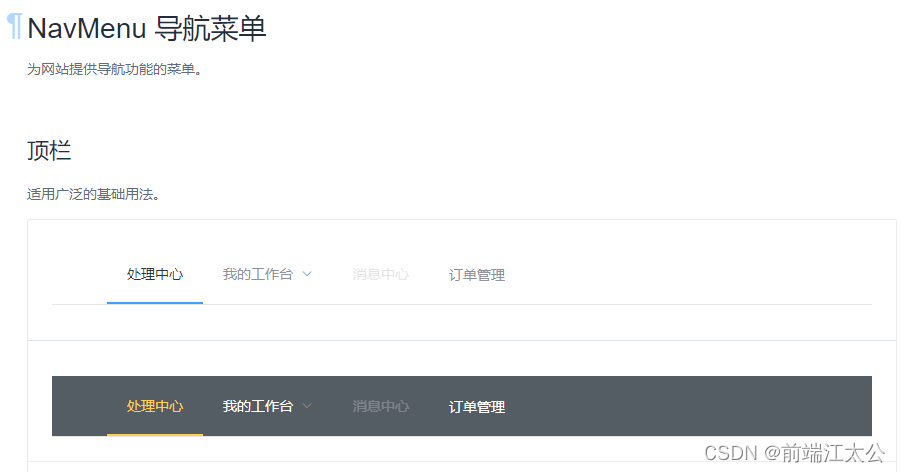
在A菜单页面中,有一个按钮button组件,点击这个button跳转到B菜单页。虽然页面已经跳过去了,但是导航菜单的选中状态并没有发生改变,还在A菜单上面。也就是default-active,还停留在A上。
在这里插入图片描述
此时就可以在导航菜单的组件中去监听router。方法如下:

 data() {
    return {
      activeIndex: this.$route.path
    };
  },
 watch:{
    '$route'(to,from){
      this.activeIndex=to.path
    }
  },

组件代码

<template> 
  <el-menu 
    router
    theme="dark"
    :default-active="activeIndex"
    class="el-menu-demo"
    active-text-color="rgb(250,83,83)"
    mode="horizontal"
    @select="handleSelect"
  >
    <el-menu-item index="/">首页</el-menu-item> 
    <el-menu-item index="/Material"  >我要找</el-menu-item>
    <el-menu-item index="/Workbench" >工作台</el-menu-item>
  </el-menu> 
</template>
<script>
export default {
  data() {
    return {
      activeIndex: this.$route.path
    };
  },

  watch:{
    '$route'(to,from){
      this.activeIndex=to.path
    }
  },
  mounted(){

  },
  methods: { 
    handleSelect(key, keyPath) {
    }
  }
};
</script>
  • 6
    点赞
  • 25
    收藏
    觉得还不错? 一键收藏
  • 打赏
    打赏
  • 2
    评论
Vue-element-admin 是一个基于 Vue.jsElement UI 的后台管理系统解决方案。它提供了许多常用的后台管理功能和组件,包括侧边栏、面包屑导航、表格、表单、图表等等。 侧边栏是 Vue-element-admin 中的一个重要组件,它通常用于展示系统的菜单和功能项。在 Vue-element-admin 中,侧边栏是通过路由配置来生成的。 在路由配置中,每一个路由配置项对应着一个菜单项。菜单项包括菜单的标题、图标、路径、子菜单等信息。当用户点击菜单项时,就会跳转到对应的路由页面。 以下是一个简单的示例,演示如何使用 Vue-element-admin 的侧边栏组件: ```javascript // 路由配置 const routes = [ { path: '/', redirect: '/dashboard' }, { path: '/dashboard', component: Layout, children: [ { path: '', name: 'Dashboard', component: () => import('@/views/dashboard/index'), meta: { title: 'Dashboard', icon: 'dashboard' } } ] }, { path: '/example', component: Layout, redirect: '/example/table', name: 'Example', meta: { title: 'Example', icon: 'example' }, children: [ { path: 'table', name: 'Table', component: () => import('@/views/table/index'), meta: { title: 'Table', icon: 'table' } }, { path: 'tree', name: 'Tree', component: () => import('@/views/tree/index'), meta: { title: 'Tree', icon: 'tree' } } ] } ] // 侧边栏组件 <template> <el-menu :default-active="activeIndex" class="el-menu-vertical-demo" :collapse="isCollapse"> <template v-for="(item, index) in menuList"> <el-submenu v-if="item.children" :key="index" :index="index"> <template slot="title"> <i :class="item.icon"></i> <span slot="title">{{item.title}}</span> </template> <template v-for="(subItem, subIndex) in item.children"> <el-menu-item :key="index + '-' + subIndex" :index="index + '-' + subIndex" @click="handleMenuClick(subItem)"> <i :class="subItem.icon"></i> <span slot="title">{{subItem.title}}</span> </el-menu-item> </template> </el-submenu> <el-menu-item v-else :key="index" :index="index" @click="handleMenuClick(item)"> <i :class="item.icon"></i> <span slot="title">{{item.title}}</span> </el-menu-item> </template> </el-menu> </template> <script> export default { props: { menuList: { type: Array, required: true }, activeIndex: { type: String, required: true }, isCollapse: { type: Boolean, required: true } }, methods: { handleMenuClick(item) { this.$emit('menu-click', item) } } } </script> ``` 在这个示例中,路由配置包含了三个路由项,分别对应 Dashboard、Table 和 Tree 三个菜单项。侧边栏组件则使用了 Element UI 中的 Menu 组件来展示菜单项。侧边栏组件的主要作用是传递菜单项列表、当前选中菜单项和侧边栏是否折叠等参数,以及监听菜单项的点击事件。

“相关推荐”对你有帮助么?

  • 非常没帮助
  • 没帮助
  • 一般
  • 有帮助
  • 非常有帮助
提交
评论 2
添加红包

请填写红包祝福语或标题

红包个数最小为10个

红包金额最低5元

当前余额3.43前往充值 >
需支付:10.00
成就一亿技术人!
领取后你会自动成为博主和红包主的粉丝 规则
hope_wisdom
发出的红包

打赏作者

江一铭

你的鼓励将是我创作的最大动力

¥1 ¥2 ¥4 ¥6 ¥10 ¥20
扫码支付:¥1
获取中
扫码支付

您的余额不足,请更换扫码支付或充值

打赏作者

实付
使用余额支付
点击重新获取
扫码支付
钱包余额 0

抵扣说明:

1.余额是钱包充值的虚拟货币,按照1:1的比例进行支付金额的抵扣。
2.余额无法直接购买下载,可以购买VIP、付费专栏及课程。

余额充值