


功能要求
开发一个类微信的主界面框架,UI布局为上中下布局,包含4个tab界面,当点击选择底部部件的时候进行页面切换
开发技术
layout xml、控件、监听、fragment
页面设计
微信的界面布局分为上中下三个部分。
(1)第一部分,主要是显示界面的标题。
(2)第二部分,主要是“微信”、“通讯录”、“发现”和“我的”四个板块的具体内容。
(3)第三部分,主要是“微信”、“通讯录”、“发现”和“我的”四个板块的切换控件。
设计流程
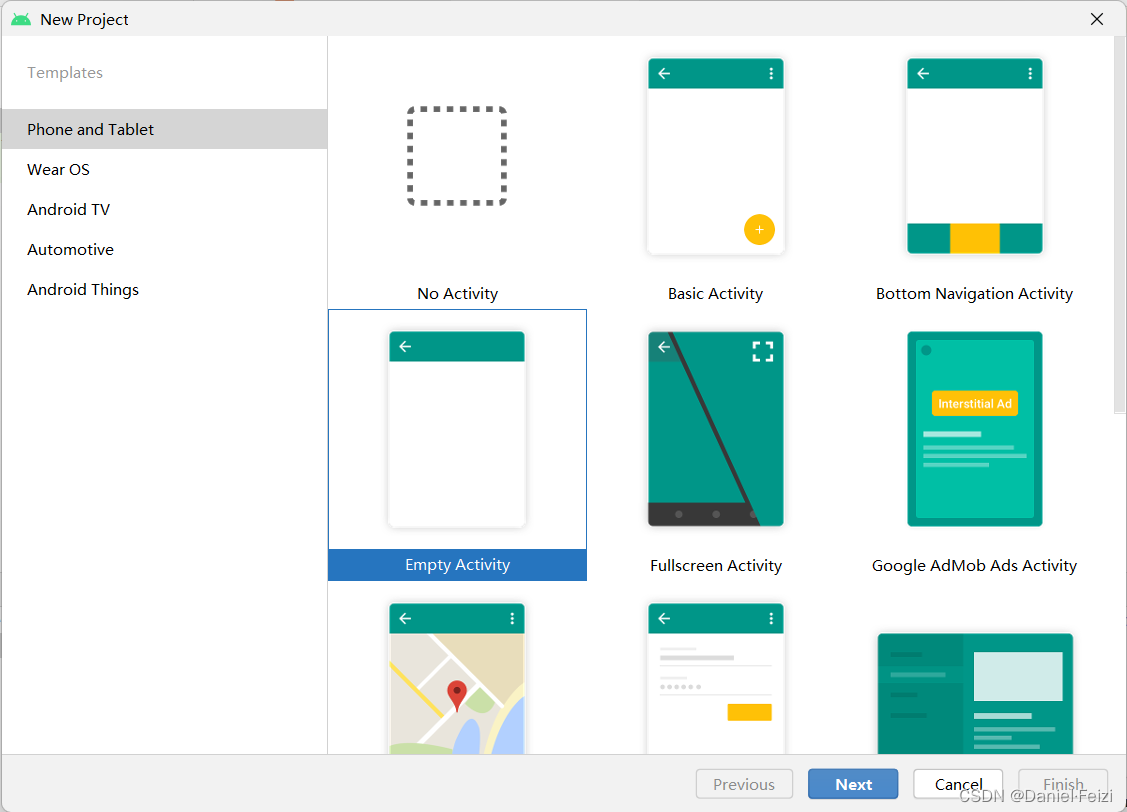
创建项目
资源文件导入
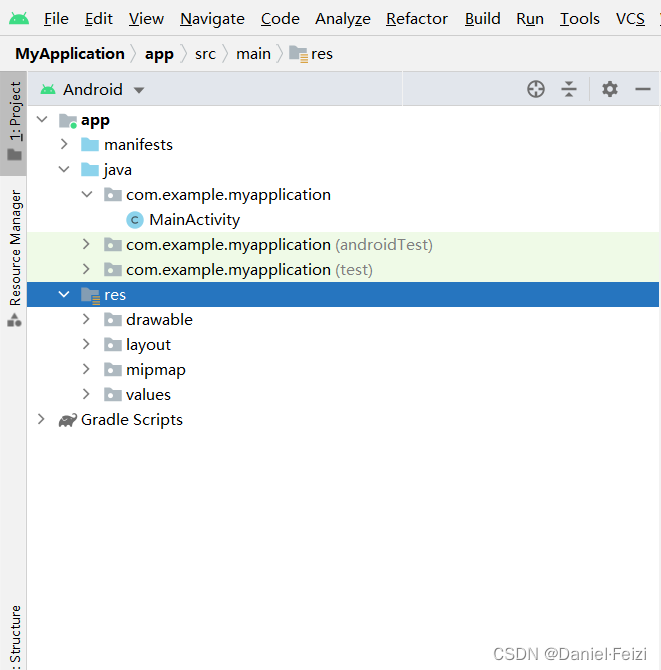
创建top.xml、bottom.xml、frangment1(2、3、4).xml、main.xml文件
顶部标题栏(top.xml)
app的标题,即"微信",标题居中显示
    <?xml version="1.0" encoding="utf-8"?>
<LinearLayout xmlns:android="http://schemas.android.com/apk/res/android"
        android:layout_width="match_parent"
        android:layout_height="60dp"
        android:background="#129166"
        android:gravity="center"
        android:orientation="vertical">

<TextView
        android:id="@+id/textView"
                android:layout_width="wrap_content"
                android:layout_height="wrap_content"
                android:layout_gravity="center|center_horizontal"
                android:text="@string/app_name"
                android:textColor="#181E1E"
                android:textSize="20sp" />

</LinearLayout>
中间内容界面(fragment1.xml,2,3,4)
共"微信""通讯录""发现""我"四个界面,分别显示不同内容
<?xml version="1.0" encoding="utf-8"?>
<FrameLayout xmlns:android="http://schemas.android.com/apk/res/android"
xmlns:tools="http://schemas.android.com/tools"
android:layout_width="match_parent"
android:layout_height="match_parent"
tools:context=".Fragmentxx">
<TextView
android:id="@+id/content1"
android:layout_width="match_parent"
android:layout_height="match_parent"
android:layout_weight="1"
android:gravity="center"
android:text="这是消息界面"
android:textSize="50sp" />
</FrameLayout>
底部导航栏
一共四个图标,分别控制中间内容界面
    <?xml version="1.0" encoding="utf-8"?>
<LinearLayout xmlns:android="http://schemas.android.com/apk/res/android"
        xmlns:app="http://schemas.android.com/apk/res-auto"
        android:layout_width="match_parent"
        android:layout_height="match_parent"
        android:orientation="horizontal">

<LinearLayout
        android:id="@+id/LinearLayout1"
                android:layout_width="73dp"
                android:layout_height="wrap_content"
                android:layout_weight="1"
                android:orientation="vertical">

<ImageView
            android:id="@+id/imageView1"
                    android:layout_width="match_parent"
                    android:layout_height="62dp"
                    app:srcCompat="@drawable/wx1" />

<TextView
            android:id="@+id/textView1"
                    android:layout_width="match_parent"
                    android:layout_height="wrap_content"
                    android:layout_gravity="center"
                    android:gravity="center"
                    android:text="微信"
                    android:textColor="#5B000000"
                    android:textSize="25sp" />
</LinearLayout>
activity_main主布局文件
    <?xml version="1.0" encoding="utf-8"?>
<manifest xmlns:android="http://schemas.android.com/apk/res/android"
        xmlns:tools="http://schemas.android.com/tools">

<application
        android:allowBackup="true"
                android:dataExtractionRules="@xml/data_extraction_rules"
                android:fullBackupContent="@xml/backup_rules"
                android:icon="@mipmap/ic_launcher"
                android:label="@string/app_name"
                android:supportsRtl="true"
                android:theme="@style/Theme.HomeworkApplication"
                tools:targetApi="31">
<activity
            android:name=".MainActivity"
                    android:exported="true">
<intent-filter>
<action android:name="android.intent.action.MAIN" />

<category android:name="android.intent.category.LAUNCHER" />
</intent-filter>
</activity>
</application>

</manifest>
java文件编写
SettingFragment.java
package com.example.myichat;

        import android.os.Bundle;
        import android.view.LayoutInflater;
        import android.view.View;
        import android.view.ViewGroup;

        import androidx.fragment.app.Fragment;

/**
 * A simple {@link Fragment} subclass.
 * Use the {@link SettingFragment#newInstance} factory method to
 * create an instance of this fragment.
 */
public class SettingFragment extends Fragment {

    // TODO: Rename parameter arguments, choose names that match
    // the fragment initialization parameters, e.g. ARG_ITEM_NUMBER
    private static final String ARG_PARAM1 = "param1";
    private static final String ARG_PARAM2 = "param2";

    // TODO: Rename and change types of parameters
    private String mParam1;
    private String mParam2;

    public SettingFragment() {
        // Required empty public constructor
    }

    /**
     * Use this factory method to create a new instance of
     * this fragment using the provided parameters.
     *
     * @param param1 Parameter 1.
     * @param param2 Parameter 2.
     * @return A new instance of fragment ChatFragment.
     */
    // TODO: Rename and change types and number of parameters
    public static SettingFragment newInstance(String param1, String param2) {
        SettingFragment fragment = new SettingFragment();
        Bundle args = new Bundle();
        args.putString(ARG_PARAM1, param1);
        args.putString(ARG_PARAM2, param2);
        fragment.setArguments(args);
        return fragment;
    }

    @Override
    public void onCreate(Bundle savedInstanceState) {
        super.onCreate(savedInstanceState);
        if (getArguments() != null) {
            mParam1 = getArguments().getString(ARG_PARAM1);
            mParam2 = getArguments().getString(ARG_PARAM2);
        }
    }

    @Override
    public View onCreateView(LayoutInflater inflater, ViewGroup container,
                             Bundle savedInstanceState) {
        // Inflate the layout for this fragment
        return inflater.inflate(R.layout.setting, container, false);
    }
}
MainActivity.java
package com.example.myichat;

        import androidx.appcompat.app.AppCompatActivity;
        import androidx.fragment.app.Fragment;
        import androidx.fragment.app.FragmentManager;
        import androidx.fragment.app.FragmentTransaction;

        import android.annotation.SuppressLint;
        import android.os.Bundle;
        import android.view.View;
        import android.view.Window;
        import android.widget.ImageButton;
        import android.widget.LinearLayout;
        import android.widget.TextView;

public class MainActivity extends AppCompatActivity implements View.OnClickListener {
    private LinearLayout chatLayout;
    private LinearLayout friendsLayout;
    private LinearLayout commLayout;
    private LinearLayout settingLayout;

    private ImageButton chatImageButton;
    private ImageButton friendsImageButton;
    private ImageButton commImageButton;
    private ImageButton settingImageButton;

    private TextView chatText;
    private TextView friendsText;
    private TextView commText;
    private TextView settingText;

    private Fragment chatFragment = new ChatFragment();
    private Fragment friendsFragment = new FriendsFragment();
    private Fragment commFragment = new CommFragment();
    private Fragment settingFragment = new SettingFragment();

    private FragmentManager fragmentManager;

    @Override
    protected void onCreate(Bundle savedInstanceState) {
        super.onCreate(savedInstanceState);
        requestWindowFeature(Window.FEATURE_NO_TITLE);
        setContentView(R.layout.activity_main);

        initView();
        initEvent();
        initFragment();
        selectFragment(0);//默认首页是聊天界面
    }

    private void initFragment(){
//        fragmentManager = getFragmentManager();
        fragmentManager = getSupportFragmentManager();
        FragmentTransaction transaction = fragmentManager.beginTransaction();
        transaction.add(R.id.content,chatFragment);
        transaction.add(R.id.content,friendsFragment);
        transaction.add(R.id.content,commFragment);
        transaction.add(R.id.content,settingFragment);
        transaction.commit();
    }

    private void initView(){
        chatLayout = findViewById(R.id.chatLayout);
        friendsLayout = findViewById(R.id.friendsLayout);
        commLayout = findViewById(R.id.commLayout);
        settingLayout = findViewById(R.id.settingLayout);

        chatImageButton = findViewById(R.id.chatImageButton);
        friendsImageButton = findViewById(R.id.friendsImageButton);
        commImageButton = findViewById(R.id.commImageButton);
        settingImageButton = findViewById(R.id.settingImageButton);

        chatText = findViewById(R.id.chatText);
        friendsText = findViewById(R.id.friendsText);
        commText = findViewById(R.id.commText);
        settingText = findViewById(R.id.settingText);
    }

    private void hideFragment(FragmentTransaction transaction){
        transaction.hide(chatFragment);
        transaction.hide(friendsFragment);
        transaction.hide(commFragment);
        transaction.hide(settingFragment);
    }

    @SuppressLint("ResourceAsColor")
    private void selectFragment(int i){//i是一个选择器,用于选择显示哪个界面
        FragmentTransaction transaction = fragmentManager.beginTransaction();
        hideFragment(transaction);//首先隐藏所有页面

        switch (i){
            case 0:
                transaction.show(chatFragment);
                chatImageButton.setImageResource(R.drawable.chat_pick);
                chatText.setTextColor(this.getResources().getColor(R.color.pickText));
                break;
            case 1:
                transaction.show(friendsFragment);
                friendsImageButton.setImageResource(R.drawable.friends_pick);
                friendsText.setTextColor(this.getResources().getColor(R.color.pickText));
                break;
            case 2:
                transaction.show(commFragment);
                commImageButton.setImageResource(R.drawable.comm_pick);
                commText.setTextColor(this.getResources().getColor(R.color.pickText));
                break;
            case 3:
                transaction.show(settingFragment);
                settingImageButton.setImageResource(R.drawable.setting_pick);
                settingText.setTextColor(this.getResources().getColor(R.color.pickText));
                break;
            default:
                break;
        }
        transaction.commit();
    }

    @Override
    public void onClick(View view) {
        resetBtn();
        switch (view.getId()){
            case R.id.chatLayout:
                selectFragment(0);
                break;
            case R.id.friendsLayout:
                selectFragment(1);
                break;
            case R.id.commLayout:
                selectFragment(2);
                break;
            case R.id.settingLayout:
                selectFragment(3);
                break;
            default:
                break;
        }
    }

    @SuppressLint("ResourceAsColor")
    private void resetBtn(){
        chatImageButton.setImageResource(R.drawable.chat);
        friendsImageButton.setImageResource(R.drawable.friends);
        commImageButton.setImageResource(R.drawable.comm);
        settingImageButton.setImageResource(R.drawable.setting);

        chatText.setTextColor(this.getResources().getColor(R.color.nopickText));
        friendsText.setTextColor(this.getResources().getColor(R.color.nopickText));
        commText.setTextColor(this.getResources().getColor(R.color.nopickText));
        settingText.setTextColor(this.getResources().getColor(R.color.nopickText));
    }

    //仅仅对bottom的四个linerlayout监听
    private void initEvent(){
        chatLayout.setOnClickListener(this);
        friendsLayout.setOnClickListener(this);
        commLayout.setOnClickListener(this);
        settingLayout.setOnClickListener(this);
    }
}
结果展示


总结
此次对android学习是安卓开发的第一个项目,设计了一个类微信界面。通过实验我了解了UI页面的基本设计,理解了了相对布局、线性布局等一些布局方式。通过组件的设置属性以及ID绑定完成了点击事件的监听功能。总之学到了很多东西。另外,由于本人并不从事计算机行业,做得不好的地方还请见谅。


 976
976


 被折叠的 条评论
为什么被折叠?
被折叠的 条评论
为什么被折叠?
 到【灌水乐园】发言


