


今天需要将算法计算的一些数据正式迁移到服务器,
准备采用json文件上传至云开发数据库端
这里使用python对数据进行预处理以及json化
1. 将消费记录按照队友要求的格式转化
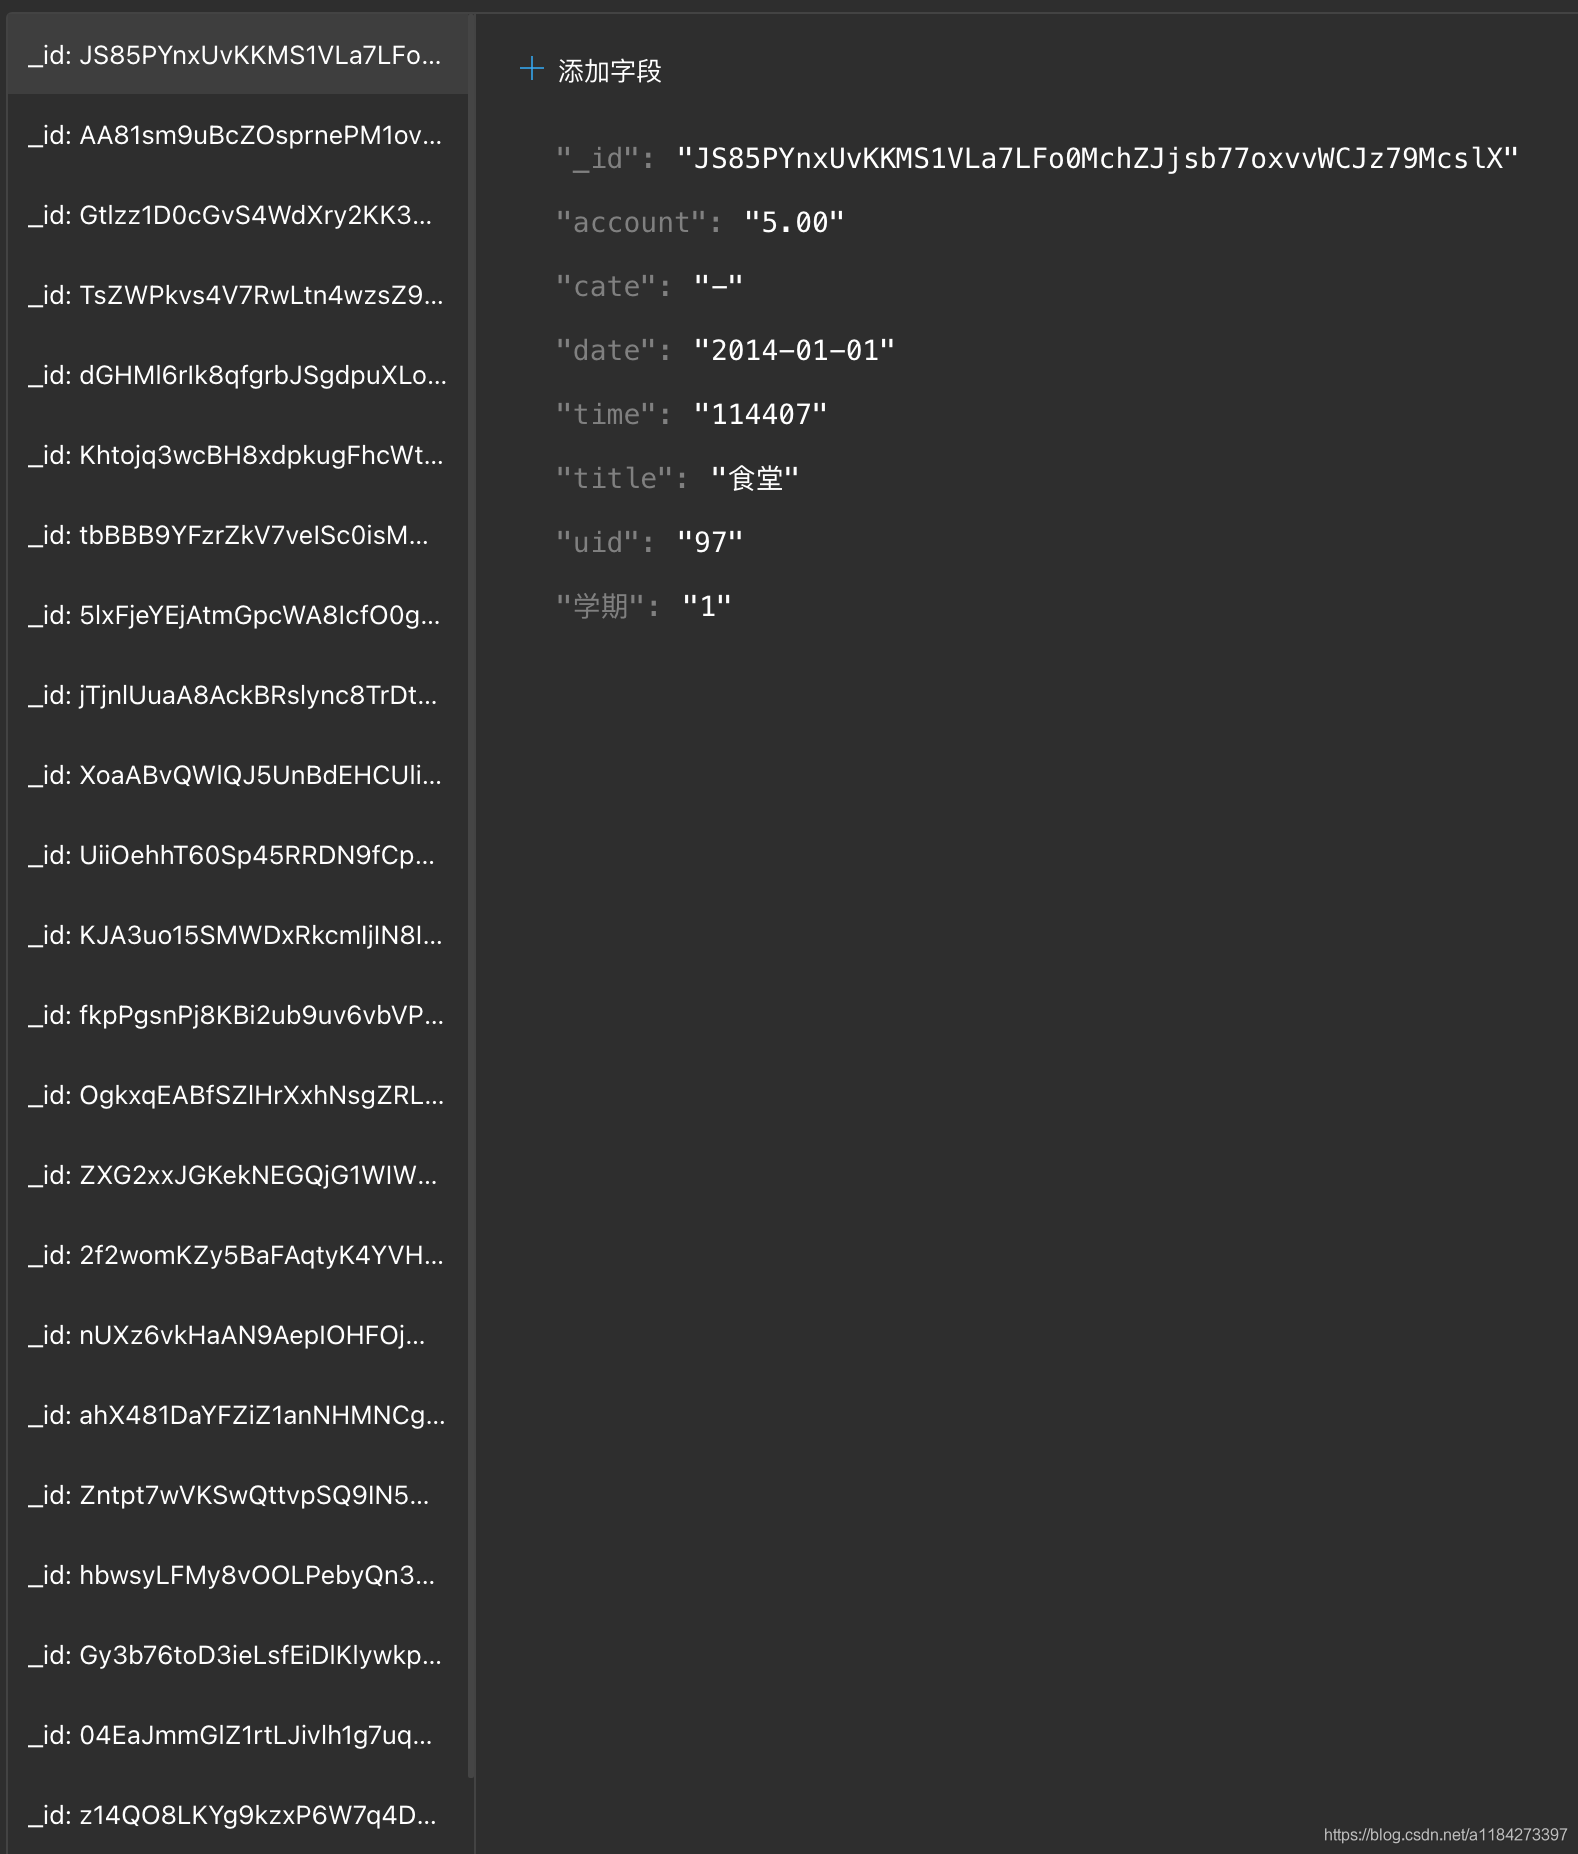
学期为第几学期, title实质为消费地点,如食堂或者超市等,date为消费日期,time为当日消费时间,cate指明支出或者收入,实际上只有支出,统一计作支出
file = open("/Users/rjf/Downloads/成绩排名预测/consumption1.txt")
file2 = open("/Users/rjf/Downloads/成绩排名预测/consumption_processed.txt",'w')
#直接读第一行,然后跳过处理,额外添加一列cate标记收入/支出
# file2.writelines(file.readline().strip('\n')+' cate\n')
#改变第一行标题,跳过第一行
file2.writelines('学期 '+'uid '+'title '+'date '+'time '+'account '+'cate\n')
next(file)

for line in file:
    data = line.strip('\n').split('\t')
    data[3] = '2014-'+data[3][:2]+'-'+data[3][2:]
    #队友需要的数据格式要求记录收入或者支出,这里统一设置为支出,'-'
    data.append('-\n')
    #在列表各元素之间加入空格
    data = " ".join(str(i) for i in data)
    file2.writelines(data)

file.close()
file2.close()
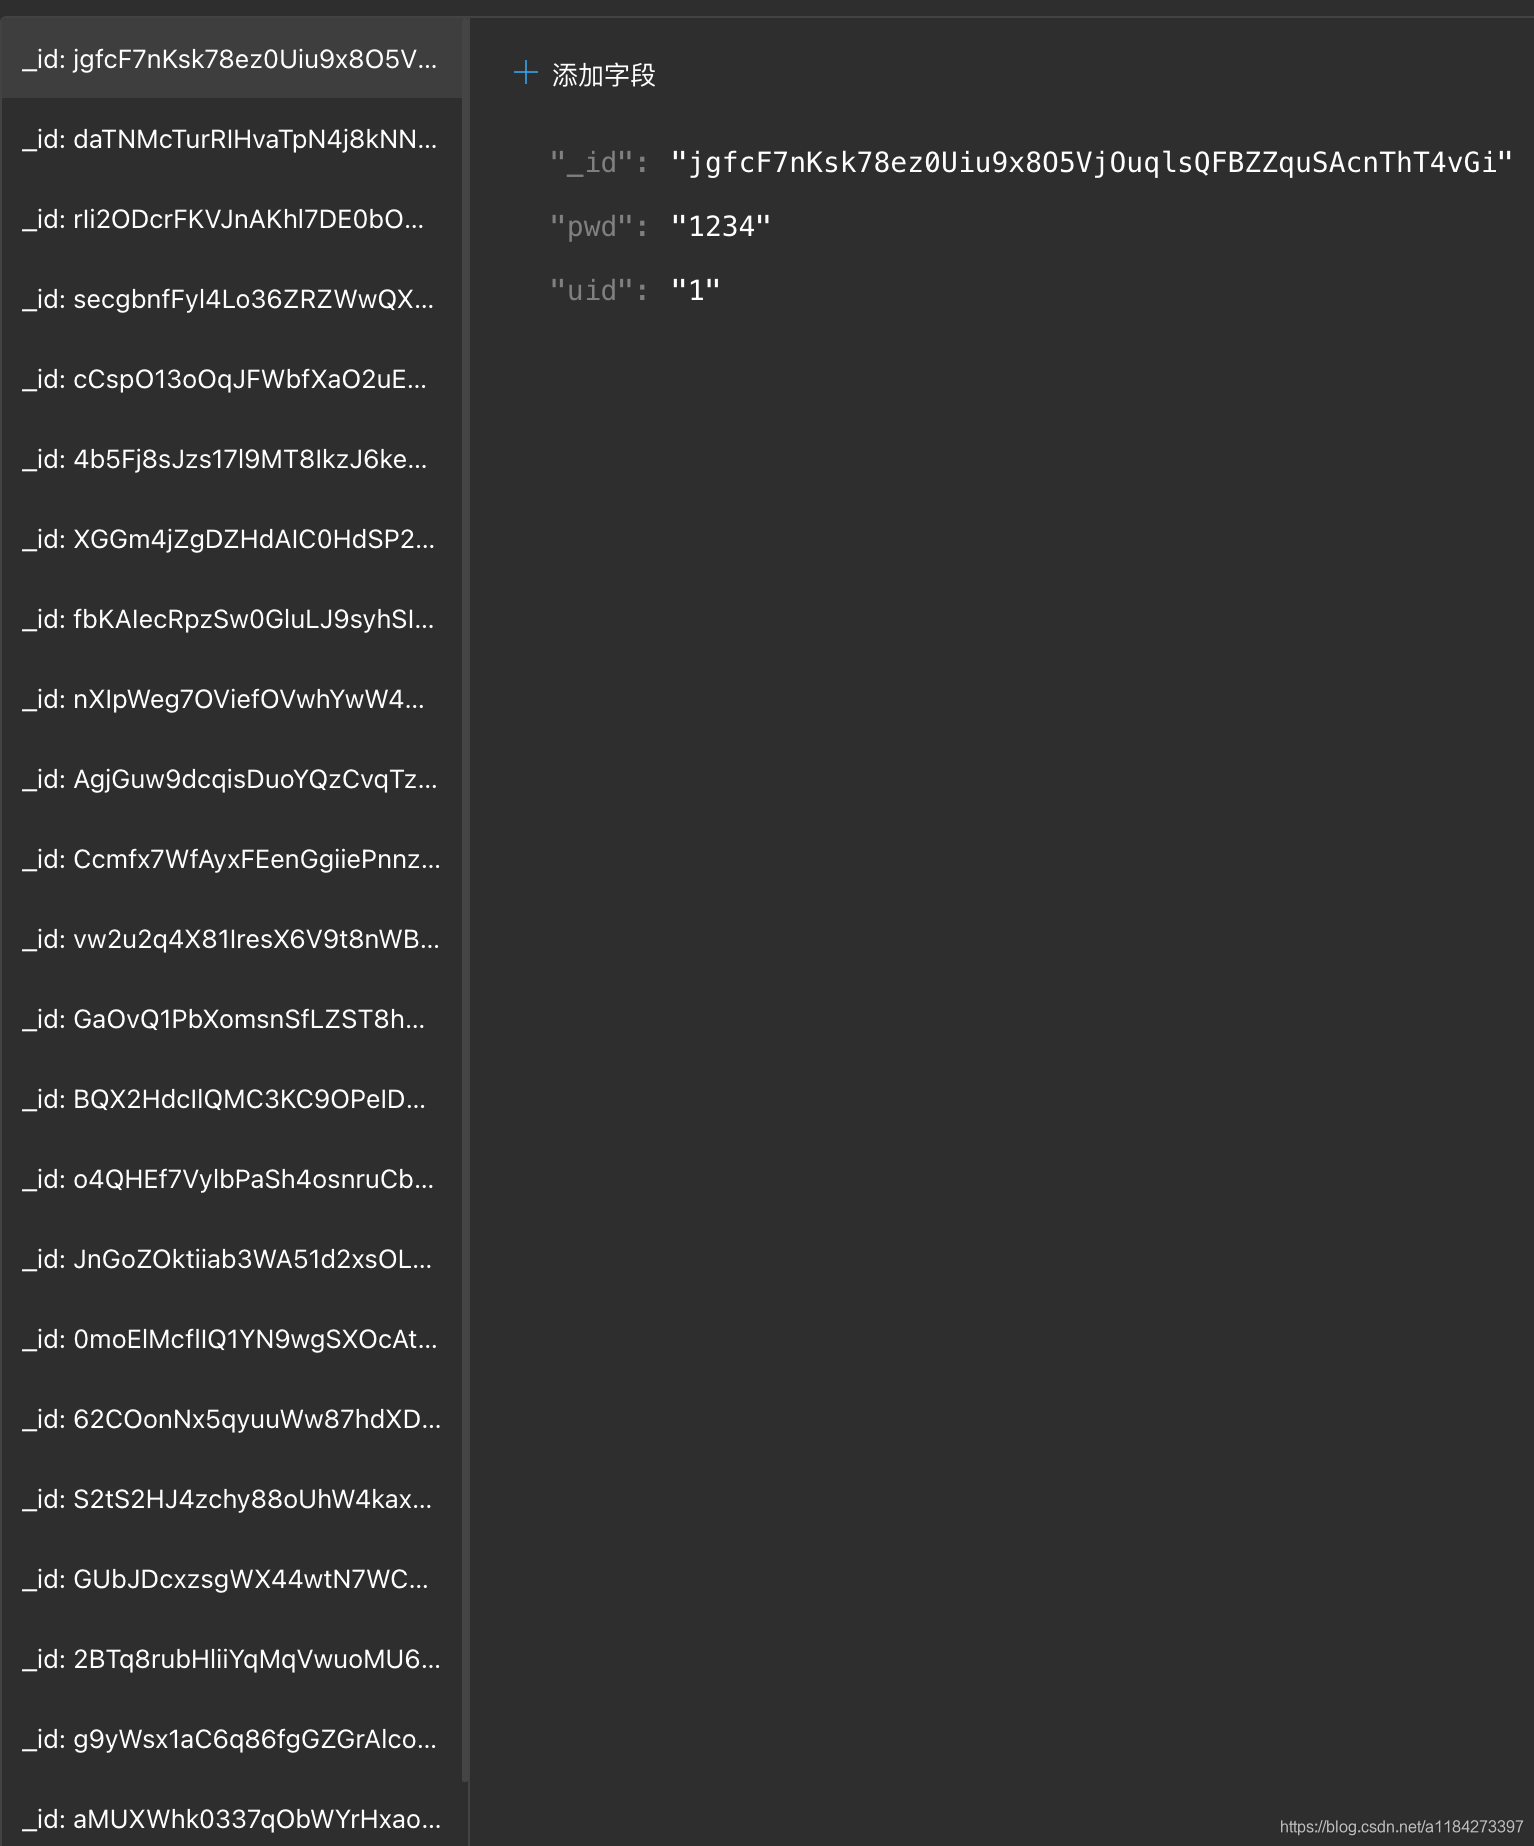
2. 从消费记录中提取用户id,默认密码。作为账户密码
import csv

file = open("/Users/rjf/Downloads/成绩排名预测/consumption1.txt")
# file2 = open("/Users/rjf/Downloads/成绩排名预测/uid.csv",'w')
#跳过处理第一行
next(file)
uid =[]
for line in file:
    data = line.split('\t')
    #空间复杂度不大,所以直接加入列表去重,文件过大可以考虑加入时判断是否重复然后加入
    uid.append(data[1])
#利用set去重
uid = list(set(uid))
#利用map迭代器批量将str->int,再排序
uid = list(map(int, uid))
#sort不返回结果,是直接对这个列表排序
uid.sort()
#int->str
uid = list(map(str, uid))
#默认用户密码为1234
pwd = '1234'

writeuid = []
for i in uid:
    writeuid.append([i,pwd])

with open("/Users/rjf/Downloads/成绩排名预测/uid.csv", "w",newline="") as f:
    writer = csv.writer(f)
    #第一行写入标题
    writer.writerow(['uid','pwd'])

    writer.writerows(writeuid)

# for i in uid:
#     file2.writelines(i)
file.close()
# file2.close()
3. json化数据
由于之前找到的txt to json的在线转化网址找不到了404,决定自己写一个
首先采用json.dump存储数据,但按这种方式存储文件跑到一行去了,读取效率极差,中间需要注意使用json.dump时要将ensure_ascii 设为false,否则中文将显示为unicode形式
import json

txtfile = 'consumption_processed.txt'
jsonfile = 'consumption.json'

#txt转json
student_json=[];
student_txt=[];
with open(txtfile,mode='r',encoding='utf-8')as student_txt_file_name:
    with open(jsonfile,mode='w',encoding='utf-8')as student_json_file_name:
        for i in student_txt_file_name.readlines():
            student_txt.append(i.strip('\n').split(' '));
        key=student_txt[0];#作为键
        for i in range(1,len(student_txt)):
            student_json_temp=[];
            for j in zip(key,student_txt[i]):       #zip接受多个可迭代对象作为参数,然后将这些对象中的对应位置的元素组成一个个的元组:zip([1,2,3],[4,5,6])返回[(1,4),(2,5),(3,6)]
                k=":".join(j);      #这个的作用就是把(1,4)变成"1:4"
                student_json_temp.append(k);
            student_json.append(student_json_temp);
        json.dump(student_json,student_json_file_name,ensure_ascii=False);#这种写方式让我有些郁闷,总觉得像创建对象似的
4. txt to jsonlines格式
对json.dump格式进行改进,同时对之前书写的student_json进行更改,用zip以及字典进行处理为jsonline格式,然后利用jsonlines写入文件
import json
import jsonlines
txtfile = 'consumption_processed.txt'
jsonfile = 'consumption.json'

#txt转json
student_json=[];
student_txt=[];
with open(txtfile,mode='r',encoding='utf-8')as student_txt_file_name:
    # with open(jsonfile,mode='w',encoding='utf-8')as student_json_file_name:
    with jsonlines.open(jsonfile, mode='w') as writer:
        for i in student_txt_file_name.readlines():
            student_txt.append(i.strip('\n').split(' '));
        key=student_txt[0];#作为键
        for i in range(1,len(student_txt)):
            student_json_temp=[];
            for j in zip(key,student_txt[i]):       #zip接受多个可迭代对象作为参数,然后将这些对象中的对应位置的元素组成一个个的元组:zip([1,2,3],[4,5,6])返回[(1,4),(2,5),(3,6)]
                # k=":".join(j);      #这个的作用就是把(1,4)变成"1:4"
                student_json_temp.append([j[0],j[1]]);
            student_json_temp = dict(student_json_temp)
            writer.write(student_json_temp)
5. csv to jsonlines格式
由于我之前对uid的处理是转化为csv格式,所以不能直接套用txt tojsonlines,本打算csv转成txt,然后再使用txt to jsonlines ,在使用pycharm打开csv文件时发现,它分割单元格的方式是, 而txt是,所以我们将上面代码的split(' ')转为split(',')即可。
5.将上述数据利用云开发导入云数据库
5.1 导入云数据库

5.2 导入结果
6. 提取想要结果
这里是真的迷,由于对于文档型数据库不知道看什么教程以及云开发指导视频有的很基础,所以找了很久,找到的知识点都不是符合预期的知识点。
最后在w3c找到了需要的部分,参考链接如下:
collection.field()
利用Collection.field 指定返回结果中记录需返回的字段
6.1 默认取出100条需要的数据
这里直接在小程序云开发指导应用里添加页面和按钮用于测试,后续将按键迁移到对应界面即可。

6.1.1 云函数端
使用了where 筛选行,field 筛选列 (关系型数据库思维)
然后返回结果给小程序端
// 云函数入口文件
const cloud = require('wx-server-sdk')
cloud.init()

const db = cloud.database()
const _ = db.command

// 云函数入口函数
exports.main = async (event, context) => {

  return await db.collection('consumption').where({
    uid : event.uid
  }).field({
    date:true,
    account:true,
    cate:true,
    title:true,
    _id:false
  }).get()
}
6.1.2 小程序端
这里将获取数据绑定至callFunction->按钮响应函数上,设置页面全局变量items
利用var that = this
that.setData设置数据
this.data调用数据
Page({
  data:{
    items:[]
  },
  callFunction:function(){
    console.log("Button is clicked")
    var that = this
    wx.cloud.callFunction({
      name:"consumption",
      data:{
        uid : '97'
      },
      complete: res => {
        console.log('callFunction test result: ', res)
        that.setData({
          // title:res.result.data[0]['title']
          items:res.result.data
        })
        console.log('title',this.data.items)
      }
    })
  }
})
这里uid直接设置为’97’,可以通过设置的全局uid进行调整

根据控制台打印信息容易知道返回数据为100条,这是调用云函数默认返回限制,如果只打算返回100条数据,那么就到这里了,如果想要返回更多数据,这里需要对云函数端继续进行处理。
6.2 返回全部数据
参考链接:collection.get()
中间遇到了超时3s报错的问题,参考网上思路是,小程序最高设置时间为20s,过时不侯。
然后查看小程序云开发后台部分,设置console.log('total',total)发现结果为

然后发现自己忘了使用where筛选条件导致数据过多超时。

//这里筛选过后还是超时,虽说可以调整为20s,但是mac开发工具上找不到,我直接放弃,后面看队友是否准备分页显示,我再进行调整吧。
后来想起来给数据库添加索引,可以获取全部数据不超时。
这里列上获取全部数据的代码
// 云函数入口文件
const cloud = require('wx-server-sdk')
cloud.init()

const db = cloud.database()
const _ = db.command
const MAX_LIMIT = 100
// 云函数入口函数
exports.main = async (event, context) => {
  // 先取出集合记录总数
  const countResult = await db.collection('consumption').where({
    uid: event.uid
  }).count()
  const total = countResult.total
  console.log('total'+total)
  // 计算需分几次取
  const batchTimes = Math.ceil(total / 100)
  // 承载所有读操作的 promise 的数组
  const tasks = []
  for (let i = 0; i < batchTimes; i++) {
    const promise = db.collection('consumption').where({
      uid: event.uid
    }).field({
      date:true,
      account:true,
      cate:true,
      title:true,
      _id:false
    }).skip(i * MAX_LIMIT).limit(MAX_LIMIT).get()
    tasks.push(promise)
  }
  // 等待所有
  return (await Promise.all(tasks)).reduce((acc, cur) => {
    return {
      data: acc.data.concat(cur.data),
      errMsg: acc.errMsg,
    }
  })
}
PS: 忽然想起来可以对uid添加索引,添加索引后,检索速度大大加快,可以返回全部数据,结果如下:


 1317
1317


 被折叠的 条评论
为什么被折叠?
被折叠的 条评论
为什么被折叠?
 到【灌水乐园】发言


