


提示:文章写完后,目录可以自动生成,如何生成可参考右边的帮助文档
文章目录
前言
Spring Cloud 或者spring boot 都能用文件上传和下载功能
提示:以下是本篇文章正文内容,下面案例可供参考
一、使用步骤
具体方法(我没展示service,我展示的是ServiceImpl)
1.addpicture(MultipartFile file)方法
是上传的方法。MultipartFile(SpringMVC提供简化上传操作的工具类) 你不用管它,它就是以下这个东西

MultipartFile 想具体了解可以百度下.
2.download(String fileName, HttpServletResponse response)
这个是下载方法,也没啥可说的
代码如下(示例):
@Service
@Slf4j
public class PictureServiceImpl implements PictureService {
    //IP和端口
    @Value("${ipport}")
    private String ipport;

    @Override
    public String addpicture(MultipartFile file) throws IOException {
        /**
         * 上传图片
         */
        //图片上传成功后,将图片的地址写到数据库
        //保存图片的路径(这是存在我项目中的images下了,你们可以设置路径)
        String filePath = "E:\\javaproject\\accountingJAVA\\accounting\\src\\main\\java\\com\\zgy\\handle\\cardService\\images";
        //获取原始图片的拓展名
        String originalFilename = file.getOriginalFilename();
        //新的文件名字
        String newFileName = UUID.randomUUID() + originalFilename;
        //封装上传文件位置的全路径
        File targetFile = new File(filePath, newFileName);
        //把本地文件上传到封装上传文件位置的全路径
        file.transferTo(targetFile);
        String url = ipport + "/img/" + newFileName;
        return url;
    }

    @Override
    public void download(String fileName, HttpServletResponse response) {
        //这里文件名称是通过参数传递过来的,要是不需要,直接可以写在这里。String fileName = "a.doc";
        String path = "E:\\xxxx\\sss\\images";  //这里指定路径在E盘根目录,按需改动即可
        byte[] buffer = new byte[1024];
        FileInputStream fis = null;
        BufferedInputStream bis = null;
        try {
            File file = new File(path, fileName);
            response.setContentType("application/x-download");
            response.addHeader("Content-Disposition", "attachment;filename=" + fileName);
            fis = new FileInputStream(file);
            bis = new BufferedInputStream(fis);
            OutputStream os = response.getOutputStream();
            int i = bis.read(buffer);
            while (i != -1) {
                os.write(buffer, 0, i);
                i = bis.read(buffer);
            }
        } catch (FileNotFoundException e) {
            e.printStackTrace();
            System.out.println("找不到文件!");

        } catch (IOException e) {
            e.printStackTrace();
        } finally {
            if (bis != null) {
                try {
                    bis.close();
                } catch (IOException e) {
                    e.printStackTrace();
                }
            }
            if (fis != null) {
                try {
                    fis.close();
                } catch (IOException e) {
                    e.printStackTrace();
                }
            }
        }

    }

}
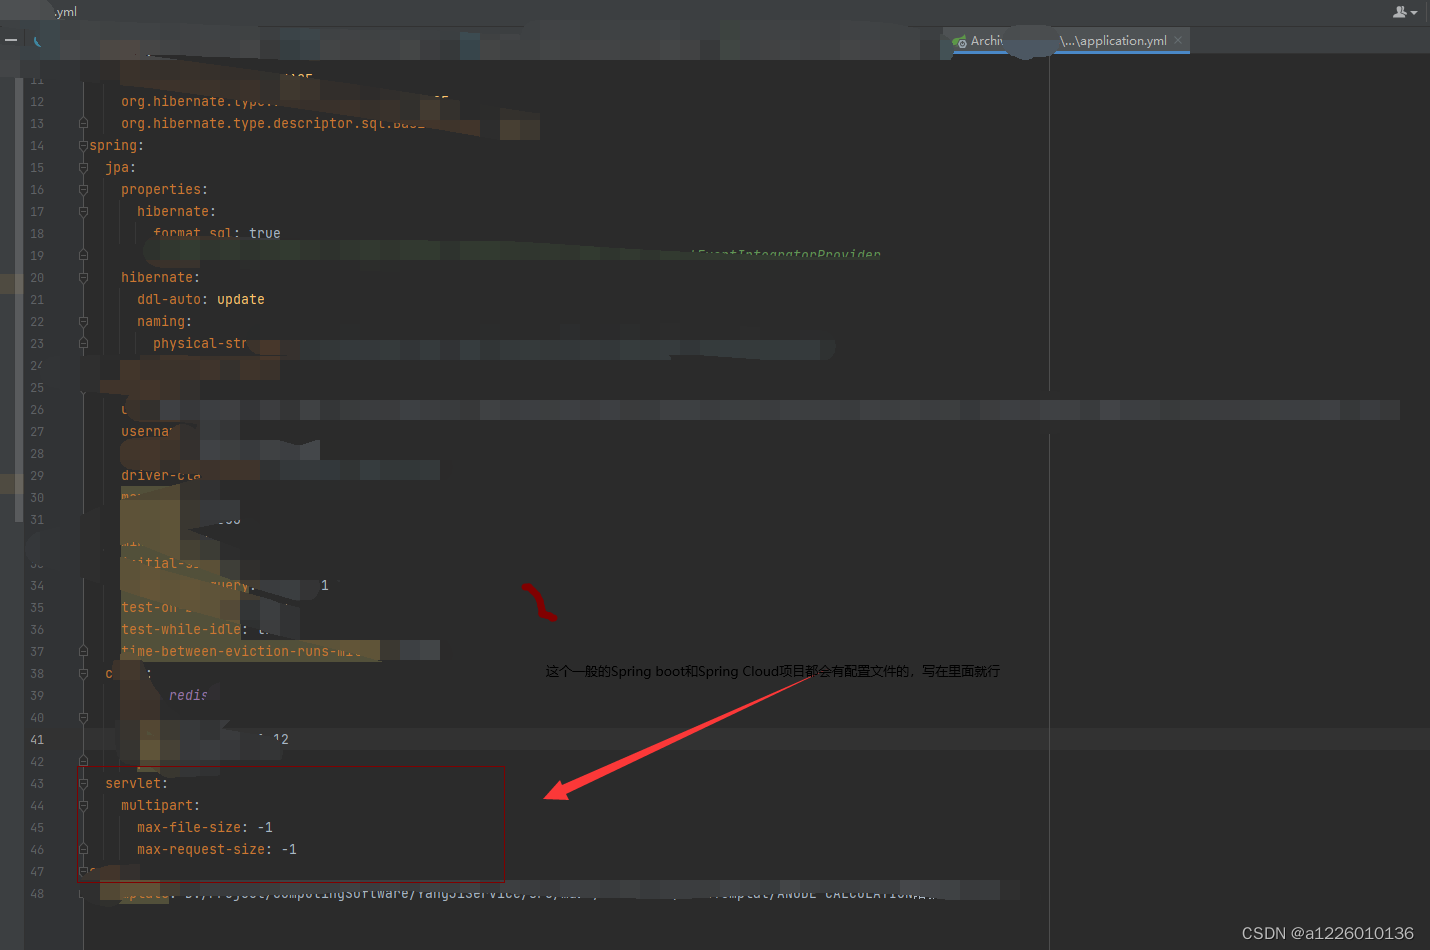
2.上传文件的大小问题
multipart.maxFileSize是设置单个文件的大小
multipart.maxRequestSize是设置单次请求的文件的总大小
如果都给-1的值 就会无限制,我的这个 项目就是用的无限制
如果你要设置文件大小你可以这样设置
multipart.maxFileSize=100Mb
multipart.maxRequestSize=100Mb
代码如下(示例):
总结
有问题联系我QQ:7451462015-6225451879 做减法 (我这是比较谨慎,防止被大数据小偷扒到);


 被折叠的 条评论
为什么被折叠?
被折叠的 条评论
为什么被折叠?
 到【灌水乐园】发言


