1、 jupyter-lab 添加不同内核
>> conda create -n python3.7_forSpark python==3.7
>> conda activate python3.7_forSpark [conda deactivate]
>> conda install ipykernel
>> ipython kernel install --user --name=python3.7_forSpark
>> jupyter kernelspec list
>> jupyter kernelspec remove python3.7_forspark
>> conda env list
>> conda remove -n python3.7_forSpark --all

2、 jupyter-lab修改工作目录
  ```
 命令行下  >> pip install jupyterlab 后
 命令行下  >> jupyter-lab  --generate-config
 默认在 ” C:\Users\用户名\.jupyter“路径下 自动生成"jupyter_lab_config.py"配置文件
 修改配置文件参数 root_dir=r‘D:/jupyter项目保存自定义路径’   即可切换工作目录
  ```

3、jupyter-lab 多行输出(单个cell)
```
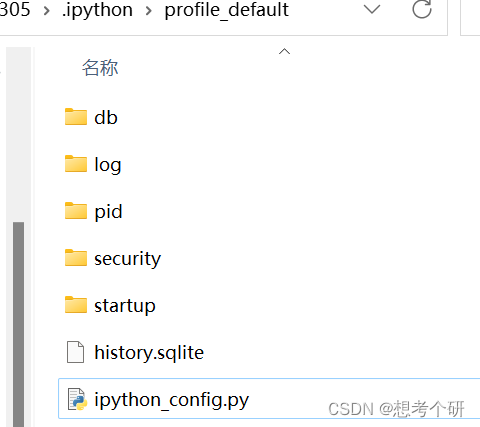
在电脑用户路径下”C:\Users\用户名\.ipython\profile_default”
创建ipython_config.py配置文件
写入
c = get_config()
c.InteractiveShell.ast_node_interactivity = 'all'
重启juputer-lab 即可多行显示
```
4、jupyter-lab指定默认浏览器
import webbrowser
webbrowser.register("chrome", None,webbrowser.GenericBrowser(r'C:\Users\26305\AppData\Local\Google\Chrome\Application\chrome.exe'))
c.ServerApp.browser = 'chrome'
5、jupyter-lab 远程访问服务
>> jupyter-lab --generate-config (远程访问)
>> vim /xx/.jupyter/jupyter_lab_config.py
c.ServerApp.ip = '0.0.0.0'
c.ServerApp.port = 8888
c.ServerApp.passwd = ''
c.ServerApp.notebook_dir = '/data/d2/anaconda3/data'
c.ServerApp.open_browser = False


 5543
5543

 被折叠的 条评论
为什么被折叠?
被折叠的 条评论
为什么被折叠?
 到【灌水乐园】发言


