


目录
- 1. 模型下载
- 2. 环境配置
- 3. 报错分析
- 1. AttributeError: module 'torch.backends.cuda' has no attribute 'sdp_kernel'
- 2. AttributeError: 'BaichuanTokenizer' object has no attribute 'sp_model'
- 3. RuntimeError: Failed to import transformers.modeling_utils because of the following error (look up to see its traceback):
- 4. torch.cuda.OutOfMemoryError: CUDA out of memory.
因为需要测试baichuan2模型在给定数据集性能,因此开启了在Linux系统上部署baichuan2模型之旅。
1. 模型下载
baichuan2的github上给出的示例代码很简单,直接使用AutoModelForCausaLLM.from_pretrained(模型名称)这行代码就可以使用了,然而
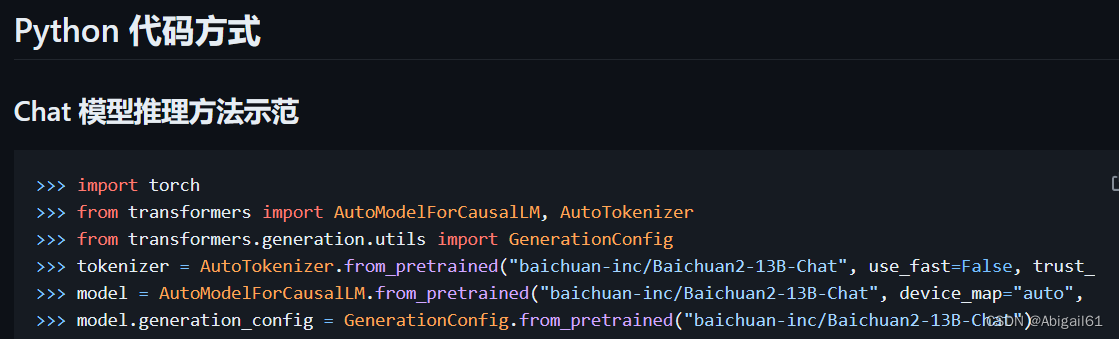
殊不知在服务器上运行代码,没开代理的话,huggingface.co是连接不上的!因此我们需要把模型下载到本地。如果在huggingface模型库界面一个个文件手动下载效率太低,我在这篇文章中【 从服务器上直接下载huggingface模型,解决huggingface无法连接问题】给出了使用代码下载的方式,可以点击阅读。
2. 环境配置
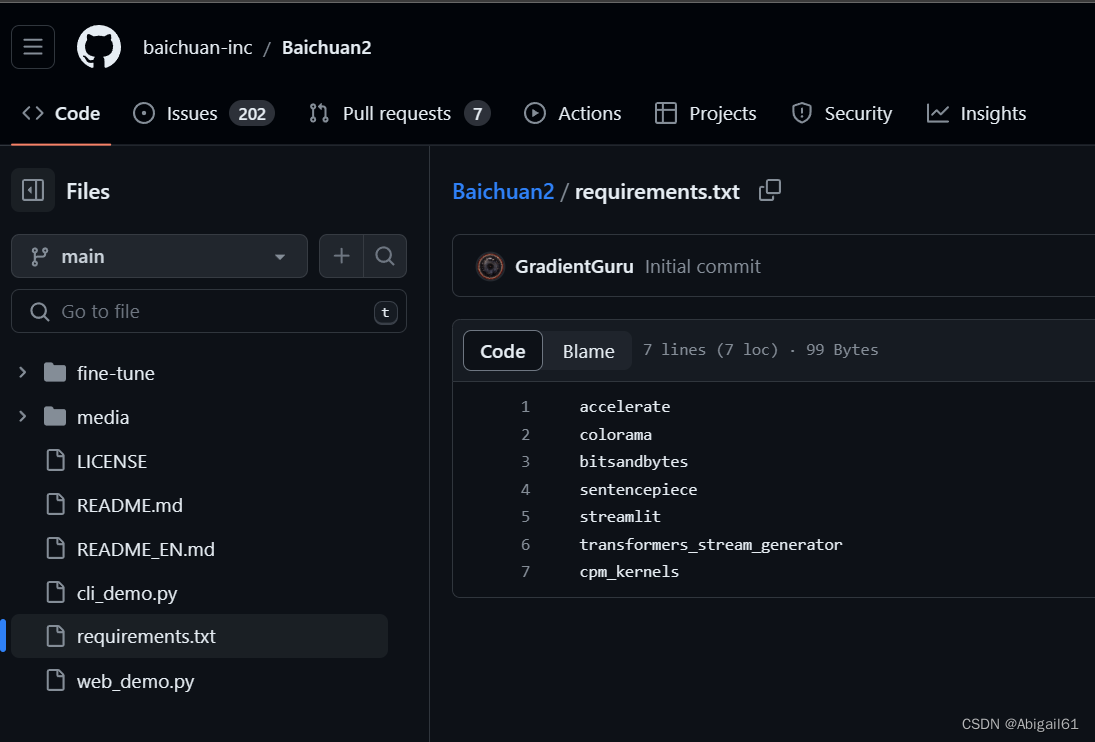
新建conda虚拟环境,下载配置文件。运行pip install -r requirements.txt
3. 报错分析
本以为就这么简单结束了,结果遇到一堆报错。解决如下
1. AttributeError: module ‘torch.backends.cuda’ has no attribute ‘sdp_kernel’
【原因分析】要使用torch2.0版本才能正常运行,我之前的版本是1.几的。
【解决】重新建一个python=3.10的虚拟环境,安装torch2.0
在这个网站上选择相应版本的torch安装包。我选择的是第一个,即torch2.0版本+cuda11.8+python3.10,并且是linux系统的。(win_amd64指的是windows系统)
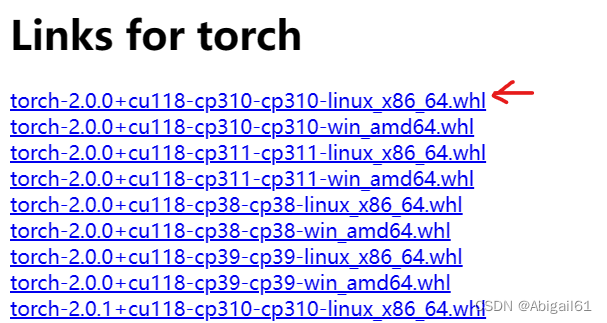
右键选择复制链接,然后在之前安装好的conda环境中,输入wget + 链接进行下载。如
wget https://download.pytorch.org/whl/cu118/torch-2.0.0%2Bcu118-cp310-cp310-linux_x86_64.whl#sha256=4b690e2b77f21073500c65d8bb9ea9656b8cb4e969f357370bbc992a3b074764
下载结束后使用pip install 安装包名字.whl 进行安装
pip install torch-2.0.0+cu118-cp310-cp310-linux_x86_64.whl
输入python进入python环境,输入torch.__version__进行查询
python
torch.__version__
结果如图所示:

2. AttributeError: ‘BaichuanTokenizer’ object has no attribute ‘sp_model’
【解决方案】使用4.33.3版本的transformers
pip install transformers==4.33.3
3. RuntimeError: Failed to import transformers.modeling_utils because of the following error (look up to see its traceback):
    CUDA Setup failed despite GPU being available. Please run the following command to get more information:

    python -m bitsandbytes

    Inspect the output of the command and see if you can locate CUDA libraries. You might need to add them
    to your LD_LIBRARY_PATH. If you suspect a bug, please take the information from python -m bitsandbytes
    and open an issue at: https://github.com/TimDettmers/bitsandbytes/issues
因为cuda版本和torch不匹配(之前只下载了torch2.0,但没有配置相应的cuda11.8版本),执行以下代码安装cuda11.8
conda install cuda -c nvidia/label/cuda-11.8.0
4. torch.cuda.OutOfMemoryError: CUDA out of memory.
Tried to allocate 192.00 MiB (GPU 0; 31.75 GiB total capacity; 30.58 GiB already allocated; 49.50 MiB free; 30.73 GiB reserved in total by PyTorch) If reserved memory is >> allocated memory try setting max_split_size_mb to avoid fragmentation. See documentation for Memory Management and PYTORCH_CUDA_ALLOC_CONF
【原因分析】之前提交任务的时候只使用了单张内存为32G的V100卡,内存不足,需要指定两张卡来执行
【解决】我这里的是多人GPU服务器,提交任务使用的是LSF调度系统,参考提交任务的run.sh代码为:
#/bin/bash
#BSUB -J 任务名称
#BSUB -e /nfsshare/home/xxx/log/NAME_%J.err 报错日志路径
#BSUB -o /nfsshare/home/xxx/log/NAME_%J.out 输出日志路径
#BSUB -n 2 指定2块GPU
#BSUB -q gpu 使用GPU序列
#BSUB -m gpu01 用01号GOU
#BSUB -R "rusage[ngpus_physical=2]"
#BSUB -gpu "num=2:mode=exclusive_process"


 6万+
6万+


 被折叠的 条评论
为什么被折叠?
被折叠的 条评论
为什么被折叠?
 到【灌水乐园】发言


