


「OC」CAShapeLayer和UIBezierPath —— 抽屉视图之中圆角cell的实现
前言
上次我们学习了CALayer的相关知识 ,但好像忘记了我一开始学习CALayer是为了实现cell之中的圆角cell,那么了解完相关的前置知识
CALayer的子类
CAShapeLayer
看一下CAShapeLayer相对于CALayer多出来的属性:
path
CAShapeLayer的path属性是使得CAShapeLayer和贝塞尔曲线紧密连接一个入口,他决定了我们要在图层上画一个什么形状。(注:当与贝塞尔曲线一起使用的时候,生成的曲线的位置是相对于生成的layer的,所以当你利用贝塞尔曲线设置了path后,再设置layer的position和bounds你会感觉很奇怪,最简单的方式就是单纯利用贝塞尔曲线决定图层的位置和大小)
一般来说我们使用一下代码,进行联系:
shapeLayer.path = path.CGPath;
注:当贝塞尔曲线于CAShapeLayer混合使用时,共同作用的属性只遵循CAShapeLayer的设置
贝塞尔曲线
其实前面我们了解了这么多,CALayer和我们要画的这个圆角cell有什么关系呢,这个就需要我们引入贝塞尔曲线了,根据百度百科我们可以知道:
贝塞尔曲线(Bézier curve),又称贝兹曲线或贝济埃曲线,是应用于二维图形应用程序的数学曲线。一般的矢量图形软件通过它来精确画出曲线,贝兹曲线由线段与节点组成,节点是可拖动的支点,线段像可伸缩的皮筋,我们在绘图工具上看到的钢笔工具就是来做这种矢量曲线的。
UIBezierPath: UIBezierPath是在 UIKit 中的一个类,继承于NSObject,可以创建基于矢量的路径.此类是Core Graphics框架关于path的一个OC封装。使用此类可以在屏幕之上绘画常见的圆形、多边形等形状 。每一个连接的直线或者曲线段的集合成为subpath。一个UIBezierPath对象定义一个完整的路径包括一个或者多个subpaths。
OC当中具有实现贝塞尔曲线的函数,我们接着进行了解
+ (instancetype)bezierPath;   //初始化贝塞尔曲线(无形状)
+ (instancetype)bezierPathWithRect:(CGRect)rect;  //绘制矩形贝塞尔曲线
+ (instancetype)bezierPathWithOvalInRect:(CGRect)rect;  //绘制椭圆(圆形)曲线
+ (instancetype)bezierPathWithRoundedRect:(CGRect)rect cornerRadius:(CGFloat)cornerRadius; // 绘制含有圆角的贝塞尔曲线
+ (instancetype)bezierPathWithRoundedRect:(CGRect)rect byRoundingCorners:(UIRectCorner)corners cornerRadii:(CGSize)cornerRadii;  //绘制可选择圆角方位的贝塞尔曲线
+ (instancetype)bezierPathWithArcCenter:(CGPoint)center radius:(CGFloat)radius startAngle:(CGFloat)startAngle endAngle:(CGFloat)endAngle clockwise:(BOOL)clockwise;   //绘制圆弧曲线
+ (instancetype)bezierPathWithCGPath:(CGPathRef)CGPath; //根据CGPathRef绘制贝塞尔曲线
又讲到了新的知识点,那我们接下来继续学习关于UIBezierPath的相关知识
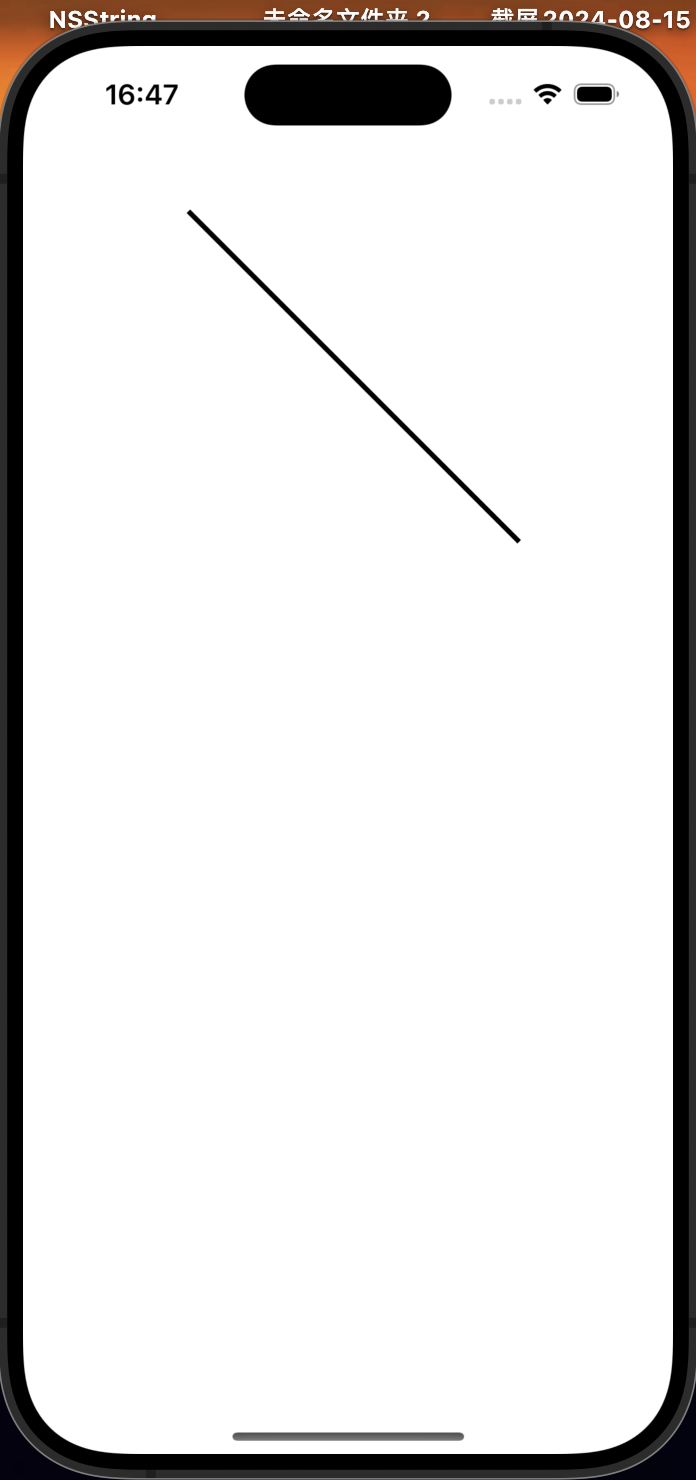
- 绘制直线
- (void)viewDidLoad {
    [super viewDidLoad];
    self.view.backgroundColor = [UIColor orangeColor];

    // 创建UIBezierPath
    UIBezierPath *path = [UIBezierPath bezierPath];
    path.lineWidth = 3.f;
    [path moveToPoint:CGPointMake(100, 100)];
    [path addLineToPoint:CGPointMake(300, 300)];//从点(100,100)到(300,100)

    // 创建CAShapeLayer
    CAShapeLayer *shapeLayer = [CAShapeLayer layer];
    shapeLayer.path = path.CGPath;
    shapeLayer.strokeColor = [UIColor blackColor].CGColor;
    shapeLayer.lineWidth = path.lineWidth;

    // 将CAShapeLayer添加到视图的layer上
    [self.view.layer addSublayer:shapeLayer];
}
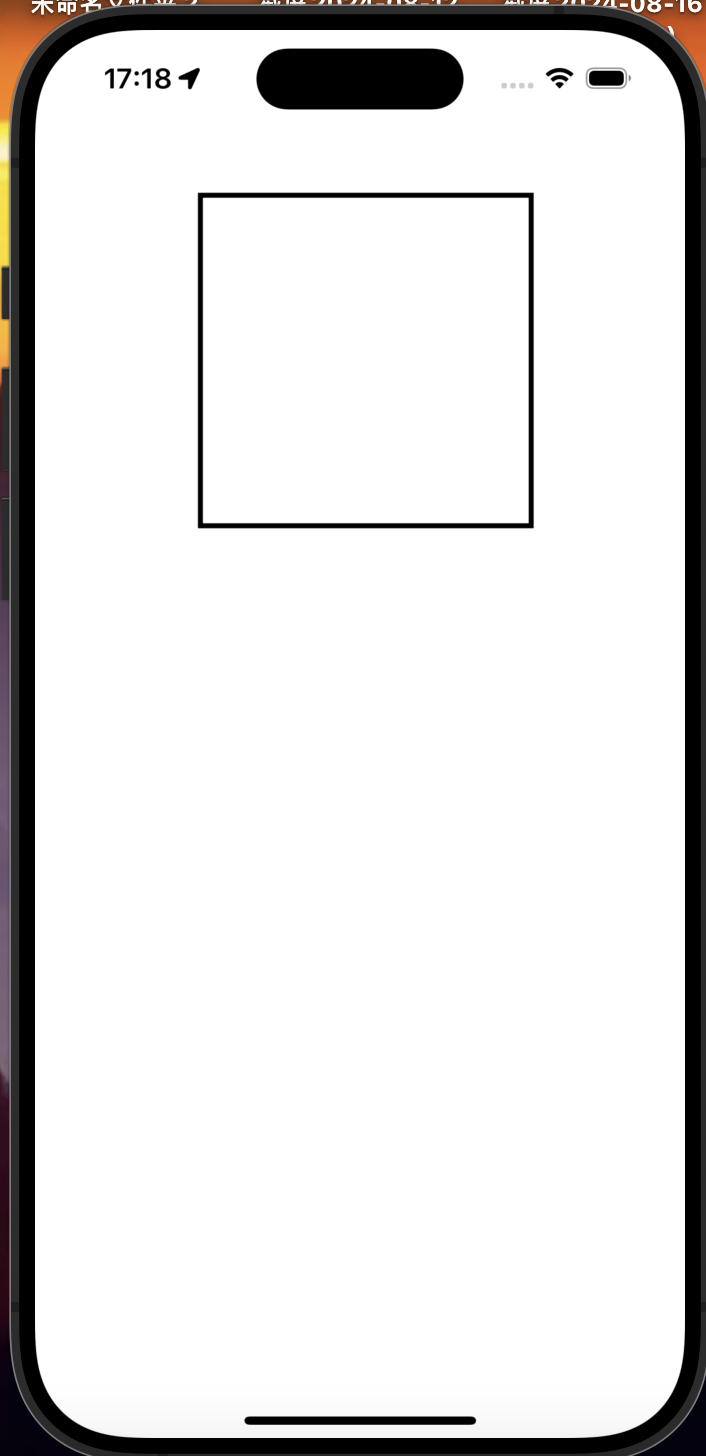
- 绘制矩形
- (void)viewDidLoad {
    [super viewDidLoad];

    // 创建UIBezierPath
    UIBezierPath *path = [UIBezierPath bezierPathWithRect:CGRectMake(100, 100, 200, 200)];
    path.lineWidth = 3.f;

    // 创建CAShapeLayer
    CAShapeLayer *shapeLayer = [CAShapeLayer layer];
    shapeLayer.path = path.CGPath;
    shapeLayer.strokeColor = [UIColor blackColor].CGColor;
    shapeLayer.lineWidth = path.lineWidth;
    shapeLayer.fillColor = [UIColor clearColor].CGColor;

    // 将CAShapeLayer添加到视图的layer上
    [self.view.layer addSublayer:shapeLayer];
}
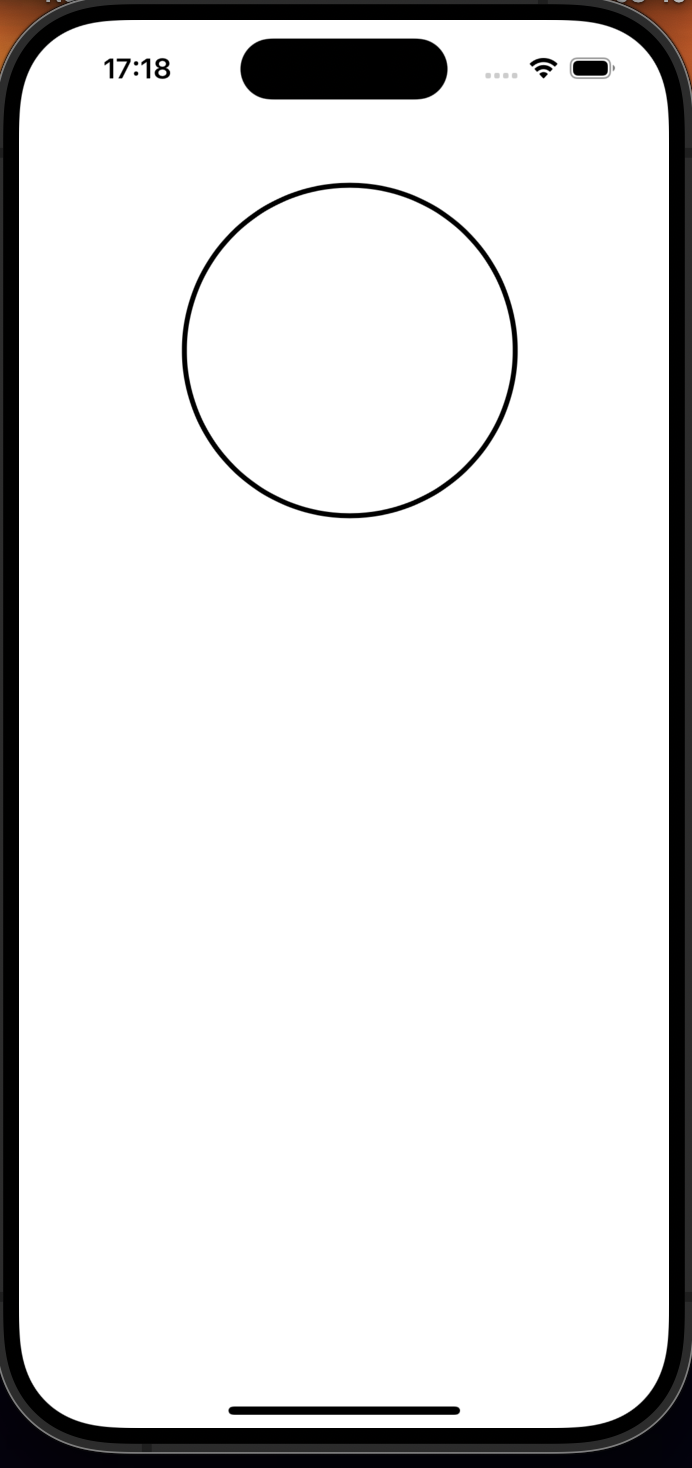
- 绘制圆形/椭圆
- (void)viewDidLoad {
    [super viewDidLoad];

    // 创建UIBezierPath
    UIBezierPath *path = [UIBezierPath bezierPathWithOvalInRect:CGRectMake(100, 100, 200, 200)];
    path.lineWidth = 3.f;
    path.lineCapStyle = kCGLineCapRound;


    // 创建CAShapeLayer
    CAShapeLayer *shapeLayer = [CAShapeLayer layer];
    shapeLayer.path = path.CGPath;
    shapeLayer.strokeColor = [UIColor blackColor].CGColor;
    shapeLayer.lineWidth = path.lineWidth;
    shapeLayer.fillColor = [UIColor clearColor].CGColor;
    // 将CAShapeLayer添加到视图的layer上
    [self.view.layer addSublayer:shapeLayer];
}
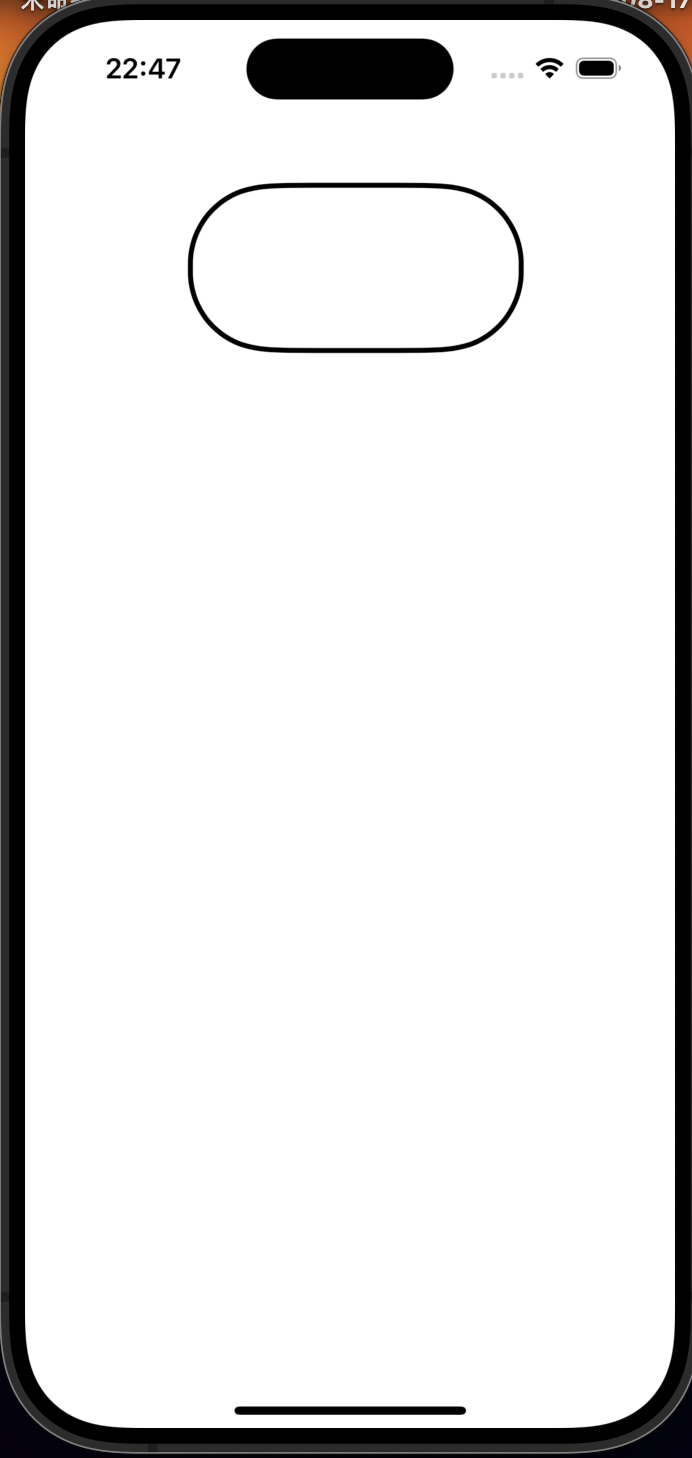
- 绘制圆角矩形
 - (void)viewDidLoad {
    [super viewDidLoad];

    // 创建UIBezierPath
    UIBezierPath *path = [UIBezierPath bezierPathWithRoundedRect:CGRectMake(100, 100, 200, 200)
                                                    cornerRadius:20];
    path.lineWidth = 3.f;
    path.lineCapStyle = kCGLineCapRound;


    // 创建CAShapeLayer
    CAShapeLayer *shapeLayer = [CAShapeLayer layer];
    shapeLayer.path = path.CGPath;
    shapeLayer.strokeColor = [UIColor blackColor].CGColor;
    shapeLayer.lineWidth = path.lineWidth;
    shapeLayer.fillColor = [UIColor clearColor].CGColor;
    // 将CAShapeLayer添加到视图的layer上
    [self.view.layer addSublayer:shapeLayer];
}
- 选择特定角
在UIBezierPath之中有一个枚举量,如下所示
typedef NS_OPTIONS(NSUInteger, UIRectCorner) {
    UIRectCornerTopLeft     = 1 << 0,
    UIRectCornerTopRight    = 1 << 1,
    UIRectCornerBottomLeft  = 1 << 2,
    UIRectCornerBottomRight = 1 << 3,
    UIRectCornerAllCorners  = ~0UL
};
UIRectCornerTopLeft | UIRectCornerBottomRight 用“|”或连接可以切指定位置的圆角,cornerRadii为圆角的大小

应用实践
接下来我们学习如何使用圆角cell,我们要进行判断,当cell的row为1的时候,那么就是cell的四个角进行圆角操作,如果不为1,那么第一个cell的左上角和右上角进行圆角处理,最后一个右下角和左下角进行圆角处理。我们可以使用一个方法进行封装
- (UIRectCorner)roundingCornersForIndexPath:(NSIndexPath *)indexPath {
    if (self.numberOfRowsInSection == 1) {
        return UIRectCornerAllCorners;
    } else if (indexPath.row == 0) {
        return UIRectCornerTopLeft | UIRectCornerTopRight;
    } else if (indexPath.row == self.numberOfRowsInSection - 1) {
        return UIRectCornerBottomLeft | UIRectCornerBottomRight;
    }
    return 0;
}
然后我们开始构建贝塞尔曲线,由于layoutSubviews在每个cell都会进行加载,为了避免多次加载产生内存的浪费,我们可以将CALayer放在外面进行创建。
- (void)layoutSubviews {
    [super layoutSubviews];

    CGFloat cornerRadius = 10.0;
    UIBezierPath *path = [UIBezierPath bezierPathWithRoundedRect:self.bounds
                                               byRoundingCorners:[self roundingCornersForIndexPath:self.indexPath]
                                                     cornerRadii:CGSizeMake(cornerRadius, cornerRadius)];

    self.roundedCornerLayer.path = path.CGPath;
    self.roundedCornerLayer.fillColor = self.isNightMode ? [UIColor colorWithRed:33/255.0 green:33/255.0 blue:33/255.0 alpha:1.0].CGColor : [UIColor whiteColor].CGColor;
    [self.contentView.layer insertSublayer:self.roundedCornerLayer atIndex:0];
}
再进行相应的布局,最后得到的内容如下:
参考资料
iOS:贝塞尔曲线(UIBezierPath)-----OC


 1011
1011

 被折叠的 条评论
为什么被折叠?
被折叠的 条评论
为什么被折叠?
 到【灌水乐园】发言


