


主要实现思路:
1.重写UITabBar:在init里面创建一个button来实现不规则的图标(添加新按钮)放在最中间 -(void)layoutSubviews调整系统原本的图标的坐标(为中间这个控件留出位置)
2.重写-(UIView *)hitTest:(CGPoint)point withEvent:(UIEvent *)event{ 避免按钮超区不可点击
看具体的代码:
自定义SamTabBar视图
//
//  SamTabBar.h
//  MoJing
//
//  Created by linpeng on 2017/3/15.
//  Copyright © 2017年 linpeng. All rights reserved.
//

#import <UIKit/UIKit.h>
//tab页面个数
typedef NS_ENUM(NSInteger, SamItemUIType) {
    SamItemUIType_Three = 3,//底部3个选项
    SamItemUIType_Five = 5,//底部5个选项
};


@class SamTabBar;

@protocol SamTabBarDelegate <NSObject>

-(void)tabBar:(SamTabBar *)tabBar clickCenterButton:(UIButton *)sender;

@end

@interface SamTabBar : UITabBar

@property (nonatomic, weak) id<SamTabBarDelegate> tabDelegate;
@property (nonatomic, strong) NSString *centerBtnTitle;
@property (nonatomic, strong) NSString *centerBtnIcon;

+(instancetype)instanceCustomTabBarWithType:(SamItemUIType)type;

@end
m文件
//
//  SamTabBar.m
//  MoJing
//
//  Created by linpeng on 2017/3/15.
//  Copyright © 2017年 linpeng. All rights reserved.
//

#import "SamTabBar.h"

@interface SamTabBar()
@property(nonatomic, strong) UIButton *centerButton;
@property(nonatomic, strong) UILabel *centerTitle;
@property (nonatomic,assign) SamItemUIType type;

@end

@implementation SamTabBar

+(instancetype)instanceCustomTabBarWithType:(SamItemUIType)type{
    SamTabBar *tabBar = [[SamTabBar alloc] init];
    tabBar.type = type;
    return tabBar;
}

-(instancetype)initWithFrame:(CGRect)frame{
    self = [super initWithFrame:frame];
    if (self) {
        self.translucent = NO;
        UIButton *plusBtn = [UIButton buttonWithType:UIButtonTypeCustom];
        self.centerButton = plusBtn;
        [plusBtn addTarget:self action:@selector(plusBtnDidClick) forControlEvents:UIControlEventTouchUpInside];
        [self addSubview:plusBtn];

        UILabel *lblTitle = [[UILabel alloc] init];
        self.centerTitle = lblTitle;
        lblTitle.font = [UIFont systemFontOfSize:10];
        lblTitle.textColor = [UIColor blackColor];
        lblTitle.textAlignment = NSTextAlignmentCenter;
        [self addSubview:lblTitle];

    }
    return self;
}

-(void)plusBtnDidClick{
    if (self.tabDelegate && [self.tabDelegate respondsToSelector:@selector(tabBar:clickCenterButton:)]) {
        [self.tabDelegate tabBar:self clickCenterButton:self.centerButton];
    }
}

// 调整子视图的布局
-(void)layoutSubviews{
    [super layoutSubviews];
    CGFloat width = self.frame.size.width/self.type;
    Class class = NSClassFromString(@"UITabBarButton");
    for (UIView *view in self.subviews) {
        if ([view isEqual:self.centerTitle]) {//self.centerButton
            view.frame = CGRectMake(0, 0, width, 15);
            view.center = CGPointMake(self.frame.size.width/2, self.frame.size.height - view.frame.size.height + 8);
        }else if ([view isEqual:self.centerButton]) {//self.centerButton
            view.frame = CGRectMake(0, 0, width, self.frame.size.height);
            [view sizeToFit];
            view.center = CGPointMake(self.frame.size.width/2, 10);
        }else if ([view isKindOfClass:class]){//system button
            CGRect frame = view.frame;
            int indexFromOrign = view.frame.origin.x/width;//防止UIView *view in self.subviews 获取到的不是有序的
            if (indexFromOrign >= (self.type - 1) / 2) {
                indexFromOrign++;
            }
            CGFloat x = indexFromOrign * width;
            //如果是系统的UITabBarButton,那么就调整子控件位置,空出中间位置
            view.frame = CGRectMake(x, view.frame.origin.y, width, frame.size.height);

            //调整badge postion
            for (UIView *badgeView in view.subviews){
                NSString *className = NSStringFromClass([badgeView class]);
                // Looking for _UIBadgeView
                if ([className rangeOfString:@"BadgeView"].location != NSNotFound){
                    badgeView.layer.transform = CATransform3DIdentity;
                    badgeView.layer.transform = CATransform3DMakeTranslation(-17.0, 1.0, 1.0);
                    break;
                }
            }
        }
    }
}


-(UIView *)hitTest:(CGPoint)point withEvent:(UIEvent *)event{
    //这一个判断是关键,不判断的话push到其他页面,点击发布按钮的位置也是会有反应的,这样就不好了
    //self.isHidden == NO 说明当前页面是有tabbar的,那么肯定是在导航控制器的根控制器页面
    //在导航控制器根控制器页面,那么我们就需要判断手指点击的位置是否在发布按钮身上
    //是的话让发布按钮自己处理点击事件,不是的话让系统去处理点击事件就可以了
    if (self.isHidden == NO) {
        //将当前tabbar的触摸点转换坐标系,转换到发布按钮的身上,生成一个新的点
        CGPoint newP = [self convertPoint:point toView:self.centerButton];

        //判断如果这个新的点是在发布按钮身上,那么处理点击事件最合适的view就是发布按钮
        if ( [self.centerButton pointInside:newP withEvent:event]) {
            return self.centerButton;
        }else{//如果点不在发布按钮身上,直接让系统处理就可以了
            return [super hitTest:point withEvent:event];
        }
    }
    else {//tabbar隐藏了,那么说明已经push到其他的页面了,这个时候还是让系统去判断最合适的view处理就好了
        return [super hitTest:point withEvent:event];
    }
}

-(void)setCenterBtnIcon:(NSString *)centerBtnIcon{
    _centerBtnIcon = centerBtnIcon;
    [self.centerButton setBackgroundImage:[UIImage imageNamed:self.centerBtnIcon] forState:UIControlStateNormal];
    [self.centerButton setBackgroundImage:[UIImage imageNamed:self.centerBtnIcon] forState:UIControlStateHighlighted];
}

-(void)setCenterBtnTitle:(NSString *)centerBtnTitle{
    _centerBtnTitle = centerBtnTitle;
    self.centerTitle.text = centerBtnTitle;
}

@end
用法:
以上自定义的tabbar控件就弄好了 现在就可以在VC中使用了
创建一个WBTabBarController 继承UITabBarController 在appdelegate中
self.window = [[UIWindow alloc] initWithFrame:[UIScreen mainScreen].bounds];
    self.window.rootViewController = [[WBTabBarController alloc] init];
kvo的形式添加自定义的tabbar
 //kvo形式添加自定义的 UITabBar
    SamTabBar *tab = [SamTabBar instanceCustomTabBarWithType:SamItemUIType_Five];
    [self setValue:tab forKey:@"tabBar"];
具体的代码:
@interface WBTabBarController ()<SamTabBarDelegate>
@end
@implementation WBTabBarController
- (void)awakeFromNib {
[super awakeFromNib];
}
- (void)viewDidLoad {
[super viewDidLoad];
[self setupUI];
}
-(void)setupUI{
[self setupVC];
[[UITabBar appearance] setShadowImage:[UIImage new]];
//kvo形式添加自定义的 UITabBar
SamTabBar *tab = [SamTabBar instanceCustomTabBarWithType:SamItemUIType_Five];
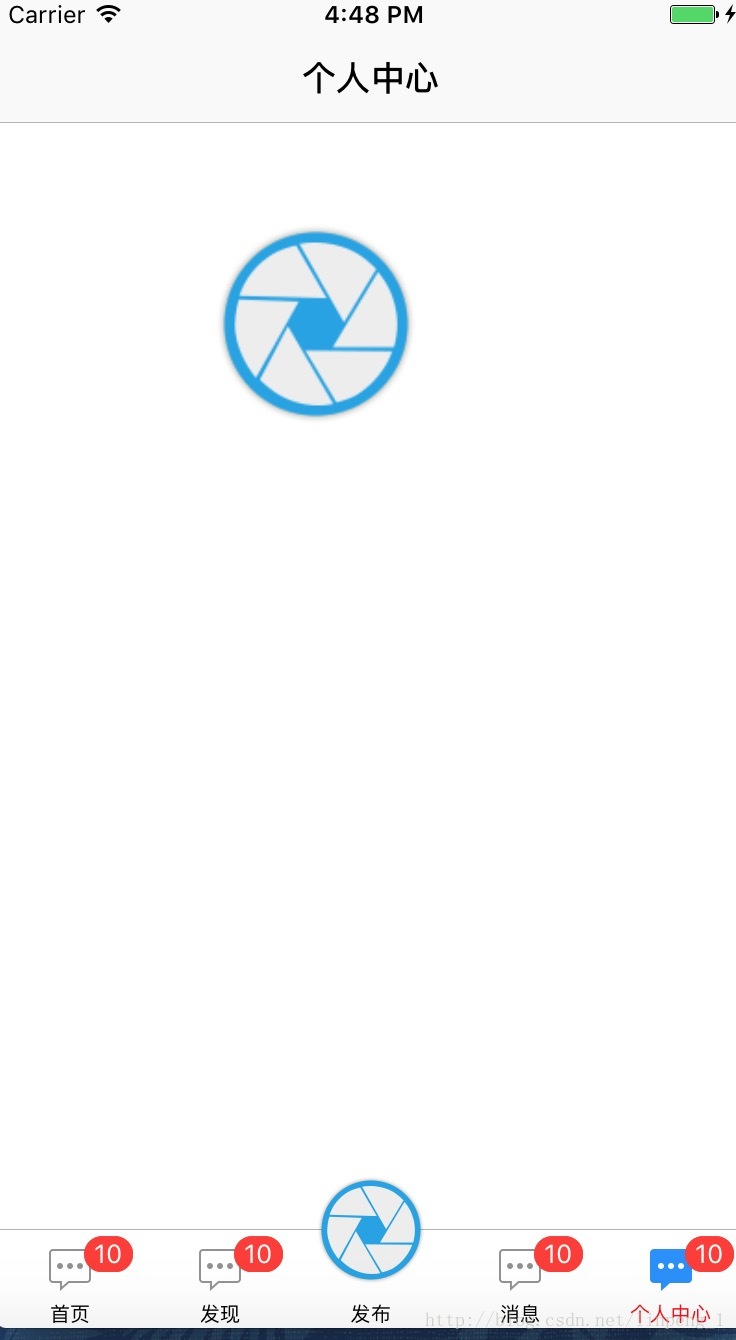
tab.centerBtnTitle = @"发布";
tab.centerBtnIcon = @"摄影机图标_点击后";
tab.tabDelegate = self;
[self setValue:tab forKey:@"tabBar"];
}
- (void)setupVC{
[self addChildVc:[[LoginViewController alloc] init] title:@"首页" image:@"TabMessage" selectedImage:@"TabMessage_HL"];
[self addChildVc:[[LoginViewController alloc] init] title:@"发现" image:@"TabMessage" selectedImage:@"TabMessage_HL"];
[self addChildVc:[[LoginViewController alloc] init] title:@"消息" image:@"TabMessage" selectedImage:@"TabMessage_HL"];
[self addChildVc:[[LoginViewController alloc] init] title:@"个人中心" image:@"TabMessage" selectedImage:@"TabMessage_HL"];
}
- (void)addChildVc:(UIViewController *)childVc title:(NSString *)title image:(NSString *)image selectedImage:(NSString *)selectedImage{
// 设置子控制器的文字(可以设置tabBar和navigationBar的文字)
childVc.title = title;
// 设置子控制器的tabBarItem图片
childVc.tabBarItem.image = [UIImage imageNamed:image];
// 禁用图片渲染
childVc.tabBarItem.selectedImage = [[UIImage imageNamed:selectedImage] imageWithRenderingMode:UIImageRenderingModeAlwaysOriginal];
// 设置文字的样式
[childVc.tabBarItem setTitleTextAttributes:@{NSForegroundColorAttributeName : [UIColor blackColor]} forState:UIControlStateNormal];
[childVc.tabBarItem setTitleTextAttributes:@{NSForegroundColorAttributeName : [UIColor redColor]} forState:UIControlStateSelected];
// 为子控制器包装导航控制器
WBBaseNC *navigationVc = [[WBBaseNC alloc] initWithRootViewController:childVc];
// 添加子控制器
[self addChildViewController:navigationVc];
}
-(void)tabBar:(SamTabBar *)tabBar clickCenterButton:(UIButton *)sender{
UIAlertController *alert = [UIAlertController alertControllerWithTitle:@"提示" message:@"点击了中间按钮" preferredStyle:UIAlertControllerStyleAlert];
UIAlertAction *action = [UIAlertAction actionWithTitle:@"OK" style:UIAlertActionStyleCancel handler:^(UIAlertAction * _Nonnull action) {
}];
[alert addAction:action];
[self presentViewController:alert animated:YES completion:nil];
}
- (void)didReceiveMemoryWarning {
[super didReceiveMemoryWarning];
// Dispose of any resources that can be recreated.
}
/*
#pragma mark - Navigation
// In a storyboard-based application, you will often want to do a little preparation before navigation
- (void)prepareForSegue:(UIStoryboardSegue *)segue sender:(id)sender {
// Get the new view controller using [segue destinationViewController].
// Pass the selected object to the new view controller.
}
*/
@end
效果如图:
gif效果如图:
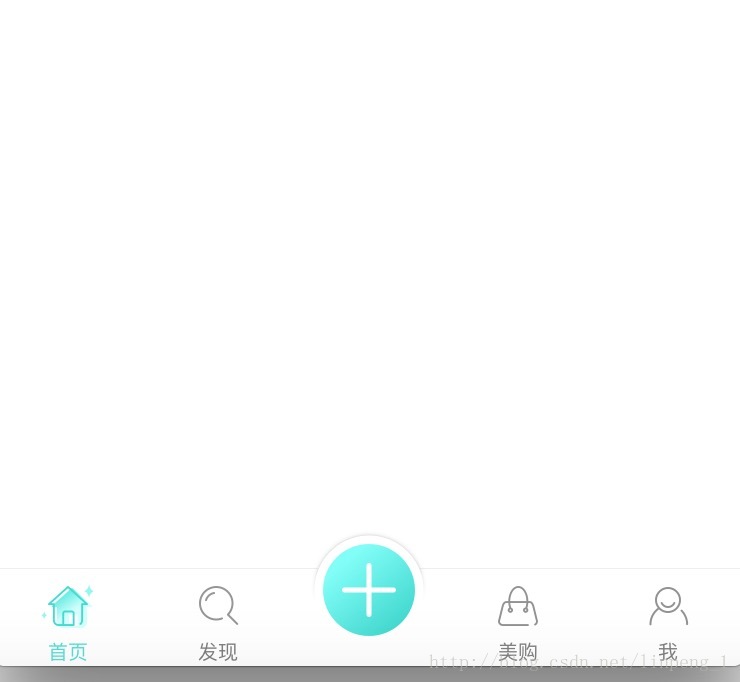
修改tabbar上那条很丑的分割线:
-(void)setupUI{
    [self setupVC];
    //kvo形式添加自定义的 UITabBar
    SamTabBar *tab = [SamTabBar instanceCustomTabBarWithType:SamItemUIType_Five];
    tab.centerBtnTitle = nil;
    tab.centerBtnIcon = @"menu_diary_pr";
    tab.tabDelegate = self;
    [self setValue:tab forKey:@"tabBar"];

    //去除顶部很丑的border
    [[UITabBar appearance] setShadowImage:[UIImage new]];
    [[UITabBar appearance] setBackgroundImage:[[UIImage alloc]init]];

    //自定义分割线颜色
    UIView *bgView = [[UIView alloc] initWithFrame:CGRectMake(self.tabBar.bounds.origin.x-0.5, self.tabBar.bounds.origin.y, self.tabBar.bounds.size.width+1, self.tabBar.bounds.size.height+2)];
    bgView.layer.borderColor = COLOR_SEPERATOR.CGColor;
    bgView.layer.borderWidth = 0.5;
    [tab insertSubview:bgView atIndex:0];
    tab.opaque = YES;
}
效果:


 451
451

 被折叠的 条评论
为什么被折叠?
被折叠的 条评论
为什么被折叠?
 到【灌水乐园】发言


