前言:此示例需要使用vuex,来存储获取参数,所以使用前请先安装插件(此方法适用需要修改参数较多时使用)
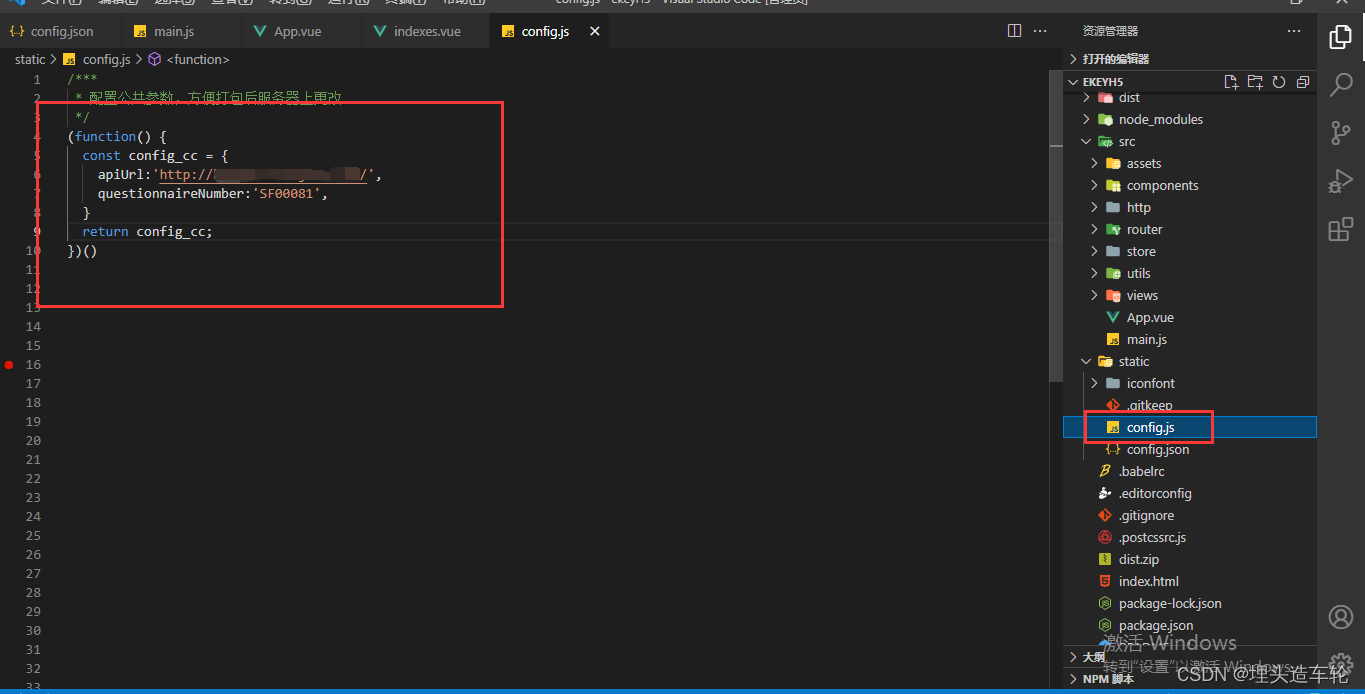
一、首先在static文件下创建“config.js”,这个文件打包后不会被编译,所以放在这里方便在服务器上准确找到对应文件修改参数,如图:

二、在main.js中配置configjs的链接

import axios from 'axios';

let myConfigPath = "/wechat/static/config.js"

if (process.env.NODE_ENV === "development") {

  myConfigPath = "../static/config.js"

}

axios.get(myConfigPath, { headers: { "Cache-Control": "no-cache" } }).then(response => {

  Vue.prototype.$myConfig = eval(response.data);

  Vue.prototype.$apiUrl = eval(response.data).apiUrl;

  /* eslint-disable no-new */

  new Vue({

    el: '#app',

    router,

    store,

    components: {

      App

    },

    template: '<App/>'

  })

})
三、如需要修改api的路径,则需在axios.js中配置相应参数

let baseURL;
function getApiUrl(){
  return new Promise((resolve, reject) => {
    if(baseURL){
      resolve(baseURL)
    }else{
     let myConfigPath = "/wechat/static/config.js"
      if (process.env.NODE_ENV === "development") {
        myConfigPath = "../../static/config.js"
      }
      let myConfig;
      axios.get(myConfigPath, { headers: { "Cache-Control": "no-cache" } }).then(response => {
        myConfig = eval(response.data);
        if(process.env.NODE_ENV === 'development'){      // 开发环境
          baseURL = '/api'
        }else{
          baseURL = myConfig.apiUrl;
        }
        resolve(baseURL)
      })
    }
 });
}
四、 在src文件夹下创建store文件,并在其中创建index.js文件,来引入vuex,并配置新增的user.js

 import Vue from 'vue'
 import Vuex from 'vuex'
 import user from './modules/user'
 Vue.use(Vuex)

 const store = new Vuex.Store({
   modules: {
     user
   }
 })

 export default store
五、在src的store文件下创建==>modules文件==>user.js,用于组件使用vuex取值使用

六、配置完毕,需要在对应组件赋值/取值(不需要本地修改参数,可忽略此步骤)
如某组件中需要改变值,
let menuArr = data.items;
this.$store.commit('SET_questionnaireNumber', menuArr);
取值时使用:this.$store.state.user.questionnaireNumber
七、如仅在服务器上修改参数,需要在用到参数的组件中做如下操作(代码与上面描述不符,仅供参考)
computed:如questionnaireNumber在服务器或本地修改后给及时更新questionnaireNumber的值
watch:意为computed改变时更新哪个方法,比如这里questionnaireNumber改变后我的请求接口的方法要改变,这里就加上this.function();去从新请求下方法以改变参数最新值


 2591
2591


 被折叠的 条评论
为什么被折叠?


