


 本文档详细介绍了如何在Hexo博客中配置Swiper轮播图,包括参数设置、自定义CSS和JS依赖,并展示了不同封面的添加和删除方法。同时,讲解了Valine评论系统的个性化设置,如添加评论者标签、自定义CSS和JS引用。此外,还分享了右侧Widget美化和自定义侧边栏的技巧,涉及CSS样式和社交图标配置。
blog.fangmingxuan.com
🎈首页轮播文章
hexo-butterfly-swiper - npm (npmjs.com)
# hexo-butterfly-swiper
  # see https://akilar.top/posts/8e1264d1/
  swiper:
    enable: true # 开关
    priority: 5 #过滤器优先权
    enable_page: all # 应用页面
    timemode: date #date/updated
    layout: # 挂载容器类型
      type: id
      name: recent-posts
      index: 0
    default_descr: 再怎么看我也不知道怎么描述它的啦!
    custom_css: https://cdnjs.cloudflare.com/ajax/libs/Swiper/4.1.6/css/swiper.min.css #自定义swiper css依赖
    custom_js: https://cdnjs.cloudflare.com/ajax/libs/Swiper/4.1.6/js/swiper.min.js #自定义swiper js依赖
| 参数 | 备选值/类型 | 释义 |
|---|---|---|
| priority | number | 【可选】过滤器优先级,数值越小,执行越早,默认为10,选填 |
| enable | true/false | 【必选】控制开关 |
| enable_page | path/all | 【可选】填写想要应用的页面的相对路径(即路由地址),如根目录就填’/’,分类页面就填’/categories/’。若要应用于所有页面,就填’all’,默认为all |
| timemode | date/updated | 【可选】时间显示,date为显示创建日期,updated为显示更新日期,默认为date |
| layout.type | id/class | 【可选】挂载容器类型,填写id或class,不填则默认为id |
| layout.name | text | 【必选】挂载容器名称 |
| layout.index | 0和正整数 | 【可选】前提是layout.type为class,因为同一页面可能有多个class,此项用来确认究竟排在第几个顺位 |
| default_descr | text | 【可选】默认文章描述 |
| custom_css | url | 【可选】自定义的swiper依赖项css链接 |
| custom_js | url | 【可选】自定义的swiper依赖项加js链接 |
使用方法 在文章的front_matter中添加swiper_index配置项即可。
---
title: 文章标题
date: 创建日期
updated: 更新日期
cover: 文章封面
description: 文章描述
swiper_index: 1 #置顶轮播图顺序,需填非负整数,数字越大越靠前
---
截图:

🎉默认封面修改
新增封面
- http://qiniuph.fangmingxuan.com//u=1856489398,731464837&fm=26&fmt=auto&gp=0.jpg
- http://qiniuph.fangmingxuan.com//u=1320732,1631762295&fm=26&fmt=auto&gp=0.jpg
- http://qiniuph.fangmingxuan.com//u=4244039437,2624143493&fm=26&fmt=auto&gp=0.jpg
- http://qiniuph.fangmingxuan.com//image-20210806134716527.png
删除了部分失效封面
🎸评论[博主,小伙伴,访客]标签
-
打开
[Blogroot]\themes\butterfly\layout\includes\third-party\comments\valine.pug, 按指示添加如下字段。DIFF script. function loadValine () { function initValine () { const valine = new Valine(Object.assign({ el: '#vcomment', appId: '#{theme.valine.appId}', appKey: '#{theme.valine.appKey}', placeholder: '#{theme.valine.placeholder}', avatar: '#{theme.valine.avatar}', meta: '#{theme.valine.guest_info }'.split(','), pageSize: '#{theme.valine.pageSize}', lang: '#{theme.valine.lang}', recordIP: #{theme.valine.recordIP}, serverURLs: '#{theme.valine.serverURLs}', emojiCDN: '#{theme.valine.emojiCDN}', emojiMaps: !{emojiMaps}, enableQQ: #{theme.valine.enableQQ}, path: window.location.pathname, + master: '#{theme.valine.master}'.split(','), + friends: '#{theme.valine.friends}'.split(','), + tagMeta: '#{theme.valine.tagMeta || "博主,小伙伴,访客"}'.split(','), requiredFields: [!{theme.valine.requiredFields ? JSON.stringify(theme.valine.requiredFields).split(',') : ''}], visitor: #{theme.valine.visitor} }, !{JSON.stringify(theme.valine.option)})) } -
打开
[Blogroot]\_config.butterfly.yml,-
在
valine配置项添加如下内容。
md5 加密可以使用在线转码,务必使用32位[小]进行转码。DIFF # valine # https://valine.js.org valine: appId: # leancloud application app id appKey: # leancloud application app key pageSize: 10 # comment list page size avatar: monsterid # gravatar style https://valine.js.org/#/avatar lang: zh-CN # i18n: zh-CN/zh-TW/en/ja placeholder: # valine comment input placeholder (like: Please leave your footprints) guest_info: nick,mail,link # valine comment header info (nick/mail/link) recordIP: false # Record reviewer IP serverURLs: https://???????.api.lncldglobal.com # This configuration is suitable for domestic custom domain name users, overseas version will be automatically detected (no need to manually fill in) bg: # valine background emojiCDN: # emoji CDN enableQQ: true # enable the Nickname box to automatically get QQ Nickname and QQ Avatar requiredFields: nick,mail # required fields (nick/mail) + master: # md5加密后的博主邮箱 + - d4e7????4d361ad7????44a14e9e2a94 #可添加多个 + friends: # md5加密后的小伙伴邮箱 + - 5c?????bfe6rfc72a????e268ad3819c #可添加多个 + - 7c?????bfe65fc02a????e2????3919c + tagMeta: '博主,小伙伴,访客' # 标签要显示的文字,默认'博主,小伙伴,访客' option: -
在
CDN配置项添加如下内容。将Valine.min.js替换成HCLonely魔改的版本DIFF CDN: # main main_css: /css/index.css jquery: https://cdn.jsdelivr.net/npm/jquery@latest/dist/jquery.min.js main: /js/main.js utils: /js/utils.js # pjax pjax: https://cdn.jsdelivr.net/npm/pjax/pjax.min.js # comments gitalk: https://cdn.jsdelivr.net/npm/gitalk@latest/dist/gitalk.min.js gitalk_css: https://cdn.jsdelivr.net/npm/gitalk/dist/gitalk.min.css - valine: https://cdn.jsdelivr.net/npm/valine/dist/Valine.min.js + valine: https://cdn.jsdelivr.net/gh/HCLonely/Valine@latest/dist/Valine.min.js
-
-
以上步骤完成后,已经可以看到实现效果了。更多内容还请自行下载 Valine.min.js 源码进行修改。
🚀 右侧Widget美化
-
需要做的事情就是添加一个 CSS。在
[Blogroot]\themes\butterfly\source\css\custom.css中添加如下内容。CSS /* SAOUI字体精简包,仅73KB */ @font-face{ font-family: 'SAOUI'; src: url('https://cdn.jsdelivr.net/npm/akilar-candyassets/fonts/SAOUI.ttf'); font-display: swap; } /* 应用于除了作者卡片以为的所有侧栏卡片 */ .card-widget:not(.card-info) { overflow: visible !important; margin-bottom: 45px !important; border-bottom-left-radius: 10px !important; border-bottom-right-radius: 10px !important; border-top-right-radius: 10px !important; border-top-left-radius: 0px !important; font-family: 'SAOUI' !important; color: rgba(60,60,61,0.7) !important; font-weight: bold; } /* 修复一下对侧栏电子钟的覆盖 */ .card-widget.card-clock { overflow: hidden !important; border-radius: 8px !important; } /* 定义标题栏的定位方式为绝对定位 */ .item-headline { font-family: 'SAOUI' !important; color: rgba(60,60,61,0.7) !important; font-weight: bold; position: absolute; z-index: 4; height: 27px; width: 65%; top: -27px; left: 7px; } /* 标题栏下各元素的层级,保证它们能显示在伪类之上 */ .item-headline i { position: relative; top: 0px; margin-left: 5%; z-index: 2; } .item-headline span { position: relative; top: 0px; z-index: 2; } .item-headline a { position: relative; top: 0px; z-index: 2; } /* 梯形伪类 */ .item-headline:after { content: ''; position: absolute; top: -3px; right: 0; bottom: 0; left: -3px; z-index: 1; background: rgba(255,255,255,0.9); border: 1px solid rgba(255,255,255,0.9); border-bottom: 0 solid #fff; /* 关键形变 */ transform: perspective(20px) rotateX(3deg); border-top-right-radius: 5px !important; border-top-left-radius: 5px !important; } /* 下划线伪类 */ .item-headline:before { display: block; width: 140%; margin-top: 2px; height: 2px; content: ''; background: rgba(160,159,160,0.9); border-radius: 5px; top: 40px; left: 0; position: relative; } /* 针对手机样式的偏移量调整 */ @media screen and (max-width: 800px) { .item-headline { left: 8px; } } /* 夜间模式色彩适配,此处仅代表糖果屋夜间模式配色 */ [data-theme="dark"] .card-widget:not(.card-info) { color: rgba(255,255,255,0.7) !important; } [data-theme="dark"] .item-headline { color: rgba(255,255,255,0.7) !important; } [data-theme="dark"] .item-headline:after { background: rgba(0,0,0,0.5); border: 1px solid rgba(0,0,0,0.5); border-bottom: 0 solid rgba(0,0,0,0.5); } [data-theme="dark"] .item-headline:before { background: rgba(255,255,255,0.9); } -
然后在
[Blogroot]\_config.butterfly.yml中引入即可。YML inject: head: - <link rel="stylesheet" href="/css/custom.css" media="defer" οnlοad="this.media
⛽自定义侧边栏
🏝全局背景透明渐变
这个就需要你自己新建一个 css 文件,在主题文件里的 source \ css 文件夹里新建一个 css 文件,命名随意,往里面写入
#recent-posts>.recent-post-item,.layout_page>div:first-child:not(.recent-posts),.layout_post>#page,.layout_post>#post,.read-mode .layout_post>#post { background: var(--light_bg_color)}#aside-content .card-widget { background: var(--light_bg_color)}#web_bg { background: linear-gradient(90deg,rgba(247,149,51,.1),rgba(243,112,85,.1) 15%,rgba(239,78,123,.1) 30%,rgba(161,102,171,.1) 44%,rgba(80,115,184,.1) 58%,rgba(16,152,173,.1) 72%,rgba(7,179,155,.1) 86%,rgba(109,186,130,.1))}
🚠社交图标
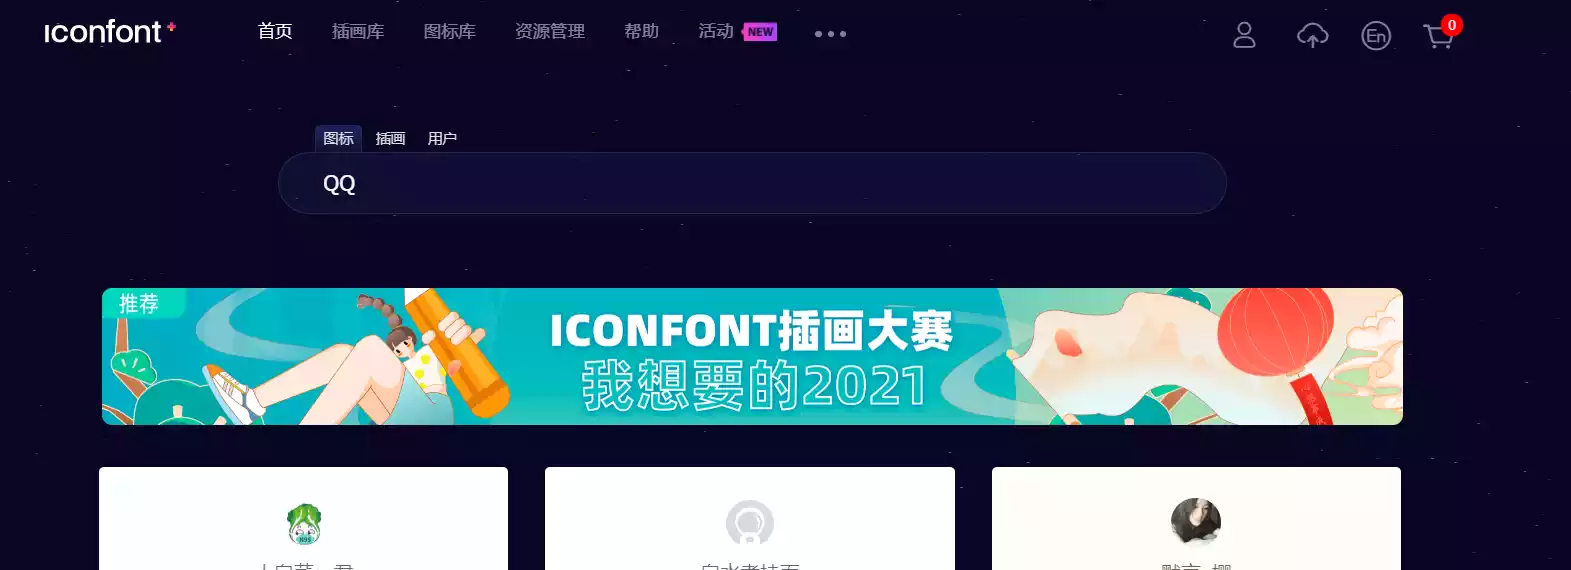
社交图标我采用的是阿里巴巴矢量图标库
首先打开 阿里巴巴矢量图标库
在搜索框输入你想要的图标,比如 QQ
看中哪个就加入购物车
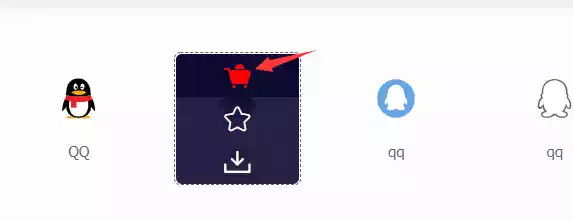
加购完毕之后点击右上角的购物车,添加至项目,选择其中一种快捷方式登录,项目名称随便填
然后在我的项目里选择 Font class,点击查看在线链接并在浏览器中打开此链接,最后另存为本地
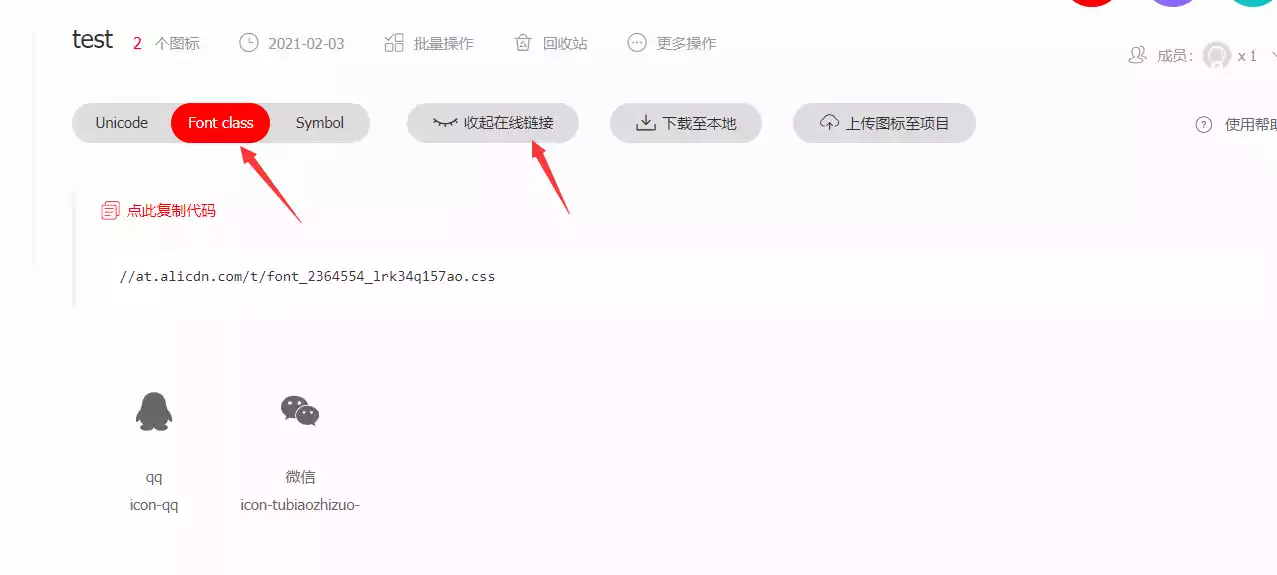
吧刚刚另存为的文件复制到主题文件下的 source \ css 里面
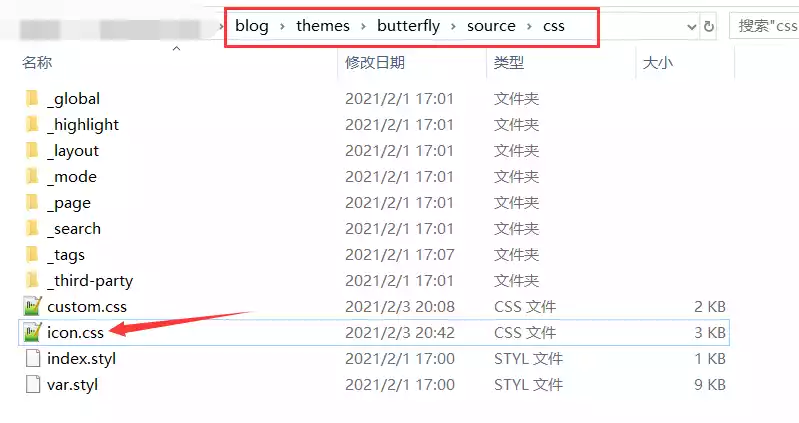
然后在主题的配置文件(_config.yml)里的 inject 引入刚刚的图标 css 文件

接着不要关闭配置文件,继续在配置文件里 CTRL + F 找到 social 配置项
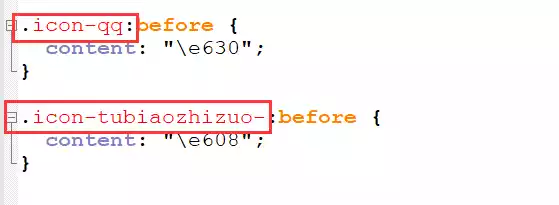
格式为:iconfont class 名: 链接 || 名称
其中
-
iconfont:是固定的
-
class 名:可在刚刚的阿里巴巴矢量图标库生成的 css 文件里找到

-
链接:点击图标之后跳转的链接
-
名称:对应你图标的含义,例如:Twitter、Facebook
如下图:

此时你高兴的回到首页查看效果,可是你发现这图标又小又丑又黑,心情都不好了
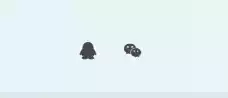
不慌,打开 icon.css 也就是刚刚在阿里巴巴矢量图标库中生成的 css 文件
给他们穿件衣裳

果然,穿上衣裳就好看多了
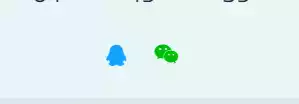
如果你还想加其他的,比如微博、GitHub、哔哩哔哩等,其方法大同小异


 被折叠的 条评论
为什么被折叠?
被折叠的 条评论
为什么被折叠?
 到【灌水乐园】发言


