


简述
在生产环境中为了保障服务器的安全,需要做权限的管理配置,让服务器最大可能性的处于安全状态,本文对新建用户,修改端口,禁用root, 启用sudo 配置做一个简要说明。
1. 新建用户
创建用户名:bob01 密码:123456
[root@ngx2 /]# useradd bob01
[root@ngx2 /]# passwd bob01
Changing password for user bob01.
New password:
BAD PASSWORD: The password is shorter than 8 characters
Retype new password:
passwd: all authentication tokens updated successfully.
[root@ngx2 /]#
2.启用sudo
vim /etc/sudoers

# 在此处添加授权规则(保存退出时使用强制性保存退出qw!)
## Allow root to run any commands anywhere
root    ALL=(ALL)       ALL
bob01 	ALL=(ALL)       ALL

# 格式
root       # 指定用户
ALL=(ALL)  #(ALL)括号内指定切换到哪个用户下执行命令,如为ALL,表示所有用户,如为空,是root用户
ALL        # 表示可以执行所有命令
3.修改端口与禁用root
需要先安装semanage,然后添加端口到selinux,再修改配置文件,然后重启sshd服务
如果不想下载semanage,可以直接将selinux关闭即可(长久关闭修改/etc/selinux/config,临时关闭:setenforce 0)
#1安装semanage
yum provides semanage
# 安装运行semanage所需依赖工具包 policycoreutils-python
yum -y install policycoreutils-python

#2.向selinux中添加ssh端口(尽量10000-65535之间)
semanage port -a -t ssh_port_t -p tcp 22999

#3.修改配置文件,禁用root,修改端口
[root@ngx2 /]# vim /etc/ssh/sshd_config
Port 22999
PermitRootLogin no

#4.重启sshd服务
[root@ngx2 /]# systemctl restart sshd
[root@ngx2 /]# netstat -ntlp |grep sshd
tcp        0      0 0.0.0.0:22999           0.0.0.0:*               LISTEN      104069/sshd
tcp6       0      0 :::22999                :::*                    LISTEN      104069/sshd
[root@ngx2 /]#
4.验证
验证逻辑:
(1)退出登录后不修改任何登录信息再次使用root登录测试能否登录;
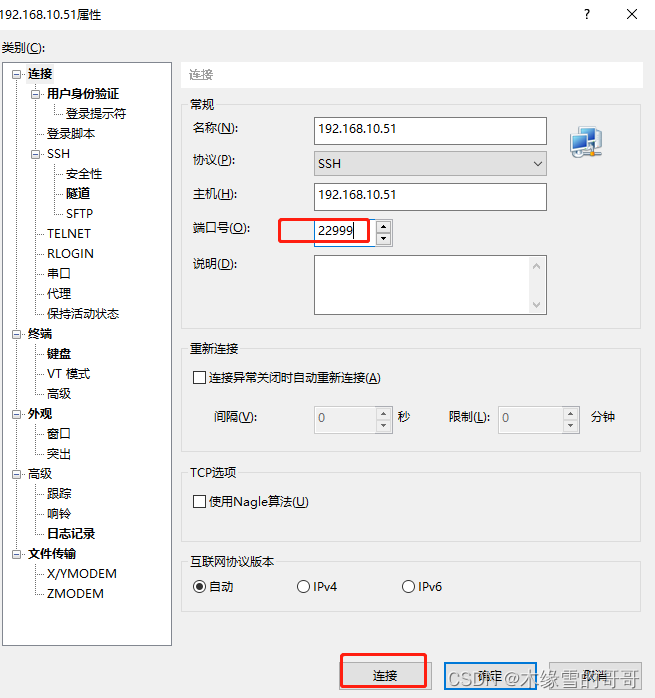
(2)只修改端口信息登录查看结果;
(3)使用bob01用户登录验证;
(4)bob01用户且登录后验证sudo是否生效;
(1)不修改任何登录信息,root再次登录会一直提示链接失败(这说明端口修改成功,再使用22端口将无法登录)
Connecting to 192.168.10.51:22...
Could not connect to '192.168.10.51' (port 22): Connection failed.

Type `help' to learn how to use Xshell prompt.
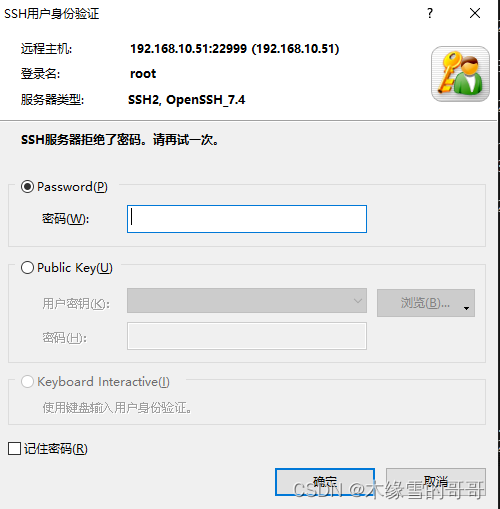
(2)只修改端口信息登录查看结果(此时能链接,但是会一直提示输入密码,即便密码是对的也会一直提示,这说明禁用rooot成功);
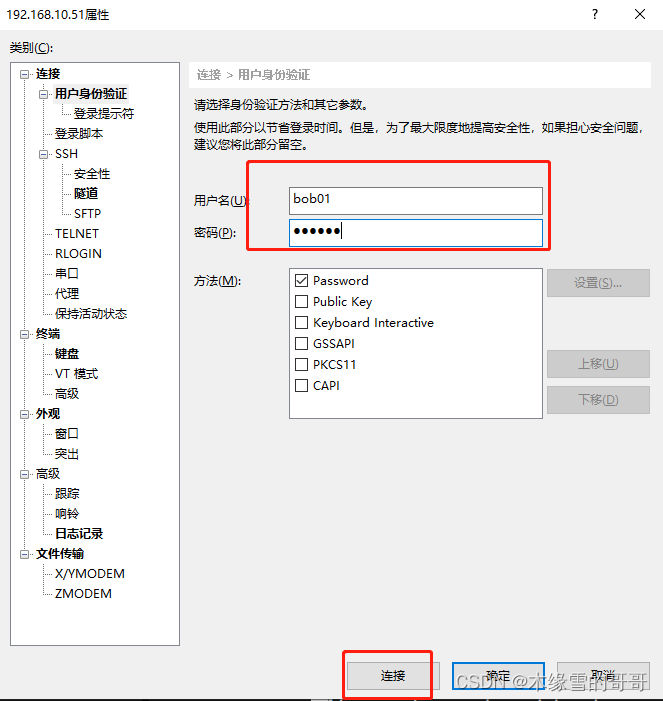
(3)使用bob01用户登录验证(bob01登录成功,说明端口和用户都修改的没问题);
Connecting to 192.168.10.51:22999...
Connection established.
To escape to local shell, press 'Ctrl+Alt+]'.

WARNING! The remote SSH server rejected X11 forwarding request.
[bob01@ngx2 ~]$
(4)bob01用户且登录后验证sudo是否生效(如下所示当不适用sudo时无权限擦混创建文件,当前面添加sudo执行时需要输入本用户的密码后创建成功,说明sudo启用成功)
[bob01@ngx2 ~]$ cd /
[bob01@ngx2 /]$ mkdir ssh_test
mkdir: cannot create directory ‘ssh_test’: Permission denied
[bob01@ngx2 /]$ sudo mkdir ssh_test

We trust you have received the usual lecture from the local System
Administrator. It usually boils down to these three things:

    #1) Respect the privacy of others.
    #2) Think before you type.
    #3) With great power comes great responsibility.

[sudo] password for bob01:
Sorry, try again.
[sudo] password for bob01:
[bob01@ngx2 /]$ ls
application  boot  etc   lib    media  opt   random-pw.txt  run   srv       sys  usr
bin          dev   home  lib64  mnt    proc  root           sbin  ssh_test  tmp  var
[bob01@ngx2 /]$
至此,系统基础安全基础配置完成,有疑问欢迎留言深探!!


 1103
1103


 被折叠的 条评论
为什么被折叠?
被折叠的 条评论
为什么被折叠?
 到【灌水乐园】发言


