


Python+Qt指纹录入识别考勤系统
如需安装运行环境或远程调试,见文章底部个人QQ名片,由专业技术人员远程协助!
前言
这篇博客针对<<Python+Qt指纹录入识别考勤系统>>编写代码,代码整洁,规则,易读。 学习与应用推荐首选。
文章目录
一、所需工具软件
二、使用步骤
1. 引入库
2. 识别图像特征
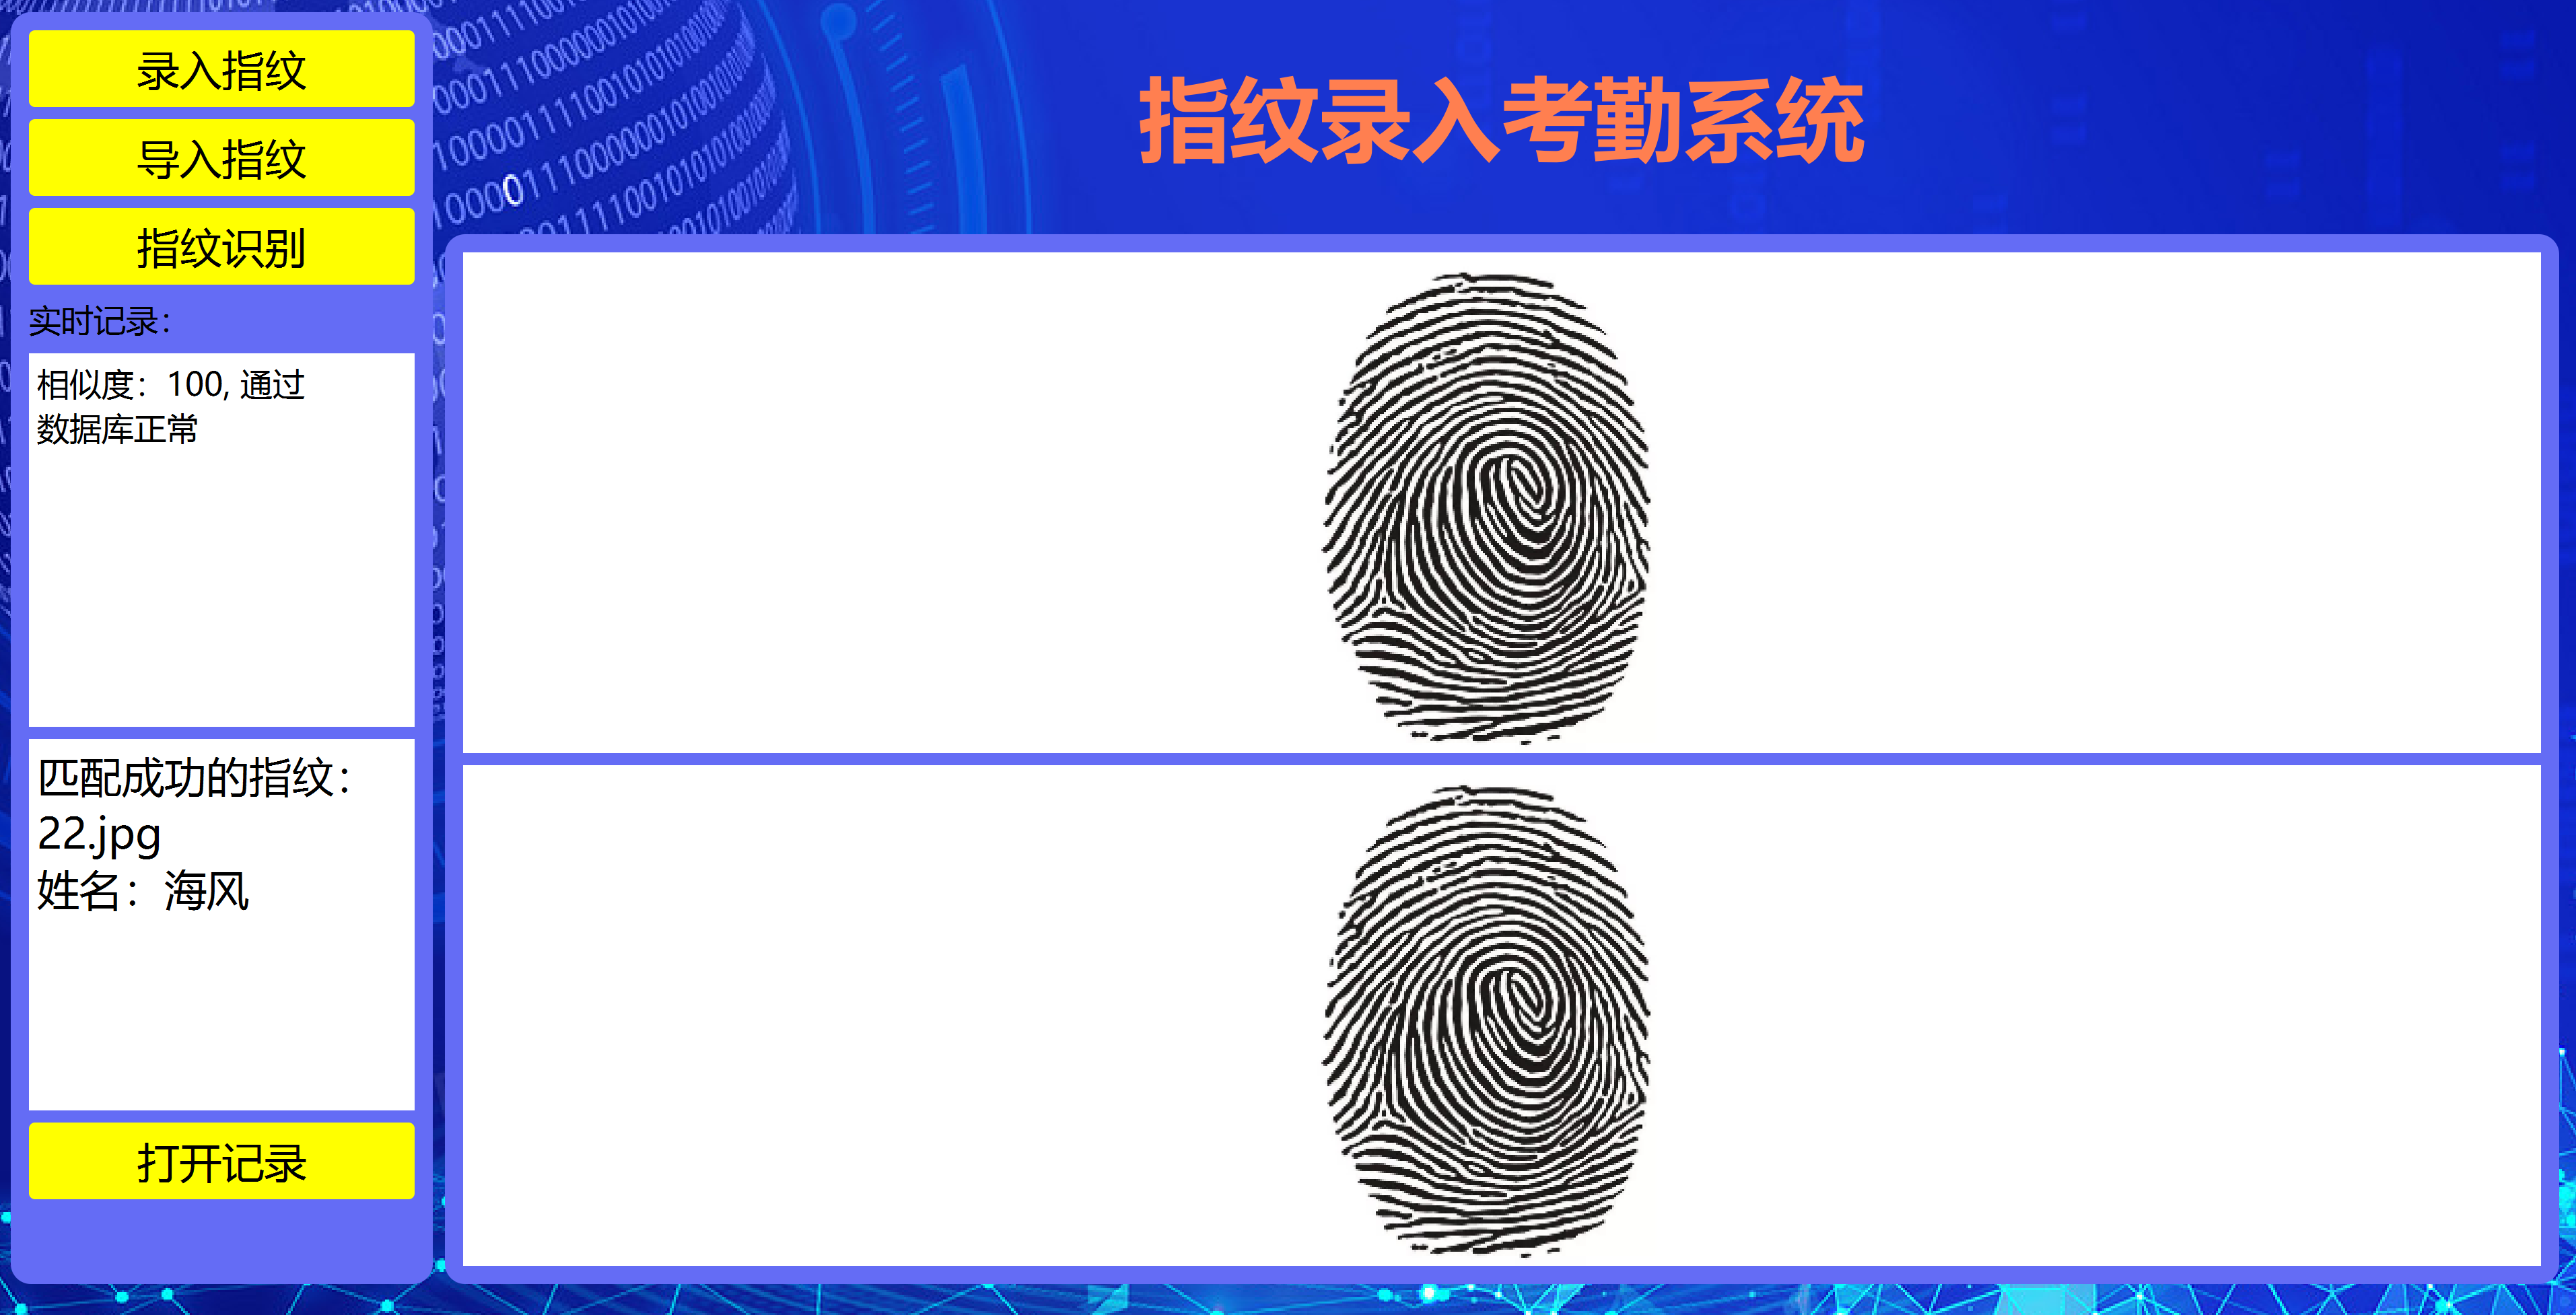
3. 运行结果
三、在线协助
一、所需工具软件
1. Pycharm, Python
2. Qt, OpenCV
二、使用步骤
1.引入库
代码如下(示例):
# coding:utf-8
import sys
import os
import csv
import cv2
import record
import name
from PyQt5 import QtWidgets
from PyQt5 import QtWidgets, QtCore, QtGui
from PyQt5.QtGui import *
from PyQt5.QtWidgets import *
from PyQt5.QtCore import *
from shutil import copyfile
from sys import exit
import os
from login import *
from register import *
2.识别图像特征
代码如下(示例):
       name=f.read()
        print("f",name)
        f.close()

        # 均值哈希算法
        def aHash(img):
            # 缩放为8*8
            img = cv2.resize(img, (8, 8), interpolation=cv2.INTER_CUBIC)
            # 转换为灰度图
            gray = cv2.cvtColor(img, cv2.COLOR_BGR2GRAY)
            # s为像素和初值为0,hash_str为hash值初值为''
            s = 0
            hash_str = ''
            # 遍历累加求像素和
            for i in range(8):
                for j in range(8):
                    s = s + gray[i, j]
            # 求平均灰度
            avg = s / 64
            # 灰度大于平均值为1相反为0生成图片的hash值
            for i in range(8):
                for j in range(8):
                    if gray[i, j] > avg:
                        hash_str = hash_str + '1'
                    else:
                        hash_str = hash_str + '0'
            return hash_str

        # 差值感知算法
        def dHash(img):
            # 缩放8*8
            img = cv2.resize(img, (9, 8), interpolation=cv2.INTER_CUBIC)
            # 转换灰度图
            gray = cv2.cvtColor(img, cv2.COLOR_BGR2GRAY)
            hash_str = ''
            # 每行前一个像素大于后一个像素为1,相反为0,生成哈希
            for i in range(8):
                for j in range(8):
                    if gray[i, j] > gray[i, j + 1]:
                        hash_str = hash_str + '1'
            return hash_str

        # Hash值对比
        def cmpHash(hash1, hash2):
            n = 0
            # hash长度不同则返回-1代表传参出错
            if len(hash1) != len(hash2):
                return -1
            # 遍历判断
            for i in range(len(hash1)):
                # 不相等则n计数+1,n最终为相似度
                if hash1[i] != hash2[i]:
                    n = n + 1
            return n

        import os
        path = "fingerDataBase/"
        file_list = os.listdir(path)
        for file in file_list:
            img1 = cv2.imread('temp/new.jpg')
            BasePath="fingerDataBase/" + str(file)
            print("BasePath: ", BasePath)
            img2 = cv2.imread(BasePath)
            print("img2: ",img2)
            hash1 = aHash(img1)

            hash1 = dHash(img1)
            hash2 = dHash(img2)
            print(hash1)
            print(hash2)
            n = cmpHash(hash1, hash2)
            print("n",n)
            print('差值哈希算法相似度:' + str(n))
            result='相似度:' + str(100-n)+", 通过"
3.运行结果如下
三、在线协助:
如需安装运行环境或远程调试,见文章底部个人 QQ 名片,由专业技术人员远程协助!
1)远程安装运行环境,代码调试
2)Qt, C++, Python入门指导
3)界面美化
4)软件制作
博主推荐文章:https://blog.csdn.net/alicema1111/article/details/123851014


 855
855


 被折叠的 条评论
为什么被折叠?
被折叠的 条评论
为什么被折叠?
 到【灌水乐园】发言


