


AIGC大模型从入门到放弃之路
第一章 使用Android完成KIMI API简单使用
第二章 使用Android完成KIMI API流式输出
第三章 Android使用KIMI API模拟小说网络作家写大纲
第四章 Android上使用阿里的通义万相大模型完成小说的封面图片制作
前言
随着人工智能的不断发展,机器学习这门技术也越来越重要,很多人都开启了学习机器学习,本文就介绍了学习kimi的API简单使用。
一、Android项目
1、新建Android项目,然后添加网络权限。
    <uses-permission android:name="android.permission.INTERNET" />
    <uses-permission android:name="android.permission.ACCESS_NETWORK_STATE" />
    <uses-permission android:name="android.permission.ACCESS_WIFI_STATE" />
2、引用相关开发库,我这边习惯用gson和XPopup,所以引用了这两个库。
dependencies {

    implementation 'androidx.core:core-ktx:1.7.0'
    implementation 'androidx.appcompat:appcompat:1.3.0'
    implementation 'com.google.android.material:material:1.4.0'
    implementation 'androidx.constraintlayout:constraintlayout:2.0.4'
    implementation 'com.google.code.gson:gson:2.8.6'
    implementation 'com.github.li-xiaojun:XPopup:2.10.0'

    testImplementation 'junit:junit:4.13.2'
    androidTestImplementation 'androidx.test.ext:junit:1.1.3'
    androidTestImplementation 'androidx.test.espresso:espresso-core:3.4.0'
}
二、申请KIMI的api key
1、申请地址:https://platform.moonshot.cn/console,注册过程我就不贴了,挺简单的。
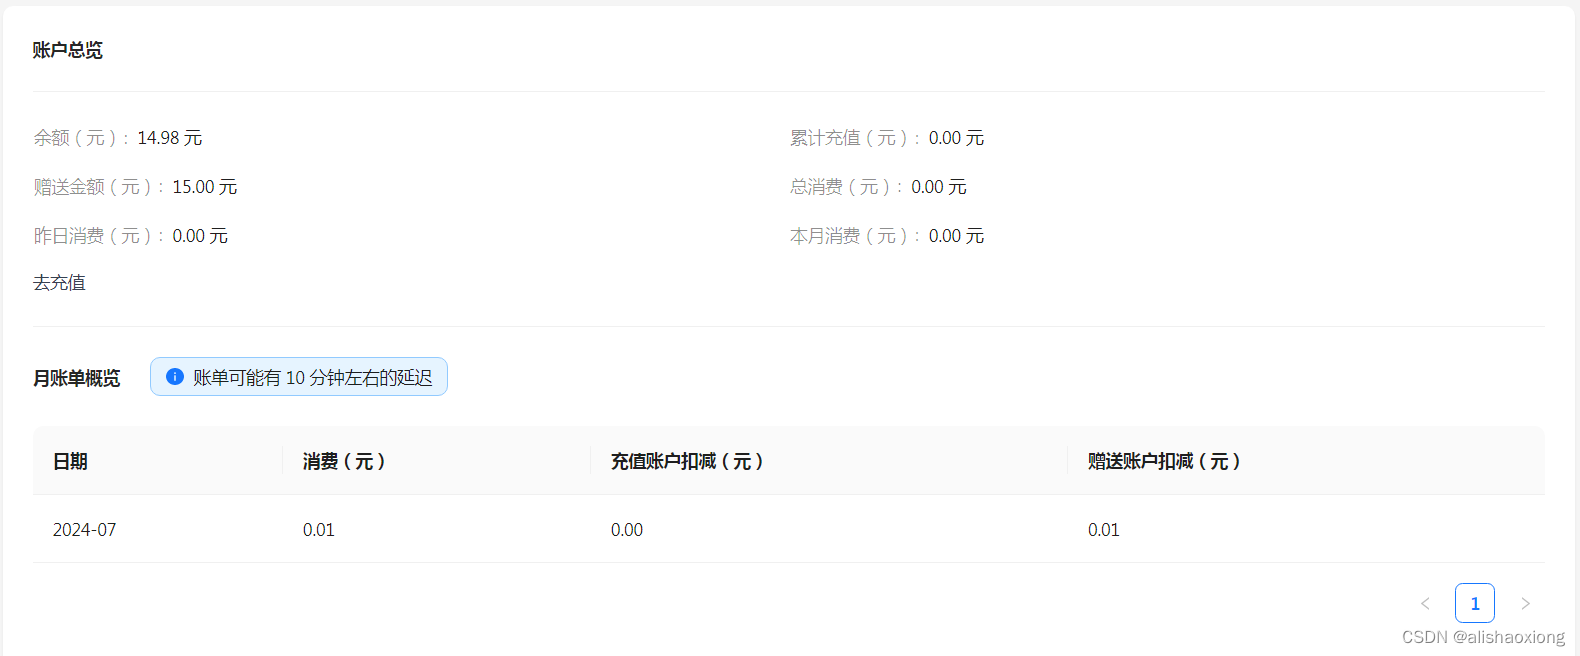
2、注册成功后,默认会赠送我们15元的体验金额。
3、在左侧,有个名叫API Key 管理的菜单,点击这项添加我们的私人Key。

上面的名字随便输入,这里输入的是我们的Key别名,需要注意的是,生成的这个Key是只显示一次的,大家一定记得自己保存起来。
不过好像丢了问题也不大,重新再生成一个就行了。
三、使用步骤
1.添加布局
我这里添加了一个输入框,一个按钮和一个显示区域,代码如下:
<?xml version="1.0" encoding="utf-8"?>
<androidx.constraintlayout.widget.ConstraintLayout xmlns:android="http://schemas.android.com/apk/res/android"
    xmlns:app="http://schemas.android.com/apk/res-auto"
    xmlns:tools="http://schemas.android.com/tools"
    android:layout_width="match_parent"
    android:layout_height="match_parent"
    tools:context=".MainActivity">

    <androidx.appcompat.widget.AppCompatEditText
        android:id="@+id/input_box"
        android:layout_width=
最低0.47元/天 解锁文章


 被折叠的 条评论
为什么被折叠?
被折叠的 条评论
为什么被折叠?
 到【灌水乐园】发言


