


Observium 是一个免费和开源的网络管理和监控系统工具。我们可以使用 SNMP 收集数据,它允许监控所有网络设备。它提供了一个简单易用的 Web 界面。它基于 PHP 并使用 MySQL 数据库来存储数据。
在 ubuntu 上设置 Observium 有几个步骤:
第 1 步:更新系统。
apt-get update
第 2 步:安装 PHP 和模块。
apt install wget apache2 php php-{pear,cgi,common,curl,mbstring,gd,mysql,bcmath,imap,json,xml,snmp,fpm,zip}
- 启动并启用 apache2。
systemctl start apache2
 systemctl enable apache2
- 这是命令输出。
root@ip-172-31-21-156:/home/ubuntu# systemctl enable apache2
 Synchronizing state of apache2.service with SysV service script with /lib/systemd/systemd-sysv-install.
 Executing: /lib/systemd/systemd-sysv-install enable apache2
第 3 步:在系统上安装 Mariadb 服务器。
apt install mariadb-server
- 配置 mariadb 服务器文件。
vim /etc/mysql/mariadb.conf.d/50-server.cnf
- 添加以下几行:
innodb_file_per_table=1
 sql-mode=""
 lower_case_table_names=0
- 重新启动 mariadb 服务器。
systemctl restart mariadb
第四步:登录mariadb服务器。
mysql -u root
- 创建一个数据库。
create database observium;
- 运行授予所有权限命令。
grant all privileges on observium.* to observium@localhost IDENTIFIED by "Password";
 flush privileges;
 quit
- 这是命令输出。
root@ip-172-31-21-156:/home/ubuntu# mysql -u root
 Welcome to the MariaDB monitor. Commands end with ; or \g.
 Your MariaDB connection id is 36
 Server version: 10.3.31-MariaDB-0ubuntu0.20.04.1 Ubuntu 20.04
 Copyright (c) 2000, 2018, Oracle, MariaDB Corporation Ab and others.
 Type 'help;' or '\h' for help. Type '\c' to clear the current input statement.
 MariaDB [(none)]> create database observium;
 Query OK, 1 row affected (0.000 sec)
 MariaDB [(none)]> grant all privileges on observium.* to observium@localhost IDENTIFIED by "Password";
 Query OK, 0 rows affected (0.000 sec)
 MariaDB [(none)]> flush privileges;
 Query OK, 0 rows affected (0.000 sec)
 MariaDB [(none)]> quit
 Bye
- 更新软件包。
apt-get update
- 安装所需的软件包。
apt install rrdtool whois fping imagemagick graphviz mtr-tiny nmap python3-mysqldb snmp snmpd python3-memcache mtr-tiny acl
第五步:在系统中下载Observium。
wget http://www.observium.org/observium-community-latest.tar.gz
- 这是命令输出。
root@ip-172-31-21-156:/home/ubuntu# wget http://www.observium.org/observium-community-latest.tar.gz
 --2021-11-17 14:34:41-- http://www.observium.org/observium-community-latest.tar.gz
 Resolving www.observium.org (www.observium.org)... 51.91.185.43
 Connecting to www.observium.org (www.observium.org)|51.91.185.43|:80... connected.
 HTTP request sent, awaiting response... 301 Moved Permanently
 Location: https://www.observium.org/observium-community-latest.tar.gz [following]
 --2021-11-17 14:34:42-- https://www.observium.org/observium-community-latest.tar.gz
 Connecting to www.observium.org (www.observium.org)|51.91.185.43|:443... connected.
 HTTP request sent, awaiting response... 200 OK
 Length: 113413646 (108M) [application/x-gzip]
 Saving to: ‘observium-community-latest.tar.gz’
 observium-community-latest.tar.gz 100%[===========================================================================================>] 108.16M 3.89MB/s in 26s
 2021-11-17 14:35:08 (4.19 MB/s) - ‘observium-community-latest.tar.gz’ saved [113413646/113413646]
- 解压下载的文件夹。
tar xvf observium-community-latest.tar.gz
- 将提取的文件夹移动到 /var/www/html/。
mv observium /var/www/html/
- 更改 observium 目录并创建一个新的配置文件。
cp /var/www/html/observium/config.php.default /var/www/html/observium/config.php
- 打开创建的配置文件。
vim /var/www/html/observium/config.php
- 设置数据库用户名和密码。
// Database config --- This MUST be configured
 $config['db_extension'] = 'mysqli';
 $config['db_host'] = 'localhost';
 $config['db_user'] = 'observium';
 $config['db_pass'] = 'Password';
 $config['db_name'] = 'observium';
- 创建 rrd 和日志目录。
mkdir /var/www/html/observium/{rrd,logs}
第 6 步:配置 snmpd。
- 复制 snmpd 示例文件。
cp /var/www/html/observium/snmpd.conf.example /etc/snmp/snmpd.conf
- 配置 snmpd.conf 文件。
vim /etc/snmp/snmpd.conf
- 添加以下行。
com2sec readonly default 0bs3rv1um
- 重新启动 snmpd。
systemctl restart snmpd
第七步:配置Apache2。
vim /etc/apache2/sites-available/example.conf
- 添加以下几行:
<VirtualHost *:80>
 ServerAdmin webmaster@localhost
 ServerName example.com
 ServerAlias www.example.com
 DocumentRoot /var/www/html/observium/html/
 ErrorLog ${APACHE_LOG_DIR}/error.log
 CustomLog ${APACHE_LOG_DIR}/access.log combined
 <Directory /var/www/html/observium/html>
 Options Indexes FollowSymLinks MultiViews
 AllowOverride All
 Require all granted
 </Directory>
 </VirtualHost>
- 启用配置文件。
a2ensite example.conf
- 禁用默认配置文件。
a2dissite 000-default.conf
- 为 /var/www/html/observium 文件夹提供以下权限。
chown -R www-data:www-data /var/www/html/observium/*
 chmod 775 -R /var/www/html/observium/*
- 启用重写模式。
a2enmod rewrite
- 重启Apache2。
service apache2 restart
第 8 步:在 Web UI 上配置 Observium。
- 更改目录。
cd /var/www/html/observium
- 运行以下命令。
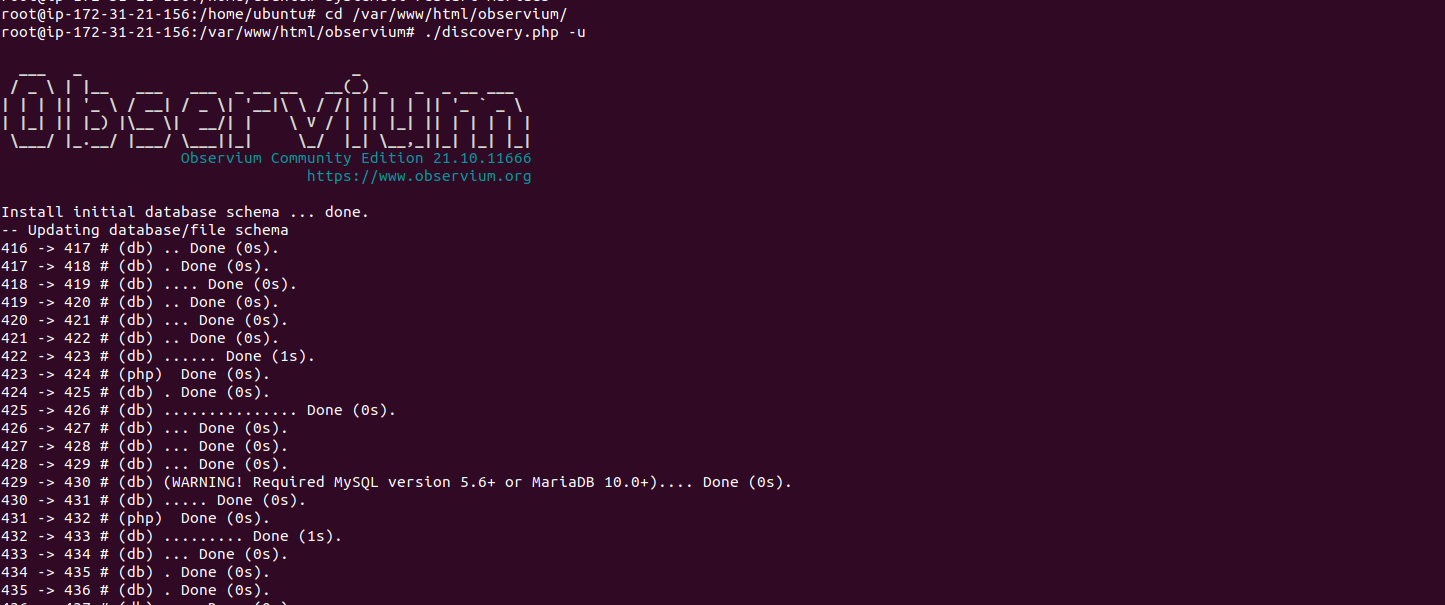
./discovery.php -u
- 这是命令输出。
- 添加管理员用户。
句法:
adduser.php <username> <password> <level 1-10> [email]
其中级别是:
0 - Disabled means user disabled.
 1 - Normal User means User has read access to individual entities.
 5 - Global Read means user has global read access.
 7 - Global Secure means Read user has global read access with secured info.
 8 - Global Secure Read / Limited Write means user has secure global read access with scheduled maintenence read/write.
 10 - Administrator means user has full administrative access.
跑:
root@ip-172-31-21-156:/var/www/html/observium# ./adduser.php admin Password@123 10
- 这是命令输出。
root@ip-172-31-21-156:/var/www/html/observium# ./adduser.php admin Password@123 10
 Observium CE 21.10.11666
 Add User
 User admin added successfully.
第 8 步:打开 Observium Web 界面。
http://server-ip
- 提供用户名和密码。
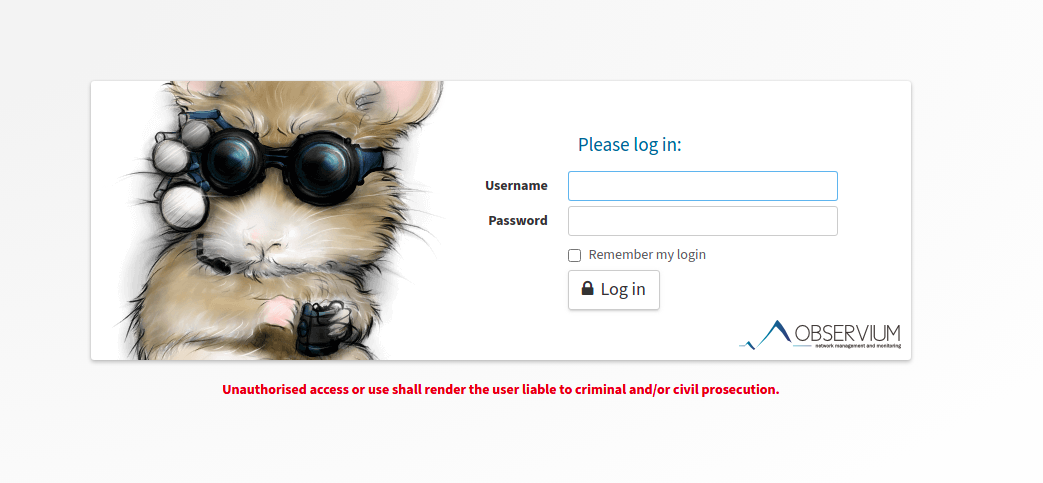
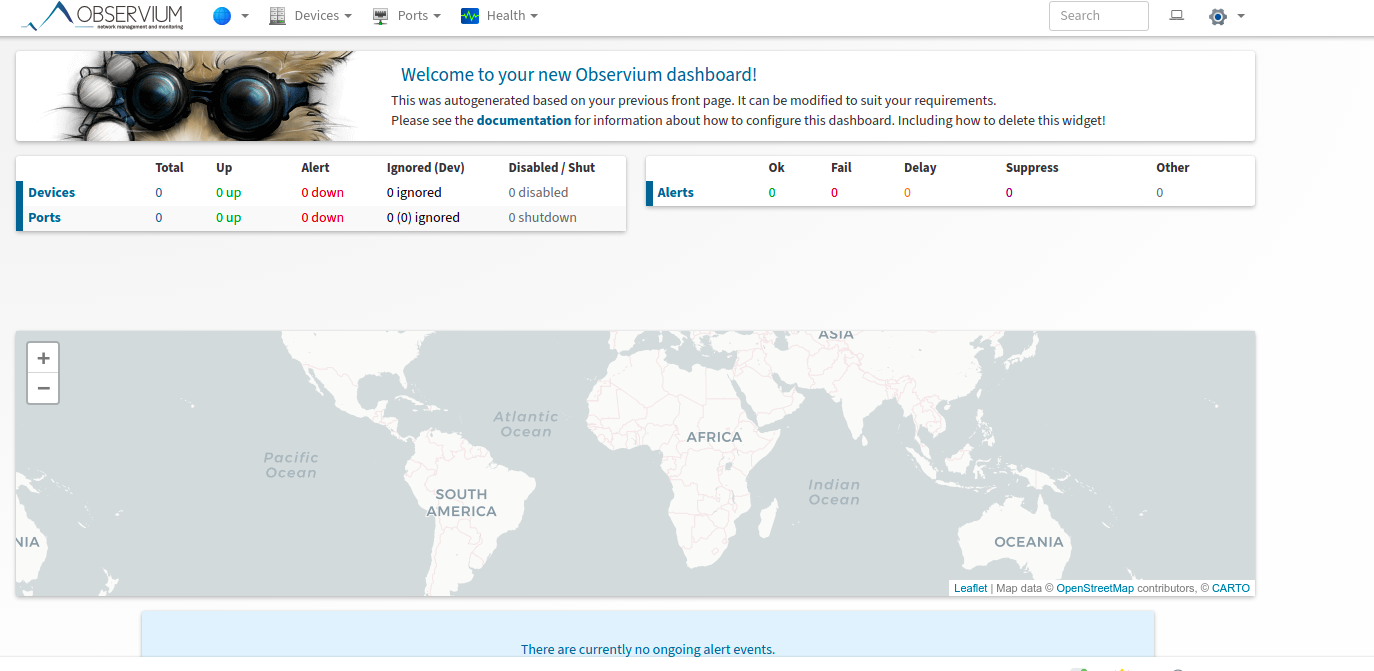
- 现在,Observium 已准备就绪。


 643
643


 被折叠的 条评论
为什么被折叠?
被折叠的 条评论
为什么被折叠?
 到【灌水乐园】发言


