


主要代码参考https://blog.csdn.net/wzh191920/article/details/79589506
GitHub:https://github.com/yinghualuowu
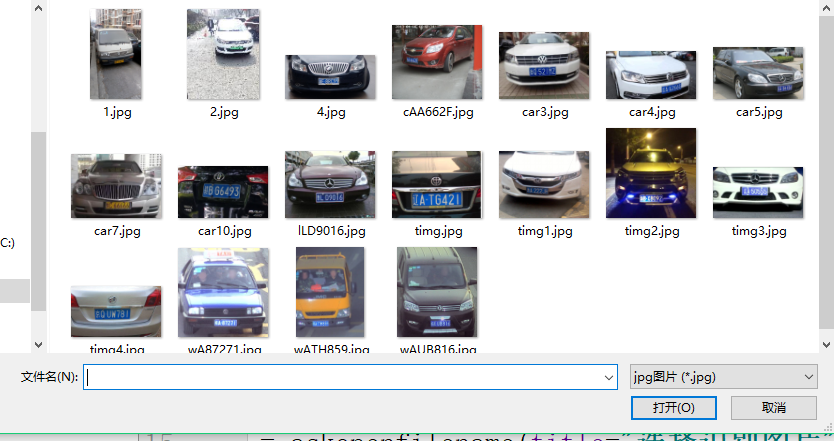
首先我们需要一个函数可以随时获取图片,无论在什么地方
filename = askopenfilename(title="选择识别图片", filetypes=[("jpg图片", "*.jpg"),("png图片","*.png")])
def img_read(filename):
    return  cv2.imdecode(np.fromfile(filename, dtype=np.uint8), cv2.IMREAD_COLOR)
另外我们需要考虑图片大小
pic_hight,pic_width = img.shape[:2]
if pic_width > MAX_WIDTH:
    resize_rate = MAX_WIDTH / pic_width
    img = cv2.resize(img, (MAX_WIDTH, int(pic_hight * resize_rate)), interpolation=cv2.INTER_AREA)
#缩小图片
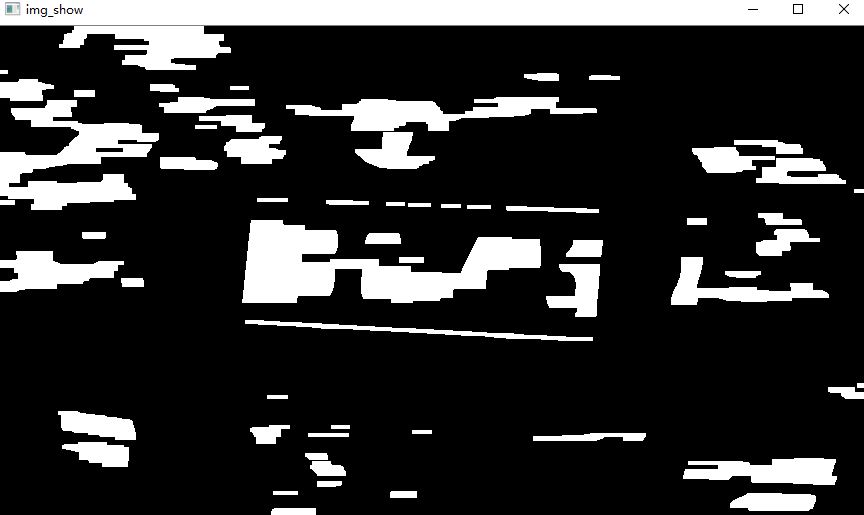
进行形态学操作,以下步骤并不是必选项,根据方法来选取一些预处理步骤
blur = 3
img = cv2.GaussianBlur(img,(blur,blur),0)
oldimg = img
img = cv2.cvtColor(img, cv2.COLOR_BGR2GRAY)
#转化成灰度图像

Matrix = np.ones((20, 20), np.uint8)
img_opening = cv2.morphologyEx(img, cv2.MORPH_OPEN, Matrix)
img_opening = cv2.addWeighted(img, 1, img_opening, -1, 0)
#创建20*20的元素为1的矩阵 开操作,并和img重合

ret, img_thresh = cv2.threshold(img_opening, 0, 255, cv2.THRESH_BINARY + cv2.THRESH_OTSU)
img_edge = cv2.Canny(img_thresh, 100, 200)
#Otsu’s二值化 找到图像边缘

Matrix = np.ones((4, 19), np.uint8)
img_edge1 = cv2.morphologyEx(img_edge, cv2.MORPH_CLOSE, Matrix)
img_edge2 = cv2.morphologyEx(img_edge1, cv2.MORPH_OPEN, Matrix)
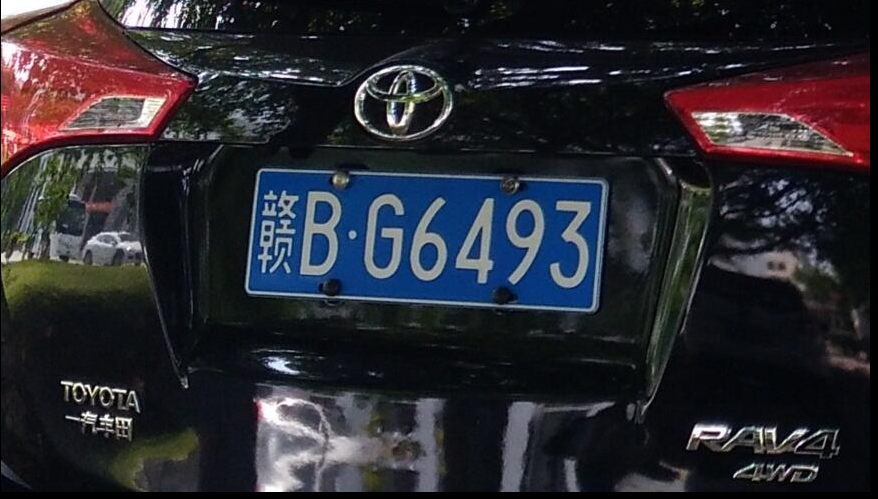
比如下面这张进行预处理后,就变成


 5532
5532


 被折叠的 条评论
为什么被折叠?
被折叠的 条评论
为什么被折叠?
 到【灌水乐园】发言


