


最近打算学习下走zookeeper+dubbo 相关知识,分享一下所遇到的问题,希望可以帮到大家,如还有其他问题请各位大神不吝赐教!
zookeeper在windows 环境下安装与配置步骤:
1.zookeeper下载地址:http://mirrors.hust.edu.cn/apache/zookeeper/,可自行选择版本;
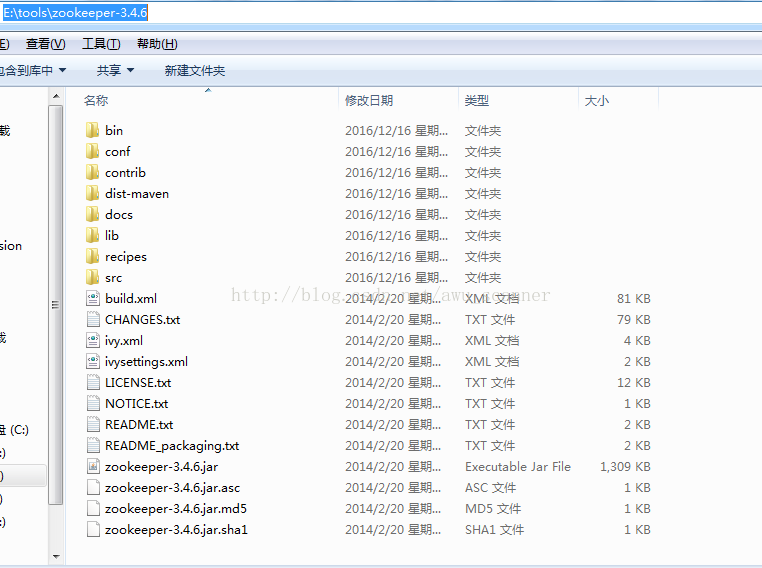
2.下载完成后解压到你要安装的目录,文件目录如图
3.修改配置文件,由于机器数量有限,这里采用伪分布式配置模拟集群配置:
进入到conf文件下看到zoo_sample.cfg文件,将其复制一份命名为zoo.cfg放在同一目录中,之后打开内容如下
# The number of milliseconds of each tick
tickTime=2000
# The number of ticks that the initial
# synchronization phase can take
initLimit=10
# The number of ticks that can pass between
# sending a request and getting an acknowledgement
syncLimit=5
# the directory where the snapshot is stored.
# do not use /tmp for storage, /tmp here is just
# example sakes.
dataDir=/tmp/zookeeper
# the port at which the clients will connect
clientPort=2181
# the maximum number of client connections.
# increase this if you need to handle more clients
#maxClientCnxns=60
# Be sure to read the maintenance section of the
# administrator guide before turning on autopurge.
# http://zookeeper.apache.org/doc/current/zookeeperAdmin.html#sc_maintenance
# The number of snapshots to retain in dataDir
#autopurge.snapRetainCount=3
# Purge task interval in hours
# Set to "0" to disable auto purge feature
#autopurge.purgeInterval=1
将内容修改为
# The number of milliseconds of each tick
tickTime=2000
# The number of ticks that the initial
# synchronization phase can take
initLimit=10
# The number of ticks that can pass between
# sending a request and getting an acknowledgement
syncLimit=5
# the directory where the snapshot is stored.
# do not use /tmp for storage, /tmp here is just
# example sakes.
dataDir=F://zk//temp//zookeeper//server001//data
dataLogDir=F://zk//temp//zookeeper//server001/logs
# the port at which the clients will connect
clientPort=2181
# the maximum number of client connections.
# increase this if you need to handle more clients
#maxClientCnxns=60
#
# Be sure to read the maintenance section of the
# administrator guide before turning on autopurge.
#
# http://zookeeper.apache.org/doc/current/zookeeperAdmin.html#sc_maintenance
#
# The number of snapshots to retain in dataDir
#autopurge.snapRetainCount=3
# Purge task interval in hours
# Set to "0" to disable auto purge feature
#autopurge.purgeInterval=1
server.1=127.0.0.1:8881:7771
server.2=127.0.0.1:8882:7772
server.3=127.0.0.1:8883:7773
server.4=127.0.0.1:8884:7774
server.5=127.0.0.1:8885:7775
ps:参数说明
- tickTime:心跳间隔,这个时间作为zookeeper服务器之间或zookeeper服务器与客户端服务器维持心跳的时间间隔,即每隔 tickTime 时间就会发送一个心跳
- initLimit:这个配置项是用来配置 Zookeeper 接受客户端(这里所说的客户端不是用户连接 Zookeeper 服务器的客户端,而是 Zookeeper 服务器集群中连接到 Leader 的 Follower 服务器)初始化连接时最长能忍受多少个心跳时间间隔数。当已经超过 5个心跳的时间(也就是 tickTime)长度后 Zookeeper 服务器还没有收到客户端的返回信息,那么表明这个客户端连接失败。总的时间长度就是 5*2000=10 秒
- syncLimit:这个配置项表示 Leader 与 Follower 之间发送消息,请求和相应时间长度,最长不能超过多少个 tickTime 的时间长度,总的时间长度就是 2*2000=4 秒
- dataDir:zookeeper存储数据的目录,默认情况下,zookeeper的日志问价也会保存至该目录
- clientPort:客户端连接zookeeper的端口号
- server.A=B:C:D:其中 A 是一个整形数字,表示服务器下标;B 是这个服务器的 ip 地址;C 表示的是这个服务器与集群中的 Leader 服务器交换信息的端口;D 表示的是万一集群中的 Leader 服务器挂了,需要一个端口来重新进行选举,选出一个新的 Leader,而这个端口就是用来执行选举时服务器相互通信的端口。如果是伪集群的配置方式,由于 B 都是一样,所以不同的 Zookeeper 实例通信端口号不能一样,所以要给它们分配不同的端口号。
4.新建伪服务数据存储目录,这里配置了5个伪服务器,so新建5个文件夹分别为server001,server002,server003,server004,server005,再在这5个文件夹下分别新建data和logs文件存储数据文件和日志文件,然后把zookeeper jar包分别放入server00X目录下,之后在每个data文件下新建myid文件txt格式即可,内容分别为1,2,3,4,5,代表服务器下标,命令如下:
echo 1 >> F:\zk\temp\zookeeper-3.4.6\server006\data\myid
执行该命令后可在data目录下找到myid文件,打开内容为1 表示创建成功;改变路径一次在5个data文件下创建myid文件;
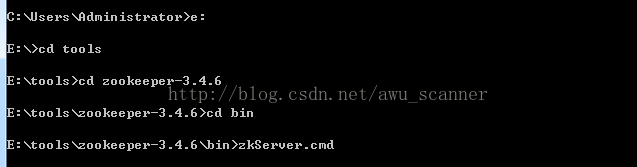
5.启动zookeeper服务:
cmd进入到zookeeper安装目录的bin目录下,选择zkServer.cmd 回车启动,也可直接进入到该目录下双击zkServer.cmd启动,如图所示:
启动过程中可能遇到以下情况:
- cmd命令窗口闪退,这时可以修改zkServer.cmd文件内容,在末尾加上 pause关键字,之后再启动cmd窗口不会闪退,且可看到启动时所抛出的异常,可以根据异常描述进行相关处理,可能出现的异常如下(我所遇到的):
- Error: JAVA_HOME is incorrectly set:缺少jdk或者jdk版本不匹配等相关问题
- java.net.bindexception address already:端口号被占用
- java.lang.numberformatexception:数字转换异常,出现原因可能是myid文件内容问题,或者在使用命令启动时在zkServer.cmd 多了其他内容,使用命令启动时如上图所示选择到zkServer.cmd即可,后面不需要任何内容;
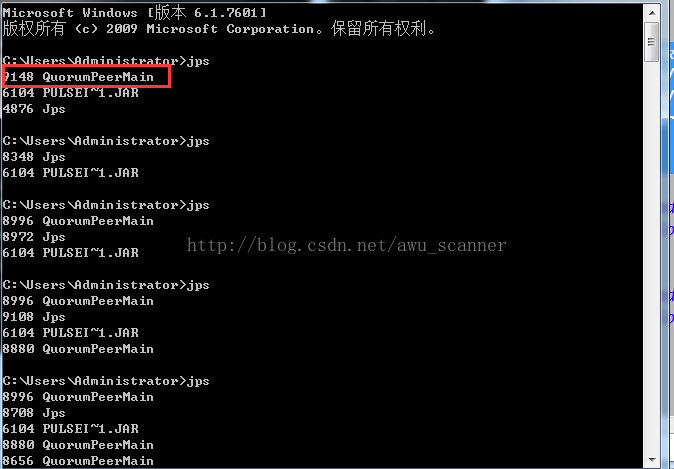
依次改变配置内容启动每个伪服务,到这里zookeeper伪分布式服务器的安装启动已完成;


 2879
2879

 被折叠的 条评论
为什么被折叠?
被折叠的 条评论
为什么被折叠?
 到【灌水乐园】发言


