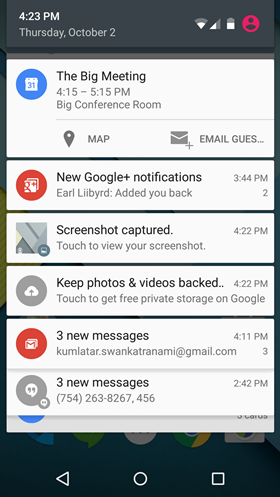
1. 创建notification
Notification.Builder builder = new Notification.Builder(this)
        .setSmallIcon(R.id.icon)
        .setContentTitle("标题")
        .setContentText("详细文本");
通过Builder模式创建Notification.Builder实例,有了builder对象,可以给它添加各种属性,例如标题,内容,图标等
2. 定义Action
给点击Notification后要执行的操作增加一个Intent,由于这个Intent不是马上就执行的,而是有用户触发的,所以Android给这样的Intent提供了一个延迟意图PendingIntent来帮助我们完成这样的操作
PendingIntent的使用非常简单,只需要在Intent的基础上包装一层就可以了,代码如下所示
Intent resultIntent = new Intent(this, ResultActivity.class);
PendingIntent resultPendingIntent = PendingIntent.getActivity(this, 0, resultIntent,
                PendingIntent.FLAG_UPDATE_CURRENT);
这样当点击Notification后,就会触发PendingIntent事件,跳转到指定的Activity
3. 设置点击事件
builder.setContentIntent(resultPendingIntent);注意事项:当点击通知跳转到Activity的时候,Activity会重新走生命周期,想要保持原来的状态,需要给Activity配置一个launchMode = “singleTask”
4. 发送通知
通过NotificationManager通知管理器的notify()方法来发送Notification,并给Notification一个id值,这个id会在更新Notification的时候用到
NotificationManager mNotifyMgr =
        (NotificationManager) getSystemService(NOTIFICATION_SERVICE);
int mNotificationId = 001;
mNotifyMgr.notify(mNotificationId, builder.build());
5. 使用BigView样式
Notification.Builder builder = new Notification.Builder(this)
                .setSmallIcon(R.drawable.ic_stat_notification)
                .setContentTitle(getString(R.string.notification))
                .setContentText(getString(R.string.ping))
                .setDefaults(Notification.DEFAULT_ALL)
                .setStyle(new NotificationCompat.BigTextStyle()
                        .bigText(msg))
                .addAction (R.drawable.ic_stat_dismiss,
                        getString(R.string.dismiss), piDismiss)
                .addAction (R.drawable.ic_stat_snooze,
                        getString(R.string.snooze), piSnooze);
6. 显示Notification进度
int id = 1;
...
NotificationManager mNotifyManager =
        (NotificationManager) getSystemService(Context.NOTIFICATION_SERVICE);
Notification.Builder mBuilder = new Notification.Builder(this);
mBuilder.setContentTitle("Picture Download")
        .setContentText("Download in progress")
        .setSmallIcon(R.drawable.ic_notification);

new Thread(new Runnable() {
            @Override
            public void run() {
                int i;

                for (i = 0; i <= 100; i+=5) {
                    mBuilder.setProgress(100, i, false);
                    mNotifyManager.notify(id, mBuilder.build());
                    Thread.sleep(5*1000);
                }

                mBuilder.setContentText("Download complete")
                        .setProgress(0,0,false);
                mNotifyManager.notify(id, mBuilder.build());
            }
        }
).start();
7. 更新通知
根据id来更新通知
8. 自定义通知布局
Notification的自定义布局通过RemoteViews去实现,调用Notification.Builder的setCustomContentView()方法设置自定义的布局
  //通过RemoteViews来创建自定义的Notification视图
RemoteViews contentView = new RemoteViews(getPackageName(), R.layout.notification);
contentView.setTextViewText(R.id.tv, "show me when collapsed");

Notification.Builder builder = new Notification.Builder(this)
                .setCustomContentView(contentView);
折叠式Notification
折叠式Notification 也是一种自定义视图的Notification ,常常用于显示长文本。它拥有两个视图状态, 一个是普通状态下的视图状态, 另一个是展开状态下的视图状态。在Notitication中,使用RemoteViews 来帮助我们创建一个自定义的Notification 视图,代码如下所示。
 //通过RemoteViews来创建自定义的Notification视图
        RemoteViews contentView = n


 最低0.47元/天 解锁文章


 113
113

 被折叠的 条评论
为什么被折叠?


