


上一节中我们基于 security 中默认提供的认证流程实现了登录功能。但是这个默认的实现只提供了用户名和密码登录,很显然在日常的项目中无法满足我们的需求。因此在这一节中将实现一个图形验证码的登录功能。在开始之前我们需要了解一下 security 的工作机制。
当我们发生一次请求时,首先会经过一组过滤器,security 就是基于这条过滤器链完成的。这条过滤器链在 spring boot 启动的时候就为我们填充完成了,而且顺序也是固定的。因此,我们的验证码实现的思路就很简单了,只需要在校验用户名和密码之前插入一个验证码的过滤器就可以实现了。关于过滤器链,这里可以找到
UsernamePasswordAuthenticationFilter 的父类 AbstractAuthenticationProcessingFilter 中的doFilter 方法,打断点,执行登录操作,可以看到,如下:

我们的目标就是在UsernamePasswordAuthenticationFilter 图中标红的位置插入验证码的过滤器,校验成功之后执行下一个过滤器,校验失败直接停止。这个就是我插入的一个验证码的过滤器。
ValidateCodeAuthenticationFilter 过滤器
public class ValidateCodeAuthenticationFilter extends OncePerRequestFilter {
    private static final Logger log = LoggerFactory.getLogger(ValidateCodeAuthenticationFilter.class);
    private static final String SPRING_SECURITY_FORM_VALIDATE_CODE_KEY = "validateCode";
    private ValidateCodeProcessor validateCodeProcessor;
    private AuthenticationFailureHandler authenticationFailureHandler;
    private List<String> authorizeRequests;

    @Override
    protected void doFilterInternal(HttpServletRequest request, HttpServletResponse response, FilterChain filterChain) throws ServletException, IOException {
        //验证该请求我们是否进行拦截,不拦截这里直接执行下一个 Filter
        if (checkMatch(request)) {
            //获取验证码
            String validateCode = obtainValidateCode(request);
            if (validateCode == null) {
                validateCode = "";
            }

            validateCode = validateCode.trim();

            try {
                //进行验证,验证失败抛出异常
                validateCodeProcessor.verification(request, validateCode);
            } catch (ValidateCodeException e) {
                // 这里捕获验证失败异常,停止执行下一个Filter
                authenticationFailureHandler.onAuthenticationFailure(request, response, e);
                return;
            }

        }
        filterChain.doFilter(request, response);
    }

    private String obtainValidateCode(HttpServletRequest request) {
        return request.getParameter(SPRING_SECURITY_FORM_VALIDATE_CODE_KEY);
    }

    private boolean checkMatch(HttpServletRequest request) {
        String url = request.getRequestURI();
        log.debug("Request URL is :[{}]", url);
        return authorizeRequests.contains(url);
    }

    public void setValidateCodeProcessor(ValidateCodeProcessor validateCodeProcessor) {
        this.validateCodeProcessor = validateCodeProcessor;
    }

    public void setAuthenticationFailureHandler(AuthenticationFailureHandler authenticationFailureHandler) {
        this.authenticationFailureHandler = authenticationFailureHandler;
    }

    public void setAuthorizeRequests(List<String> authorizeRequests) {
        this.authorizeRequests = authorizeRequests;
    }
}
- 继承了
OncePerRequestFilter保证只执行一次 checkMatch(request)方法检查是否符合拦截规则,这里我们只拦截登录请求的urlvalidateCodeProcessor.verification(request, validateCode)不抛出异常,则代表校验通过,直接执行下一个过滤器,失败的时候通过authenticationFailureHandler返回登录失败结果。
添加 ValidateCodeAuthenticationFilter 到UsernamePasswordAuthenticationFilter之前。
AbstractPreAuthenticatedProcessingFilter为UsernamePasswordAuthenticationFilter 父类
public class ValidateCodeSecurityConfig extends SecurityConfigurerAdapter<DefaultSecurityFilterChain, HttpSecurity> {
    private Filter validateCodeAuthenticationFilter;

    public ValidateCodeSecurityConfig(Filter validateCodeAuthenticationFilter) {
        this.validateCodeAuthenticationFilter = validateCodeAuthenticationFilter;
    }

    @Override
    public void configure(HttpSecurity builder) throws Exception {
        builder.addFilterBefore(validateCodeAuthenticationFilter, AbstractPreAuthenticatedProcessingFilter.class);
    }
}
应用ValidateCodeSecurityConfig配置
@Configuration
@EnableWebSecurity
@EnableGlobalMethodSecurity(prePostEnabled = true)
@PropertySource("classpath:security-config.properties")
@Slf4j
public class WebSecurityConfig extends WebSecurityConfigurerAdapter {
    @Autowired
    SecurityConfigurerAdapter<DefaultSecurityFilterChain, HttpSecurity> validateCodeConfigurerAdapter;

    @Override
    protected void configure(HttpSecurity httpSecurity) throws Exception {
        httpSecurity.csrf().disable()
                .authorizeRequests()
                //省略 loginform()
                .and().apply(validateCodeConfigurerAdapter)
                //省略其他配置项
    }
到这里我们的验证码过滤器已经完成了,下面我们去实现一个生成验证码的接口
@Slf4j
@RestController
@RequestMapping("${spring.security.code.servlet.path:/}")
public class ValidateCodeGeneratorController {
    private ValidateCodeProcessor validateCodeProcessor;

    public ValidateCodeGeneratorController(ValidateCodeProcessor validateCodeProcessor) {
        this.validateCodeProcessor = validateCodeProcessor;
    }

    @GetMapping(value = "/refresh", produces = MediaType.IMAGE_PNG_VALUE)
    public byte[] getValidateCode(HttpServletRequest request) {
        //生成验证码
        ImageCode code = (ImageCode) validateCodeProcessor.send();
        //将验证码存储到session中
        validateCodeProcessor.store(request, code);
        //返回验证码图片的字节数组给页面
        return code.getImage();
    }
}
验证码处理器
public abstract class AbstractValidateCodeProcessor implements ValidateCodeProcessor {
    private static final Logger LOG = LoggerFactory.getLogger(AbstractValidateCodeProcessor.class);
    private ValidateCodeStorage validateCodeStorage;
    private ValidateCodeProperties validateCodeProperties;

    public AbstractValidateCodeProcessor(ValidateCodeStorage validateCodeStorage, ValidateCodeProperties validateCodeProperties) {
        this.validateCodeStorage = validateCodeStorage;
        this.validateCodeProperties = validateCodeProperties;
    }

    @Override
    public ValidateCode generator() {
        //生成随机字母和数字
        String code = RandomStringUtils.randomAlphanumeric(validateCodeProperties.getLength());
        long currentTime = System.currentTimeMillis();
        //设置验证码过期时间
        ValidateCode validateCode = new ValidateCode(code, new Date(currentTime + validateCodeProperties.getExpireInSecond() * 1000));
        LOG.info("The validate code is generated:[{}]", validateCode.getValidateCode());
        return validateCode;
    }

    @Override
    public void verification(HttpServletRequest request, String code) throws ValidateCodeException {
        //从session中取出验证码,这里的 validateCodeStorage为接口 之后可以扩展为 基于redis的
        ValidateCode validateCode = validateCodeStorage.get(request);
        if (validateCode == null) {
            throw new ValidateCodeNotFoundException("The captcha not found");
        }
        if (validateCode.getExpireTime().before(new Date())) {
            throw new ValidateCodeExpireException("The captcha has expired");
        }

        if (!validateCode.getValidateCode().equalsIgnoreCase(code)){
            throw new ValidateCodeNotMatchedException("The captcha not matched");
        }
    }

    @Override
    public boolean store(HttpServletRequest request, ValidateCode code) {
        //向session写入验证码
        return validateCodeStorage.set(request, code);
    }
}
图片验证码生成操作
public class ImageCodeGenerator extends AbstractValidateCodeProcessor {
    private ImageDrawer imageDrawer;

    public ImageCodeGenerator(ValidateCodeStorage validateCodeStorage, ValidateCodeProperties validateCodeProperties, ImageDrawer imageDrawer) {
        super(validateCodeStorage, validateCodeProperties);
        this.imageDrawer = imageDrawer;
    }

    @Override
    public Object send() {
        ValidateCode validateCode = this.generator();
        return imageDrawer.draw(validateCode);
    }
}
public class DefaultImageDrawer implements ImageDrawer {
    private static final Logger LOG = LoggerFactory.getLogger(DefaultImageDrawer.class);
    private ImageCodeProperties imageCodeProperties;

    public DefaultImageDrawer(ImageCodeProperties imageCodeProperties) {
        this.imageCodeProperties = imageCodeProperties;
    }

    @Override
    public ImageCode draw(ValidateCode code) {
        return generateValidateCode(code);
    }

    private ImageCode generateValidateCode(ValidateCode validateCode) {
        int width = imageCodeProperties.getWidth();
        int height = imageCodeProperties.getHeight();
        BufferedImage image = new BufferedImage(width, height, BufferedImage.TYPE_INT_RGB);

        Graphics g = image.getGraphics();

        Random random = new Random();

        g.setColor(getRandColor(200, 250));
        g.fillRect(0, 0, width, height);
        g.setFont(new Font("Times New Roman", Font.ITALIC, 20));
        g.setColor(getRandColor(160, 200));
        for (int i = 0; i < 155; i++) {
            int x = random.nextInt(width);
            int y = random.nextInt(height);
            int xl = random.nextInt(12);
            int yl = random.nextInt(12);
            g.drawLine(x, y, x + xl, y + yl);
        }
        String code = validateCode.getValidateCode();
        StringBuilder sRand = new StringBuilder();
        for (int i = 0; i < code.length(); i++) {
            String rand = String.valueOf(code.charAt(i));
            sRand.append(rand);
            g.setColor(new Color(20 + random.nextInt(110), 20 + random.nextInt(110), 20 + random.nextInt(110)));
            g.drawString(rand, 13 * i + 6, 16);
        }

        g.dispose();
        byte[] imageBuffer = null;
        try (ByteArrayOutputStream out = new ByteArrayOutputStream()){
            ImageIO.write(image, "PNG", out);
            imageBuffer = out.toByteArray();
        }catch (IOException e) {
            LOG.error("Draw image failed!");
        }
        return new ImageCode(sRand.toString(), validateCode.getExpireTime() , imageBuffer);
    }

    private Color getRandColor(int fc, int bc) {
        Random random = new Random();
        if (fc > 255) {
            fc = 255;
        }
        if (bc > 255) {
            bc = 255;
        }
        int r = fc + random.nextInt(bc - fc);
        int g = fc + random.nextInt(bc - fc);
        int b = fc + random.nextInt(bc - fc);
        return new Color(r, g, b);
    }
}
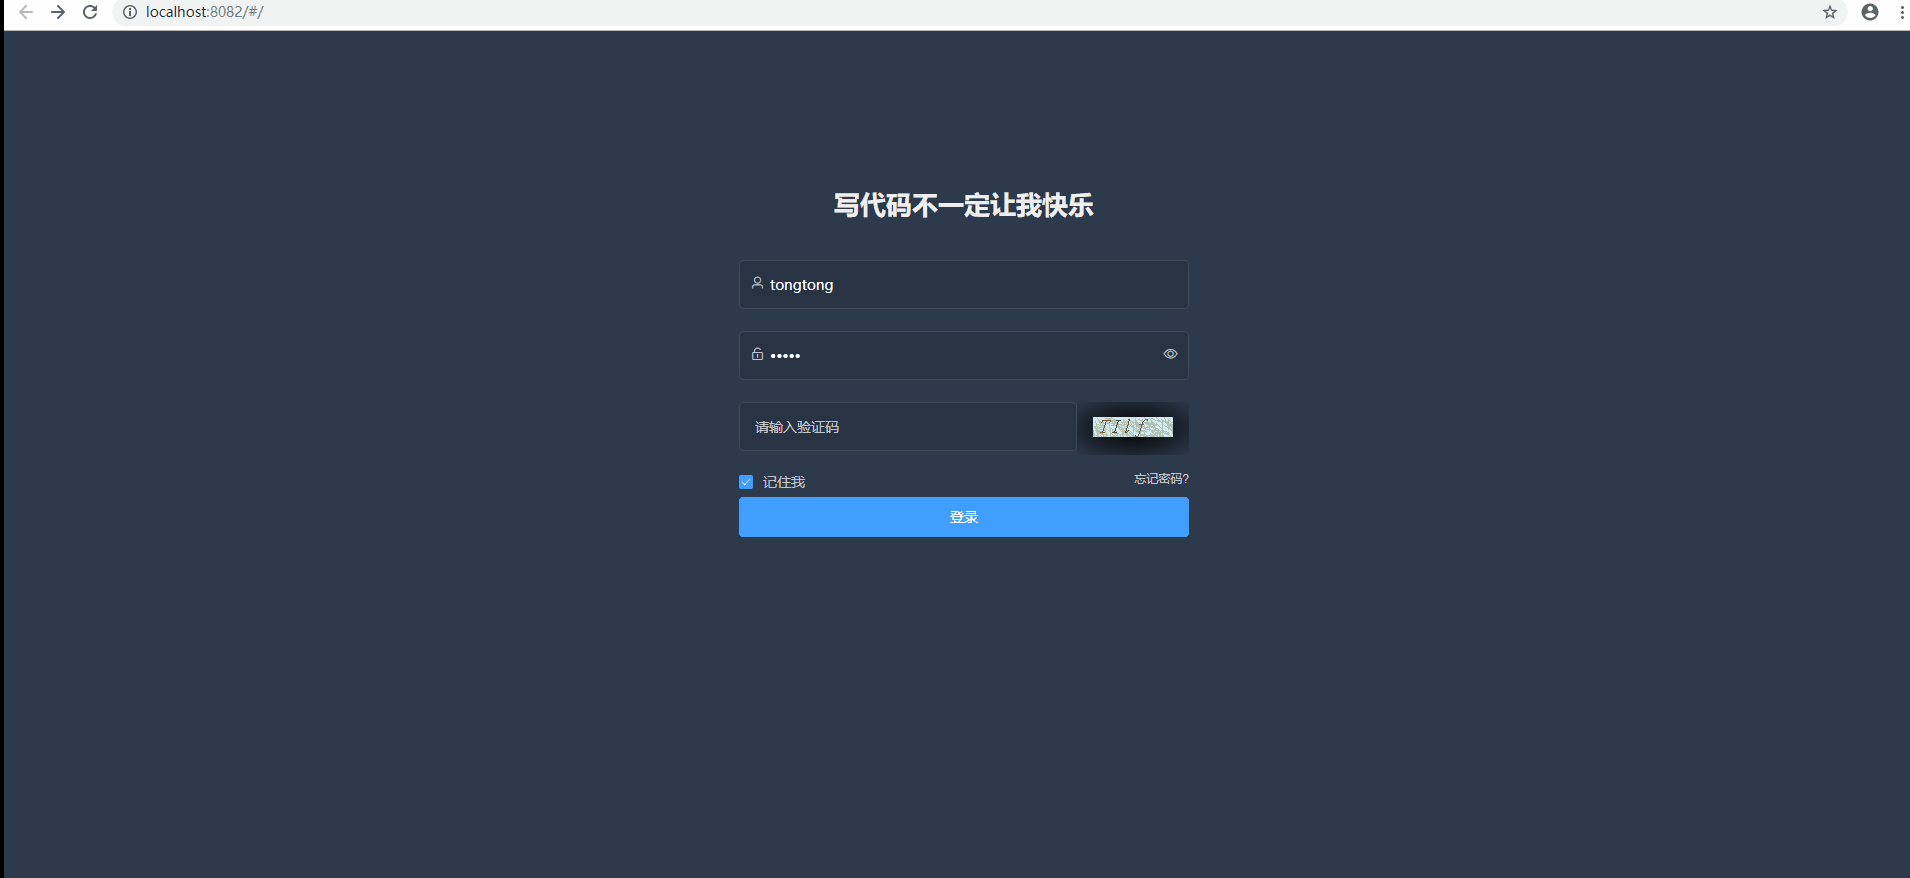
我们可以展示下效果
后端项目地址:https://github.com/QUPENGRANDOM/vd-mall
前端项目地址:https://github.com/QUPENGRANDOM/vd-mall-web


 383
383


 被折叠的 条评论
为什么被折叠?
被折叠的 条评论
为什么被折叠?
 到【灌水乐园】发言


