


 本文详细介绍了React中的基础概念,如jsx语法、函数式与类组件的区别、ref的使用、生命周期函数(新旧版)、受控组件、跨域处理、路由、Hook、Fragment和PureComponent的使用,以及错误边界处理和组件间通信。
一、基础
1、使用babel解析

2、不直接使用jsx,jsx写起来很繁琐

3、jsx语法规则

4、函数式组件的使用

5、函数式组件渲染

6、类组件渲染

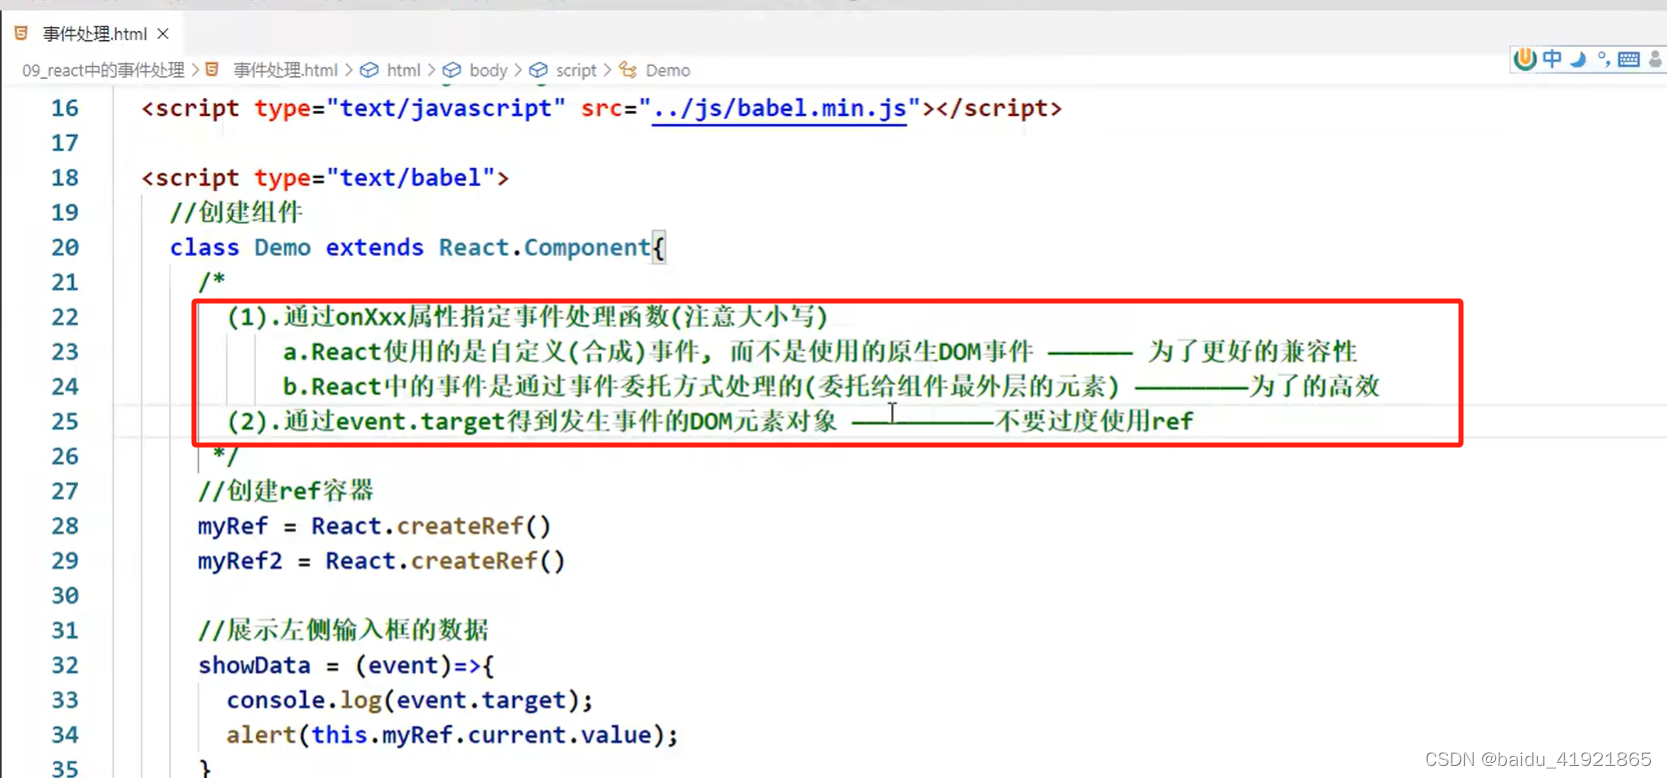
7、类组件中事件调用this指向问题

8、类组件不能直接改变状态

9、props接收数据类型限制

类型限制放到类组件内部,用static关键字

10、ref的使用
字符串ref:不推荐使用
回调ref(内联函数),更新会执行两次,第一次参数为null,第二次才是dom,这个无关紧要。
要想只执行一次,就不能写成内联函数,要把函数写到类上,用this调用才行;

createRef的使用

react改写了原生的事件分析:
11、jsx注释

12、受控组件与非受控组件
受控组件:组件内有状态存储变量

非受控组件:表单的值现用现取

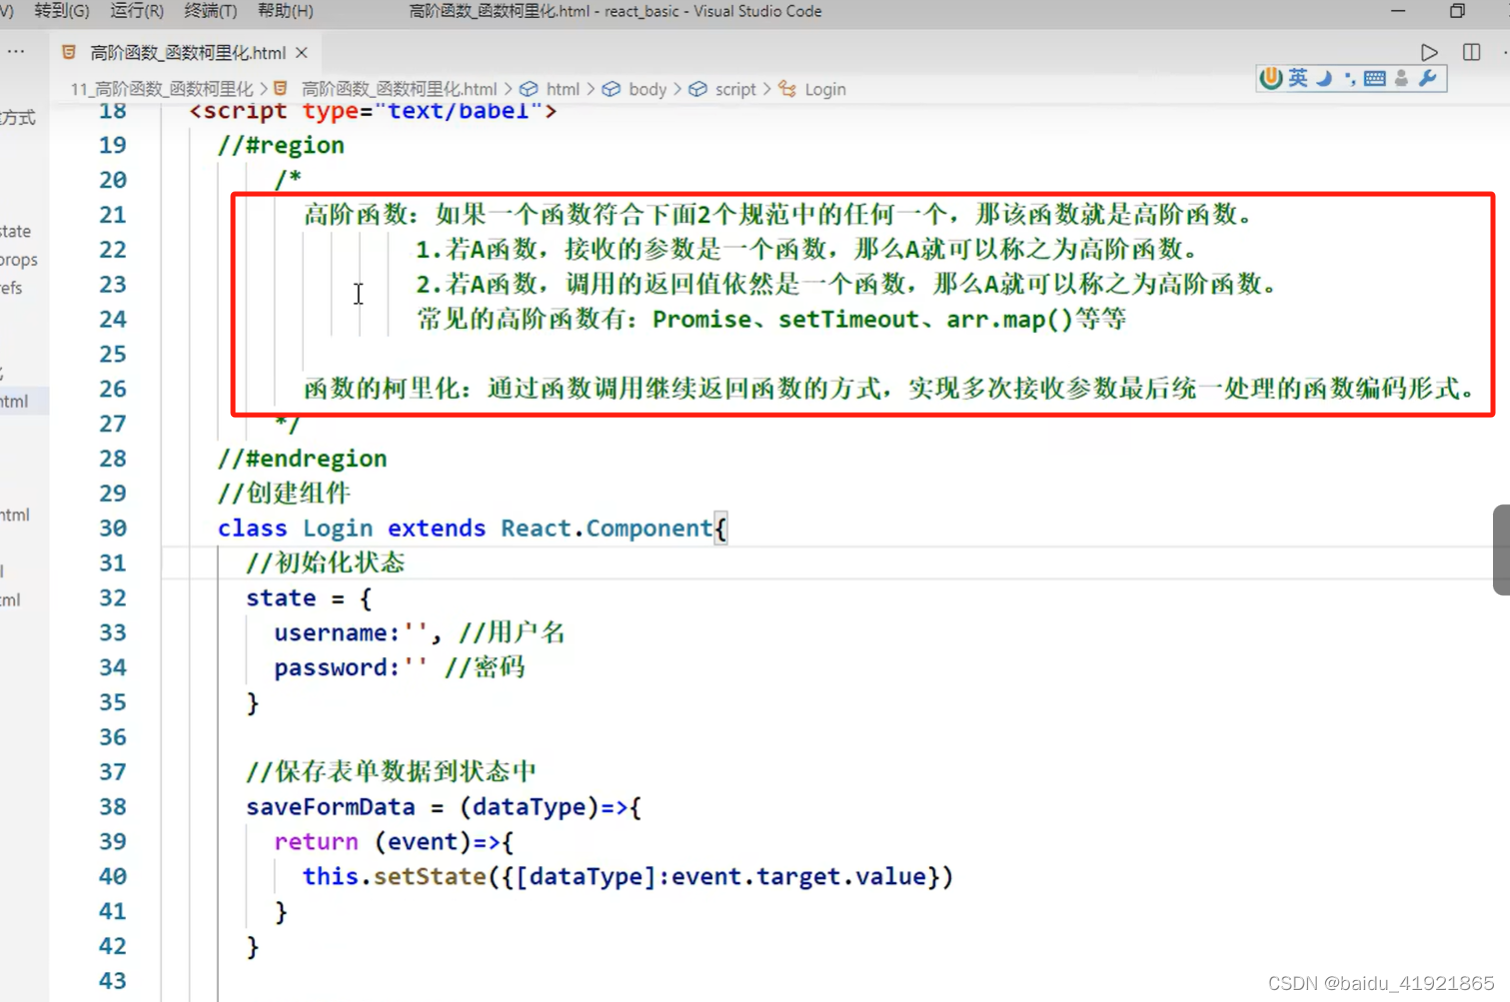
13、高阶函数、函数柯理化
14、生命周期函数(旧)


15、生命周期函数(新)
相比旧版新增了2个,删除了3个


getSnapshotBeforeUpdate钩子的应用场景
<!DOCTYPE html>
<html lang="en">
<head>
  <meta charset="UTF-8">
  <meta name="viewport" content="width=device-width, initial-scale=1.0">
  <title>Document</title>
  <script crossorigin src="https://unpkg.com/react@18/umd/react.development.js"></script>
  <script crossorigin src="https://unpkg.com/react-dom@18/umd/react-dom.development.js"></script>
  <script src="https://unpkg.com/babel-standalone@6/babel.min.js"></script>
  <script src="https://cdn.bootcdn.net/ajax/libs/prop-types/15.8.1/prop-types.js"></script>
</head>
<style>
  .list{
    width: 200px;
    height: 150px;
    background-color: skyblue;
    overflow: auto;
  }
  .news{
    height:30px;
  }
</style>
<body>
  <div id="app"></div>
  <script type="text/babel">
    class MyDom extends React.Component{
      state = {newsArr:[],mouseType:false}
      mouseIn=()=>{
        console.log('aa')
        this.setState({mouseType:true})
      }
      mouseOut=()=>{
        console.log('bb')
        this.setState({mouseType:false})
      }
      componentDidMount(){
        // console.log('componentDidMount')
        setInterval(()=>{
          const {newsArr} = this.state;
          const news = '新闻'+(newsArr.length+1)
          this.setState({newsArr:[news,...newsArr]})
        },1000)
      }

      getSnapshotBeforeUpdate(){
        // console.log('getSnapshotBeforeUpdate')
        return this.refs.list.scrollHeight;
      }

      componentDidUpdate(preProps,preState,height){
        // console.log('组件更新完成','componentDidUpdate');
        if(this.state.mouseType){
          this.refs.list.scrollTop+=this.refs.list.scrollHeight-height;
        }else{
          this.refs.list.scrollTop = 0
        }

      }

      render(){
        // console.log('render函数')
        const arr = this.state.newsArr.map((item,index)=>{
          return <div className="news" key={index}>{item}</div>
        })
        return (
          <div className="list" ref="list" onMouseOver={this.mouseIn} onMouseLeave={this.mouseOut}>
            {arr}
          </div>
        )
      }

    }

    ReactDOM.render(<MyDom/>,document.getElementById("app"))
  </script>
</body>
</html>
16、脚手架介绍

17、好用的快捷键插件介绍
ES7 React/Redux/GraphQL/React-Native snippets
// ES7 React/Redux/GraphQL/React-Native snippets 快捷键
// rcc 类组件
// rfc 函数组件
// imrc 引入react
18、react跨域方式
1、跨域方案放在package.json文件中;
"proxy": "http://localhost:5000"

2、跨域方案 在src目录下新建setupProxy.js文件;
17版本与18版本有一点区别,截图是17版本,代码是18版本;

const {createProxyMiddleware} = require('http-proxy-middleware');
module.exports = function (app) {
app.use(
createProxyMiddleware('/api1', {
target: 'http://localhost:5000',
changeOrigin: true, // 控制服务器接收到的请求头中host字段的值
pathRewrite:{'^/api1':''}
}),
createProxyMiddleware('/api2', {
target: 'http://localhost:5001',
changeOrigin: true, // 控制服务器接收到的请求头中host字段的值
pathRewrite:{'^/api2':''}
}),
)
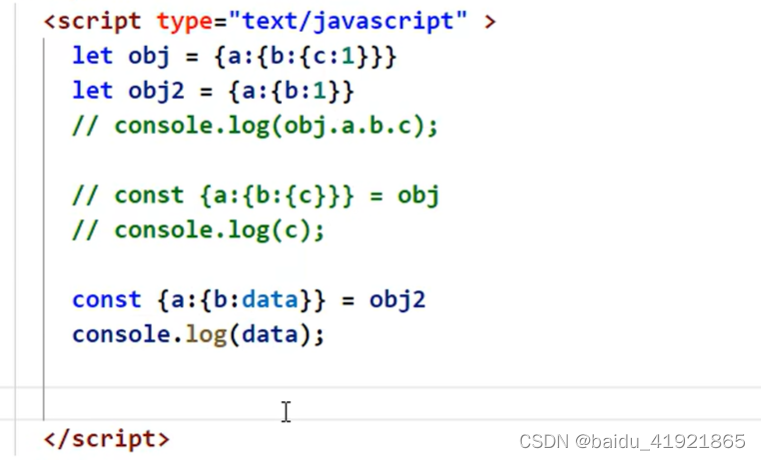
}18、连续解构赋值

连续解构赋值并重命名
19、搜索过滤练习
后端接口cors解决跨域问题
请求地址:api.github.com/search/users?q=ty
20、消息发布订阅模式
B和C是兄弟组件,使用pubsub-js实现兄弟间传递消息
// 组件B
import React, { Component } from 'react';
import PubSub from 'pubsub-js';
import sty from './index.module.css';

export default class B extends Component{
   //组件B发布消息
  pushMsg = () => {
    PubSub.publish('toTy',{name:'ty',age:20})
  }
  render () {
    return <div>
      <div className={sty.color}>React</div>
      <button onClick={this.pushMsg }>发布消息</button>
    </div>
  }
}
// 组件C
import React, { Component } from 'react';
import Pubsub from 'pubsub-js'
import sty from './index.module.css';
export default class B extends Component{
componentDidMount () {
// 组件C订阅消息
this.token = Pubsub.subscribe('toTy', (msg,data) => {
console.log(1,msg,data)
})
}
componentWillUnmount () {
// 组件C取消订阅消息
Pubsub.unsubscribe(this.token);
}
render () {
return <div>
<div className={sty.color}>,你好</div>
</div>
}
}21、fetch方法
浏览器自带,但是老版浏览器可能不兼容
ajax和axios都是基于xhr(XmlHttpRequest);
fetch不是基于xhr
关注分离(一种设计模式),先联系上服务器,然后再拿到数据
中断fetch方法

优化后

再次优化

22、react 路由
1、路由基石
<!DOCTYPE html>
<html lang="en">
<head>
  <meta charset="UTF-8">
  <meta name="viewport" content="width=device-width, initial-scale=1.0">
  <title>Document</title>
  <script src="https://cdn.bootcss.com/history/4.7.2/history.js"></script>
</head>
<body>
  <a href="http://www.baidu.com" onclick="return push('/test1')">push test1</a>
  <button onclick="push('/test2')">push test2</button>
  <button onclick="replace('/test3')">replace test3</button>
  <button onclick="back('/test')">后退</button>
  <button onclick="forward('/test2')">前进</button>

  <!-- 锚点 -->
  <a href="#demo1">跳转到锚点1</a>
  <a href="#demo2">跳转到锚点2</a>
  <a href="#demo3">跳转到锚点3</a>
  <script>
    let history = History.createBrowserHistory(); // 方法一:直接使用H5推出的history身上的API
    // let history = History.createHashHistory(); // 方法二:hash值(锚点)
    function push(path){
      history.push(path);
      return false
    }
    function replace(path){
      history.replace(path)
    }
    function back(){
      history.goBack();
    }
    function forward(){
      history.goForward();
    }

    history.listen((location)=>{
      console.log('请求路由变化了',location)
    })
  </script>
</body>
</html>
先学习路由5,在学习路由6
yarn add react-router-dom@5
2、Link与NavLink
Link没有选中高亮

封装MyNavLink组件

3、多级路径下路由刷新样式丢失
原因:刷新后样式文件的请求路径错误,多了加的路径

23、Hook


24、Fragment的使用
<Fragment><Fragment/>和<></>作用类似
区别Fragment可以有一个key属性,空标签没有;
25、PureComponent的使用
注意:使用PureComponent的组件,改变state要更新一个对像,不能在原来的数据上更改。


26、react插槽

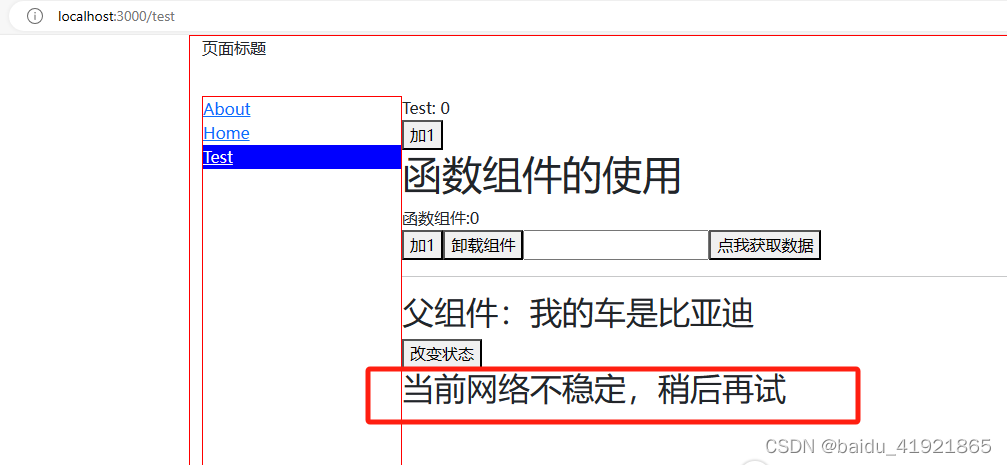
29、错误边界处理
componentDidCatch钩子的使用

注意:只在生产环境使用有用,开发环境还是会报错


30、组件间通信方式


 2432
2432


 被折叠的 条评论
为什么被折叠?
被折叠的 条评论
为什么被折叠?
 到【灌水乐园】发言


