


目录
友情提醒:
先看文章目录,大致了解文章知识点结构,点击文章目录可直接跳转到文章指定位置。有用记得关注
第一章、使用@Value注解
①@Value注解用于获取配置文件中的属性定义并绑定到Java Bean或属性中。在核心配置文件applicatin.properties中,添加两个自定义配置项school.name和school.website。

②在SpringBootController中定义属性,并使用@Value注解或者自定义配置值,并对其方法进行测试
package com.example.springboot.web;
import org.springframework.beans.factory.annotation.Value;
import org.springframework.stereotype.Controller;
import org.springframework.web.bind.annotation.RequestMapping;
import org.springframework.web.bind.annotation.ResponseBody;
@Controller
public class SpringBootController {
@Value("${school.name}")
private String schoolName;
@Value("${school.websit}")
private String schoolWebsit;
@RequestMapping(value = "/springBoot/first")
@ResponseBody
public String say() {
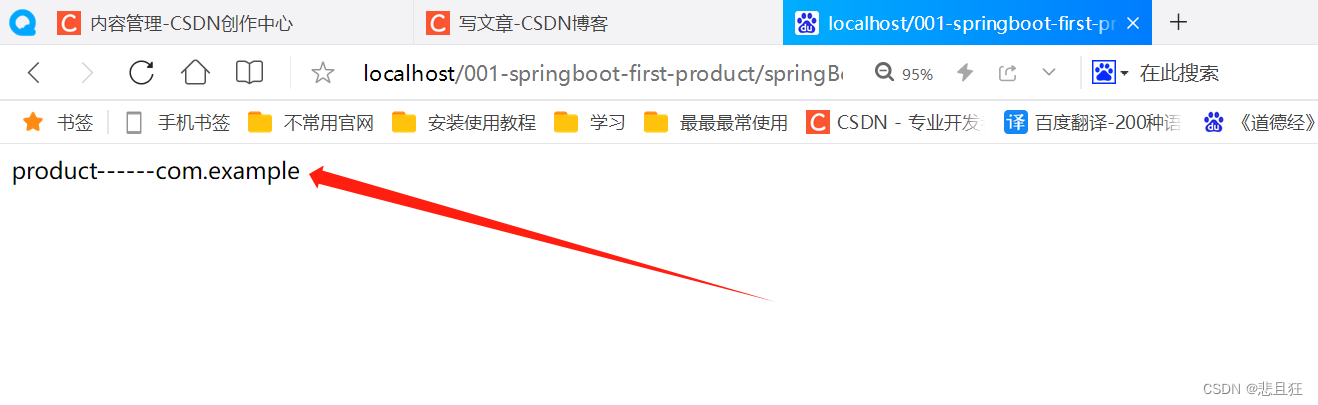
return schoolName + "------" + schoolWebsit;
}
}
③访问浏览器成功,说明成功通过@value读取配置的属性值
第二章、使用@PropertySource注解
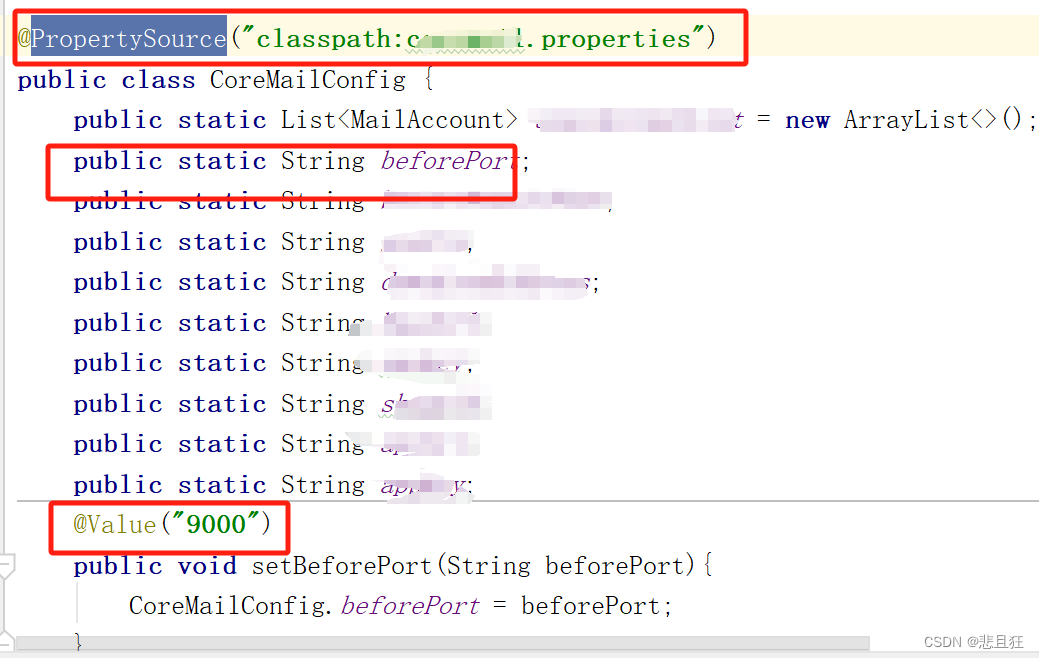
2.1)指定文件路径,在setter方法上添加@Value注解
@PropertySource(“classpath:coremail.properties”)是指定配置文件位置的注解。Spring 可以在类路径下找到并加载这个coremail.properties属性文件。需要再在属性上面搭配@value注解使用其中定义的属性值。
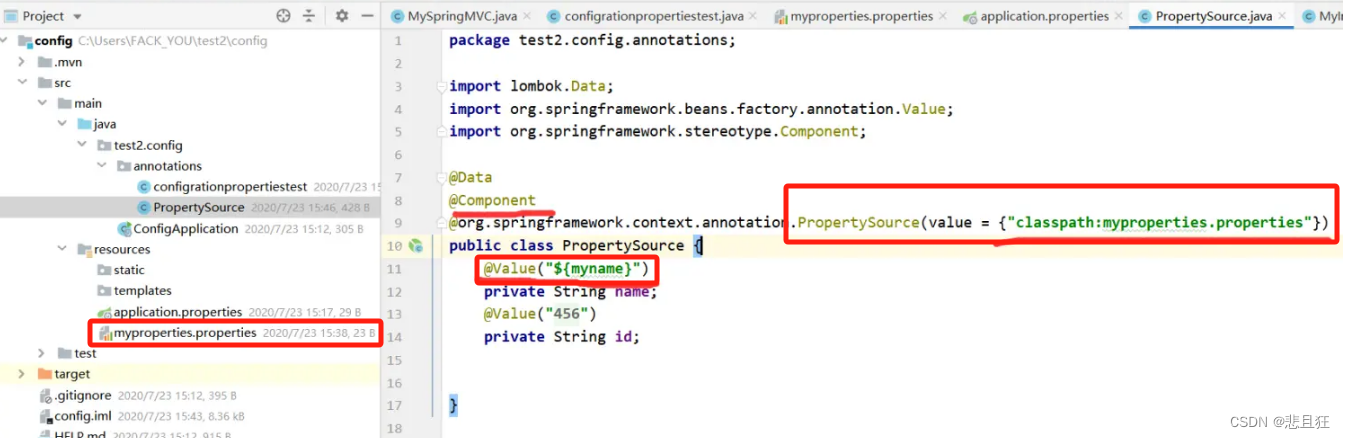
2.2)指定文件路径,在属性上添加@Value注解
2.3)使用ApplicationContextAware接口来获得TConfig中对应properties文件的属性值
2.3.1)TaskConfig类与TestTaskConfig类
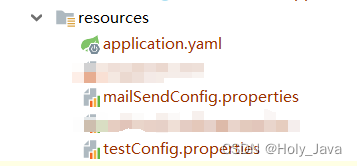
有两个配置文件,使用两个config类指定properties类文件路径
@Configuration//当一个类被标注了@Configuration注解时,Spring会将这个类识别为配置类,
// 用于定义Bean的创建和配置。即使没有显式地定义Bean,配置类本身也可以被注入到其他类中

@PropertySource(value = {"classpath:mailSendConfig.properties"},encoding="utf-8")
public class  TaskConfig {
}
@Configuration
@PropertySource(value = {"classpath:testConfig.properties"},encoding="utf-8")
public class TestTaskConfig {
}

2.3.2)ConfigLoder类
用来加载config类
@Component
public class ConfigLoder {
    @Autowired
    static TaskConfig taskConfig;

    @Autowired
    static TestTaskConfig testTaskConfig;

    public static TaskConfig getTaskConfig(){
        return taskConfig;
    }
    public static TestTaskConfig getTestTaskConfig(){
        return testTaskConfig;
    }
}

2.3.3)启动类:启动只运行一次
//@SpringBootApplication
public class LineApplication implements ApplicationRunner {

    @Override
    public  void run(ApplicationArguments args) throws Exception{
        System.out.println("====================");
        XXXXService mailSend =new XXXXService();
        mailSend.run();
    }

    public static void main(String[] args){
        SpringApplication.run(LineApplication.class,args);


    }

}
2.3.4)springUtil类实现ApplicationContextAware接口
通过实现ApplicationContextAware接口获取ApplicationContext对象,来获得TaskConfig中对应properties文件的属性值。
@Component
public class SpringUtil implements ApplicationContextAware {
    private static ApplicationContext applicationContext = null;

    @Override
    public void setApplicationContext(ApplicationContext applicationContext) throws BeansException {
        if (SpringUtil.applicationContext == null) {
            SpringUtil.applicationContext = applicationContext;
        }
    }

    public static ApplicationContext getApplicationContext() {
        return applicationContext;
    }

    public static Object getBean(String name) {
        return getApplicationContext().getBean(name);
    }

    public static <T> T getBean(Class<T> clazz) {
        return getApplicationContext().getBean(clazz);
    }

    public static <T> T getBean(String name, Class<T> clazz) {
        return getApplicationContext().getBean(name, clazz);
    }

    public static String getProperty(String propertyName) {
        return getApplicationContext().getEnvironment().getProperty(propertyName);
    }

    public static String getProperty(Class clazz, String PropertyName) {
        AnnotationConfigApplicationContext context = new AnnotationConfigApplicationContext(clazz);
        ConfigurableEnvironment configurableEnvironment = context.getEnvironment();
        return configurableEnvironment.getProperty(PropertyName);
    }
}
2.3.5)TestGetProperties测试类:测试获取属性值
package com.icbc.app.runner;

import com.icbc.app.config.SpringUtil;
import com.icbc.app.config.TaskConfig;
import com.icbc.app.config.TestTaskConfig;
import org.springframework.stereotype.Component;

import java.util.ResourceBundle;


@Component
public class TestGetProperties {

    public void run(String... args) throws Exception {
        //第一种:获取系统环境的   systemTime   值
        System.out.println("系统值systemTime=" + System.getenv("CALLTIME"));

        //第二种:ResourceBundle获取testConfig配置文件的的  name 值
        ResourceBundle bundle = ResourceBundle.getBundle("testConfig");
        String name = bundle.getString("name");
        System.out.println("ResourceBundle获取name值=" + name);

        //第三种:TaskConfig.properties的sleepTime值
        String sleepTime = SpringUtil.getProperty(TaskConfig.class, "sleepTime");
        System.out.println("TaskConfig.properties的sleepTime值="+sleepTime);

        //第四种:TestTaskConfig.properties文件的Time值
        String time = SpringUtil.getProperty(TestTaskConfig.class, "Time");
        System.out.println("TestTaskConfig.properties文件的Time值="+time);
    }
}
第三章、使用@Configurationproperties注解
@Configurationproperties(prefix=”xxx”)prefix的作用是区分同名配置,如果不指定,那么会去配置文件中寻找与该类的属性名一致的配置文件。
prefix怎么使用呢?
在生产环境配置文件applicatin-product.properties中,有自定义的三个school前缀的配置项

在核心配置文件applicatin.properties中激活生产环境,这里的product对应文件名application-produc的横杠后面的produc
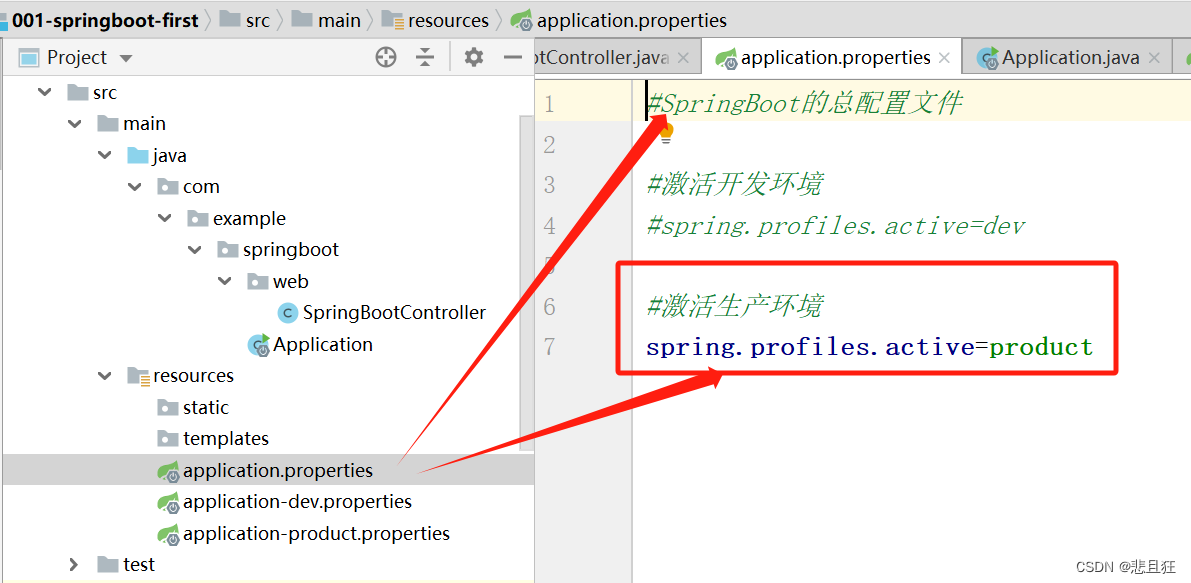
当指定prefix之后,就不需要再在属性上面搭配@value注解使用,因为当指定前缀school之后,属性就会自动注入

第四章、使用Java Properties类
Properties prop = new Properties();
try (InputStream input = new FileInputStream("config.properties")) {
    prop.load(input);
    String dbUrl = prop.getProperty("db.url");
    String dbUser = prop.getProperty("db.user");
    String dbPassword = prop.getProperty("db.password");
    // 使用读取到的属性进行后续操作
} catch (IOException ex) {
    ex.printStackTrace();
}
第五章、使用Environment接口
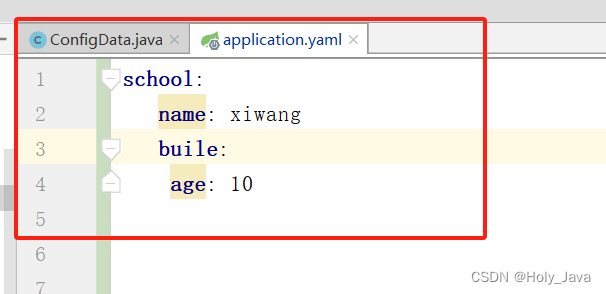
配置文件如图:
获取配置文件中的属性值:
import org.springframework.beans.factory.annotation.Autowired;
import org.springframework.core.env.Environment;
import org.springframework.stereotype.Component;

@Component
public class MyComponent {

 	public static String Value1 ;
 	public static String Value2 ;

    @Autowired
    private Environment environment;

    public void getPropertyFromEnvironment() {
        Value1 = environment.getProperty("school.name");
        Value2 = environment.getProperty("school.buile.age");
        System.out.println("Value1: " + Value + "Value1: "+Value2 );
    }
}
第六章、使用ResourceBundle类
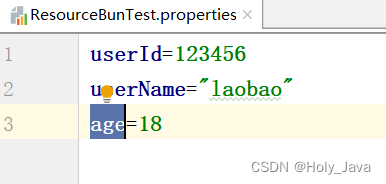
新建一个配置文件:ResourceBunTest.properties,信息如下图
使用ResourceBundle类获取配置文件内容
public class ResourceBundleTest {
public static void main(String[] args) {
testResoBund();
}
//获取配置文件信息的方法
public static void testResoBund(){
//根据配置文件名称获得ResourceBundle 对象
ResourceBundle bundle = ResourceBundle.getBundle("ResourceBunTest");
String userId = bundle.getString("userId");
String userName = bundle.getString("userName");
String age = bundle.getString("age");
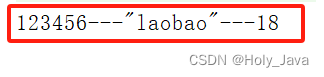
System.out.println(userId+"---"+userName+"---"+age);
}
}
测试结果:获取成功


 5720
5720


 被折叠的 条评论
为什么被折叠?
被折叠的 条评论
为什么被折叠?
 到【灌水乐园】发言


