


1、将git-2.9.3.tar.gz上传到linux系统
2、准备环境:
yum install curl-devel expat-devel gettext-devel openssl-devel zlib-devel pr3.通过tar命令解压git-2.9.3.tar.gz
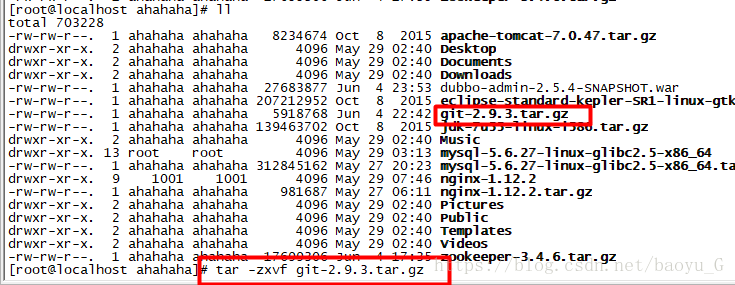
tar -zxvf git-2.9.3.tar.gz
4.进入解压的目录,执行下面的命令,这个命令不能改!
[root@localhost ahahaha]# cd git-2.9.3 [root@localhost git-2.9.3]# make prefix=/usr/local all[root@localhost git-2.9.3]# make prefix=/usr/local install5.创建git用户
[root@localhost git-2.9.3]# cd ~
[root@localhost ~]# useradd git
[root@localhost ~]# passwd git
#设置密码
#...密码设置完成后进入到git用户
[root@localhost ~]# su git
[git@localhost root]$
这样就变成了git用户
6.初始化git仓库
[git@localhost ~]$ pwd
/home/git
[git@localhost ~]$ git init --bare taotao.git
这一步其实是创建了一个目录:
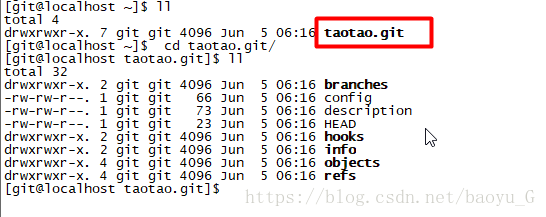
这样仓库就建好了。
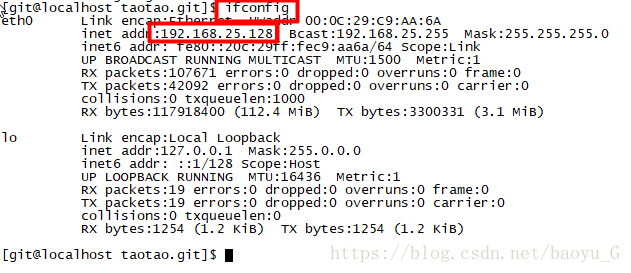
7.查看并记住git所在的linux系统的IP地址
8.在eclipse中选中需要上传的工程,右键——Team——Share——Git
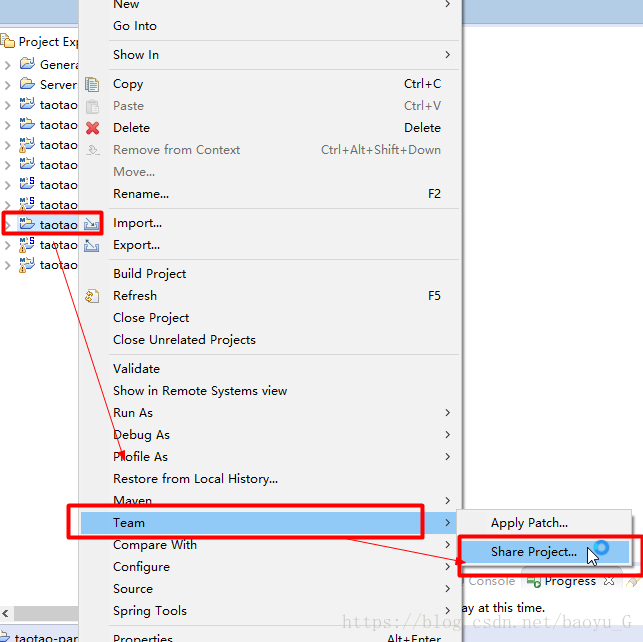
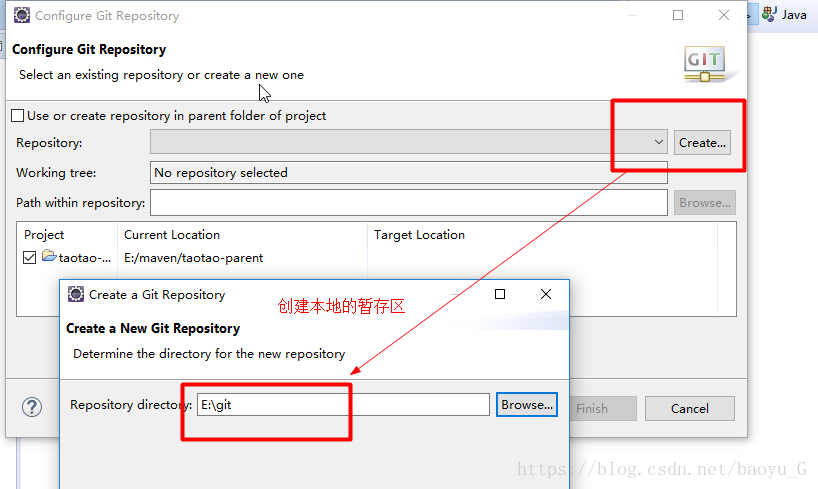
然后就是finish——finish。
下一步:
和本地暂存区关联:
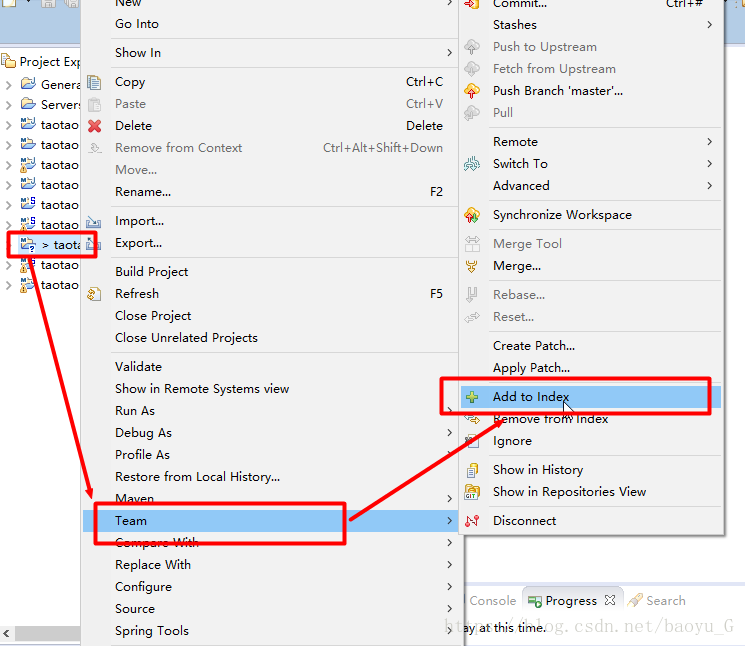
提交的时候:
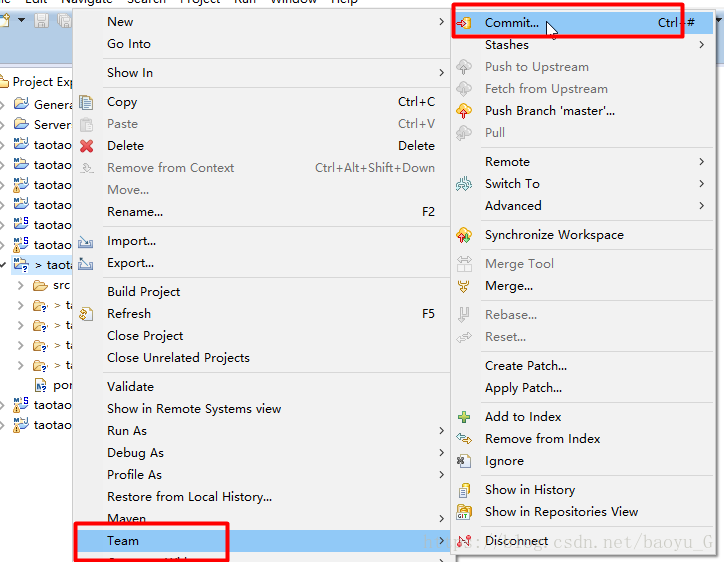
添加描述并进行提交:

这样就将项目上传到了本地的暂存区,项目也变了样子。

9.上传到linux Git服务器
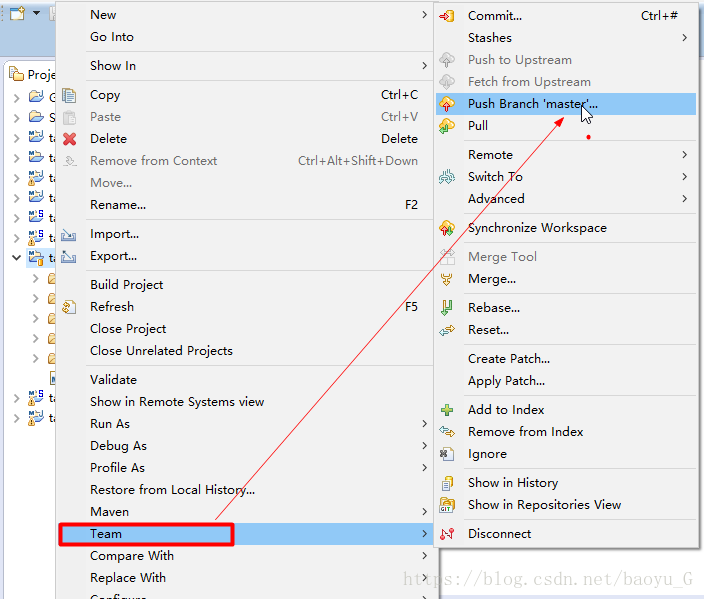
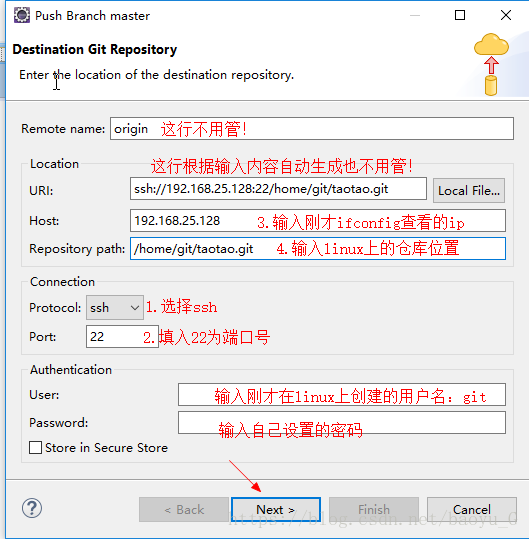
再次点击next
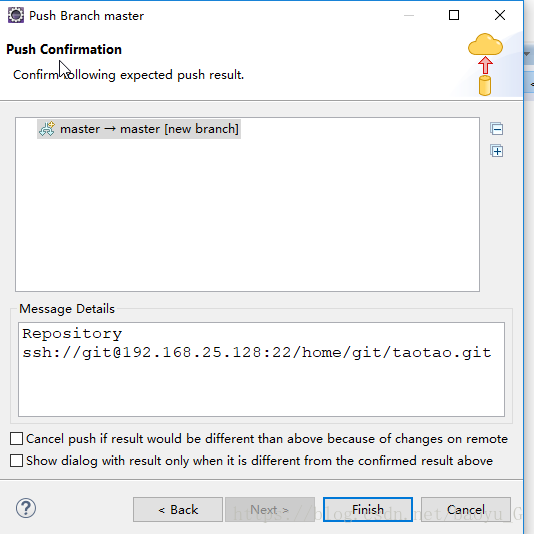
finish。


 422
422


 被折叠的 条评论
为什么被折叠?
被折叠的 条评论
为什么被折叠?
 到【灌水乐园】发言


