


解决Ant Design Vue table组件固定某列(fixed)和展开某行(expandedRowRender)不能同时使用以及控制只展开一行的问题

开发项目中时使用 antdv 发现 table组件固定某列(fixed)和展开某行(expandedRowRender)不能同时使用。样式上不兼容。经大神指点,找到了办法,在此记录一下。
遇到的问题如下图:
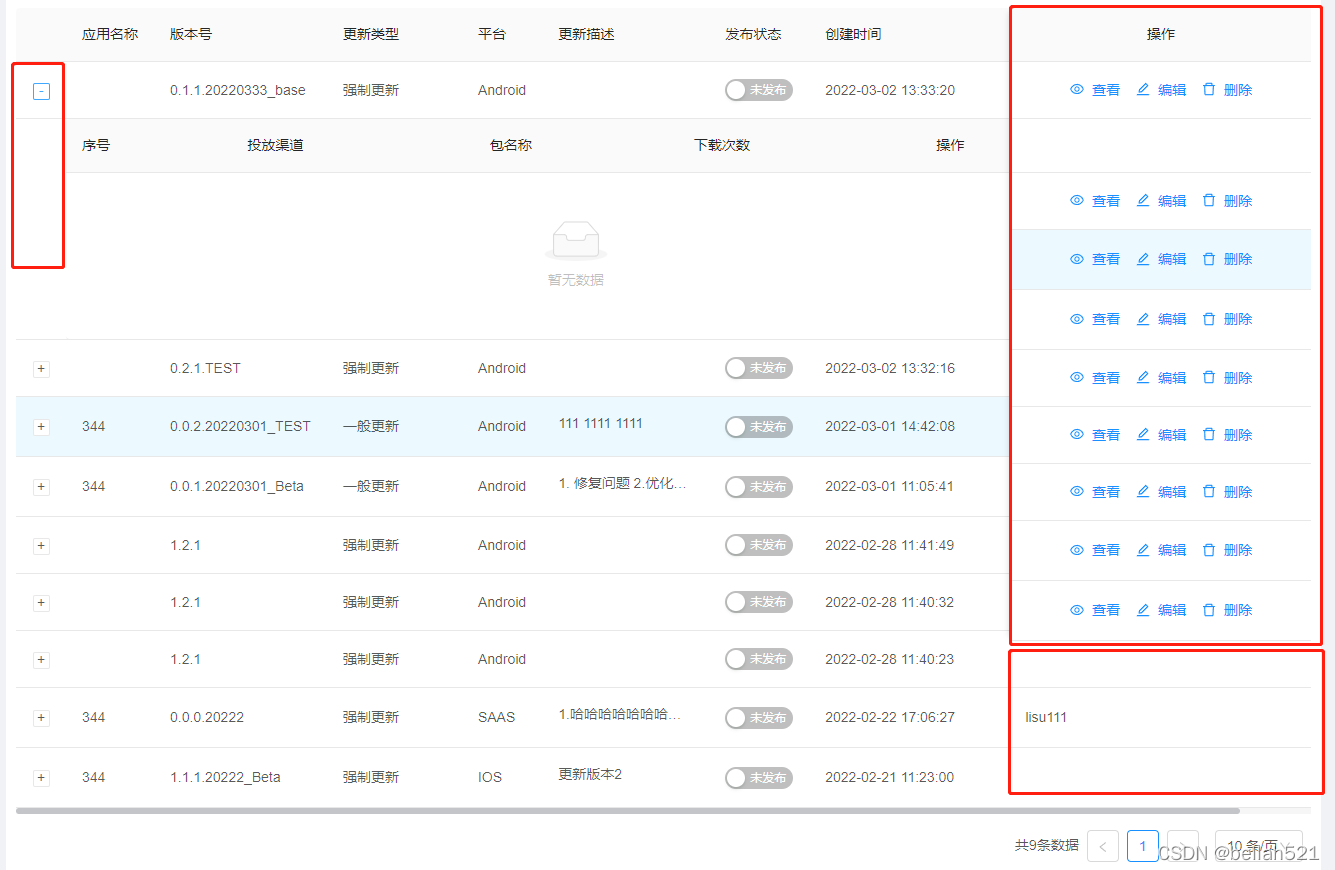
问题描述:点击左侧的加号(+)展开一行时,固定在右侧的操作列样式不能适应整个整个table的高度。
解决方法:在展开行以后对单独固定列的td单独进行高度控制。
正常的效果如下:(重新定义红色区域的高度)

直接上代码:
	<!-- 这是外层table,右侧操作栏固定在右侧 -->
 	<a-table
        :columns="columns"
        :data-source="sourceData"
        table-layout="auto"
        :row-key="record => record.versionId"
        class="components-table-demo-nested"
        :pagination="pagination"
        :expanded-row-keys.sync="expandedRowKeys"
        :scroll="{ x: true }"
        @change="handleTableChange"
        @expand="expandedOneRows"
      >
        <div slot="desc" slot-scope="text, record" class="update-desc">
          <a-tooltip placement="bottom">
            <template slot="title">
              <span v-html="record.updateDescHtml" />
            </template>
            {{ record.updateDesc }}
          </a-tooltip>
        </div>
        <div slot="status" slot-scope="text, record, index">
          <a-switch checked-children="已发布" un-checked-children="未发布" :checked="record.checked" @change="(checked, item, i)=>onChange(checked, record, index)" />
        </div>
        <div slot="action" slot-scope="text, record">
          <a-button type="link" icon="eye" size="small" @click="viewRelease(record.versionId)">
            查看
          </a-button>
          <a-button type="link" icon="edit" size="small"  @click="handleRelease('edit', record)">
            编辑
          </a-button>
          <a-button type="link" icon="delete" size="small"  @click="delRelease(record)">
            删除
          </a-button>
        </div>
        <!-- 这是内层table,用于展开 -->
        <a-table
          slot="expandedRowRender"
          :columns="innerColumns"
          :data-source="innerData"
          :pagination="false"
        >
          <div slot="num" slot-scope="text, record, index">{{ index+1 }}</div>
          <div slot="fileName" slot-scope="text, record" class="table-operation">
            <a :href="record.fileUrl">{{ record.fileName }}</a>
          </div>
          <div slot="operation" slot-scope="text, record" class="table-operation">
            <a :href="record.fileUrl"> <a-icon type="eye" /> 下载</a>
          </div>
        </a-table>
      </a-table>
在expandedOneRows方法里处理高度
  expandedOneRows(expanded, record) {
      // 控制只展开一行
      if (expanded) {
        // 展开前先清空,在赋值,只展开一行
        this.expandedRowKeys = []
        this.expandedRowKeys.push(record.versionId)
      } else {
        this.expandedRowKeys = []
      }
      //  解决Ant Design Vue table组件固定某列(fixed)和展开某行(expandedRowRender)不能同时使用
      this.$nextTick(() => {
        setTimeout(() => {
          const element = document.querySelectorAll(`[data-row-key='${record.versionId}-extra-row']`)
          // 计算需要展开高度, 采用append dom元素的方式撑开高度,直接修改高度,
          // 但是当前行触发moursemove事件 会触发dom style 重置
          // 33 是td 的 padding 值 加 border值
          const height = element[0].getBoundingClientRect().height - 33
          element[1].childNodes[0].innerHTML = `<div style="height: ${height}px;"></div>`
        }, 0)
      })
    },


 1031
1031


 被折叠的 条评论
为什么被折叠?
被折叠的 条评论
为什么被折叠?
 到【灌水乐园】发言


