


哈喽!好久没写博客了,因为前段时间工作比较忙,网站又是第一次搞,进度有点慢,最近终于算是告一段落,今天给大家分享一下安卓中日期选择控件jjdxm-dialogui如何更好的导入到自己的项目,并且在源码的基础上修改一些东东以满足我们的需求。
大神项目GitHub传送门:https://github.com/jjdxmashl/jjdxm_dialogui/
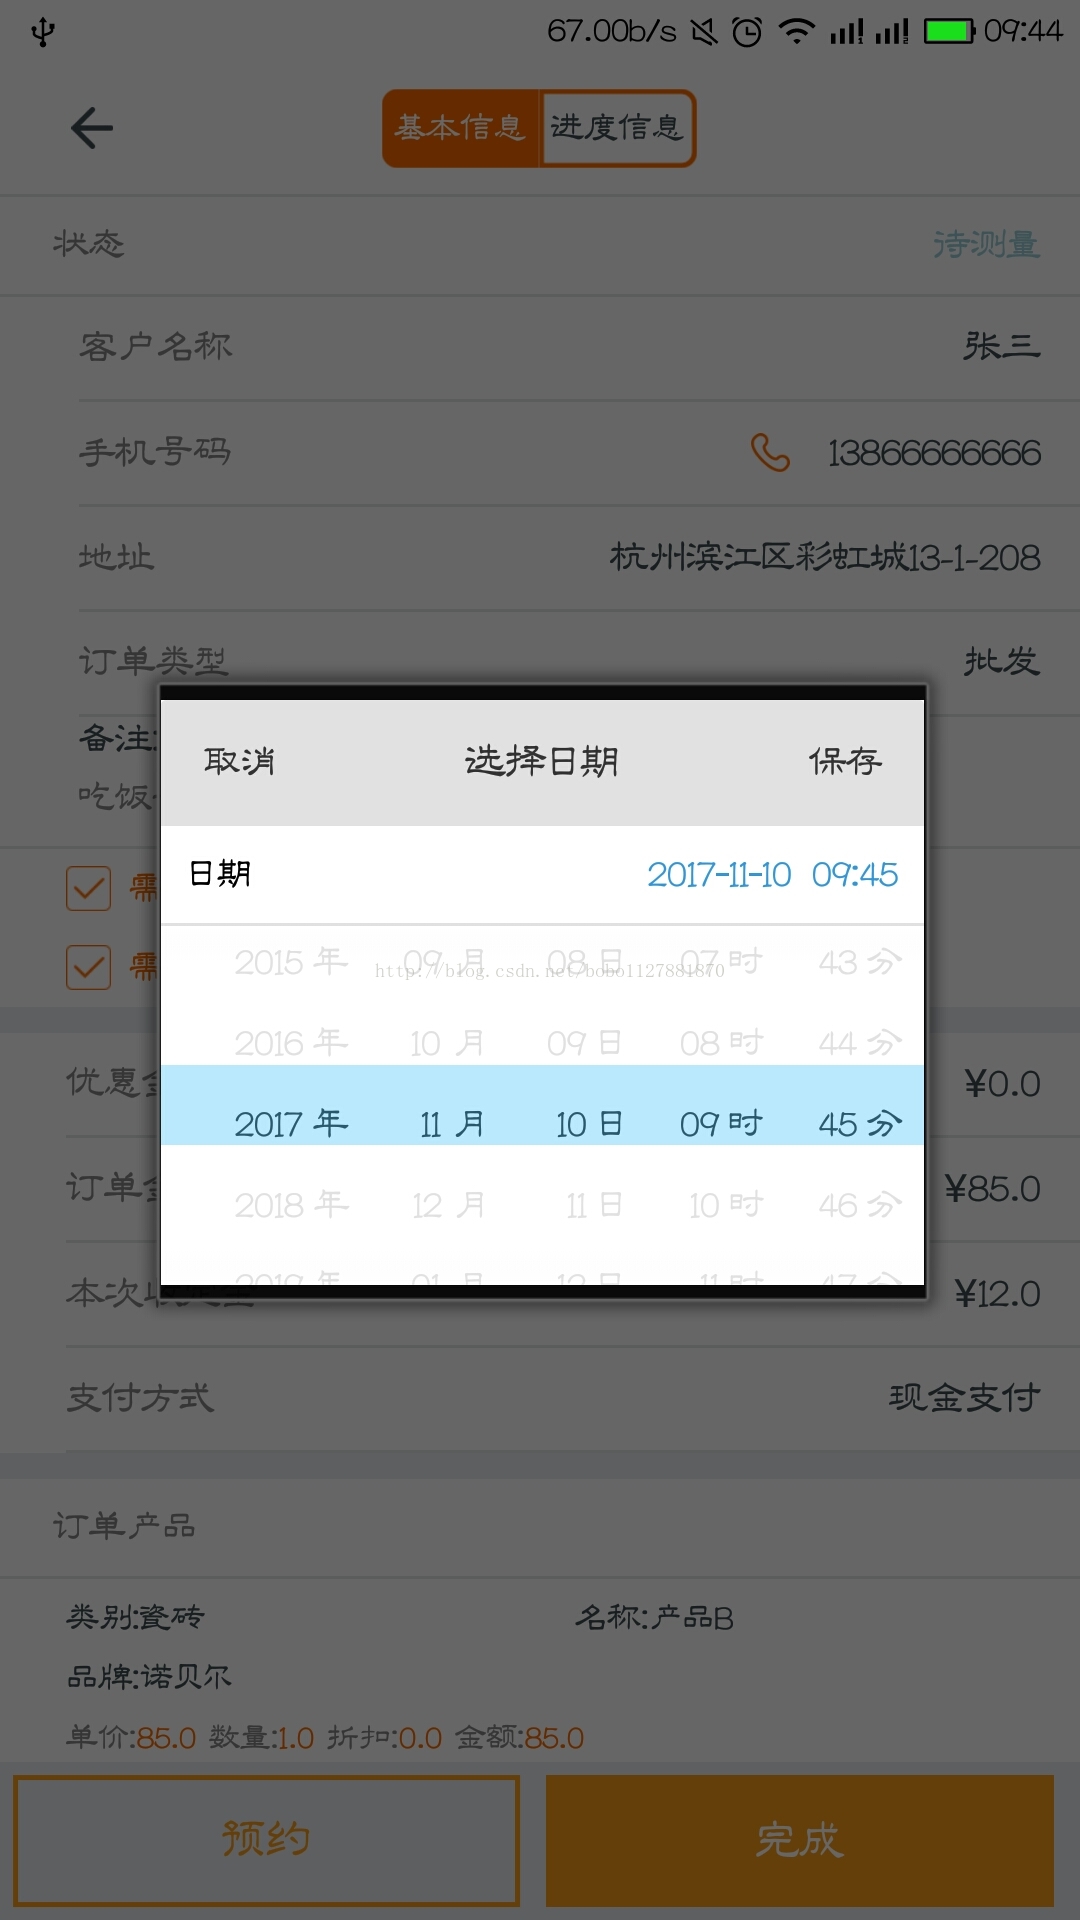
“是时候表演真正的技术了 ”老规矩最终效果图奉上(忽略其他布局
 ):
):
下面具体的实现步骤和修改:
第一步、移步到传送门进行demo的下载并在Android Studio中打开调试到可以正常运行的状态
第二步、就是把这个功能添加到自己的项目中了,GitHub导入方法,在build.gradle文件中使用
compile 'com.dou361.dialogui:jjdxm-dialogui:x.x.x'
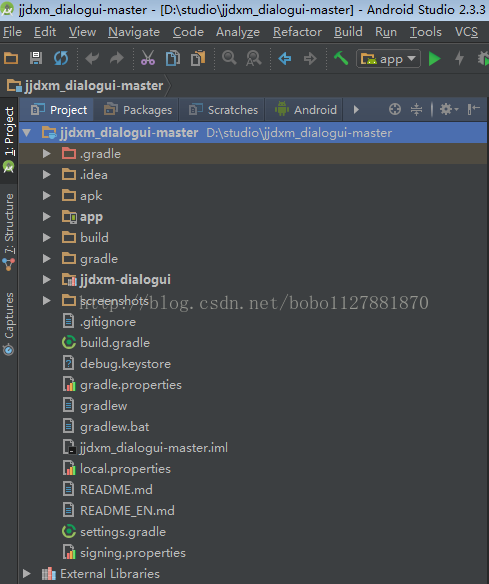
我一般的添加时直接使用module的方式把一些第三方的控件导入到自己的项目中,以便让控件更加符合自己的功能需求,demo中的jjdxm-dialogui就是我最终要导入到我项目中的module,导入后会发现jjdxm-dialogui下的build.gradle会飘红有木有,因为他的配置是和demo中整个项目下的build.gradle关联的,你也可以用他项目下的方法,也可以修改module下的配置信息,因为我的项目已经是开发很长时间了,所以就直接改module中的配置信息了,配置效果如下:
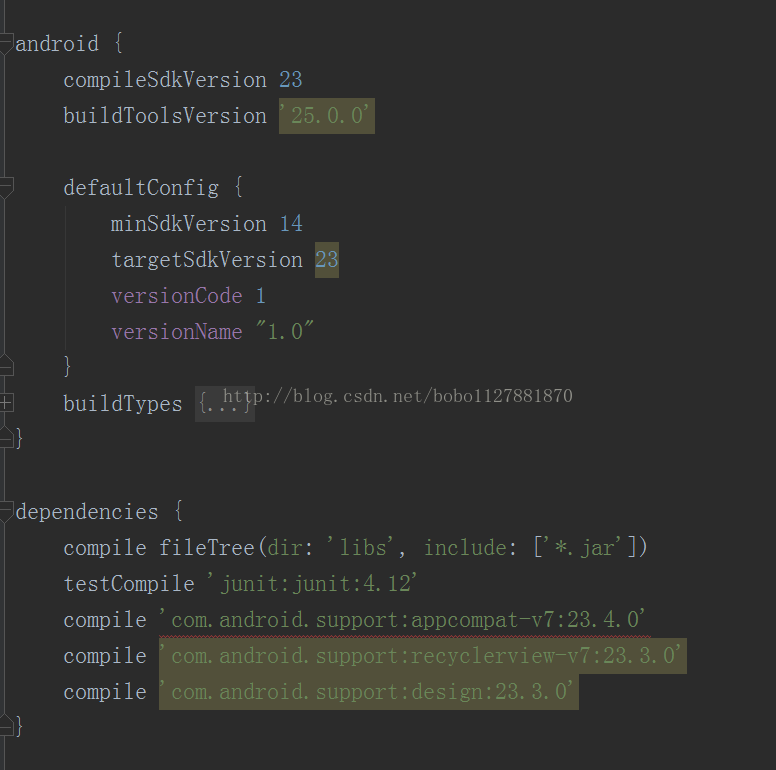
(这个你可以根据你的项目具体配置如果有不懂的也可以留言互相讨论)
第三步、开始使用弹出代码调用弹出框了,接下来我从调用显示日期到分钟的情况分析,并且对源码做一些需求上的修改,首先是调用弹出框的代码
DialogUIUtils.showDatePick(getActivity(), Gravity.CENTER, "选择日期", System.currentTimeMillis() + 60000, DateSelectorWheelView.TYPE_YYYYMMDDHHMM, 0, new DialogUIDateTimeSaveListener() {
    @Override
    public void onSaveSelectedDate(int tag, String selectedDate) {
        ;
    }

    @Override
    public void onCancelSelectedDate() {
    }

}).show();
点击showDataPick()方法会发现他调用的是DialogAssigner下的assignDatePick()方法点击进去
@Override
public BuildBean assignDatePick(Context context,int gravity, String dateTitle, long date, int dateType, int tag, DialogUIDateTimeSaveListener listener) {
    BuildBean bean = new BuildBean();
    bean.mContext = context;
    bean.dateTitle = dateTitle;
    bean.gravity = gravity;
    bean.cancelable = true;
    bean.outsideTouchable = true;
    bean.type = DialogConfig.TYPE_DATEPICK;
    bean.dateTimeListener = listener;
    bean.dateType = dateType;
    bean.date = date;
    bean.tag = tag;
    return bean;
}
又一次出现一个BuildBean类,这个类中起到关键作用的是DialogConfig.TYPE_DATEPECK和dateType因为后期这两个参数会用来做判断,点击进入到弹出框的show()方法你会发现他会调用一个buildByType(this)
@Override
public Dialog show() {
    buildByType(this);
    if (dialog != null && !dialog.isShowing()) {
        ToolUtils.showDialog(dialog);
        return dialog;
    } else if (alertDialog != null && !alertDialog.isShowing()) {
        ToolUtils.showDialog(alertDialog);
        return alertDialog;
    }
    return null;
}
这个方法就是具体的实现方法了,点击buildByType(this)方法会进入到Buildable这个类里,他是BuildBean的父类,负责控件的具体展示和逻辑的类具体代码如下:
protected BuildBean buildByType(BuildBean bean) {
    ToolUtils.fixContext(bean);
    switch (bean.type) {
        case DialogConfig.TYPE_DATEPICK:
            buildDatePick(bean);
            break;
        case DialogConfig.TYPE_LOADING:
            buildLoading(bean);
            break;
        case DialogConfig.TYPE_MD_LOADING:
            buildMdLoading(bean);
            break;
        case DialogConfig.TYPE_MD_ALERT:
            buildMdAlert(bean);
            break;
        case DialogConfig.TYPE_SINGLE_CHOOSE:
            buildSingleChoose(bean);
            break;
        case DialogConfig.TYPE_MD_MULTI_CHOOSE:
            buildMdMultiChoose(bean);
            break;
        case DialogConfig.TYPE_ALERT:
            buildAlert(bean);
            break;
        case DialogConfig.TYPE_SHEET:
            buildSheet(bean);
            break;
        case DialogConfig.TYPE_CUSTOM_ALERT:
            buildCustomAlert(bean);
            break;
        case DialogConfig.TYPE_CUSTOM_BOTTOM_ALERT:
            buildCustomBottomAlert(bean);
            break;
        case DialogConfig.TYPE_BOTTOM_SHEET:
            buildBottomSheet(bean);
            break;
        default:
            break;


    }
    ToolUtils.setDialogStyle(bean);
    ToolUtils.setCancelable(bean);
    return bean;
}
这就是从GitHub下载的demo中的哪几种弹出框的具体实现代码,我们那个日期选择刚好是第一个分支下的内容,点击进去会发现具体的逻辑处理如下:
private BuildBean buildDatePick(final BuildBean bean) {
    AlertDialog.Builder builder = new AlertDialog.Builder(bean.mContext);
    View root = View.inflate(bean.mContext, R.layout.dialogui_datepick_layout, null);

    RelativeLayout rl_title_panel = (RelativeLayout) root
            .findViewById(R.id.rl_title_panel);
    FrameLayout flFirst = (FrameLayout) root
            .findViewById(R.id.fl_first);
    FrameLayout flNext = (FrameLayout) root
            .findViewById(R.id.fl_next);
    TextView tv_title = (TextView) root
            .findViewById(R.id.tv_title);
    TextView tv_first = (TextView) root
            .findViewById(R.id.tv_first);
    TextView tv_next = (TextView) root
            .findViewById(R.id.tv_next);
    FrameLayout fl_top_customPanel = (FrameLayout) root
            .findViewById(R.id.fl_top_customPanel);
    final DateSelectorWheelView dwvDate = (DateSelectorWheelView) root
            .findViewById(R.id.dwv_date);
    FrameLayout fl_bottom_customPanel = (FrameLayout) root
            .findViewById(R.id.fl_bottom_customPanel);
    dwvDate.setShowDate(bean.date);
    dwvDate.setShowDateType(bean.dateType);
    dwvDate.setTitleClick(new View.OnClickListener() {
        @Override
        public void onClick(View v) {
            int id = v.getId();
            if (id == R.id.rl_date_time_title) {
                if (dwvDate.getDateSelectorVisibility() == View.VISIBLE) {
                    dwvDate.setDateSelectorVisiblility(View.GONE);
                } else {
                    dwvDate.setDateSelectorVisiblility(View.VISIBLE);
                }
            }
        }
    });

    builder.setView(root);
    final AlertDialog dialog = builder.create();
    bean.alertDialog = dialog;
    if (bean.gravity == Gravity.BOTTOM) {
        Window window = dialog.getWindow();
        window.setBackgroundDrawable(new ColorDrawable(Color.TRANSPARENT));
    }

    flFirst.setOnClickListener(new View.OnClickListener() {
        @Override
        public void onClick(View v) {
            if (null != bean.dateTimeListener) {
                bean.dateTimeListener.onCancelSelectedDate();
            }
            dialog.dismiss();
        }
    });
    flNext.setOnClickListener(new View.OnClickListener() {
        @Override
        public void onClick(View v) {
            if (null != bean.dateTimeListener) {
                bean.dateTimeListener.onSaveSelectedDate(bean.tag, dwvDate.getSelectedDate());
            }
            dialog.dismiss();
        }
    });
    return bean;
}
如果要改变一些布局中的内容可以直接在布局文件R.layout.dialogui_datepick_layout文件中修改,根据项目需求我这对弹出看的取消按钮也做了监听和回调的功能,具体做的思路如下,点击弹出框代码中的new DialogUIDateTimeSaveListener()因为是监听取消并且要做逻辑的处理,所以从这入手在这个类下增加一个点击取消的回调的方法如下:
public abstract class DialogUIDateTimeSaveListener {

    public abstract void onSaveSelectedDate(int tag, String selectedDate);

    public abstract void onCancelSelectedDate();
    public void onTitleClick() {
    }
}
然后就是查找取消按钮并且给他添加点击事件的处理了,如果不出意外的话你添加完取消的回调后已经有代码飘红了,就是你调用弹出框那块的部分,会因为你没有实现他的抽象方法(java抽象类的知识),你实现一下,然后在初始化日期的地方找到取消键并添加逻辑处理,也就是上文中的flFirst啦,好了到此整个流程也就通了,改逻辑,改布局是不是变得so easy啦!
非常感谢大神的贡献,一些基本控件免去了我们去自定义的烦恼,可以直接拿来用。看大神的源码不仅能很好的使用控件,同时也可以对自己的技术有很大的提升。
最后再次奉上源码的GitHub传送门https://github.com/jjdxmashl/jjdxm_dialogui/


 3560
3560


 被折叠的 条评论
为什么被折叠?
被折叠的 条评论
为什么被折叠?
 到【灌水乐园】发言


