


本项目使用IDEA开发,Eclipse同理
一、项目初始化
打开IDEA,选择Spring boot生成器,填写项目相关信息
注意:若需要使用jdk8,服务器URL需要更换为start.aliyun.com
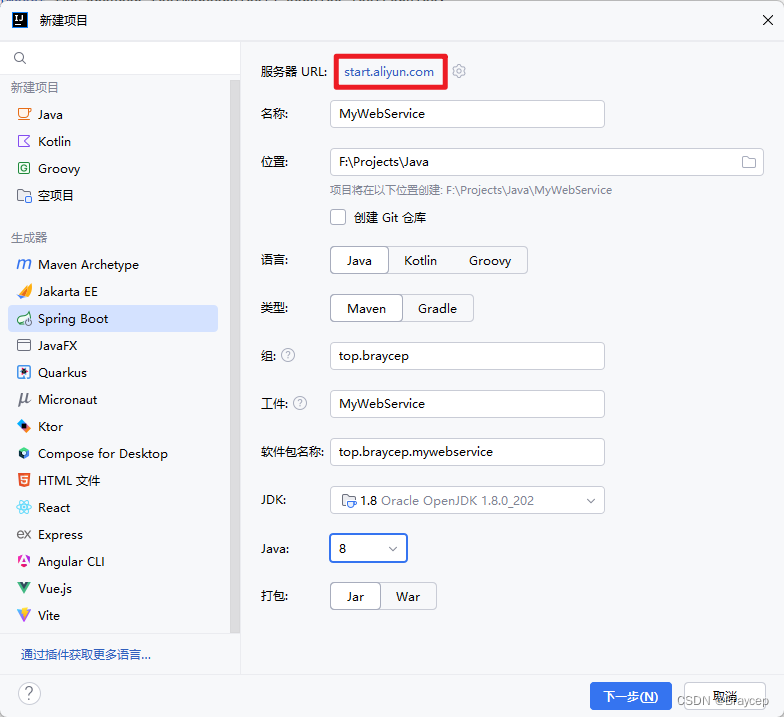
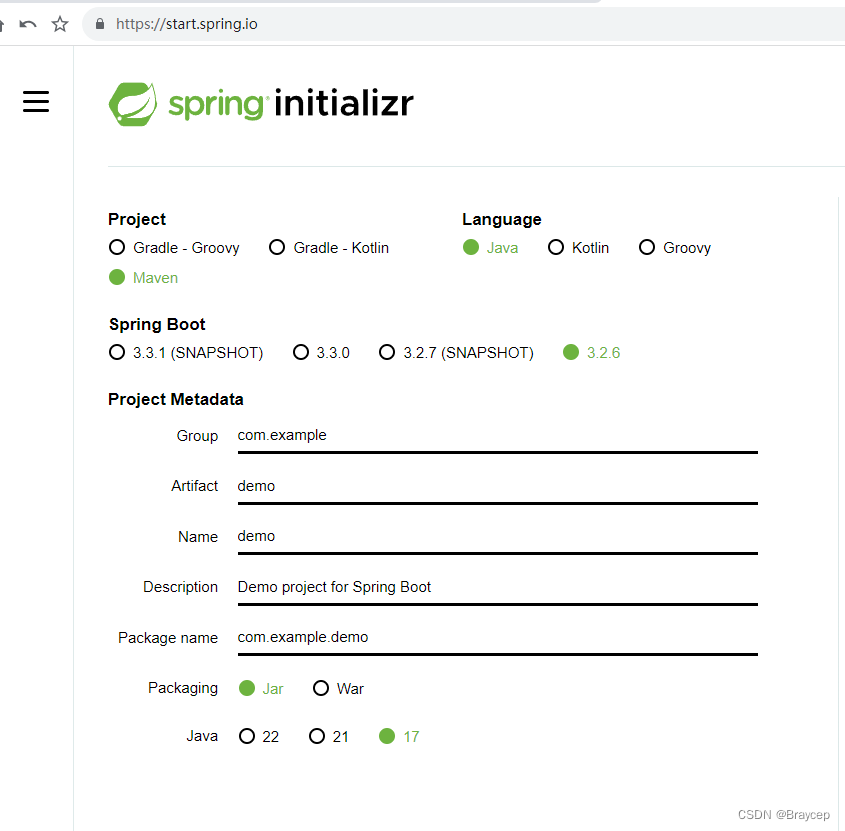
本文编辑时,start.spring.io要求jdk最低版本为:17
jdk版本不同,所需依赖版本也有所不同
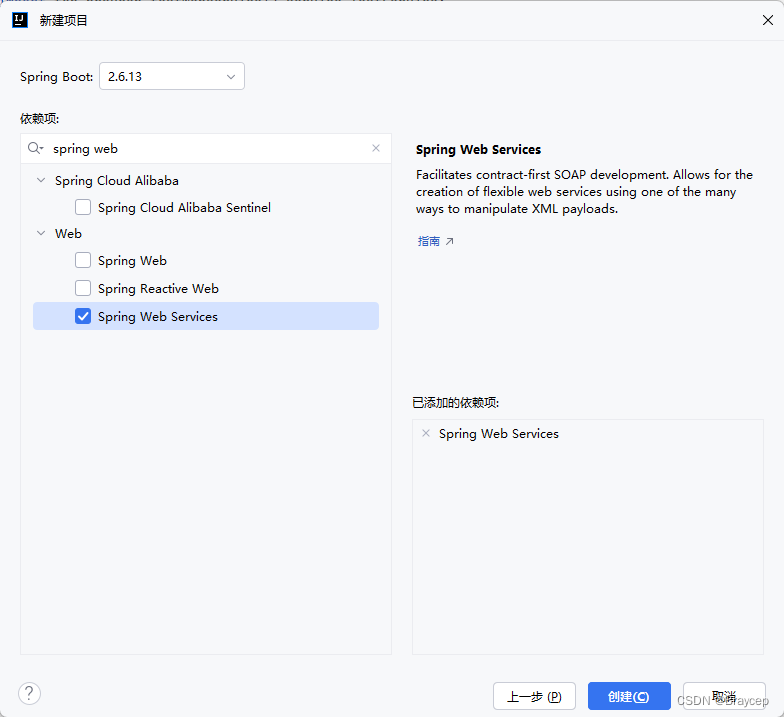
下一步,勾选Spring Web Service
自jdk1.8之后,javax.* 被调整为:jakarta .*,请参考 cxf 4.0 说明:
Apache CXF -- 4.0 Migration Guide
jdk1.8 pom.xml文件依赖如下:
<dependencies>
    <dependency>
        <groupId>org.springframework.boot</groupId>
        <artifactId>spring-boot-starter-web-services</artifactId>
    </dependency>
    <dependency>
        <groupId>org.apache.cxf</groupId>
        <artifactId>cxf-spring-boot-starter-jaxws</artifactId>
        <version>3.2.7</version>
    </dependency>
    <dependency>
        <groupId>org.hibernate</groupId>
        <artifactId>hibernate-validator</artifactId>
        <version>6.0.18.Final</version>
    </dependency>

    <dependency>
        <groupId>org.springframework.boot</groupId>
        <artifactId>spring-boot-starter-test</artifactId>
        <scope>test</scope>
    </dependency>
</dependencies>
jdk17 pom.xml文件依赖如下:
<dependencies>
    <dependency>
        <groupId>org.springframework.boot</groupId>
        <artifactId>spring-boot-starter-web-services</artifactId>
    </dependency>

    <dependency>
        <groupId>org.apache.cxf</groupId>
        <artifactId>cxf-spring-boot-starter-jaxws</artifactId>
        <version>4.0.4</version>
    </dependency>
    <dependency>
        <groupId>org.hibernate</groupId>
        <artifactId>hibernate-validator</artifactId>
        <version>8.0.1.Final</version>
    </dependency>

    <dependency>
        <groupId>org.springframework.boot</groupId>
        <artifactId>spring-boot-starter-test</artifactId>
        <scope>test</scope>
    </dependency>
</dependencies>
二、添加接口
一个接口类可以写多个方法
package top.braycep.ws;

import javax.jws.WebMethod;
import javax.jws.WebService;

@WebService
public interface EndpointDemo {
    @WebMethod
    String doBiz(String request);
}
三、添加实现
此处REQUEST_RAW_CONTENT来源于拦截器中提取的原始请求报文,并非自带属性
package top.braycep.ws.impl;

import org.springframework.stereotype.Component;
import top.braycep.ws.EndpointDemo;

import javax.annotation.Resource;
import javax.xml.ws.WebServiceContext;

@Component
public class EndpointDemoImpl implements EndpointDemo {
    @Resource
    private WebServiceContext webServiceContext;

    @Override
    public String doBiz(String request) {
        Object rawContent = webServiceContext.getMessageContext().get("REQUEST_RAW_CONTENT");
        if (rawContent instanceof String && !((String) rawContent).isEmpty()) {
            System.out.println(rawContent);
        }

        return "doBiz By EndpointDemoImpl";
    }
}
四、发布服务
多个接口服务类,每个都需要注册
package top.braycep.ws.config;

import org.apache.cxf.Bus;
import org.apache.cxf.jaxws.EndpointImpl;
import org.apache.cxf.jaxws.JaxWsServerFactoryBean;
import org.apache.cxf.transport.servlet.CXFServlet;
import org.springframework.beans.factory.annotation.Autowired;
import org.springframework.beans.factory.annotation.Qualifier;
import org.springframework.boot.web.servlet.ServletRegistrationBean;
import org.springframework.context.annotation.Bean;
import org.springframework.context.annotation.Configuration;
import top.braycep.ws.EndpointDemo;

import javax.xml.ws.Endpoint;

@Configuration
public class WSConfig {

    @Autowired
    private EndpointDemo endpointDemo;

    @Autowired
    @Qualifier(Bus.DEFAULT_BUS_ID)
    public Bus bus;

    @Bean
    public ServletRegistrationBean<CXFServlet> servletServletRegistrationBean() {
        return new ServletRegistrationBean<>(new CXFServlet(), "/ws/*");
    }

    // 发布服务
    @Bean
    public Endpoint endpointDemo() {
        EndpointImpl endpoint = new EndpointImpl(bus, endpointDemo);
        endpoint.publish("/endpointDemo");
        return endpoint;
    }
}
另一种发布方式
// 方式一
@Bean
public Endpoint endpointDemo1() {
EndpointImpl endpoint = new EndpointImpl(bus, endpointDemo);
// 内部会调用 bean.create();
endpoint.publish("/endpointDemo");
return endpoint;
}
// 方式二
@Bean
public JaxWsServerFactoryBean endpointDemo2() {
JaxWsServerFactoryBean bean = new JaxWsServerFactoryBean();
bean.setAddress("/endpointDemo");
bean.setServiceClass(EndpointDemoImpl.class);
bean.setServiceBean(endpointDemo);
bean.setBus(bus);
// 必需
bean.create();
return bean;
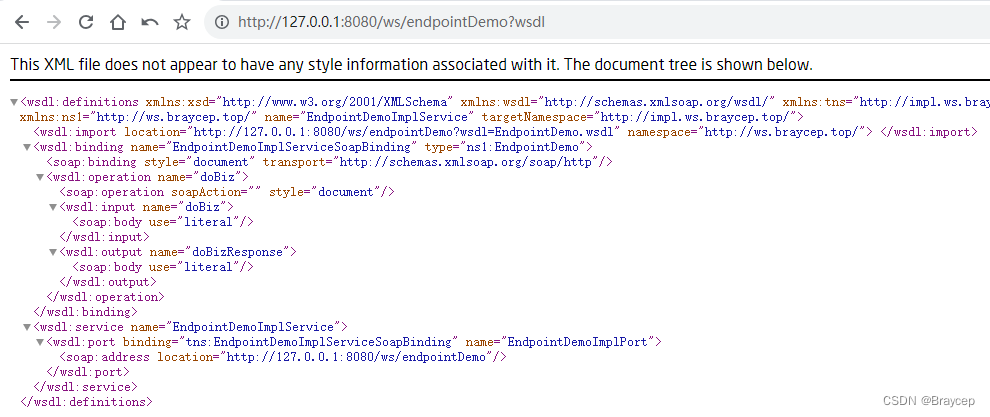
}五、测试
打开地址:http://127.0.0.1:8080/ws/

点击右侧WSDL链接,即可进入
使用soapui测试


 2464
2464


 被折叠的 条评论
为什么被折叠?
被折叠的 条评论
为什么被折叠?
 到【灌水乐园】发言


