


以下实现采用较新版本进行测试
- SpringBoot:3.2.0
- Artemis: 2.31.2
- JDK:从Artemis-2.20.0开始的版本,需要JDK11+
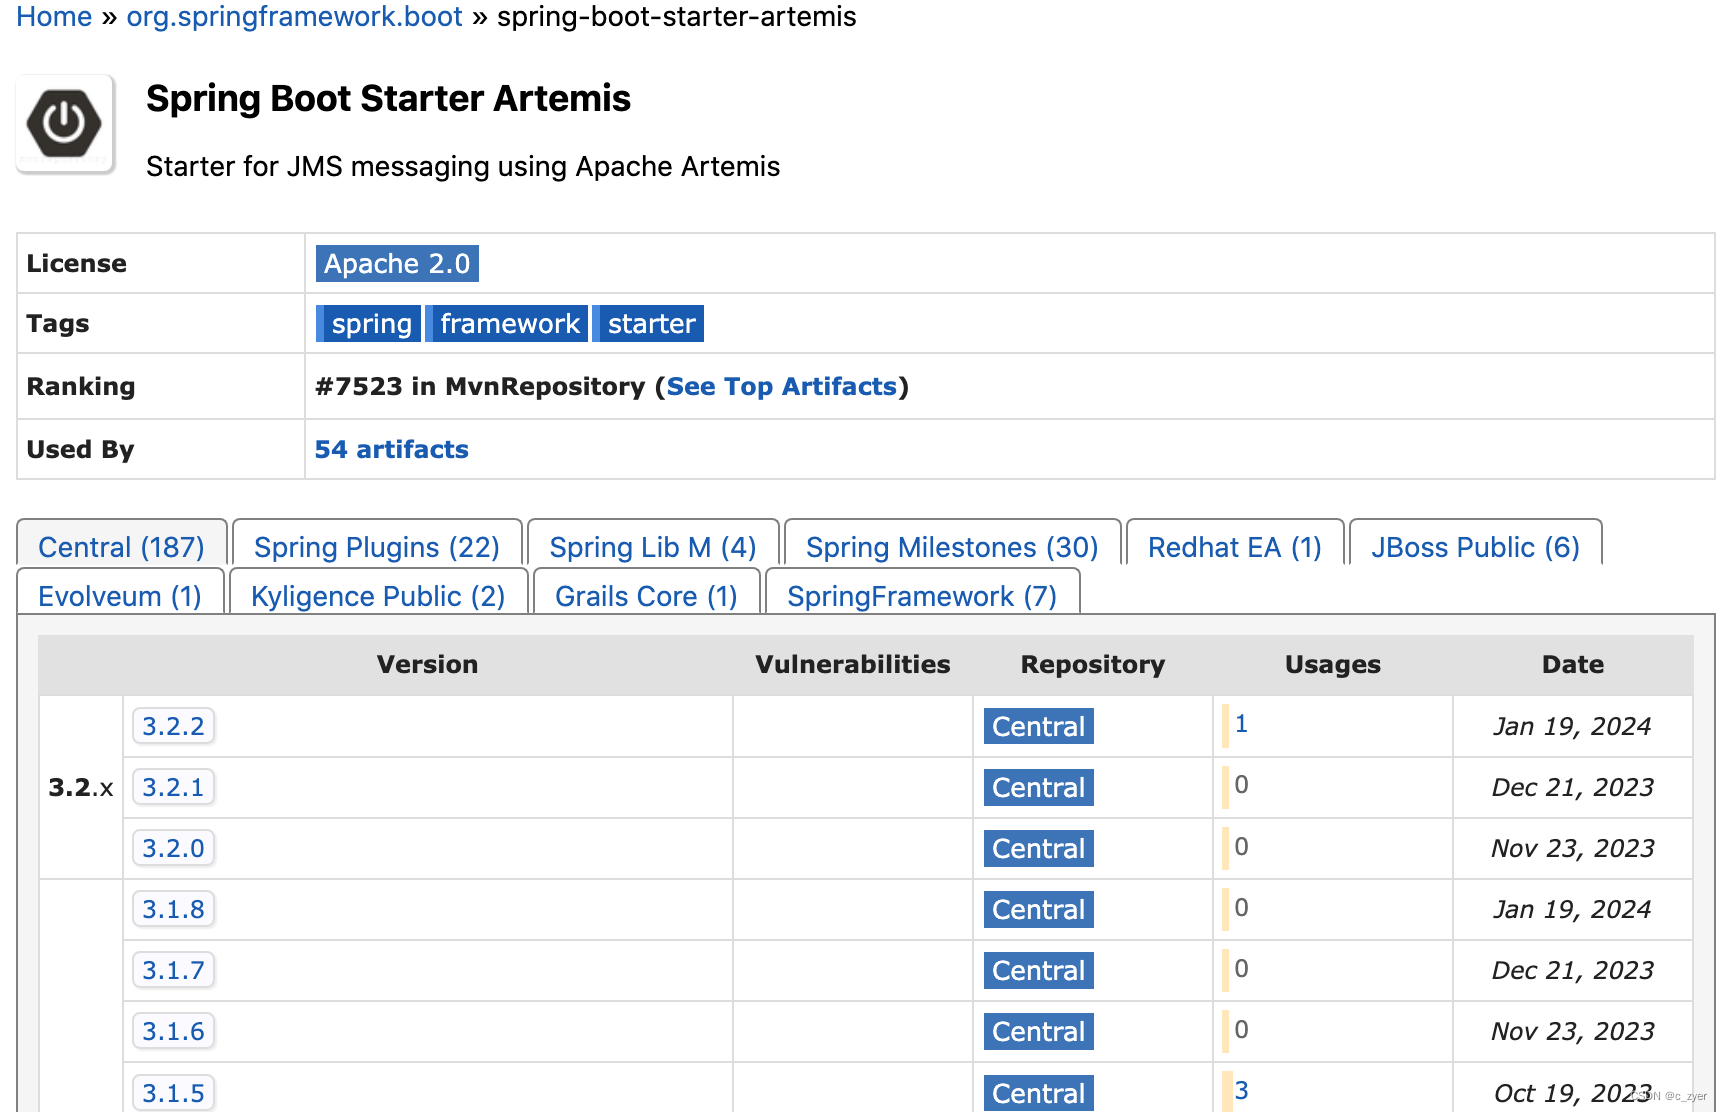
由于Artemis的客户端服务还在初期发展阶段,与SpringBoot的版本会存在适配不全、部分版本不兼容等情况,因此以下主要通过适配完成的spring-boot-starter-artemis来演示功能
| 序号 | Artemis-artemis-jakarta-client | SpringBoot | 描述 |
|---|---|---|---|
| 1 | 2.19.0 | 3.0.0+ | 不适配 |
| 2 | 2.24.0 | 3.0.0+ | 可自行适配 |
| 3 | 2.25.0 | 3.0.0+ | 可自行适配 |
| 4 | 2.26.0 | 3.0.0+ | 官方适配 |
| 5 | 2.27.0 | 3.0.0+ | 可自行适配 |
| 6 | 2.28.0 | 3.1.0+ | 官方适配 |
| 7 | 2.29.0 | 3.0.0+ | 不适配 |
| 8 | 2.30.0 | 3.0.0+ | 可自行适配 |
| 9 | 2.31.2 | 3.2.0+ | 官方适配 |
和Spring版本的JMS代码相比,使用Spring Boot集成JMS时,只要引入了spring-boot-starter-artemis,Spring Boot会自动创建JMS相关的ConnectionFactory、JmsListenerContainerFactory、JmsTemplate等,无需我们再手动配置了。
以下主要演示简单的功能,如需通过手动自定义配置了解细节的并不适用哦
相关步骤:
添加POM依赖
<dependency>
    <groupId>org.springframework.boot</groupId>
    <artifactId>spring-boot-starter-artemis</artifactId>
</dependency>
配置连接参数
spring:
  jms:
    pub-sub-domain: false #默认为false,即点对点队列模式。如果设置为true,则为发布订阅主题模式
  artemis:
    mode: native
    broker-url: tcp://localhost:61616
    user: artemis
    password: artemis
创建MessageConsumer
在SpringBoot启动类上添加 @EnableJms 的注解,开启注解扫描
@Component
public class MessagingListener {
    final Logger logger = LoggerFactory.getLogger(getClass());

    @JmsListener(destination = "QueueDemo", concurrency = "10")
    public void onMessageReceived(Message message) throws Exception {
        logger.info("received normal message: " + message);
    }
}
通过 @JmsListener 注解,明确需要监听的队列或主题名
还有以下参数:
public @interface JmsListener {
    String id() default "";

    String containerFactory() default ""; //连接工厂

    String destination();//目的

    String subscription() default ""; //描述

    String selector() default ""; //选择器

    String concurrency() default ""; //并发度
}
创建MessageProducer
使用多种方式进行发送
@Component
public class MessagingService {
    @Autowired
    private JmsTemplate jmsTemplate;

    public void sendMessage(String text) throws Exception {
        jmsTemplate.send("QueueDemo", new MessageCreator() {
            @Override
            public Message createMessage(Session session) throws JMSException {
                return session.createTextMessage(text);
            }
        });
    }

    public void sendTopicMessage(String text) throws Exception {
        ActiveMQDestination destination = ActiveMQDestination.createDestination(
            "TopicDemo", ActiveMQDestination.TYPE.TOPIC);
        jmsTemplate.send(destination, new MessageCreator() {
            @Override
            public Message createMessage(final Session session) throws JMSException {
                return session.createTextMessage(text);
            }
        });
    }

    public void sendAndReceiveMessage(String text) throws Exception {
        jmsTemplate.setReceiveTimeout(500);
        jmsTemplate.sendAndReceive("QueueDemo2", new MessageCreator() {
            @Override
            public Message createMessage(Session session) throws JMSException {
                return session.createTextMessage(text);
            }
        });
    }

    public void convertAndSendMessage(String text) throws Exception {
        ActiveMQDestination destination = ActiveMQDestination.createDestination(
            "QueueDemo3", ActiveMQDestination.TYPE.QUEUE);
        jmsTemplate.convertAndSend(destination, text);
    }
}
如何同时接收Queue和Topic数据
由于框架的制约,默认自动的数据接收方式只能是一种,通过spring.jms.pub-sub-domain来设置,默认是false-Queue点对点接收模式,可以设置为true-Topic发布订阅模式
那么如何同时接收Queue和Topic数据呢? – 专门指定一个连接工厂
除了默认的Queue连接工厂,新建一个Topic连接工厂
@Configuration
public class ActiveMQConfig {

    @Bean
    public JmsListenerContainerFactory<?> jmsListenerContainerTopic(ConnectionFactory activeMQConnectionFactory) {
        DefaultJmsListenerContainerFactory bean = new DefaultJmsListenerContainerFactory();
        bean.setPubSubDomain(true);
        bean.setConnectionFactory(activeMQConnectionFactory);
        return bean;
    }
}
在监听数据的时候,指定连接工厂
    @JmsListener(destination = "TopicDemo", concurrency = "1",containerFactory = "jmsListenerContainerTopic")
    public void onSelfMessageReceived(Message message) throws Exception {
        logger.info("received self message: " + message);
    }
访问测试
 .   ____          _            __ _ _
 /\\ / ___'_ __ _ _(_)_ __  __ _ \ \ \ \
( ( )\___ | '_ | '_| | '_ \/ _` | \ \ \ \
 \\/  ___)| |_)| | | | | || (_| |  ) ) ) )
  '  |____| .__|_| |_|_| |_\__, | / / / /
 =========|_|==============|___/=/_/_/_/
 :: Spring Boot ::                (v3.0.2)

2024-01-26T11:57:33.018+08:00  INFO 70658 --- [           main] c.l.artemis.BootForArtemisApplication    : Starting BootForArtemisApplication using Java 17.0.8 with PID 70658 (/Users/chenzy/files/gitFile/springboot-forall/boot-for-artemis/target/boot-for-artemis-1.0.0.jar started by chenzy in /Users/chenzy/files/gitFile/springboot-forall/boot-for-artemis/target)
2024-01-26T11:57:33.021+08:00  INFO 70658 --- [           main] c.l.artemis.BootForArtemisApplication    : No active profile set, falling back to 1 default profile: "default"
2024-01-26T11:57:34.008+08:00  INFO 70658 --- [           main] o.s.b.w.embedded.tomcat.TomcatWebServer  : Tomcat initialized with port(s): 8080 (http)
2024-01-26T11:57:34.033+08:00  INFO 70658 --- [           main] o.apache.catalina.core.StandardService   : Starting service [Tomcat]
2024-01-26T11:57:34.034+08:00  INFO 70658 --- [           main] o.apache.catalina.core.StandardEngine    : Starting Servlet engine: [Apache Tomcat/10.1.5]
2024-01-26T11:57:34.163+08:00  INFO 70658 --- [           main] o.a.c.c.C.[.[localhost].[/artemis]       : Initializing Spring embedded WebApplicationContext
2024-01-26T11:57:34.166+08:00  INFO 70658 --- [           main] w.s.c.ServletWebServerApplicationContext : Root WebApplicationContext: initialization completed in 1084 ms
2024-01-26T11:57:34.933+08:00  INFO 70658 --- [           main] o.s.b.w.embedded.tomcat.TomcatWebServer  : Tomcat started on port(s): 8080 (http) with context path '/artemis'
2024-01-26T11:57:36.134+08:00  INFO 70658 --- [           main] c.l.artemis.BootForArtemisApplication    : Started BootForArtemisApplication in 3.564 seconds (process running for 3.993)
curl http://127.0.0.1:8080/artemis/testcase/demo
2024-01-26T11:58:24.203+08:00  INFO 70658 --- [ntContainer#0-1] c.l.artemis.service.MessagingListener    : received normal message: ActiveMQMessage[ID:270c0e28-bbff-11ee-ad95-c243a928785f]:PERSISTENT/ClientMessageImpl[messageID=67725, durable=true, address=QueueDemo,userID=270c0e28-bbff-11ee-ad95-c243a928785f,properties=TypedProperties[__AMQ_CID=0a4c4891-bbff-11ee-ad95-c243a928785f,_AMQ_ROUTING_TYPE=1]]
2024-01-26T11:58:24.291+08:00  INFO 70658 --- [ntContainer#1-1] c.l.artemis.service.MessagingListener    : received self message: ActiveMQMessage[ID:271c3aca-bbff-11ee-ad95-c243a928785f]:PERSISTENT/ClientMessageImpl[messageID=67730, durable=true, address=TopicDemo,userID=271c3aca-bbff-11ee-ad95-c243a928785f,properties=TypedProperties[__AMQ_CID=0a4c4891-bbff-11ee-ad95-c243a928785f,_AMQ_ROUTING_TYPE=0]]
2024-01-26T11:58:24.532+08:00  INFO 70658 --- [ntContainer#2-1] c.l.artemis.service.MessagingListener    : received send and receive message: ActiveMQMessage[ID:274594bb-bbff-11ee-ad95-c243a928785f]:PERSISTENT/ClientMessageImpl[messageID=67738, durable=true, address=QueueDemo2,userID=274594bb-bbff-11ee-ad95-c243a928785f,properties=TypedProperties[__AMQ_CID=0a4c4891-bbff-11ee-ad95-c243a928785f,JMSReplyTo=temp-queue://1c1ca6c8-2009-458c-a879-027eea2c87d9,_AMQ_ROUTING_TYPE=1]]
2024-01-26T11:58:25.317+08:00  INFO 70658 --- [ntContainer#3-1] c.l.artemis.service.MessagingListener    : received convert and send message: ActiveMQMessage[ID:27b8059c-bbff-11ee-ad95-c243a928785f]:PERSISTENT/ClientMessageImpl[messageID=67754, durable=true, address=QueueDemo3,userID=27b8059c-bbff-11ee-ad95-c243a928785f,properties=TypedProperties[__AMQ_CID=0a4c4891-bbff-11ee-ad95-c243a928785f,_AMQ_ROUTING_TYPE=1]]


 521
521


 被折叠的 条评论
为什么被折叠?
被折叠的 条评论
为什么被折叠?
 到【灌水乐园】发言


