


mysql shell
MySQL Shell 8.0 is highly recommended for use with MySQL Server 8.0 and 5.7. Please upgrade to MySQL Shell 8.0. If you have not yet installed MySQL Shell, download it from the download site.
https://cdn.mysql.com//Downloads/MySQL-Shell/mysql-shell-8.0.29-linux-glibc2.12-x86-64bit.tar.gz
./mysqlsh --help
Usage examples:
$ mysqlsh root@localhost/schema
$ mysqlsh mysqlx://root@some.server:3307/world_x
$ mysqlsh --uri root@localhost --py -f sample.py sample param
$ mysqlsh root@targethost:33070 -s world_x -f sample.js
$ mysqlsh -- util check-for-server-upgrade root@localhost --output-format=JSON
$ mysqlsh mysqlx://user@host/db --import ~/products.json shop
dump/load schema
mysqlsh --uri root@localhost:3306/schema
util.dumpTables("schema", [], "/root/schema.dump", {all: true})

# 在恢复的设备上
util.loadDump("/tmp/dump", {schema: "test2"})
- https://www.sqlshack.com/how-to-backup-and-restore-mysql-databases-using-the-mysqldump-command/
- https://lefred.be/content/how-to-copy-a-schema-using-mysql-shell-dump-load-utility/
mysql最常用最基础的命令
0. 重置root密码
安装之后重置root密码,
mysql版本8.0已经取消了password字段和password()函数,而且不在支持SET PASSWORD … =PASSWORD(‘auth_string’)语法:
在5.7之前修改密码:(使用update修改user表)
update mysql.user set authentication_string=password('123456') where host='localhost' and user='root';
在5.7修改密码:(因为废除了password字段,需要使用authentication_string)
update mysql.user set password=password('123456') where host='localhost' and user='root';
而在8.0已经不能用possword函数和set…语句,只能用:
alter user 'root'@'localhost' identified with mysql_native_password by '123456';
参考:
https://blog.csdn.net/ZZQHELLO2018/article/details/96720362
https://blog.csdn.net/qq_24654501/article/details/106101633
1、以管理员身份登录mysql
mysql -u root -p
注意-p后面如果接密码,则密码与-p之间没有空格(这奇葩语法!)
2、选择mysql数据库
进入mysql命令行之后,
mysql>use mysql;
3、创建用户并设定密码
mysql>create user 'testuser'@'localhost' identified by 'test password';
注意在使用非本地的机器访问时,需要@的是mysql客户端的IP:
grant all privileges on xxl_job.* to xxl_job@192.168.85.1 identified by 'xxl_job';
4、使操作生效
mysql>flush privileges;
5、为用户创建数据库
mysql>create database testdb;
6、为用户赋予操作数据库testdb的所有权限
mysql>grant all privileges on testdb.* to test@localhost identified by '1234';
高版本去掉
identified by '1234';
7、使操作生效
mysql>flush privileges
8、用新用户登录
mysql -u test -p
远程指定端口的命令:
mysql -h 10.a.b.c -P8306 -u test -ptest

原文链接:
http://my.oschina.net/u/165872/blog/78863
重置密码
mysql>update user set password=PASSWORD("mynewpassword") where User='root' and Host='localhost';
删除用户
mysql>delete from user where user='test2' and host='localhost';

mysql>flush privileges;
监听所有地址
sudo vi /etc/my.cnf
sudo vi /etc/mysql/mysql.conf.d/mysqld.cnf
# 增加一行
bind-address=0.0.0.0
# 重启
sudo service mysqld restart
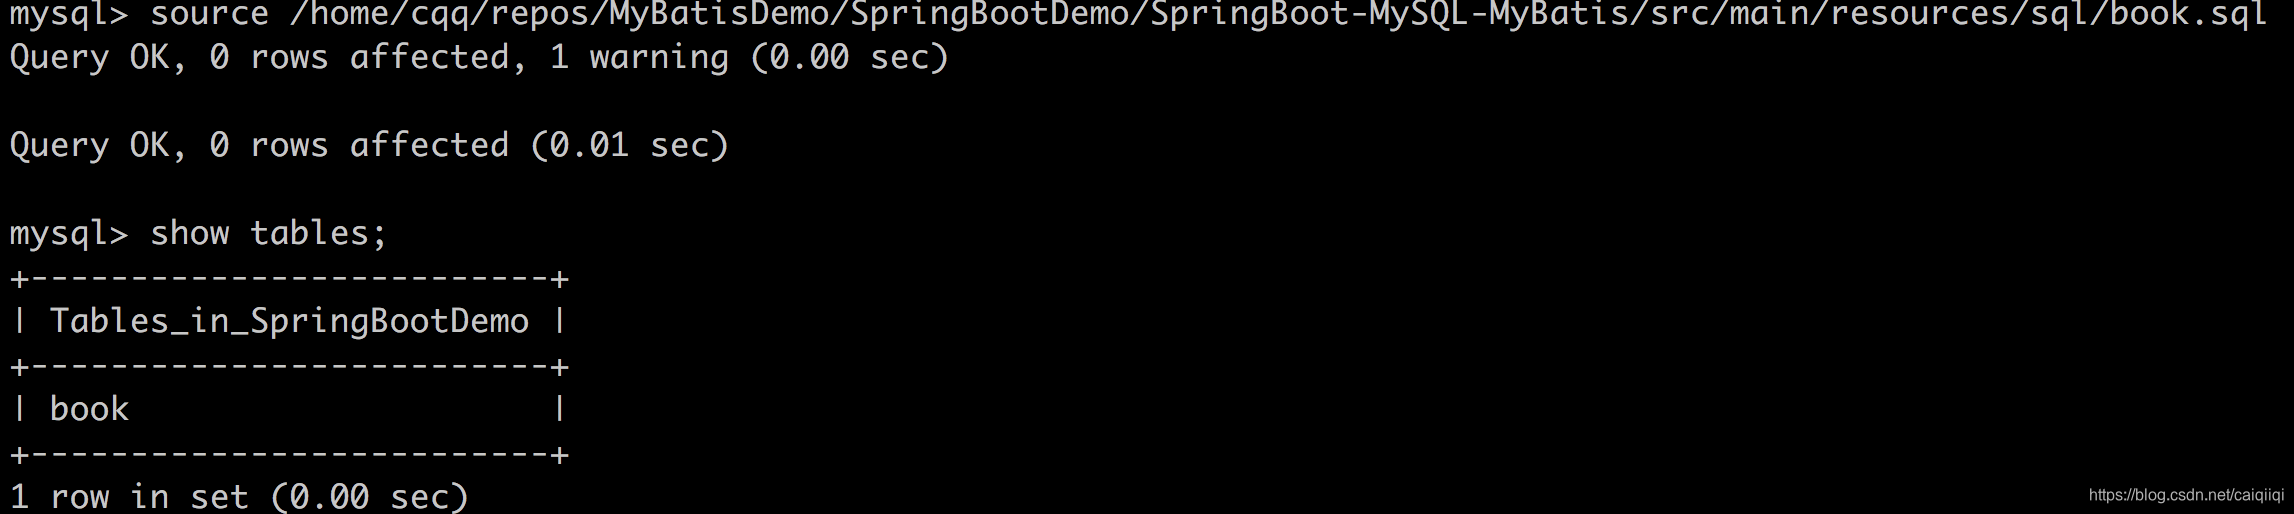
执行外部sql文件
在mysql命令行source 这个sql文件就好了。
原文链接:
http://www.ghostchina.com/how-to-reset-mysqls-root-password/
debug
使用mysql 8之后,发现报错:
org.springframework.jdbc.CannotGetJdbcConnectionException: Could not get JDBC Connection; nested exception is java.sql.SQLNonTransientConnectionException: Public Key Retrieval is not allowed

参考:
https://kalasearch.cn/community/tutorials/ubuntu-20-04-install-mysql/
修改密码类型:
ALTER USER 'java_sec_code'@'192.168.96.1' IDENTIFIED WITH mysql_native_password BY 'java_sec_code';
讲caching_sha2_password改成了mysql_native_password类型。

Establishing SSL connection without server’s identity verification is not recommended
设置数据库连接字符串:
useSSL=false
在拿到的shell上直接执行sql命令,mysql 客户端:
https://dev.mysql.com/doc/mysql-shell/8.0/en/mysql-shell-connection-using-parameters.html
查看历史命令
sudo cat /root/.mysql_history|sed "s/\\\040/ /g"
参考:
- https://blog.csdn.net/qq_28867949/article/details/79465682
- https://stackoverflow.com/questions/34189756/warning-about-ssl-connection-when-connecting-to-mysql-database
- https://stackoverflow.com/questions/7818031/sql-command-to-display-history-of-queries
- MySQL注入 利用系统读、写文件


 1436
1436

 被折叠的 条评论
为什么被折叠?
被折叠的 条评论
为什么被折叠?
 到【灌水乐园】发言


