


一、安装准备
关闭防火墙
# systemctl stop firewalld.service
# systemctl disable firewalld.service
2、 关闭SELinux 编辑 /etc/selinux/config
# SELINUX=disabled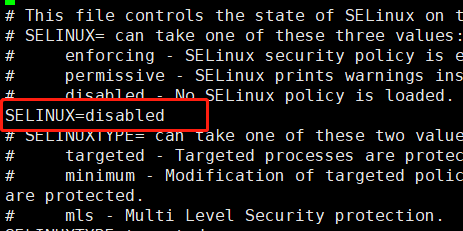
3、创建MySQL用户和组
# 创建mysql的HOME目录
# mkdir -p /home/mysql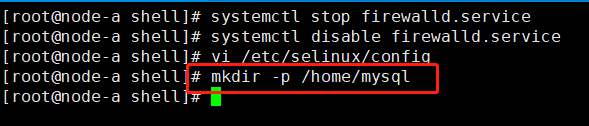
# 创建MySQL组
# groupadd mysql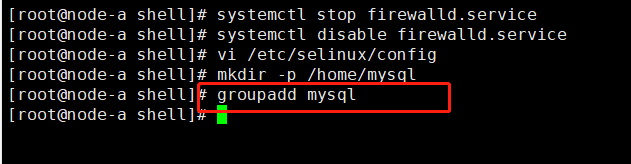
# 创建MySQL用户,指定组及默认路径
# useradd -r -d /home/mysql -g mysql mysql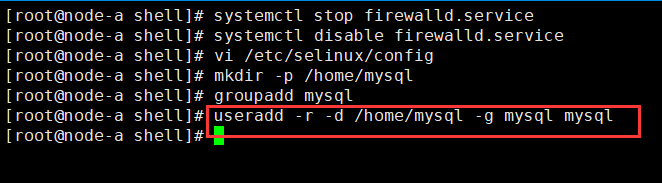
#将mysql默认路径的用户名和组改成mysql
# chown -R mysql:mysql /home/mysql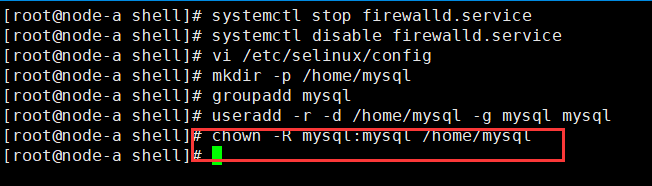
二、安装MySQL
1、下载MySQL8
# wget https://downloads.mysql.com/archives/get/p/23/file/mysql-8.0.30-linux-glibc2.12-i686.tar.xz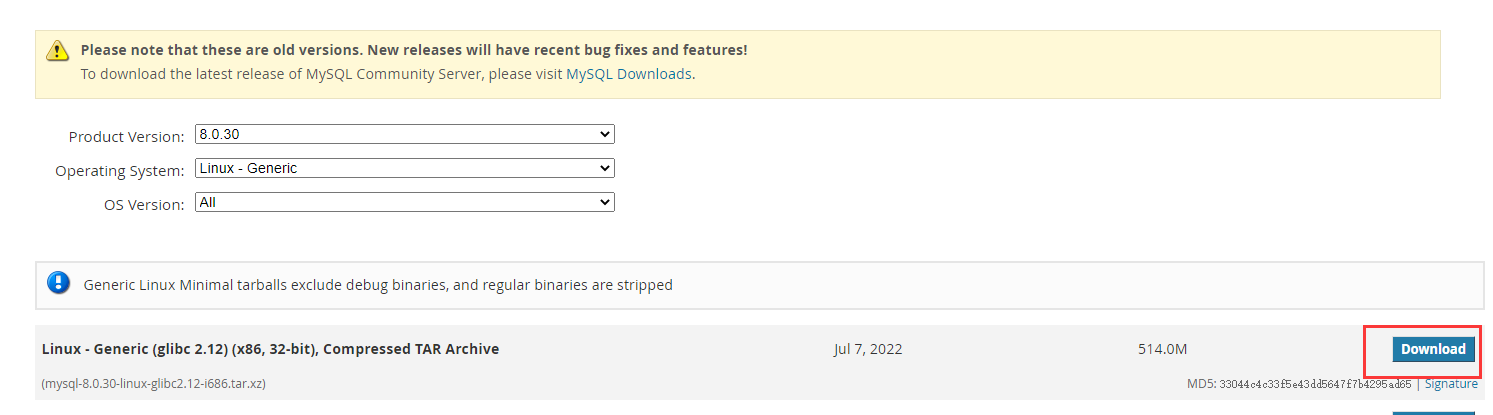

2、解压MySQL
# tar -xvf mysql-8.0.30-linux-glibc2.12-i686.tar.xz
3、修改MySQL解压后的名称
# mv mysql-8.0.30-linux-glibc2.12-i686 mysql
4、将mysql目录移动至 /usr/local目录下,设置目录 /usr/local/mysql 所有者
# mv mysql /usr/local/
# chown -R mysql:mysql /usr/local/mysql
5、查看MySQL目录结构
# tree -d -L 1 mysql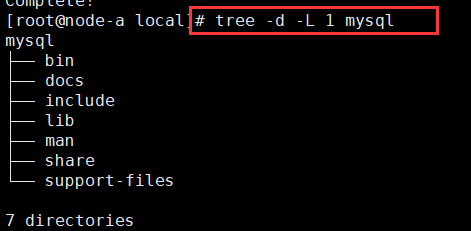
6、配置环境变量,/etc/profile 为mysql环境变量,文件最后增加
# vi /etc/profile
export PATH=$PATh:/usr/local/mysql/bin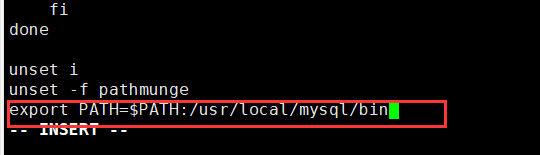
7、重新生成环境变量
# source /etc/profile
8、创建MySQL数据目录
# 创建数据目录
# mkdir /usr/local/mysql/data
# 将数据目录的用户和组改成mysql
# chown mysql:mysql /usr/local/mysql/data
# 更改数据目录权限
# chmod 750 /usr/local/mysql/data
9、新建MySQL配置文件 /etc/my.cnf 添加如下内容
vi /etc/my.cnf[mysqld]
server-id=1
port=3306
basedir=/usr/local/mysql
datadir=/usr/local/mysql/data
log-error=/usr/local/mysql/data/error.log
socket=/tmp/mysql.sock
pid-file=/usr/local/mysql/data/mysql.pid
character-set-server=utf8
lower_case_table_names=1
innodb_log_file_size=1G
default-storage-engine=INNODB
default_authentication_plugin=mysql_native_password
[client]
port=3306
default-character-set=utf810、初始化MySQL数据库
mysqld --initialize --user mysql
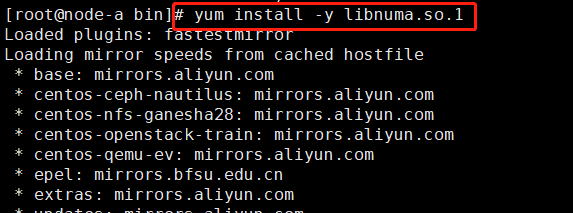
# mysqld --initialize --user mysql注意:如果这里缺少依赖包,注意查看提示 直接yum -y instal 依赖包名称
错误:
mysqld: error while loading shared libraries: libnuma.so.1: cannot open shared object file: No such file or directory
解决:
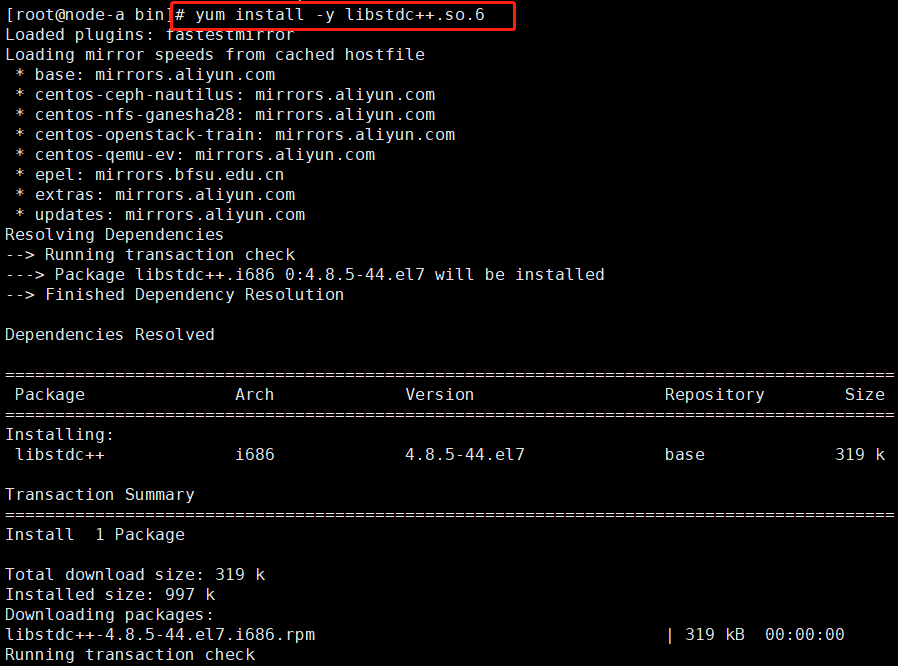
错误:
mysqld: error while loading shared libraries: libstdc++.so.6: cannot open shared object file: No such file or directory
解决:
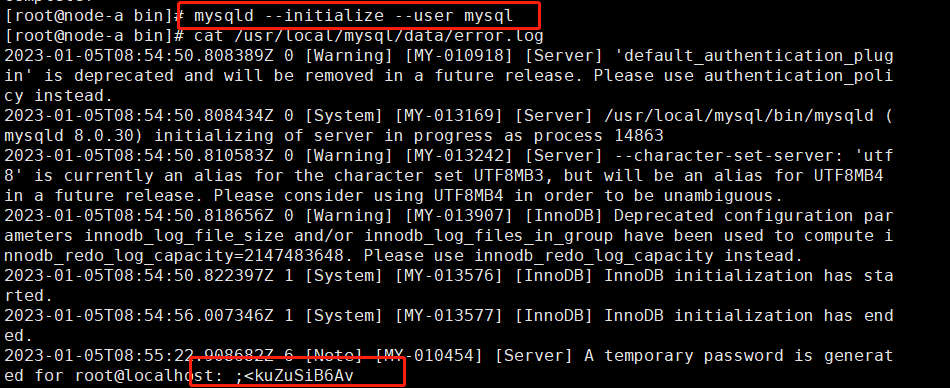
11、查看初始化日志 mySQl的root用户密码
# cat /usr/local/mysql/data/error.log输出如下信息:
[root@node-a bin]# cat /usr/local/mysql/data/error.log
2023-01-05T08:54:50.808389Z 0 [Warning] [MY-010918] [Server] 'default_authentication_plugin' is deprecated and will be removed in a future release. Please use authentication_policy instead.
2023-01-05T08:54:50.808434Z 0 [System] [MY-013169] [Server] /usr/local/mysql/bin/mysqld (mysqld 8.0.30) initializing of server in progress as process 14863
2023-01-05T08:54:50.810583Z 0 [Warning] [MY-013242] [Server] --character-set-server: 'utf8' is currently an alias for the character set UTF8MB3, but will be an alias for UTF8MB4 in a future release. Please consider using UTF8MB4 in order to be unambiguous.
2023-01-05T08:54:50.818656Z 0 [Warning] [MY-013907] [InnoDB] Deprecated configuration parameters innodb_log_file_size and/or innodb_log_files_in_group have been used to compute innodb_redo_log_capacity=2147483648. Please use innodb_redo_log_capacity instead.
2023-01-05T08:54:50.822397Z 1 [System] [MY-013576] [InnoDB] InnoDB initialization has started.
2023-01-05T08:54:56.007346Z 1 [System] [MY-013577] [InnoDB] InnoDB initialization has ended.
2023-01-05T08:55:22.908682Z 6 [Note] [MY-010454] [Server] A temporary password is generated for root@localhost: ;<kuZuSiB6Av
看到如下信息,表示初始化成功
[InnoDB] InnoDB initialization has started.
[InnoDB] InnoDB initialization has ended.
默认密码为:;<kuZuSiB6Av
三、启动与关闭MySQL
1、启动MySQL数据库
[root@node-a mysql]# support-files/mysql.server start
Starting MySQL.............. SUCCESS! 
2、查看MySQL数据库状态
[root@node-a mysql]# support-files/mysql.server status
 SUCCESS! MySQL running (15177)
3、配置MySQL数据库的开机自启服务
# 复制mysql.server 到 /etc/init.d目录下
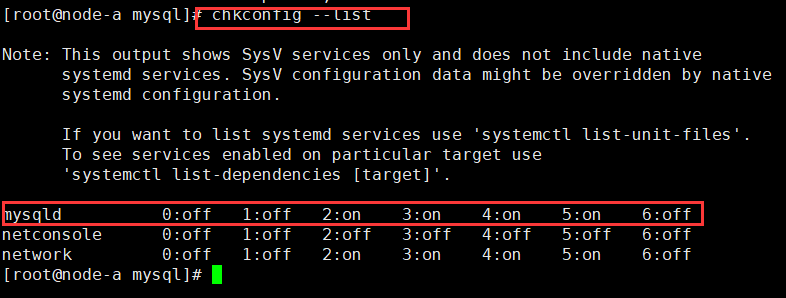
[root@node-a mysql]# cp /usr/local/mysql/support-files/mysql.server /etc/init.d/mysqld# 使用chkconfig 添加 mysql服务到开机启动的列表中
[root@node-a mysql]# chkconfig --add mysqld
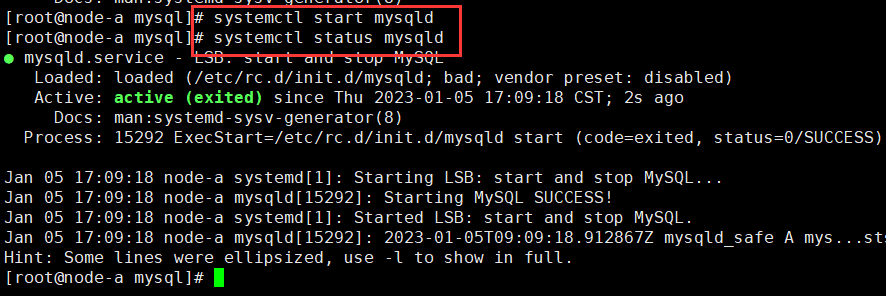
4、启动并查看MySQL状态
5、查看系统配置的开机自启列表
6、关闭MySQL
[root@node-a mysql]# cd /usr/local/mysql/
[root@node-a mysql]# support-files/mysql.server stop

四、登录MySQL
本地链接
# mysql -u root -p 2、修改密码
mysql> alter user 'root'@'localhost' identified by 'Welcome_1';
Query OK, 0 rows affected (0.04 sec)
3、修改root用户允许远程登录
mysql> create user 'root'@'%' identified by 'Welcome_1';
Query OK, 0 rows affected (0.01 sec)
mysql> grant all on *.* to 'root'@'%';
Query OK, 0 rows affected (0.01 sec)
mysql> flush privileges;
Query OK, 0 rows affected (0.01 sec)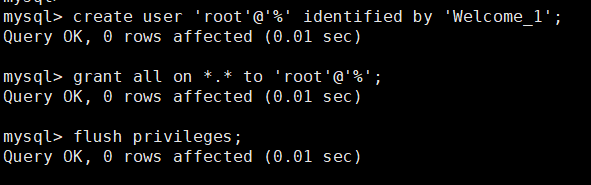
4、远程链接
# 创建用户 user001 密码 Welcome_1
create user 'user001'@'%' identified by 'Welcome_1';
5、给用户授权
# 给用户授权
grant all on mysql.* to 'user001'@'%';
6、查看系统user表
#使用root用户查看系统的 user表
use mysql
select host,user from user;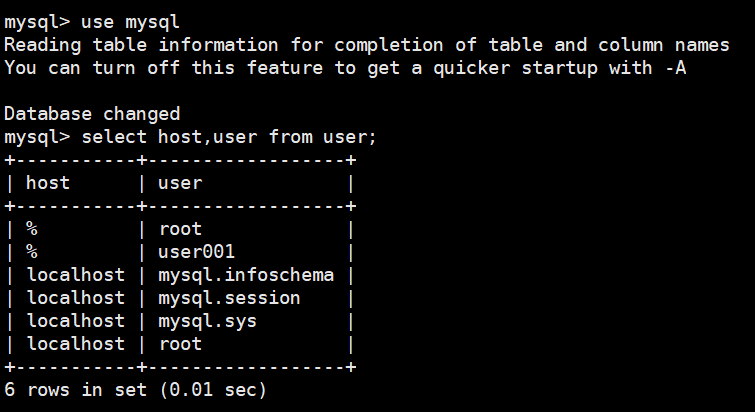
7、查看系统db表
# 使用root用户查看系统的db表
use mysql;
select host,user,db from db where user='user001';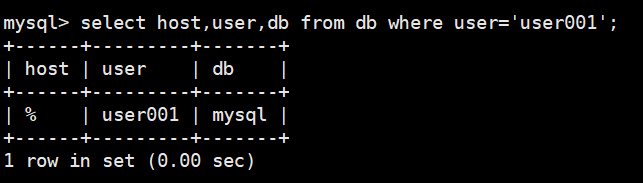


 472
472


 被折叠的 条评论
为什么被折叠?
被折叠的 条评论
为什么被折叠?
 到【灌水乐园】发言


