PostgreSQL database adapter for the Python programming language. Its main features are the complete implementation of the Python DB API 2.0 specification and the thread safety (several threads can share the same connection). It was designed for heavily multi-threaded applications that create and destroy lots of cursors and make a large number of concurrent “INSERT”s or “UPDATE”s.
下载psycopg2 下来,解压,到其所在文件目录下执行
<code class="language-shell hljs bash has-numbering" style="display: block; padding: 0px; color: inherit; box-sizing: border-box; font-family: 'Source Code Pro', monospace;font-size:undefined; white-space: pre; border-radius: 0px; word-wrap: normal; background: transparent;"><span class="hljs-built_in" style="color: rgb(102, 0, 102); box-sizing: border-box;">sudo</span> python setup.py install</code><ul class="pre-numbering" style="box-sizing: border-box; position: absolute; width: 50px; top: 0px; left: 0px; margin: 0px; padding: 6px 0px 40px; border-right-width: 1px; border-right-style: solid; border-right-color: rgb(221, 221, 221); list-style: none; text-align: right; background-color: rgb(238, 238, 238);"><li style="box-sizing: border-box; padding: 0px 5px;">1</li></ul>
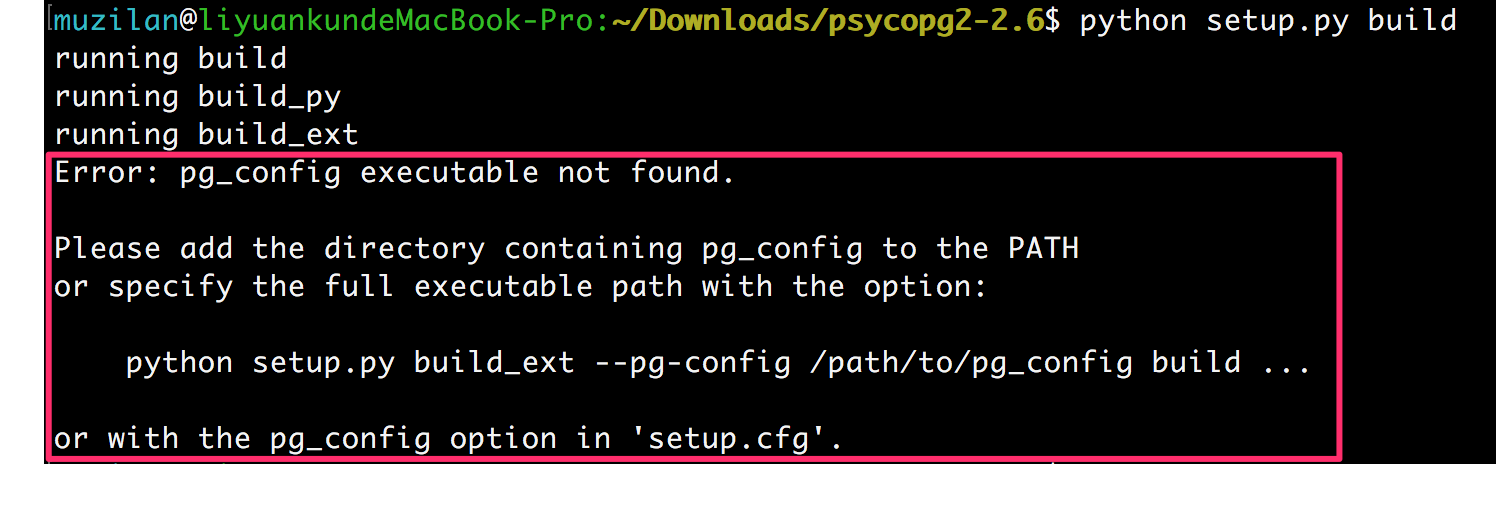
报错:
2环境
- Mac OSX 10.11.2
- python 2.7
- 安装有 pgAdmin3.app
3解决方法
3.1 for Mac OSX(没有安装过Postgres.app)
step1(没有Postgres.app)安装 postgresql:
(在你已经安装 Homebrew 的前提下)
<code class="language-shell hljs cmake has-numbering" style="display: block; padding: 0px; color: inherit; box-sizing: border-box; font-family: 'Source Code Pro', monospace;font-size:undefined; white-space: pre; border-radius: 0px; word-wrap: normal; background: transparent;">brew <span class="hljs-keyword" style="color: rgb(0, 0, 136); box-sizing: border-box;">install</span> postgresql</code><ul class="pre-numbering" style="box-sizing: border-box; position: absolute; width: 50px; top: 0px; left: 0px; margin: 0px; padding: 6px 0px 40px; border-right-width: 1px; border-right-style: solid; border-right-color: rgb(221, 221, 221); list-style: none; text-align: right; background-color: rgb(238, 238, 238);"><li style="box-sizing: border-box; padding: 0px 5px;">1</li></ul>
step2 找到相应的路径
我的是:/usr/local/Cellar/postgresql/9.4.4/bin
具体的“9.4.4”根据自己的版本号来。
这里我添加下面的内容到我的 .bash_profile 文件
<code class="language-shell hljs ruby has-numbering" style="display: block; padding: 0px; color: inherit; box-sizing: border-box; font-family: 'Source Code Pro', monospace;font-size:undefined; white-space: pre; border-radius: 0px; word-wrap: normal; background: transparent;">export <span class="hljs-constant" style="box-sizing: border-box;">PATH</span>=<span class="hljs-regexp" style="color: rgb(0, 136, 0); box-sizing: border-box;">/usr/local</span><span class="hljs-regexp" style="color: rgb(0, 136, 0); box-sizing: border-box;">/Cellar/postgresql</span><span class="hljs-regexp" style="color: rgb(0, 136, 0); box-sizing: border-box;">/9.4.4/bin</span><span class="hljs-symbol" style="color: rgb(0, 102, 102); box-sizing: border-box;">:</span><span class="hljs-variable" style="color: rgb(102, 0, 102); box-sizing: border-box;">$PATH</span></code><ul class="pre-numbering" style="box-sizing: border-box; position: absolute; width: 50px; top: 0px; left: 0px; margin: 0px; padding: 6px 0px 40px; border-right-width: 1px; border-right-style: solid; border-right-color: rgb(221, 221, 221); list-style: none; text-align: right; background-color: rgb(238, 238, 238);"><li style="box-sizing: border-box; padding: 0px 5px;">1</li></ul>
step3 重新安装psycopg2,打开一个新的终端窗口,执行命令:
第一种方法:按文章开头:“ 1安装[psycopg2] ”进行安装
第二种方法:已经安装过pip的,执行下面的命令
<code class="language-shell hljs cmake has-numbering" style="display: block; padding: 0px; color: inherit; box-sizing: border-box; font-family: 'Source Code Pro', monospace;font-size:undefined; white-space: pre; border-radius: 0px; word-wrap: normal; background: transparent;">pip <span class="hljs-keyword" style="color: rgb(0, 0, 136); box-sizing: border-box;">install</span> psycopg2</code><ul class="pre-numbering" style="box-sizing: border-box; position: absolute; width: 50px; top: 0px; left: 0px; margin: 0px; padding: 6px 0px 40px; border-right-width: 1px; border-right-style: solid; border-right-color: rgb(221, 221, 221); list-style: none; text-align: right; background-color: rgb(238, 238, 238);"><li style="box-sizing: border-box; padding: 0px 5px;">1</li></ul>
3.1的整个过程经过我的实际验证,成功!
step1 找到pg_config 文件路径
<code class="language-shell hljs has-numbering" style="display: block; padding: 0px; color: inherit; box-sizing: border-box; font-family: 'Source Code Pro', monospace;font-size:undefined; white-space: pre; border-radius: 0px; word-wrap: normal; background: transparent;">which pg_config</code><ul class="pre-numbering" style="box-sizing: border-box; position: absolute; width: 50px; top: 0px; left: 0px; margin: 0px; padding: 6px 0px 40px; border-right-width: 1px; border-right-style: solid; border-right-color: rgb(221, 221, 221); list-style: none; text-align: right; background-color: rgb(238, 238, 238);"><li style="box-sizing: border-box; padding: 0px 5px;">1</li></ul>
step2 添加上一步返回的路径到你的环境(按自己的路径来)
<code class="language-shell hljs bash has-numbering" style="display: block; padding: 0px; color: inherit; box-sizing: border-box; font-family: 'Source Code Pro', monospace;font-size:undefined; white-space: pre; border-radius: 0px; word-wrap: normal; background: transparent;"><span class="hljs-keyword" style="color: rgb(0, 0, 136); box-sizing: border-box;">export</span> PATH=<span class="hljs-string" style="color: rgb(0, 136, 0); box-sizing: border-box;">"/Applications/Postgres.app/Contents/Versions/9.4/bin:<span class="hljs-variable" style="color: rgb(102, 0, 102); box-sizing: border-box;">$PATH</span>"</span></code><ul class="pre-numbering" style="box-sizing: border-box; position: absolute; width: 50px; top: 0px; left: 0px; margin: 0px; padding: 6px 0px 40px; border-right-width: 1px; border-right-style: solid; border-right-color: rgb(221, 221, 221); list-style: none; text-align: right; background-color: rgb(238, 238, 238);"><li style="box-sizing: border-box; padding: 0px 5px;">1</li></ul>
step3 打开一个新的终端窗口,执行命令:
<code class="language-shell hljs cmake has-numbering" style="display: block; padding: 0px; color: inherit; box-sizing: border-box; font-family: 'Source Code Pro', monospace;font-size:undefined; white-space: pre; border-radius: 0px; word-wrap: normal; background: transparent;">pip <span class="hljs-keyword" style="color: rgb(0, 0, 136); box-sizing: border-box;">install</span> psycopg2</code><ul class="pre-numbering" style="box-sizing: border-box; position: absolute; width: 50px; top: 0px; left: 0px; margin: 0px; padding: 6px 0px 40px; border-right-width: 1px; border-right-style: solid; border-right-color: rgb(221, 221, 221); list-style: none; text-align: right; background-color: rgb(238, 238, 238);"><li style="box-sizing: border-box; padding: 0px 5px;">1</li></ul>
3.3 for CentOS
安装 postgresql-devel:
<code class="language-bash hljs has-numbering" style="display: block; padding: 0px; color: inherit; box-sizing: border-box; font-family: 'Source Code Pro', monospace;font-size:undefined; white-space: pre; border-radius: 0px; word-wrap: normal; background: transparent;"><span class="hljs-built_in" style="color: rgb(102, 0, 102); box-sizing: border-box;">sudo</span> yum install postgresql-devel</code><ul class="pre-numbering" style="box-sizing: border-box; position: absolute; width: 50px; top: 0px; left: 0px; margin: 0px; padding: 6px 0px 40px; border-right-width: 1px; border-right-style: solid; border-right-color: rgb(221, 221, 221); list-style: none; text-align: right; background-color: rgb(238, 238, 238);"><li style="box-sizing: border-box; padding: 0px 5px;">1</li></ul>
pg_config 文件在 postgresql-devel package中,然后进行path配置。
附参考文章:
stackoverflow 的讨论:Error: pg_config executable not found
其他参考解决方案:Resolving Error: pg_config executable not found on Mac


 5590
5590

 被折叠的 条评论
为什么被折叠?
被折叠的 条评论
为什么被折叠?
 到【灌水乐园】发言


