


记录一次学习过程,参考来源于【朝夕教育Winform开发体验课】,感谢分享!
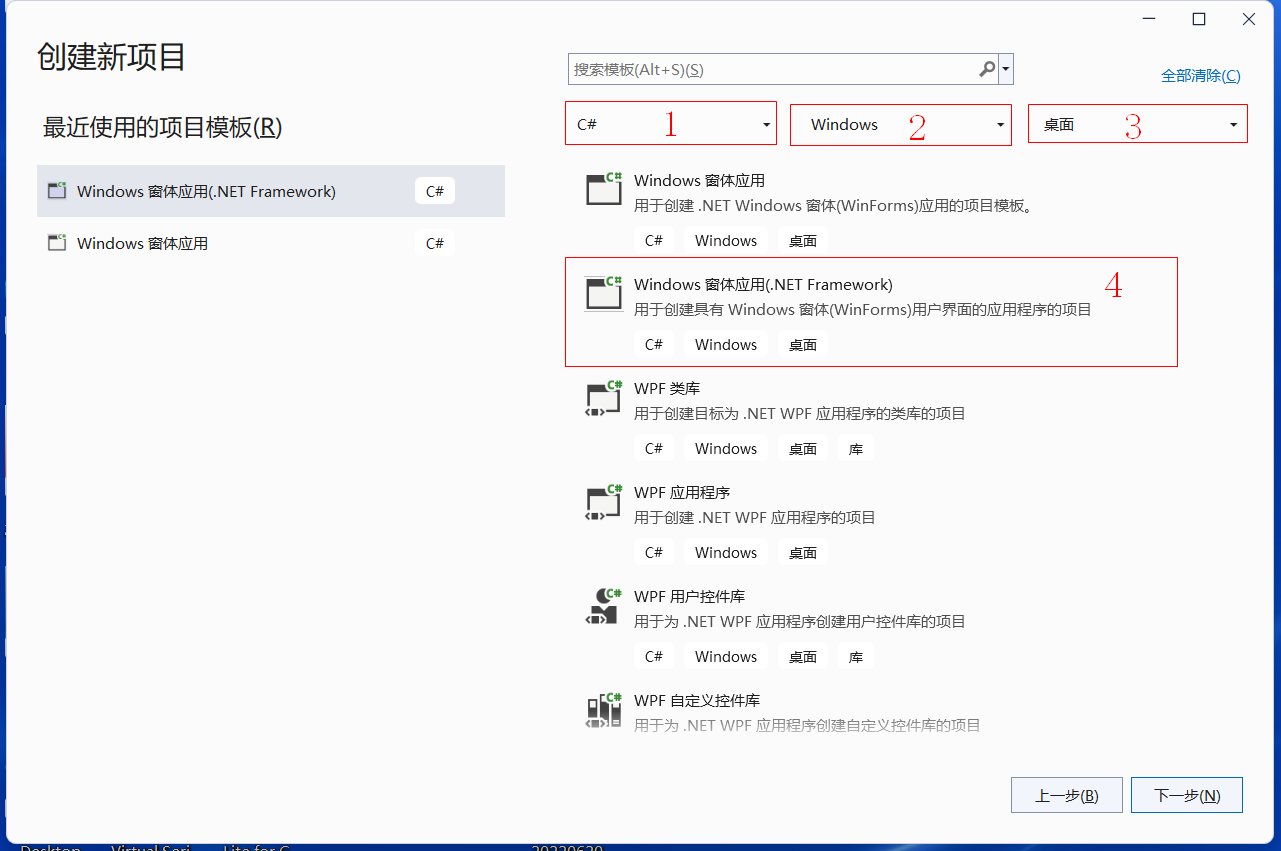
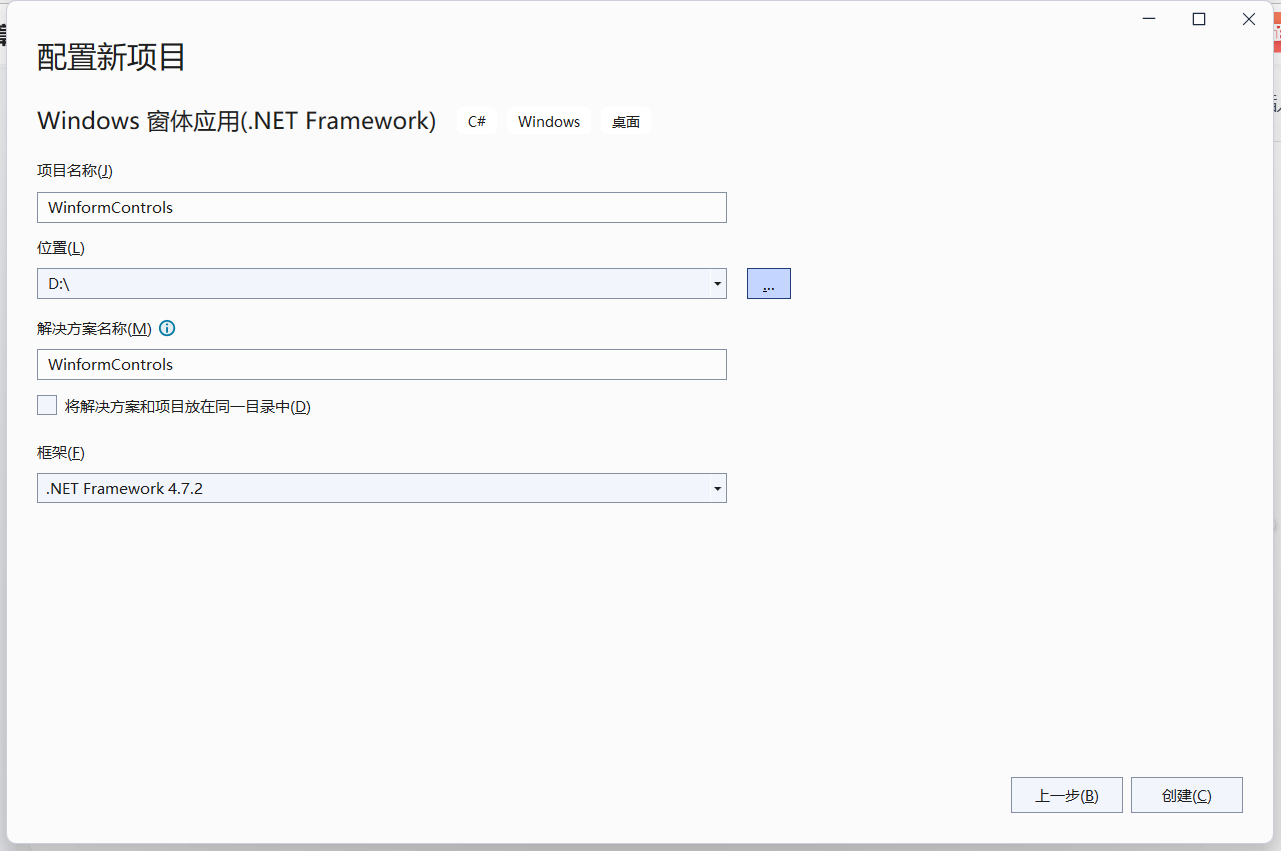
第一步:建立 WinForm 窗体应用工程,项目名称为“WinformControls”
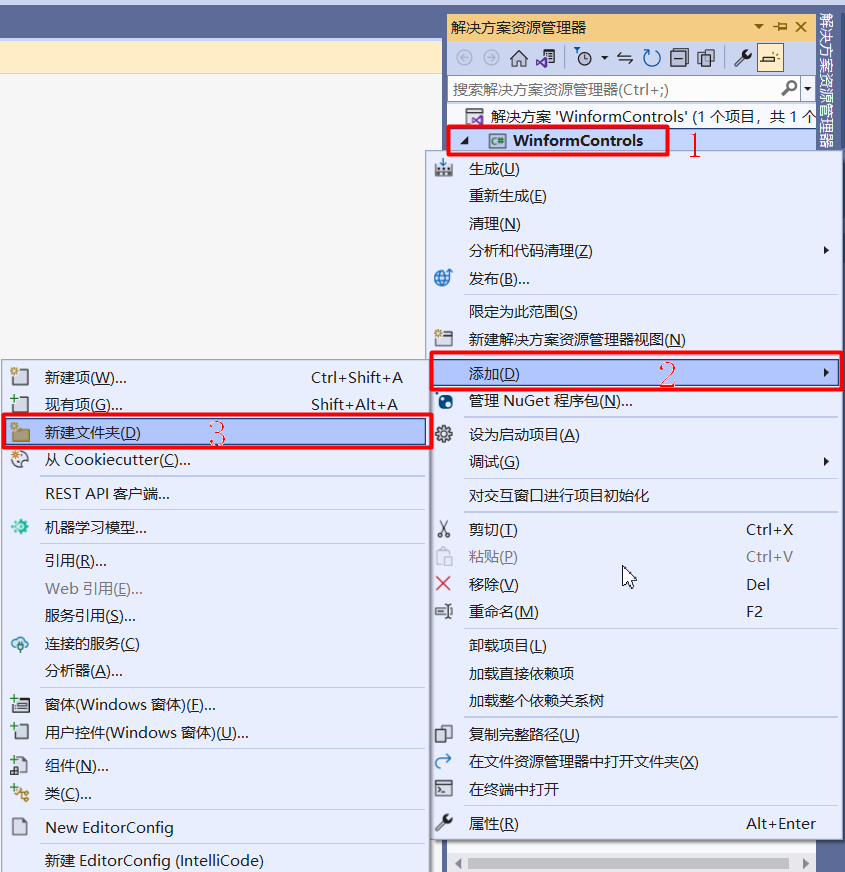
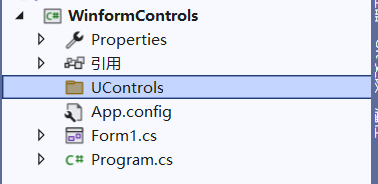
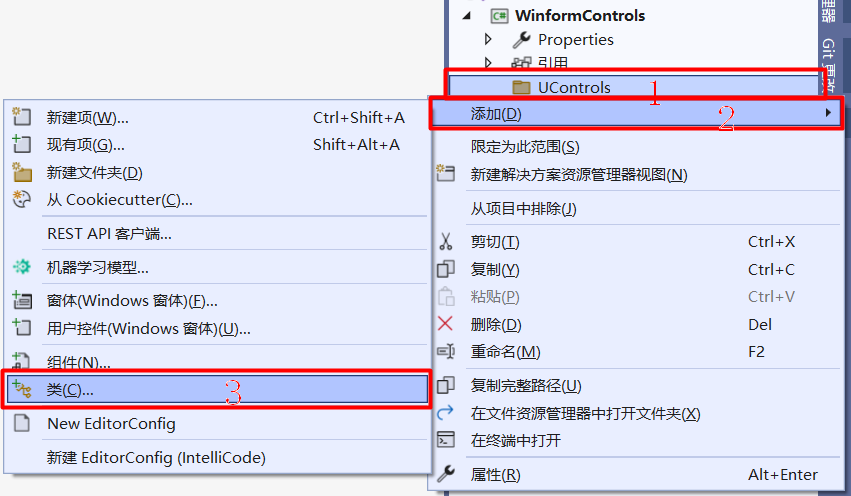
第二步:建立项目文件夹“UControls”
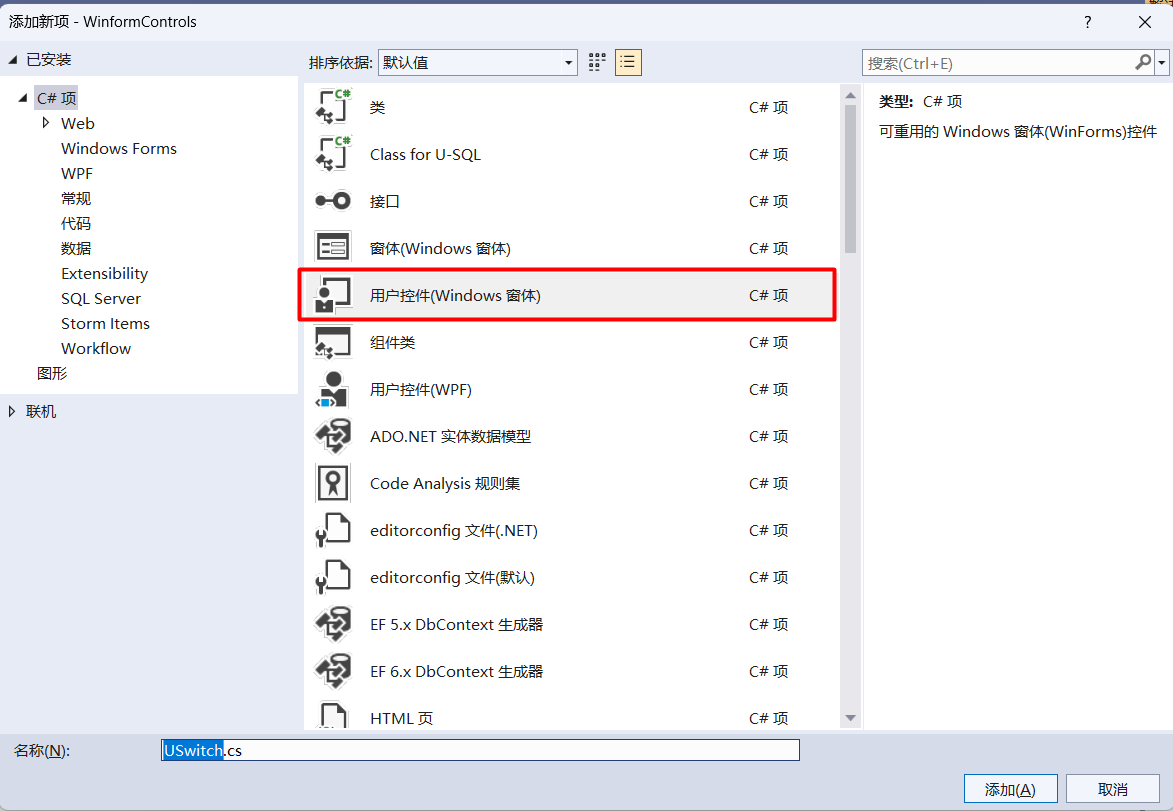
第三步:建立用户控件(Windows窗体)“USwitch”
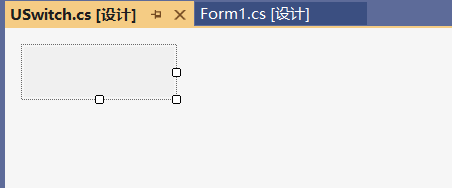
拖动或到属性设置控件默认大小
第四步:右键或“F7”进入查看代码进行代码的编写

第五步:控件样式标志设置
#region 控件样式标志设置
            SetStyle(ControlStyles.AllPaintingInWmPaint,true);//如果为true,则控件忽略窗口消息WM_ERASEBKGND以减少闪烁
            SetStyle(ControlStyles.OptimizedDoubleBuffer,true);//如果为true,则控件首先绘制到缓冲区而不是直接绘制到屏幕,这样可以减少闪烁
            SetStyle(ControlStyles.ResizeRedraw,true);//如果为true,则控件在调整大小时进行重绘
            SetStyle(ControlStyles.UserPaint,true);//如果为true,则会由控件而不是由操作系统来绘制控件自身
            SetStyle(ControlStyles.Selectable,true);//如果为true,则控件可以接收焦点
            SetStyle(ControlStyles.SupportsTransparentBackColor,true);//如果为true,则控件接受alpha组建数小于255个的Control.BlackColor来模拟透明度

            #endregion
第六步:设置默认控件大小
            #region 设置默认控件大小
            this.Size = new Size(150,50);

            #endregion
第七部:建立开关控件打开/关闭属性
//propfull 属性和支持字段的代码片段,注意两次tab插入“propfull”片段
#region 建立开关控件打开/关闭属性

        /// <summary>
        /// 开关是否打开
        /// </summary>
        private bool mChecked;

        public bool Checked
        {
            get { return mChecked; }
            set
            {
                mChecked = value;
                Invalidate();//使控件的整个图面无效并导致重绘控件
            }
        }

        /// <summary>
        /// 开关为true时的背景颜色
        /// </summary>
        private Color trueColor = Color.Blue;

        public Color TrueColor
        {
            get { return trueColor; }
            set
            {
                trueColor = value;
                Invalidate();//使控件的整个图面无效并导致重绘控件
            }
        }

        /// <summary>
        /// 开关为false时的背景颜色
        /// </summary>
        private Color falseColor = Color.Gray;

        public Color FalseColor
        {
            get { return falseColor; }
            set
            {
                falseColor = value;
                Invalidate();//使控件的整个图面无效并导致重绘控件
            }
        }

        #endregion
第八步:利用GDI+绘制控件外观
#region 利用GDI+绘制控件外观

        /// <summary>
        /// 利用GDI+绘制控件外观
        /// </summary>
        /// <param name="e"></param>
        protected override void OnPaint(PaintEventArgs e)
        {
            Graphics g = e.Graphics;//封装一个GDI+绘图图面
            g.SmoothingMode = System.Drawing.Drawing2D.SmoothingMode.AntiAlias;//获取或设置此 Graphics 的呈现质量
            Color fillcolor = mChecked? trueColor : falseColor;//填充颜色
            GraphicsPath path1 = new GraphicsPath();//绘图路径

            int radius = 16;//设置圆弧半径 默认16

            path1.AddArc(0, 0, radius, radius, 180f, 90f);//左上角圆弧
            path1.AddArc(Width - radius - 1, 0, radius, radius, 270f, 90f);//右上角圆弧
            path1.AddArc(Width - radius - 1, Height - radius - 1, radius, radius, 0, 90f);//右下角圆弧
            path1.AddArc(0, Height - radius - 1, radius, radius, 90f, 90f);//左下角圆弧

            g.FillPath(new SolidBrush(fillcolor), path1);//初始化新 SolidBrush 指定颜色的对象,对矩形进行填充

            if (mChecked)
            {
                //右边画圆角正方形
                GraphicsPath path2 = new GraphicsPath();
                path2.AddArc(Width - Height - 1 + 2, 2, radius, radius, 180f, 90f);//左上角圆弧
                path2.AddArc(Width - 1 - 2 - radius, 2, radius, radius, 270f, 90f);//右上角圆弧
                path2.AddArc(Width - 1 - 2 - radius, Height -2 - radius -1, radius, radius, 0f, 90f);//右下角圆弧
                path2.AddArc(Width - Height - 1 + 2, Height - 2 - radius - 1, radius, radius, 90f, 90f);//左下角圆弧

                g.FillPath(Brushes.White, path2);//利用标准颜色画笔填充小正方形

                g.DrawEllipse(new Pen(trueColor,2), new Rectangle(Width - Height + (Height - 4) / 4, (Height - 4) / 4, (Height - 4) / 2, (Height - 4) / 2));//画圆形
            }
            else
            {
                //左边画圆角正方形
                GraphicsPath path2 = new GraphicsPath();
                path2.AddArc(2, 2, radius, radius, 180f, 90f);//左上角圆弧
                path2.AddArc(Height - 2 - radius, 2, radius, radius, 270f, 90f);//右上角圆弧
                path2.AddArc(Height - 2 - radius, Height - 2 - radius - 1, radius, radius, 0f, 90f);//右下角圆弧
                path2.AddArc(2, Height - 2 - radius - 1, radius, radius, 90f, 90f);//左下角圆弧

                g.FillPath(Brushes.White, path2);//利用标准颜色画笔填充小正方形

                g.DrawEllipse(new Pen(falseColor, 2), new Rectangle((Height - 4) / 4, (Height - 4) / 4, (Height - 4) / 2, (Height - 4) / 2));//画圆形
            }

        }

#endregion这里摘抄一段https://learn.microsoft.com/GraphicsPath.AddArc 方法
AddArc(Int32, Int32, Int32, Int32, Single, Single)
向当前图形追加一段椭圆弧。
C#复制
publicvoidAddArc (int x, int y, int width, int height, float startAngle, float sweepAngle);参数
x
矩形区域左上角的 X 坐标,该区域定义将要从中绘制弧线的椭圆。
y
矩形区域左上角的 Y 坐标,该区域定义将要从中绘制弧线的椭圆。
width
矩形区域的宽度,该区域定义将要从中绘制弧线的椭圆。
height
矩形区域的高度,该区域定义将要从中绘制弧线的椭圆。
startAngle
弧线的起始角度,以度为单位从 X 轴顺时针测量。
sweepAngle
startAngle 和弧线末尾之间的角度。
示例
有关示例,请参见 AddArc(Rectangle, Single, Single)。
注解
如果图中有上一条线或曲线,则会添加一条线,用于将上一段的端点连接到弧线的开头。
弧沿由指定矩形绑定的椭圆的外围进行跟踪。 弧的起始点是通过从椭圆的 x 轴 (以 0 度角度) 开始角度测量顺时针确定的。 终结点通过按扫描角度的度数从起点按顺时针测量来相似。 如果扫描角度大于 360 度或小于 -360 度,则弧线将分别被 360 度或 -360 度横扫。
**难点:利用GDI+绘制图形要理解清楚坐标的位置,理解清楚后思路就清晰了!!!
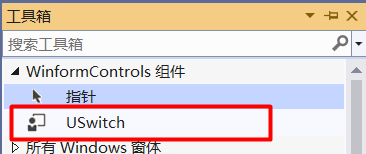
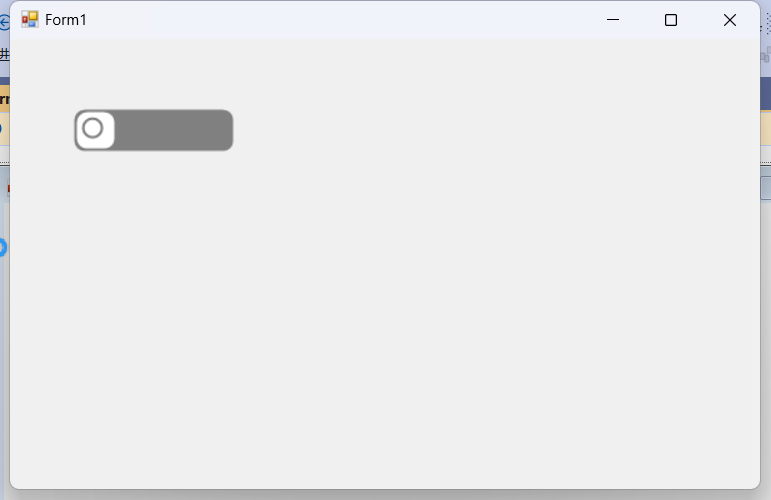
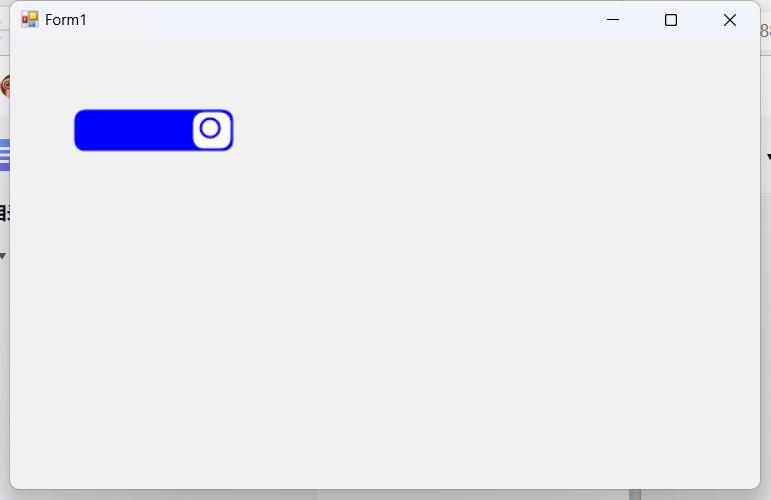
第九步:在form1绘制USwitch开关,并建立Click事件
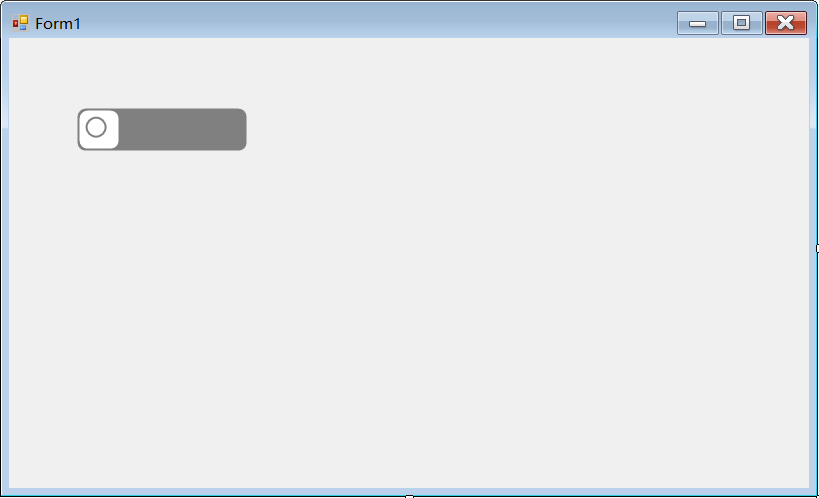
        private void uSwitch1_Click(object sender, EventArgs e)
        {
            uSwitch1.Checked = !uSwitch1.Checked;
        }
展示:
记录一次学习过程,参考来源于【朝夕教育Winform开发体验课】,感谢分享!


 1020
1020


 被折叠的 条评论
为什么被折叠?
被折叠的 条评论
为什么被折叠?
 到【灌水乐园】发言


