


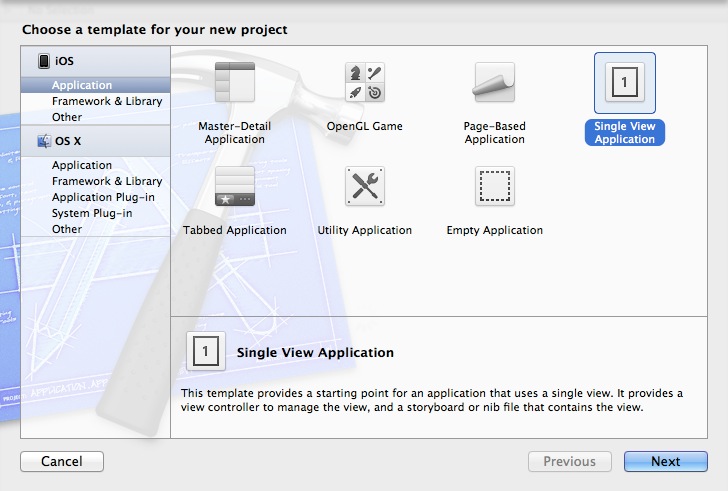
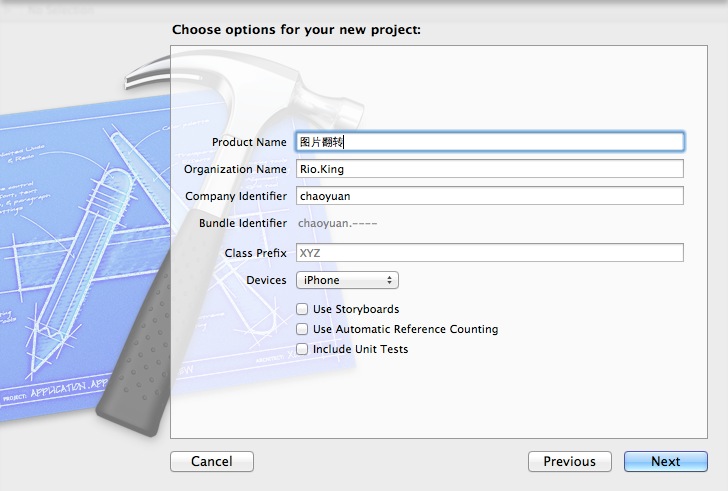
1、
引入两个framework(Builds Phases->Link Binary With Libraries)

加入两张图片,m_6.jpg和m_7.jpg。
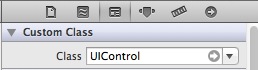
打开.xib文件,拖入一个view视图,将其类名改为UIControl,再拖入两个image view视图,将其图片设置为m_6.jpg和m_7.jpg

为Control和两个image view 视图关联变量
//
//  ViewController.h
//  图片翻转
//
//  Created by Rio.King on 13-9-13.
//  Copyright (c) 2013年 Rio.King. All rights reserved.
//

#import <UIKit/UIKit.h>

@interface ViewController : UIViewController
@property (retain, nonatomic) IBOutlet UIControl *container;//Control的关联变量
@property (retain, nonatomic) IBOutlet UIImageView *image1;
@property (retain, nonatomic) IBOutlet UIImageView *image2;

@end
在ViewController.m文件中做如下实现:
//
//  ViewController.m
//  图片翻转
//
//  Created by Rio.King on 13-9-13.
//  Copyright (c) 2013年 Rio.King. All rights reserved.
//

#import "ViewController.h"

@interface ViewController ()

@end

@implementation ViewController

- (void)viewDidLoad
{
    [super viewDidLoad];
	UITapGestureRecognizer *tap = [[UITapGestureRecognizer alloc]initWithTarget:self action:@selector(changeCard:)];
    [tap setNumberOfTapsRequired:1];
    self.container.backgroundColor = [UIColor clearColor];
    self.container.userInteractionEnabled = YES;
    [self.container addGestureRecognizer:tap];
}

- (void)didReceiveMemoryWarning
{
    [super didReceiveMemoryWarning];
    // Dispose of any resources that can be recreated.
}

- (void) changeCard:(UITapGestureRecognizer *)gesture {
    CGContextRef context=UIGraphicsGetCurrentContext();
    [UIView beginAnimations:nil context:context];
    [UIView setAnimationCurve:UIViewAnimationCurveEaseInOut];
    [UIView setAnimationDuration:1.0];
    [UIView setAnimationTransition:UIViewAnimationTransitionFlipFromLeft forView:self.container cache:YES];

    if (self.image1.superview){
        [self.image1 removeFromSuperview];
        [self.container addSubview:self.image2];
    } else {
        [self.image2 removeFromSuperview];
        [self.container addSubview:self.image1];
    }


    [UIView setAnimationDelegate:self.container];
    [UIView commitAnimations];

}
- (void)dealloc {
    [_container release];
    [_image1 release];
    [_image2 release];
    [super dealloc];
}
@end
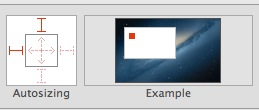
去掉Use Autolayout这个选项

最后修改这个,如图
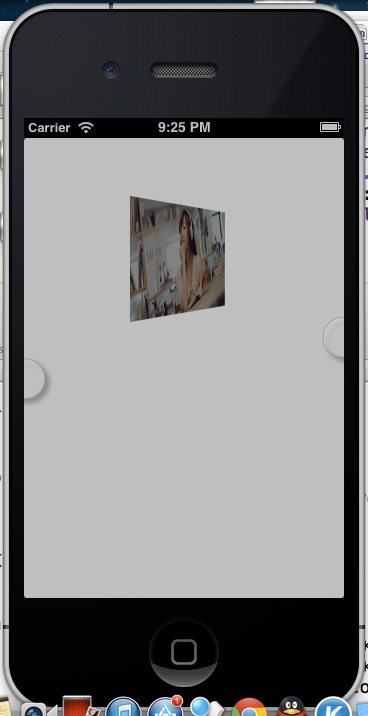
运行就可以看到结果了。


 1540
1540

 被折叠的 条评论
为什么被折叠?
被折叠的 条评论
为什么被折叠?
 到【灌水乐园】发言


