一. 安装node.js
brew install node二. 创建react app
npx create-react-app my-app
cd my-app
npm start
默认使用3000端口,本地3000端口被占用,修改/node_modules/react-scripts/scripts/start.js中的端口号
// 这是start.js部分源码
const DEFAULT_PORT = parseInt(process.env.PORT, 10) || 3000;
const HOST = process.env.HOST || '0.0.0.0';

// 将3000修改自己需要的端口号
const DEFAULT_PORT = parseInt(process.env.PORT, 10) || 10500;
const HOST = process.env.HOST || '0.0.0.0';
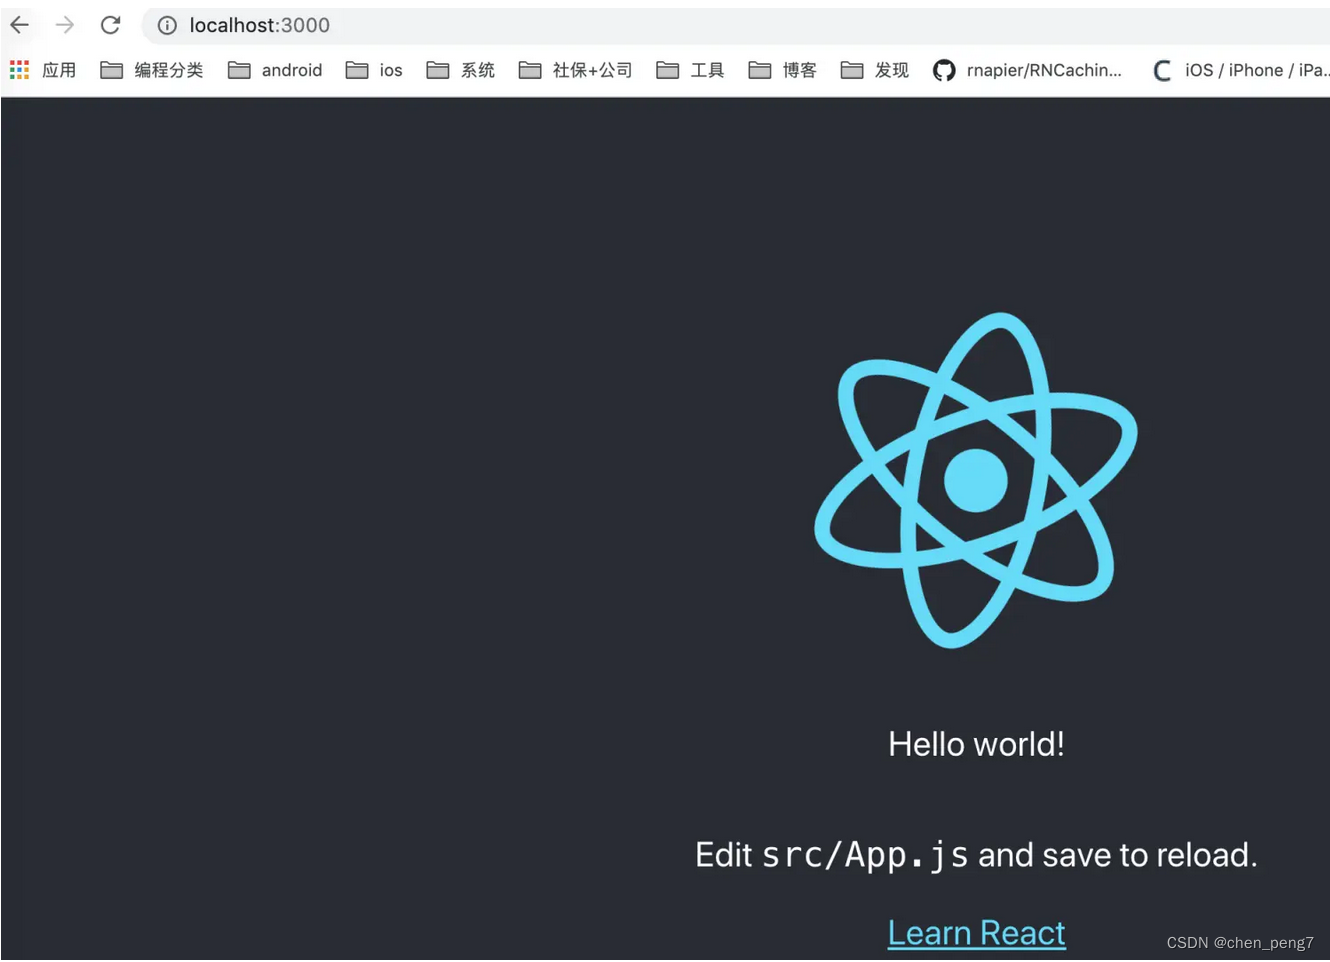
访问http://localhost:3000即可看到网站页面

三. 打包app
npm run build打包好的文件放在了build文件夹里
将这个文件夹上传到服务器
scp -r -P 22 ./build root@***:/data/app/react
修改服务器nginx配置文件
systemctl status nginx //查看nginx状态
/usr/sbin/nginx -t //可以看到nginx配置文件位置
server {
listen 8010;
server_name -;
index index.html;
root /data/app/react/build;
}重启nginx服务
systemctl restart nginx

或者
systemctl stop nginx
systemctl start nginx
访问服务器即可看到在本地的页面。
到此结束
PS:nginx知识
转发重定向
# 转发动态请求
server {
    listen 80;
    server_name  localhost;
    client_max_body_size 1024M;

    location / {
        proxy_pass http://localhost:8080;
        proxy_set_header Host $host:$server_port;
    }
}

# http请求重定向到https请求
server {
    listen 80;
    server_name domain.com;
    return 301 https://$server_name$request_uri;
}
全局变量含义
$args, 请求中的参数;
$content_length, HTTP请求信息里的"Content-Length";
$content_type, 请求信息里的"Content-Type";
$document_root, 针对当前请求的根路径设置值;
$document_uri, 与$uri相同;
$host, 请求信息中的"Host",如果请求中没有Host行,则等于设置的服务器名;
$limit_rate, 对连接速率的限制;
$request_method, 请求的方法,比如"GET"、"POST"等;
$remote_addr, 客户端地址;
$remote_port, 客户端端口号;
$remote_user, 客户端用户名,认证用;
$request_filename, 当前请求的文件路径名
$request_body_file,当前请求的文件
$request_uri, 请求的URI,带查询字符串;
$query_string, 与$args相同;
$scheme, 所用的协议,比如http或者是https,比如rewrite ^(.+)$ $scheme://example.com$1 redirect;
$server_protocol, 请求的协议版本,"HTTP/1.0"或"HTTP/1.1";
$server_addr, 服务器地址;
$server_name, 请求到达的服务器名;
$server_port, 请求到达的服务器端口号;
$uri, 请求的URI,可能和最初的值有不同,比如经过重定向之类的。
配置文件示例
# 全局块
user www-data;
worker_processes  2;  ## 默认1,一般建议设成CPU核数1-2倍
error_log  logs/error.log; ## 错误日志路径
pid  logs/nginx.pid; ## 进程id

# Events块
events {
  # 使用epoll的I/O 模型处理轮询事件。
  # 可以不设置,nginx会根据操作系统选择合适的模型
  use epoll;

  # 工作进程的最大连接数量, 默认1024个
  worker_connections  2048;

  # http层面的keep-alive超时时间
  keepalive_timeout 60;

  # 客户端请求头部的缓冲区大小
  client_header_buffer_size 2k;
}

http { # http全局块

  include mime.types;  # 导入文件扩展名与文件类型映射表
  default_type application/octet-stream;  # 默认文件类型

  # 日志格式及access日志路径
  log_format   main '$remote_addr - $remote_user [$time_local]  $status '
    '"$request" $body_bytes_sent "$http_referer" '
    '"$http_user_agent" "$http_x_forwarded_for"';
  access_log   logs/access.log  main;

  # 允许sendfile方式传输文件,默认为off。
  sendfile     on;
  tcp_nopush   on; # sendfile开启时才开启。

  # http server块
  # 简单反向代理
  server {
    listen       80;
    server_name  domain2.com www.domain2.com;
    access_log   logs/domain2.access.log  main;

    # 转发动态请求到web应用服务器
    location / {
      proxy_pass      http://127.0.0.1:8000;
      deny 192.24.40.8;  # 拒绝的ip
      allow 192.24.40.6; # 允许的ip
    }

    # 错误页面
    error_page   500 502 503 504  /50x.html;
        location = /50x.html {
            root   html;
        }
  }

  # 负载均衡
  upstream backend_server {
    server 192.168.0.1:8000 weight=5; # weight越高,权重越大
    server 192.168.0.2:8000 weight=1;
    server 192.168.0.3:8000;
    server 192.168.0.4:8001 backup; # 热备
  }

  server {
    listen          80;
    server_name     big.server.com;
    access_log      logs/big.server.access.log main;

    charset utf-8;
    client_max_body_size 10M; # 限制用户上传文件大小,默认1M

    location / {
      # 使用proxy_pass转发请求到通过upstream定义的一组应用服务器
      proxy_pass      http://backend_server;
      proxy_set_header X-Forwarded-For $proxy_add_x_forwarded_for;
      proxy_set_header Host $http_host;
      proxy_redirect off;
      proxy_set_header X-Real-IP  $remote_addr;
    }

  }
}
alias和root区别
alias是一个目录别名的定义(仅能用于location上下文),root则是最上层目录的定义。
root与alias主要区别在于nginx如何解释location后面的uri,这会使两者分别以不同的方式将请求映射到服务器文件上。
alias是一个目录别名的定义(仅能用于location上下文),root则是最上层目录的定义。
直接通过例子来理解:
location ^~ /123/abc/ {
root /data/www;
}
当请求http://blog.whsir.com/123/abc/logo.png时,将会返回服务器上的/data/www/123/abc/logo.png文件,即/data/www+/123/abc/
location ^~ /123/abc/ {
alias /data/www;
}
当请求http://blog.whsir.com/123/abc/logo.png时,将会返回服务器上的/data/www/logo.png文件,即/data/www
另外:
server {
          listen 80;
          server_name www.wangshibo.com;
          index index.html index.php index.htm;
          access_log /usr/local/nginx/logs/image.log;

    location / {
        root /var/www/html;
        }

   location /haha {                                          //匹配的path目录haha不需要真实存在alias指定的目录中
       alias /var/www/html/ops/;                       //后面的"/"符号一定要带上
       rewrite ^/opp/hen.php(.*)$ /opp/hen.php?s=$1 last;
    # rewrite ^/opp/(.*)$ /opp/hen.php?s=$1 last;
       }

   location /wang {                    //匹配的path目录wang一定要真实存在root指定的目录中(就/var/www/html下一定要有wang目录存在)
      root /var/www/html;
     }

 }


 1万+
1万+


 被折叠的 条评论
为什么被折叠?


