


I、基于nginx+tomcat实现web系统的负载均衡
一、 软件准备
1) windows 7环境下安装jdk1.7.0_17
2) tomcat7的部署安装:下载地址:http://tomcat.apache.org/
3)nginx部署安装:下载地址 http://nginx.org/en/download.html
4)redis部署安装:下载地址 http://www.redis.cn/download.html
二、 部署安装
1). 安装jdk1.7,安装过程略
2)安装tomcat
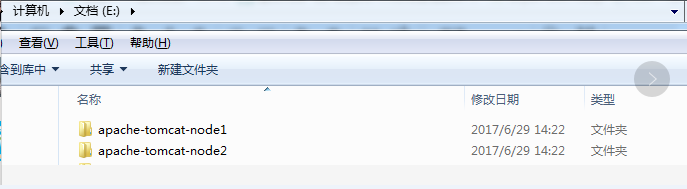
下载的安装包解压就行,我的解压目录,重命名外面文件夹为 node1,拷贝一份重命名为node2,如下图所示
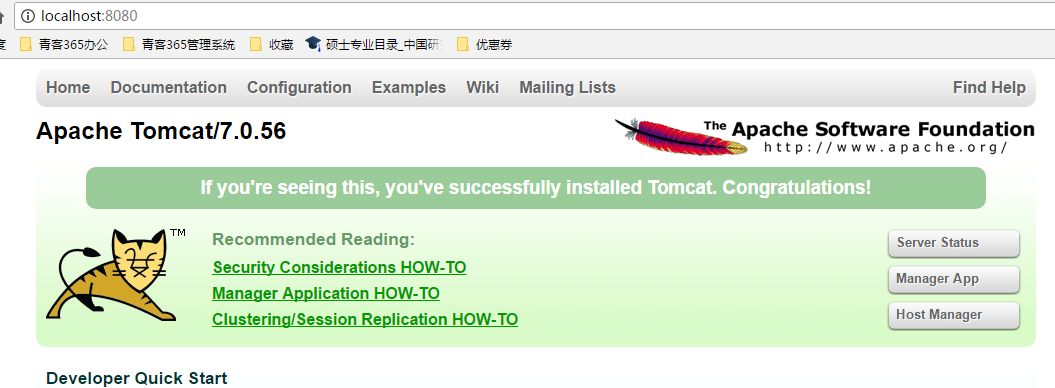
启动node1节点,进入bin目录双击执行start.bat文件,看到启动控制台,然后浏览器输入:http://localhost:8080,能看到Tomcat的欢迎界面说明安装成功.
3)安装nginx (我现在的是最新版本 nginx-1.13.2)
解压安装包nginx-1.13.2.zip 到指定目录即可,我这安装到 C盘根目录
安装验证:
双击运行nginx.exe文件,默认启动的是80端口,在浏览器网址输入:http://localhost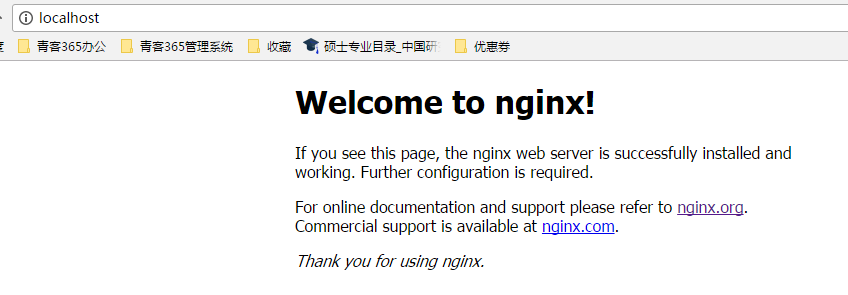
能看到首页欢迎页面,说明安装成功。
4).安装Redis
解压redis.zip 压缩包即可,运行redisServer.exe文件
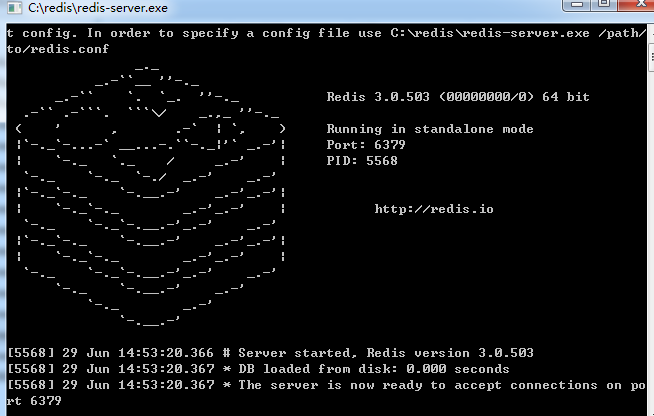
看到上面控制台说明安装成功。
三、软件配置
1). jdk 配置
配置JAVA_HOME环境变量,以及classpath路径(自己参考网上教程)
2)Tomcat配置
由于本人实在同一台机器上部署两个Tomcat,避免Tomcat端口冲突,所以需要修改Tomcat相应端口


修改之后,分别启动Tomcat,就可以分别通过http://localhost:8080 和 http://localhost:9090 进行访问首页。
3). nginx配置
切换到Nginx的配置目录 C:\nginx-1.13.2\conf ,打开 nginx.conf文件进行编辑
#user  nobody;
worker_processes  1;

#error_log  logs/error.log;
#error_log  logs/error.log  notice;
#error_log  logs/error.log  info;

#pid        logs/nginx.pid;


events {
    worker_connections  1024;
}


http {
    include       mime.types;
    default_type  application/octet-stream;

    #log_format  main  '$remote_addr - $remote_user [$time_local] "$request" '
    #                  '$status $body_bytes_sent "$http_referer" '
    #                  '"$http_user_agent" "$http_x_forwarded_for"';

    #access_log  logs/access.log  main;

    sendfile        on;
    #tcp_nopush     on;

    #keepalive_timeout  0;
    keepalive_timeout  65;

    #gzip  on;

    server {
        listen       80;
        server_name  localhost;

        #charset koi8-r;

        #access_log  logs/host.access.log  main;

        location / {
            root   html;
            index  index.html index.htm;
        }

        #error_page  404              /404.html;

        # redirect server error pages to the static page /50x.html
        #
        error_page   500 502 503 504  /50x.html;
        location = /50x.html {
            root   html;
        }

        # proxy the PHP scripts to Apache listening on 127.0.0.1:80
        #
        #location ~ \.php$ {
        #    proxy_pass   http://127.0.0.1;
        #}

        # pass the PHP scripts to FastCGI server listening on 127.0.0.1:9000
        #
        #location ~ \.php$ {
        #    root           html;
        #    fastcgi_pass   127.0.0.1:9000;
        #    fastcgi_index  index.php;
        #    fastcgi_param  SCRIPT_FILENAME  /scripts$fastcgi_script_name;
        #    include        fastcgi_params;
        #}

        # deny access to .htaccess files, if Apache's document root
        # concurs with nginx's one
        #
        #location ~ /\.ht {
        #    deny  all;
        #}
    }


    # another virtual host using mix of IP-, name-, and port-based configuration
    #
    #server {
    #    listen       8000;
    #    listen       somename:8080;
    #    server_name  somename  alias  another.alias;

    #    location / {
    #        root   html;
    #        index  index.html index.htm;
    #    }
    #}


    # HTTPS server
    #
    #server {
    #    listen       443 ssl;
    #    server_name  localhost;

    #    ssl_certificate      cert.pem;
    #    ssl_certificate_key  cert.key;

    #    ssl_session_cache    shared:SSL:1m;
    #    ssl_session_timeout  5m;

    #    ssl_ciphers  HIGH:!aNULL:!MD5;
    #    ssl_prefer_server_ciphers  on;

    #    location / {
    #        root   html;
    #        index  index.html index.htm;
    #    }
    #}
    include mysite.conf;
}
在最后一行 新增 include mysite.conf
然后在conf目录新增 mysite.conf文件进行响应的配置,这样做可以将不同功能的配置文件进行分类
upstream tomcat_service{
   server 127.0.0.1:8080; //测试都在本机时不要用localhost替代 IP地址,否则会很慢
   server 127.0.0.1:9090;
}

server {
   listen 10000;
   server_name localhost;

   location /{
       proxy_pass  http://tomcat_service;
            proxy_set_header Host $host;
            proxy_set_header X-Real-IP $remote_addr;
            proxy_set_header  X-Forwarded-For       $proxy_add_x_forwarded_for;
            client_max_body_size   10m;
            client_body_buffer_size  128k;
            proxy_connect_timeout  1;  //控制nginx负载节点跳转的超时时间,根据情况设定
            proxy_send_timeout   1;
            proxy_read_timeout 1;
            proxy_buffer_size 4k;
            proxy_buffers  4 32k;
            proxy_busy_buffers_size 64k;
            proxy_temp_file_write_size  64k;
   }


}
配置说明:
1) upstream
配置机器每个节点列表,只需知道每个节点的主机IP以及端口(不需要项目的名称)同时也可以指定nginx负载的策略hash 指定权值等配置,tomcat_service名字可以自定义,相当于ha的名字。
2)server
该节点配置为nginx监听节点,也就是对外节点入口,proxy_pass指定对外访问的域名,tomcat_service需要与上面的upstream名字一致。
以上配置:基于tomcat+nginx的负载均衡已经配置完毕。
分别启动Tomcat node1,node2两个节点,然后启动nginx,通过访问nginx的域名以及监听端口对web后台服务的访问: http://localhost:10000
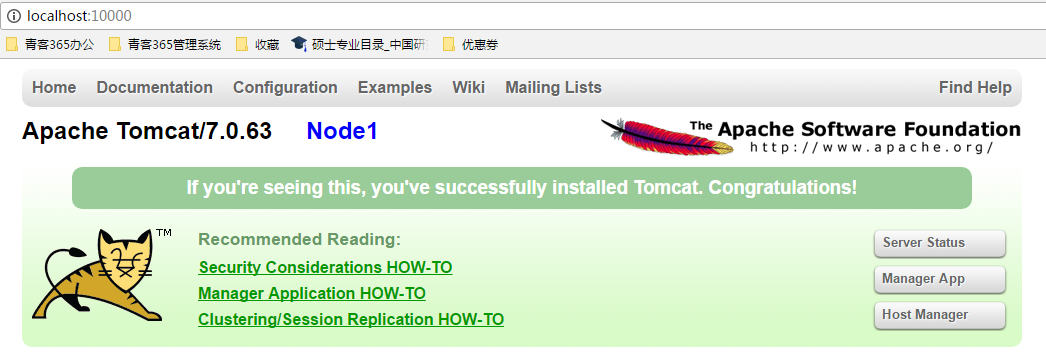
刷新浏览器(多刷新几次),tomcat主页会跳转到节点2的主页,截图如下:

到此,基于nginx+tomcat实现负载均衡 配置完毕。
II、基于以上配置实现分布式的集群环境的session共享
前提:
web项目必须基于spring框架,因为我们session共享是基于spring session实现的,他会依赖于spring,
这里的session共享是基于 nginx+tomcat+spring+redis+spring session实现。
在之前的web项目添加spring session redis等相关依赖
<dependency>
	<groupId>org.springframework.session</groupId>
	<artifactId>spring-session-data-redis</artifactId>
	<version>1.0.2.RELEASE</version>
</dependency>
<dependency>
	<groupId>org.springframework.data</groupId>
	<artifactId>spring-data-redis</artifactId>
	<version>1.0.2.RELEASE</version>
</dependency>
<dependency>
	<groupId>redis.clients</groupId>
	<artifactId>jedis</artifactId>
	<version>2.1.0</version>
</dependency>
备注:我这里 spring 框架使用的版本: <spring.version>4.1.1.RELEASE</spring.version>
在web.xml 文件添加 springSessionRepositoryFilter过滤器
<!-- delegatingFilterProxy -->
<filter>
	<filter-name>springSessionRepositoryFilter</filter-name>
	<filter-class>org.springframework.web.filter.DelegatingFilterProxy</filter-class>
</filter>
<filter-mapping>
	<filter-name>springSessionRepositoryFilter</filter-name>
	<url-pattern>/*</url-pattern>
</filter-mapping>
备注:该过滤器必须放在所有过滤器前面(也就是放在第一个)
redis以及springSession相关配置 spring-session.xml
<beans xmlns="http://www.springframework.org/schema/beans"
	xmlns:xsi="http://www.w3.org/2001/XMLSchema-instance" xmlns:p="http://www.springframework.org/schema/p"
	xmlns:tx="http://www.springframework.org/schema/tx" xmlns:context="http://www.springframework.org/schema/context"
	xsi:schemaLocation="
			http://www.springframework.org/schema/beans
			http://www.springframework.org/schema/beans/spring-beans-3.0.xsd
			http://www.springframework.org/schema/tx
			http://www.springframework.org/schema/tx/spring-tx-3.0.xsd
			http://www.springframework.org/schema/context
			http://www.springframework.org/schema/context/spring-context-3.0.xsd
			   ">

	<!-- scanner redis properties -->
	<context:property-placeholder location="classpath:config/redis.properties" />

	<bean id="jedisPoolConfig" class="redis.clients.jedis.JedisPoolConfig">
		<property name="maxIdle" value="${redis.maxIdle}" />
		<property name="maxTotal" value="${redis.maxTotal}" />
		<property name="testOnBorrow" value="${redis.testOnBorrow}" />
	</bean>

	<bean id="zcJedisConnectionFactory"
		class="org.springframework.data.redis.connection.jedis.JedisConnectionFactory">
		<property name="hostName" value="${redis.host}" />
		<property name="port" value="${redis.port}" />
		<property name="poolConfig" ref="jedisPoolConfig" />
	</bean>

	<bean id="redisTemplate" class="org.springframework.data.redis.core.RedisTemplate">
		<property name="connectionFactory" ref="zcJedisConnectionFactory" />
		<property name="keySerializer">
			<bean
				class="org.springframework.data.redis.serializer.StringRedisSerializer" />
		</property>
		<property name="valueSerializer">
			<bean
				class="org.springframework.data.redis.serializer.StringRedisSerializer" />
		</property>
	</bean>

	<bean
		class="org.springframework.session.data.redis.config.annotation.web.http.RedisHttpSessionConfiguration">
		<property name="maxInactiveIntervalInSeconds" value="120"></property>
	</bean>
</beans>
redis 连接属性文件配置 redis.properties
# Redis settings
redis.host=127.0.0.1
redis.port=6379
redis.pass=
redis.maxIdle=256
redis.maxTotal=1000
redis.testOnBorrow=true
在spring的配置文件中引入spring-session.xml文件
<import resource="classpath*:/spring-session.xml" />
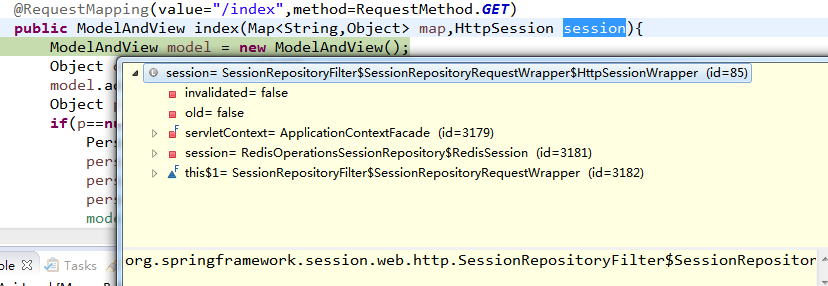
添加完以上配置之后,重启服务,重新部署,访问web系统可以看到session已经切换到springsession,而不再是tomcat容器的session对象
redis的数据库中也有相应的spring session记录以及过期时间
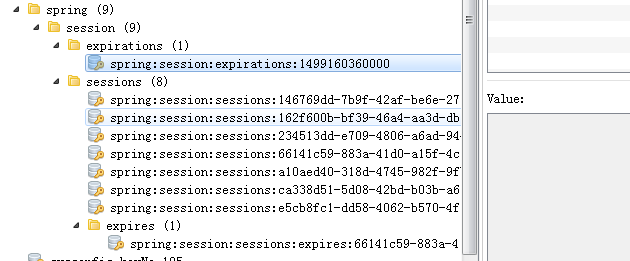
当我们在访问系统时,也可以将我们正在访问的节点服务关闭掉,然后继续访问,session对象依然还会存在,因为我们的session对象是存储在redis数据库中的,只要session没有过期。这样对于我们线上环境实现在线部署就非常管用,这样可以在不影响线上服务的情况下可以完成。
问题:
在不同版本的spring 有时候会碰到以下异常:
org.springframework.beans.factory.NoSuchBeanDefinitionException:No bean named 'springSessionRepositoryFilter' is defined
出现定义的filter springSessionRepositoryFilter找不到的问题,这是因为spring容器没有加载该过滤器,
此时我们可以手动的将该过滤器配置到spring配置文件中,让spring容器加载的时候进行加载
<context:component-scan base-package="org.springframework.web.filter.DelegatingFilterProxy"/>然后重新启动容器即可


 3万+
3万+

 被折叠的 条评论
为什么被折叠?
被折叠的 条评论
为什么被折叠?
 到【灌水乐园】发言


