Java第六次作业

第一题:

package org.jsoft.Hw;

public class People {
    private double height,weight;
    public void speakHello(){
        System.out.println("Hello!");
    }
    public void averageHeight(){
        System.out.println("averageHeight");
    }
    public void averageWeight(){
        System.out.println("averageWeight");
    }
}
 

package org.jsoft.Hw;

public class ChinaPeople extends People{
    //新增方法
     public void chinaMartial(){
         System.out.println("Chinese do chinaMartial.");
     }
   //重写方法
     public void speakHello(){
         System.out.println("ChinaPeople:Hello!");
     }
     public void averageHeight(){
         System.out.println("ChinaPeople averageHeight");
     }
     public void averageWeight(){
         System.out.println("ChinaPeople averageWeight");
     }
     
}


package org.jsoft.Hw;

public class AmericanPeople extends People{
    //新增方法
    public void AmericanBoxing(){
        System.out.println("Amercian do AmercianBoxing");
    }
    //重写方法
    public void speakHello(){
        System.out.println("American:Hello!");
    }
    public void averageHeight(){
        System.out.println("American averageHeight");
    }
    public void averageWeight(){
        System.out.println("American averageWeight");
    }
}
 

package org.jsoft.Hw;

public class BeijingPeople extends ChinaPeople{
    //新增方法
    public void BeijingOpera(){
        System.out.println("BeijingPeople can do BeijingOpera");
    }
    //重写方法
    public void speakHello(){
        System.out.println("BeijingPeople:Hello!");
    }
    public void averageHeight(){
        System.out.println("BeijingPeople averageHeight");
    }
    public void averageWeight(){
        System.out.println("BeijingPeople averageWeight");
    }

}
 

package org.jsoft.Hw;

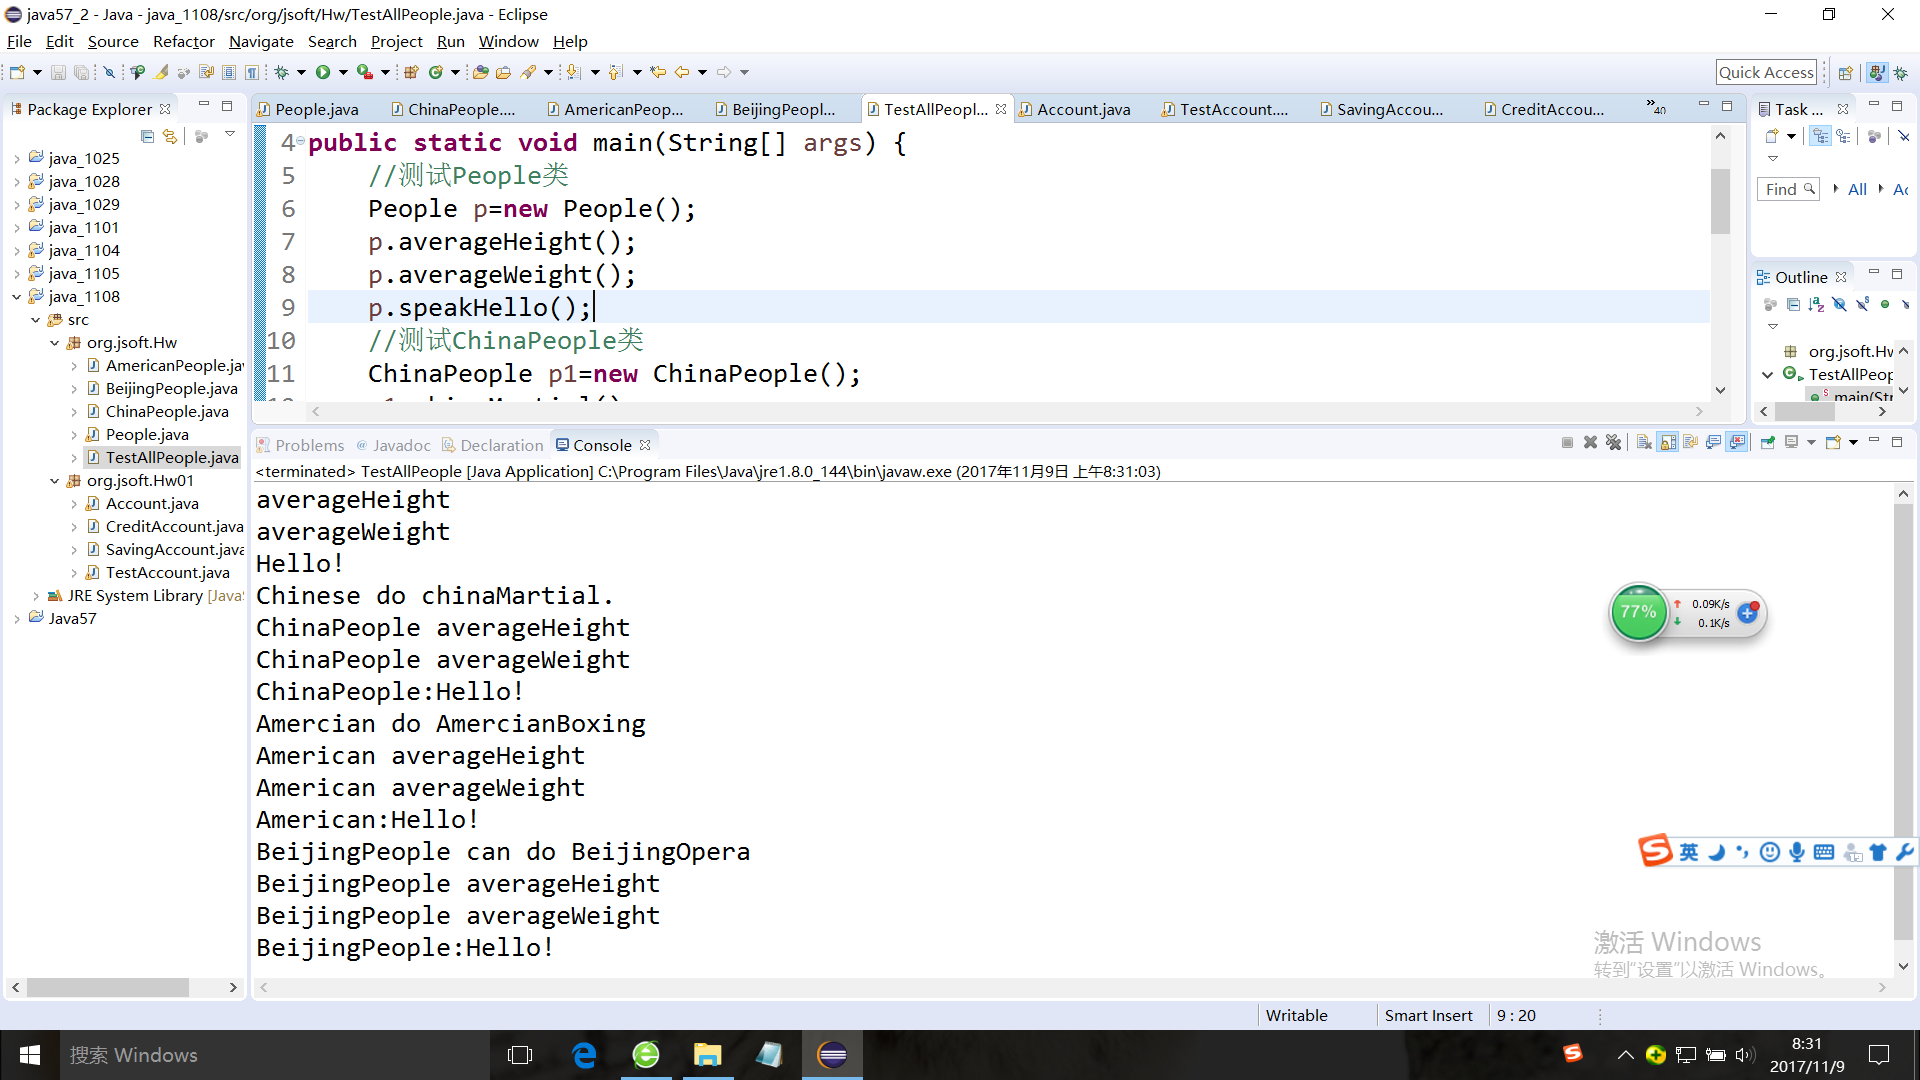
public class TestAllPeople {
public static void main(String[] args) {
    //测试People类
    People p=new People();
    p.averageHeight();
    p.averageWeight();
    p.speakHello();
    //测试ChinaPeople类
    ChinaPeople p1=new ChinaPeople();
    p1.chinaMartial();
    p1.averageHeight();
    p1.averageWeight();
    p1.speakHello();
    //测试AmericanPeople类
    AmericanPeople p2=new AmericanPeople();
    p2.AmericanBoxing();
    p2.averageHeight();
    p2.averageWeight();
    p2.speakHello();
    //测试BeijingPeople类
    BeijingPeople p3=new BeijingPeople();
    p3.BeijingOpera();
    p3.averageHeight();
    p3.averageWeight();
    p3.speakHello();
}
}
083121_QaKt_3715361.png

第二题:

package org.jsoft.Hw01;

import java.util.Scanner;

public class Account {
    private long id;
    private double banlance;
    private String password;
    public long getId() {
        return id;
    }
    public void setId(long id) {
        this.id = id;
    }
    public double getBanlance() {
        return banlance;
    }
    public void setBanlance(double banlance) {
        this.banlance = banlance;
    }
    public String getPassword() {
        return password;
    }
    public void setPassword(String password) {
        this.password = password;
    }
}

package org.jsoft.Hw01;

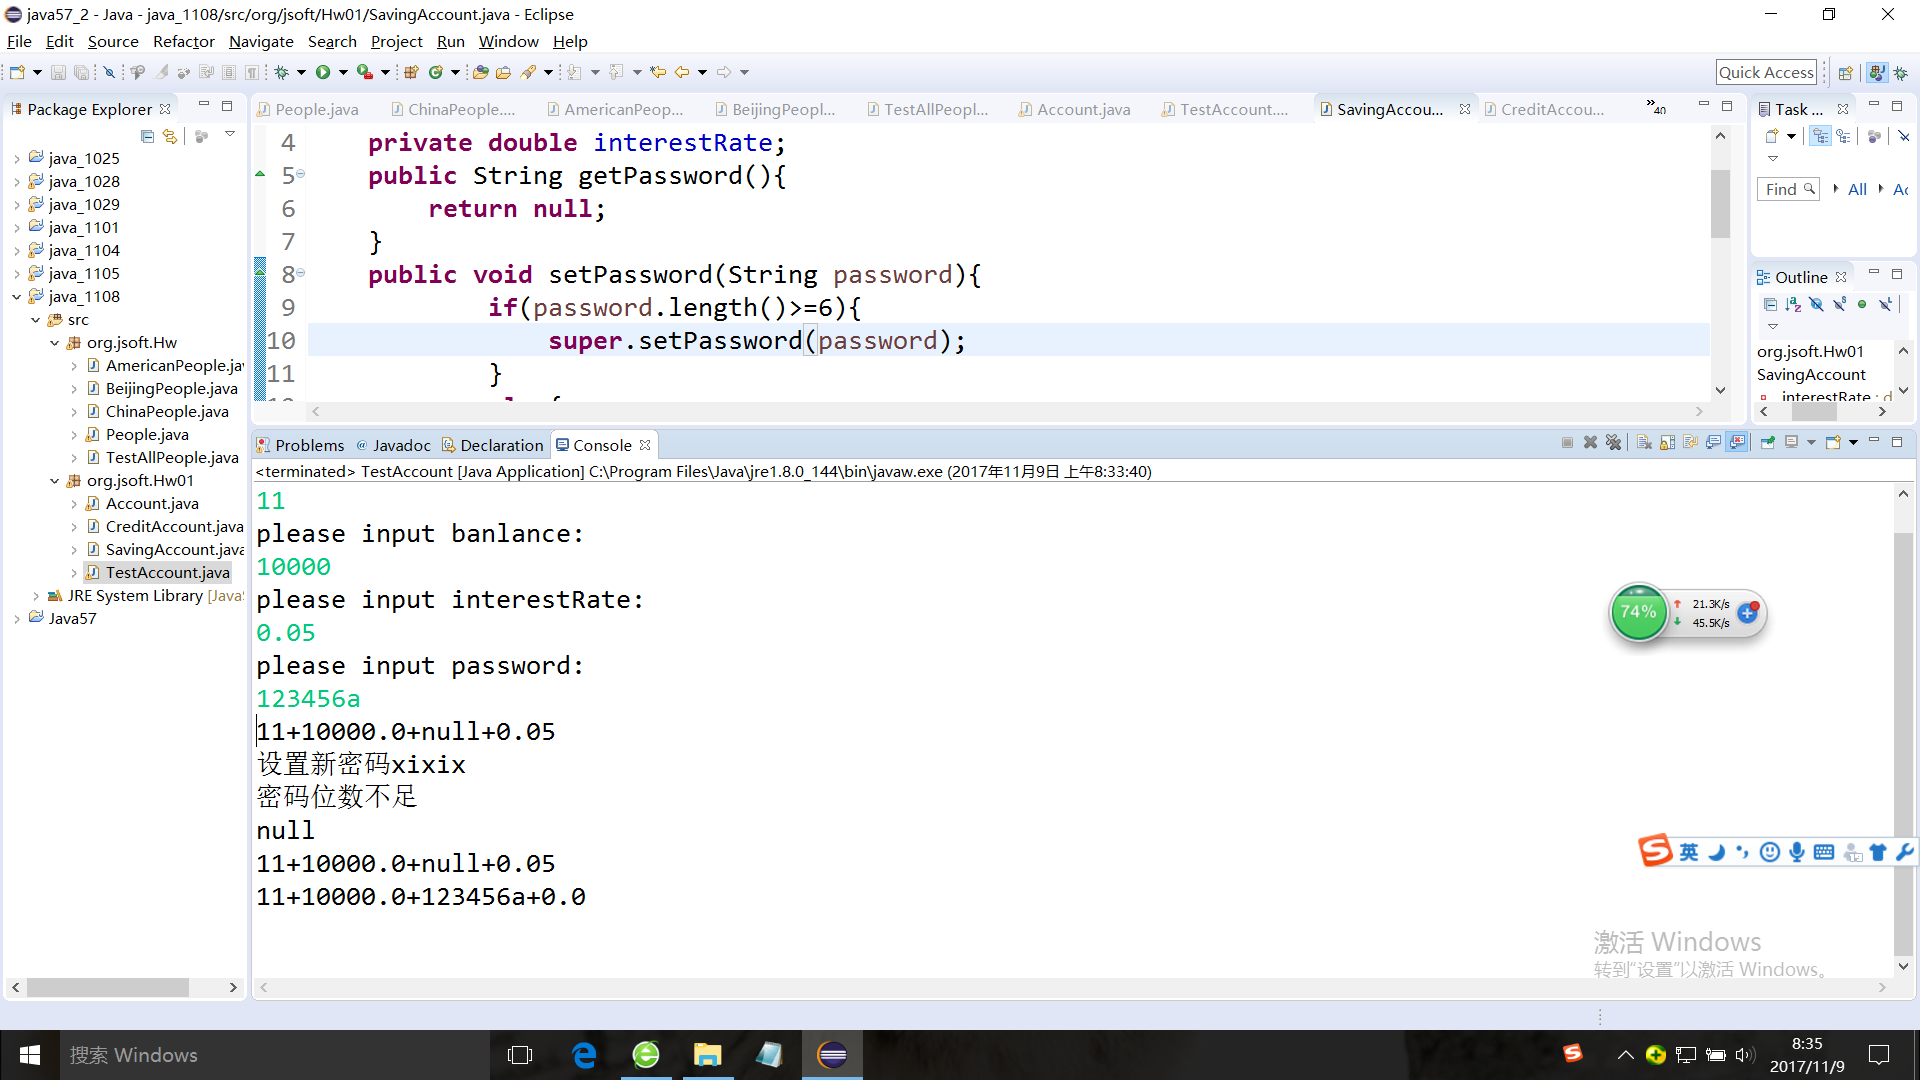
public class SavingAccount extends Account{
    private double interestRate;
    public String getPassword(){
        return null;
    }
    public void setPassword(String password){
            if(password.length()>=6){
                super.setPassword(password);
            }
            else{
                System.out.println("密码位数不足");
            }
        }
    public double getInterestRate() {
        return interestRate;
    }

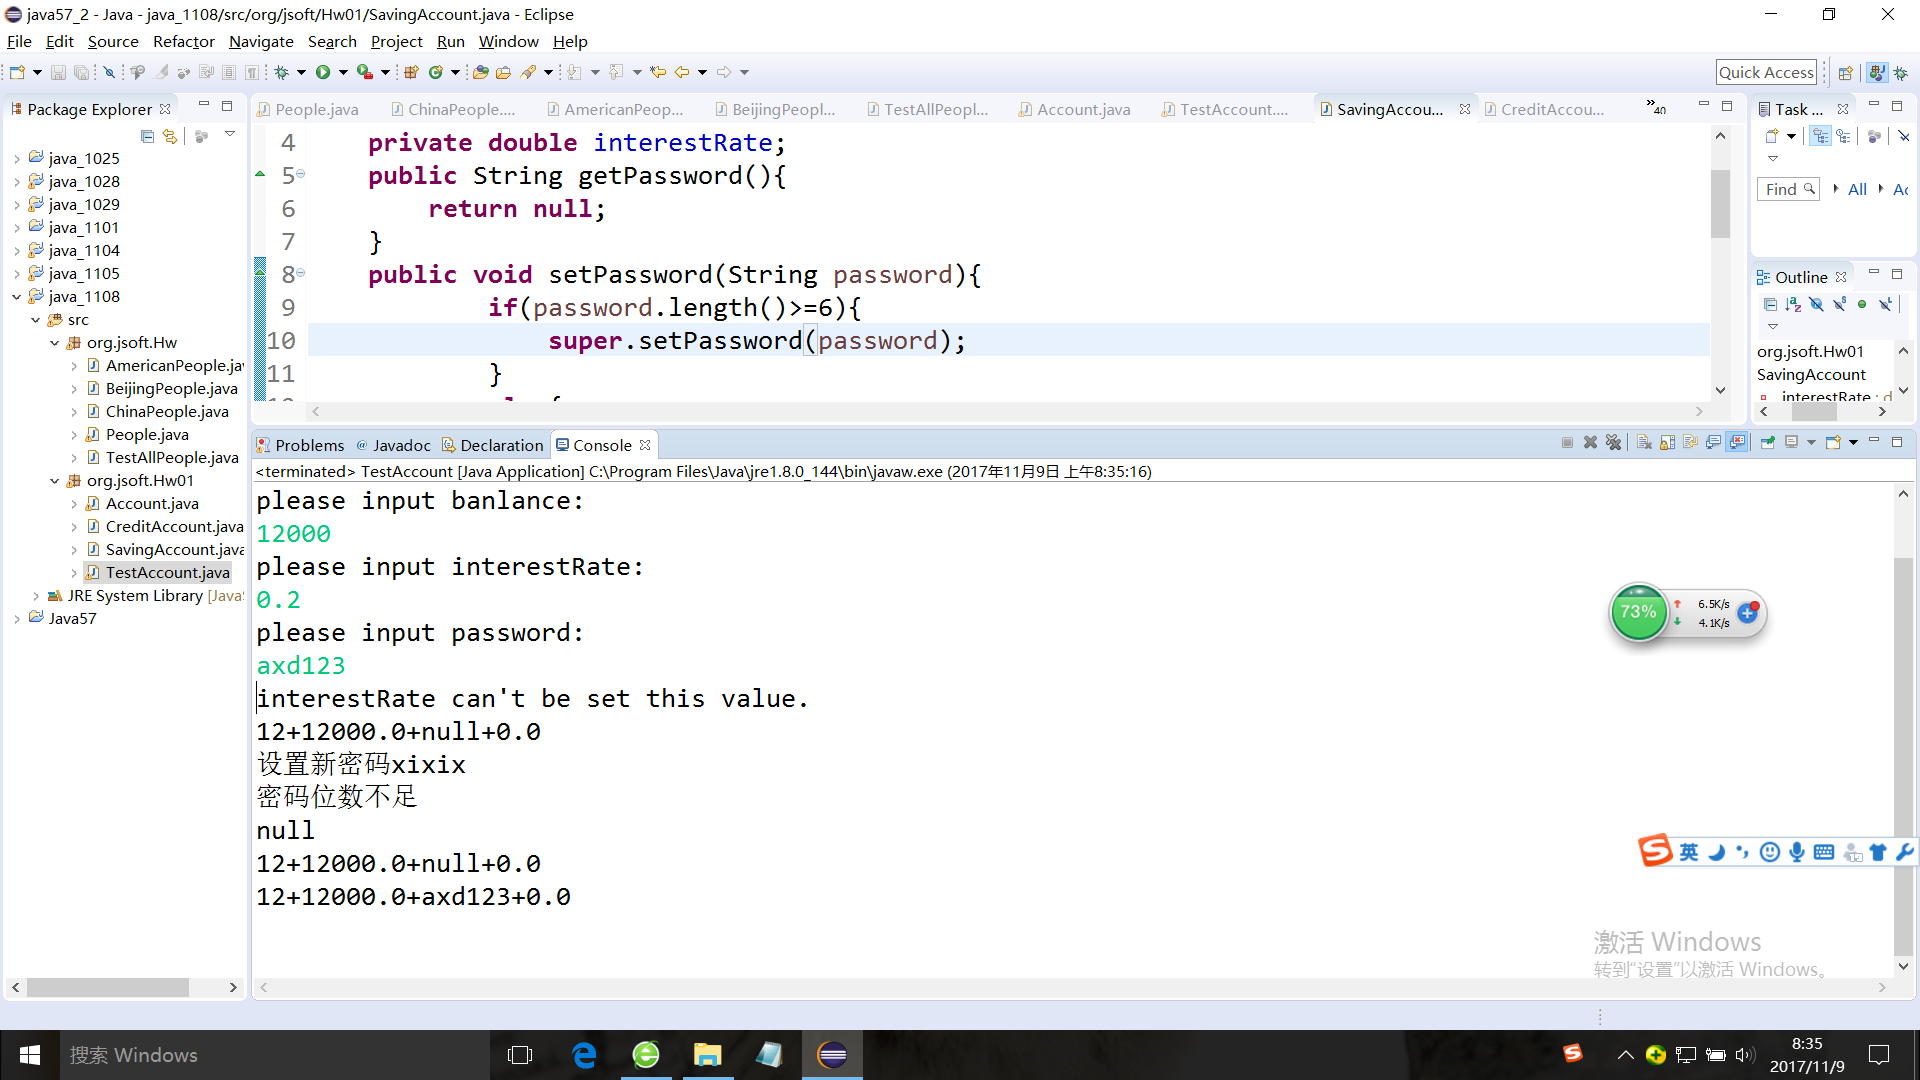
    public void setInterestRate(double interestRate) {
        if((interestRate<0.1)&(interestRate>0))
            this.interestRate = interestRate;
        else{
            System.out.println("interestRate can't be set this value.");
        }
    }
}


package org.jsoft.Hw01;

public class CreditAccount extends Account{
    private double creditLine;
    public void setPassword(){
        if(getPassword().length()>=6){
            setPassword(null);
        }
    }
    public double getCreditLine() {
        return creditLine;
    }

    public void setCreditLine(double creditLine) {
        this.creditLine = creditLine;
    }
}
 

package org.jsoft.Hw01;

import java.util.Scanner;

import javax.swing.plaf.synth.SynthSeparatorUI;

public class TestAccount {
public static void main(String[] args) {
    Account a=new Account();
    SavingAccount sa=new SavingAccount();
    CreditAccount ca=new CreditAccount();
    System.out.println(a.getId()+"+"+a.getBanlance()+"+"+a.getPassword());
    Scanner input=new Scanner(System.in);
    System.out.println("please input id:");
    long id=input.nextLong();
    System.out.println("please input banlance:");
    double banlance=input.nextDouble();
    System.out.println("please input interestRate:");
    double interestRate=input.nextDouble();
    System.out.println("please input password:");
    Scanner input1=new Scanner(System.in);
    String password=input1.nextLine();
    input.close();
    sa.setId(id);
    sa.setBanlance(banlance);
    sa.setPassword(password);
    sa.setInterestRate(interestRate);
    System.out.println(sa.getId()+"+"+sa.getBanlance()+"+"+sa.getPassword()+"+"+sa.getInterestRate());
    System.out.println("设置新密码xixix");
    sa.setPassword("xixix");
    System.out.println(sa.getPassword());
    System.out.println(sa.getId()+"+"+sa.getBanlance()+"+"+sa.getPassword()+"+"+sa.getInterestRate());
    ca.setId(id);
    ca.setBanlance(banlance);
    ca.setPassword(password);
    System.out.println(ca.getId()+"+"+ca.getBanlance()+"+"+ca.getPassword()+"+"+ca.getCreditLine());
}
}
 

083512_FKPj_3715361.png

083536_B1sp_3715361.png

第三题:

C能编译通过

第四题:

下图

第六,七行:

System.out.println(mc1.getValue());

System.out.println(mc2.getValue());

右图:

第六行:

MyClass mc2=new MyClass();

mc2.setValue(10);

System.out.println(mc1.getValue());

System.out.println(mc2.getValue());


以上是第六次作业。

转载于:https://my.oschina.net/u/3715361/blog/1570196

  • 0
    点赞
  • 1
    收藏
    觉得还不错? 一键收藏
  • 0
    评论
好的,我来为您解答。 首先,我们需要在布局文件中添加一个 RelativeLayout 控件: ```xml <RelativeLayout android:layout_width="match_parent" android:layout_height="match_parent"> <!-- 这里添加九宫格子的布局 --> </RelativeLayout> ``` 然后,我们需要在 RelativeLayout 中添加九宫格子的布局。这里我们采用 ImageView 控件作为九宫格子,每个格子的大小相同,可以采用权重的方式实现。 ```xml <RelativeLayout android:layout_width="match_parent" android:layout_height="match_parent"> <ImageView android:id="@+id/image1" android:layout_width="0dp" android:layout_height="0dp" android:layout_margin="5dp" android:layout_centerInParent="true" android:layout_alignParentTop="true" android:layout_alignParentLeft="true" android:layout_alignParentStart="true" android:layout_weight="1" android:src="@drawable/image1" /> <ImageView android:id="@+id/image2" android:layout_width="0dp" android:layout_height="0dp" android:layout_margin="5dp" android:layout_centerInParent="true" android:layout_alignParentTop="true" android:layout_toRightOf="@id/image1" android:layout_toEndOf="@id/image1" android:layout_weight="1" android:src="@drawable/image2" /> <ImageView android:id="@+id/image3" android:layout_width="0dp" android:layout_height="0dp" android:layout_margin="5dp" android:layout_centerInParent="true" android:layout_alignParentTop="true" android:layout_toRightOf="@id/image2" android:layout_toEndOf="@id/image2" android:layout_weight="1" android:src="@drawable/image3" /> <ImageView android:id="@+id/image4" android:layout_width="0dp" android:layout_height="0dp" android:layout_margin="5dp" android:layout_centerInParent="true" android:layout_below="@id/image1" android:layout_alignParentLeft="true" android:layout_alignParentStart="true" android:layout_weight="1" android:src="@drawable/image4" /> <ImageView android:id="@+id/image5" android:layout_width="0dp" android:layout_height="0dp" android:layout_margin="5dp" android:layout_centerInParent="true" android:layout_below="@id/image2" android:layout_toRightOf="@id/image4" android:layout_toEndOf="@id/image4" android:layout_weight="1" android:src="@drawable/image5" /> <ImageView android:id="@+id/image6" android:layout_width="0dp" android:layout_height="0dp" android:layout_margin="5dp" android:layout_centerInParent="true" android:layout_below="@id/image3" android:layout_toRightOf="@id/image5" android:layout_toEndOf="@id/image5" android:layout_weight="1" android:src="@drawable/image6" /> <ImageView android:id="@+id/image7" android:layout_width="0dp" android:layout_height="0dp" android:layout_margin="5dp" android:layout_centerInParent="true" android:layout_below="@id/image4" android:layout_alignParentLeft="true" android:layout_alignParentStart="true" android:layout_weight="1" android:src="@drawable/image7" /> <ImageView android:id="@+id/image8" android:layout_width="0dp" android:layout_height="0dp" android:layout_margin="5dp" android:layout_centerInParent="true" android:layout_below="@id/image5" android:layout_toRightOf="@id/image7" android:layout_toEndOf="@id/image7" android:layout_weight="1" android:src="@drawable/image8" /> <ImageView android:id="@+id/image9" android:layout_width="0dp" android:layout_height="0dp" android:layout_margin="5dp" android:layout_centerInParent="true" android:layout_below="@id/image6" android:layout_toRightOf="@id/image8" android:layout_toEndOf="@id/image8" android:layout_weight="1" android:src="@drawable/image9" /> </RelativeLayout> ``` 在上述布局中,我们使用了 `android:layout_weight` 属性来实现九宫格子的等分布局,每个 ImageView 控件的权重都设置为 1,这样每个格子的大小就相等了。同时,我们使用了 `android:layout_centerInParent` 属性来使每个格子都居中显示,使用了 `android:layout_alignParentTop` 和 `android:layout_alignParentLeft`(或 `android:layout_alignParentStart`)属性来使第一个格子位于 RelativeLayout 控件的左上角,使用了 `android:layout_below`、`android:layout_toRightOf` 和 `android:layout_toEndOf` 属性来设置每个格子的位置。 最后,我们可以在 Java 代码中获取每个 ImageView 控件,并为它们设置点击事件,以实现九宫格的功能。 ```java ImageView image1 = findViewById(R.id.image1); ImageView image2 = findViewById(R.id.image2); ImageView image3 = findViewById(R.id.image3); ImageView image4 = findViewById(R.id.image4); ImageView image5 = findViewById(R.id.image5); ImageView image6 = findViewById(R.id.image6); ImageView image7 = findViewById(R.id.image7); ImageView image8 = findViewById(R.id.image8); ImageView image9 = findViewById(R.id.image9); image1.setOnClickListener(new View.OnClickListener() { @Override public void onClick(View v) { // 处理第一个格子的点击事件 } }); image2.setOnClickListener(new View.OnClickListener() { @Override public void onClick(View v) { // 处理第二个格子的点击事件 } }); // 其他格子的点击事件同理 ``` 好了,以上就是使用相对布局实现九宫格的方法。希望对您有帮助!

“相关推荐”对你有帮助么?

  • 非常没帮助
  • 没帮助
  • 一般
  • 有帮助
  • 非常有帮助
提交
评论
添加红包

请填写红包祝福语或标题

红包个数最小为10个

红包金额最低5元

当前余额3.43前往充值 >
需支付:10.00
成就一亿技术人!
领取后你会自动成为博主和红包主的粉丝 规则
hope_wisdom
发出的红包
实付
使用余额支付
点击重新获取
扫码支付
钱包余额 0

抵扣说明:

1.余额是钱包充值的虚拟货币,按照1:1的比例进行支付金额的抵扣。
2.余额无法直接购买下载,可以购买VIP、付费专栏及课程。

余额充值