


0. 先决条件
# 创建 Elasticsearch 的运行用户 es (root 用户无法直接拿运行)
# useradd -m es -p 1234567890
# su - es

# 安装好JDK,本次安装对应JDK1.8的版本。使用root安装,并且添加/etc/profile的java环境
$java -version
java version "1.8.0_151"
Java(TM) SE Runtime Environment (build 1.8.0_151-b12)
Java HotSpot(TM) 64-Bit Server VM (build 25.151-b12, mixed mode)
一、安装Elasticsearch
1. 下载 Elasticsearch
https://www.elastic.co/downloads/elasticsearch
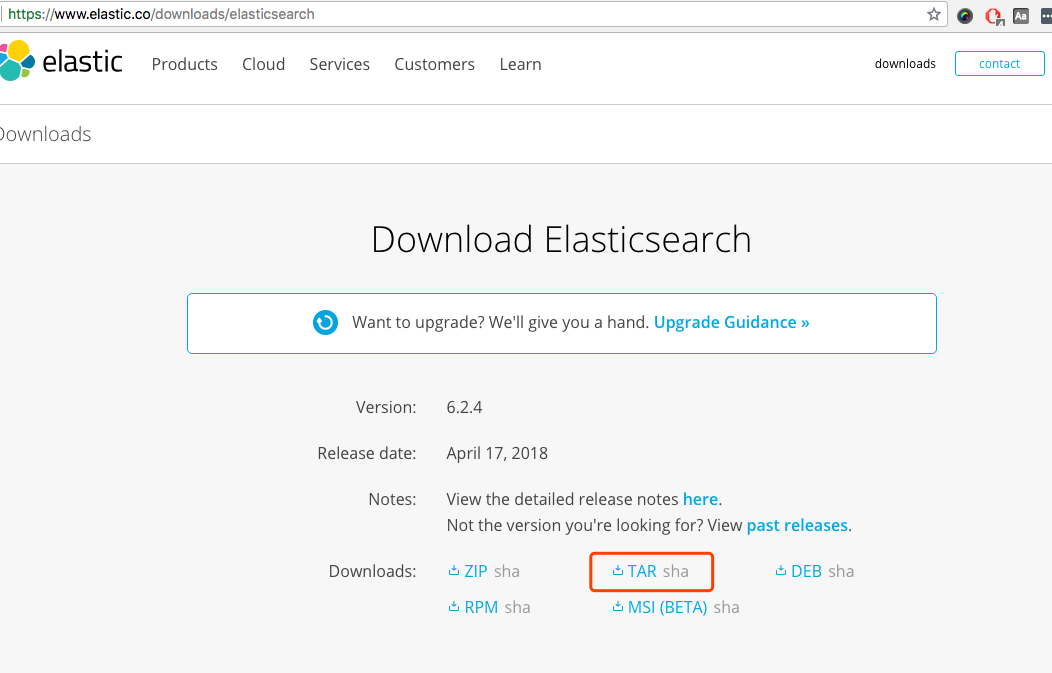
本次安装选择了 tar 格式文件,下载到本地解压
#解压命令
$ tar xvzf elasticsearch-6.2.3.tar

#将解压之后的文件移动到 /usr/local 下(并非一定要这么做)
$ mv elasticsearch-6.2.3.tar /usr/local

#如果是root用户下载解压,并且mv文件到指定目录,则 需要将文件权限赋个 es 用户
$ chown -R es:es /opt/elasticsearch-6.2.3
2. 配置 elasticsearch 的 elasticsearch.yml
# 配置文件路径
$ pwd
/usr/local/elasticsearch-6.2.3/config

# 添加 host访问地址,head的http访问权限, wq 保存退出
$ vi elasticsearch.yml
network.host: 0.0.0.0
http.cors.enabled: true
http.cors.allow-origin: "*"
3. 使用root修改/etc/sysctl.conf文件
# 切换 root 权限
$ su - root
输入密码。。。。


# vi /etc/sysctl.conf

# 在文件里添加如下信息
vm.max_map_count=262144


# 使用下面命令使得配置生效
# sysctl -p
4. 使用root修改/etc/security/limits.conf文件
# vi /etc/security/limits.conf
* hard nofile 65536
* soft nofile 65536

* soft nproc 2048
* hard nproc 4096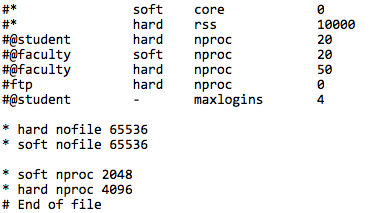
5. 启动和进程查询
# 新版本的elasticsearch只能使用非root用户,老版本绕过root启动方法已经不支持

# 后台启动的方法
$ bin/elasticsearch -d

# 查询进程
$ jps
3120 Elasticsearch
3135 Jps
6. 通过 url 查询
$ curl http://192.168.80.131:9200
{
  "name" : "cNWkQjt",
  "cluster_name" : "elasticsearch",
  "cluster_uuid" : "Kd_e-tqxSx20dl_HjAt1ZQ",
  "version" : {
    "number" : "6.2.3",
    "build_hash" : "bd92e7f",
    "build_date" : "2017-12-17T20:23:25.338Z",
    "build_snapshot" : false,
    "lucene_version" : "7.1.0",
    "minimum_wire_compatibility_version" : "5.6.0",
    "minimum_index_compatibility_version" : "5.0.0"
  },
  "tagline" : "You Know, for Search"
}
二、安装 head 插件
1. 下载 head插件
# 新版本的 elasticsearch 已经不支持插件方式安装head,必须独立安装
$ wget https://github.com/mobz/elasticsearch-head/archive/master.zip

# 解压
$ tar xvf master.zip
$ ll
elasticsearch-head-master
$ mv elasticsearch-head-master /usr/local
2. 安装 node 和 phantomjs
# 下载 node
# wget https://nodejs.org/dist/v8.11.1/node-v8.11.1-linux-x64.tar.xz
# mv node-v8.11.1-linux-x64 /usr/local


# 下载 phantomjs (在安装head时候,会因为自带的phantomjs权限问题报错)
# 页面地址 http://phantomjs.org/download.html
# wget https://bitbucket.org/ariya/phantomjs/downloads/phantomjs-2.1.1-linux-x86_64.tar.bz2

# 使用 root 编辑,/etc/profile添加node 和 phantomjs 环境变量
# vi /etc/profile
JAVA_HOME=/usr/local/jdk1.8.0_151
JRE_HOME=/usr/local/jdk1.8.0_151/jre
CLASSPATH=.:$JAVA_HOME/lib/dt.jar:$JAVA_HOME/lib/tools.jar:$JAVA_HOME/lib:$JRE_HOME/lib
NODE_HOME=/usr/local/node-v8.11.1-linux-x64/bin
PHANTOMJS_HOME=/usr/local/phantomjs-2.1.1-linux-x86_64/bin
PATH=$JAVA_HOME/bin:$JRE_HOME/bin:$PATH:$NODE_HOME:$PHANTOMJS_HOME
export JAVA_HOME JRE_HOME CLASSPATH PATH
# 查看 node 安装是否成功
# npm -v
5.6.0
# 查看 phantomjs 安装是否成功
# phantomjs -v
2.1.1
3. 安装
# 进入head目录
# cd /usr/local/elasticsearch-head-master/

# npm install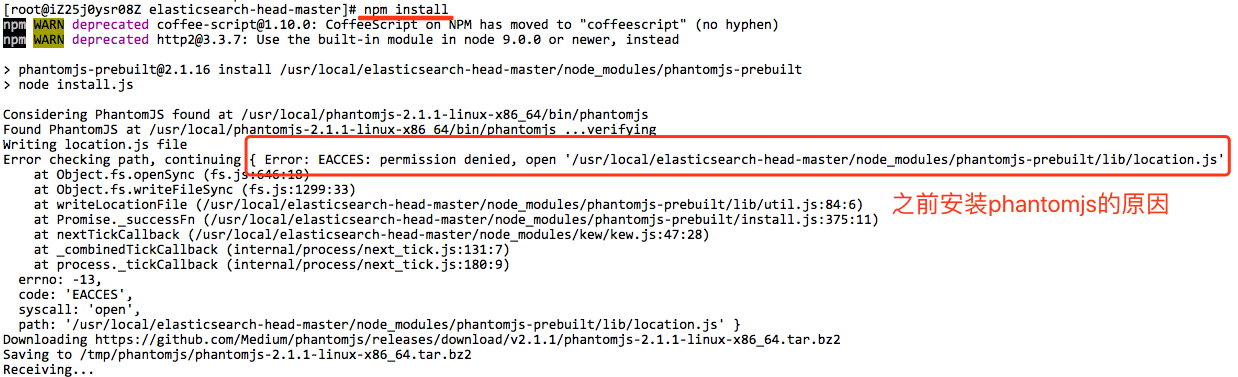
错误提示:文件权限不够,目前只能使用全局的方式安装一个phantomjs,即便安装失败,也会多出node_modules 目录
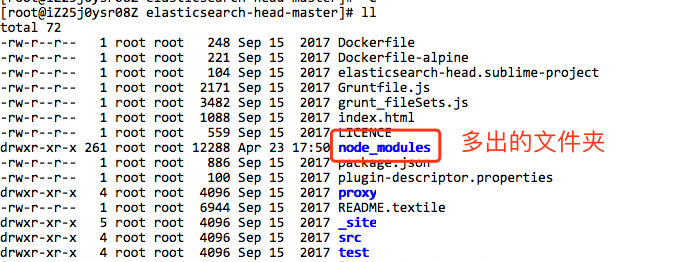
重新安装,需要删除node_modules目录
# rm -rf node_modules
4. 使用 npm install --unsafe-perm 重新安装
# npm install --unsafe-perm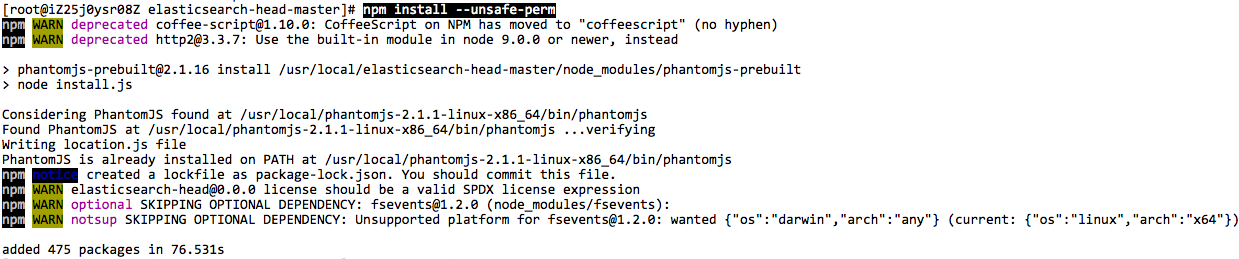
使用 --unsafe-perm 的原因是根据 https://github.com/Medium/phantomjs/issues/707
5. 运行插件
# npm run start
> elasticsearch-head@0.0.0 start /usr/local/elasticsearch-head-master
> grunt server

(node:19631) ExperimentalWarning: The http2 module is an experimental API.
Running "connect:server" (connect) task
Waiting forever...
Started connect web server on http://localhost:9100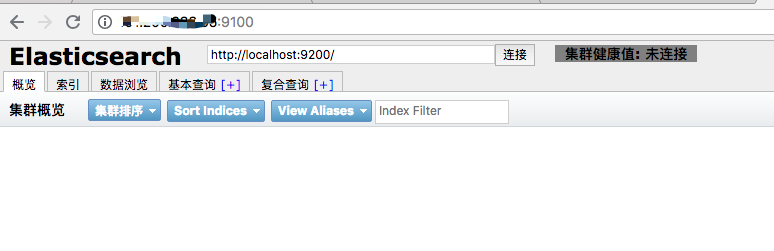
6. 后台运行
# nohup npm run start &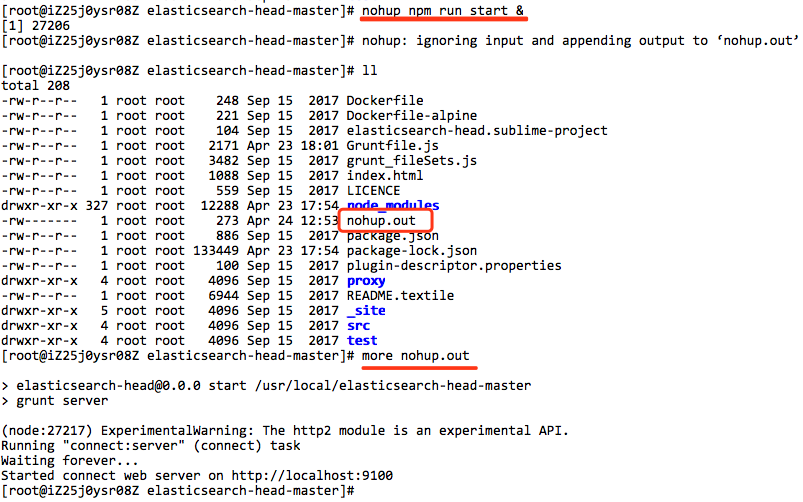


 970
970

 被折叠的 条评论
为什么被折叠?
被折叠的 条评论
为什么被折叠?
 到【灌水乐园】发言


