


TextView是Android开发中最常用的控件,它的Api也十分丰富。这里仅仅介绍下使用TextView来实现的Button,点击效果的实现。
UI页面中任何一个可点击的控件,都应该有点击效果。
当TextView所在的控件被点击时,可以从以下三处实现点击效果:
1.如果TextView的drawableLeft、….drawableBottom属性赋有值,可以将icon的图标通过布局文件标签的方式实现;
如:res/drawable/xxx_selector.xml
<?xml version="1.0" encoding="utf-8"?>
<selector xmlns:android="http://schemas.android.com/apk/res/android">
    <item android:drawable="@drawable/xxx_pressed" />
    <item android:drawable="@drawable/xxx_normal" android:state_pressed="true"/>
</selector>
2.给TextView的父节点设置background,其background通过布局文件实现,如:res/drawable/common_cancel_btn_selector.xml
<?xml version="1.0" encoding="utf-8"?>
<selector xmlns:android="http://schemas.android.com/apk/res/android">

    <item android:state_pressed="true">
        <shape>
            <solid android:color="#f0f0f0" />
        </shape>
    </item>
    <item>
        <shape>
            <solid android:color="#ffffff" />
        </shape>
    </item>

</selector>
3.设置TextView的textColor,textColor通过布局文件标签实现,如:res/color/common_black_text_color_selector.xml
<?xml version="1.0" encoding="utf-8"?>
<selector xmlns:android="http://schemas.android.com/apk/res/android">
    <item android:color="#323232" android:state_pressed="true" />
    <item android:color="#323232" android:state_selected="true" />
    <item android:color="#808080" />
</selector>
例如如下效果:
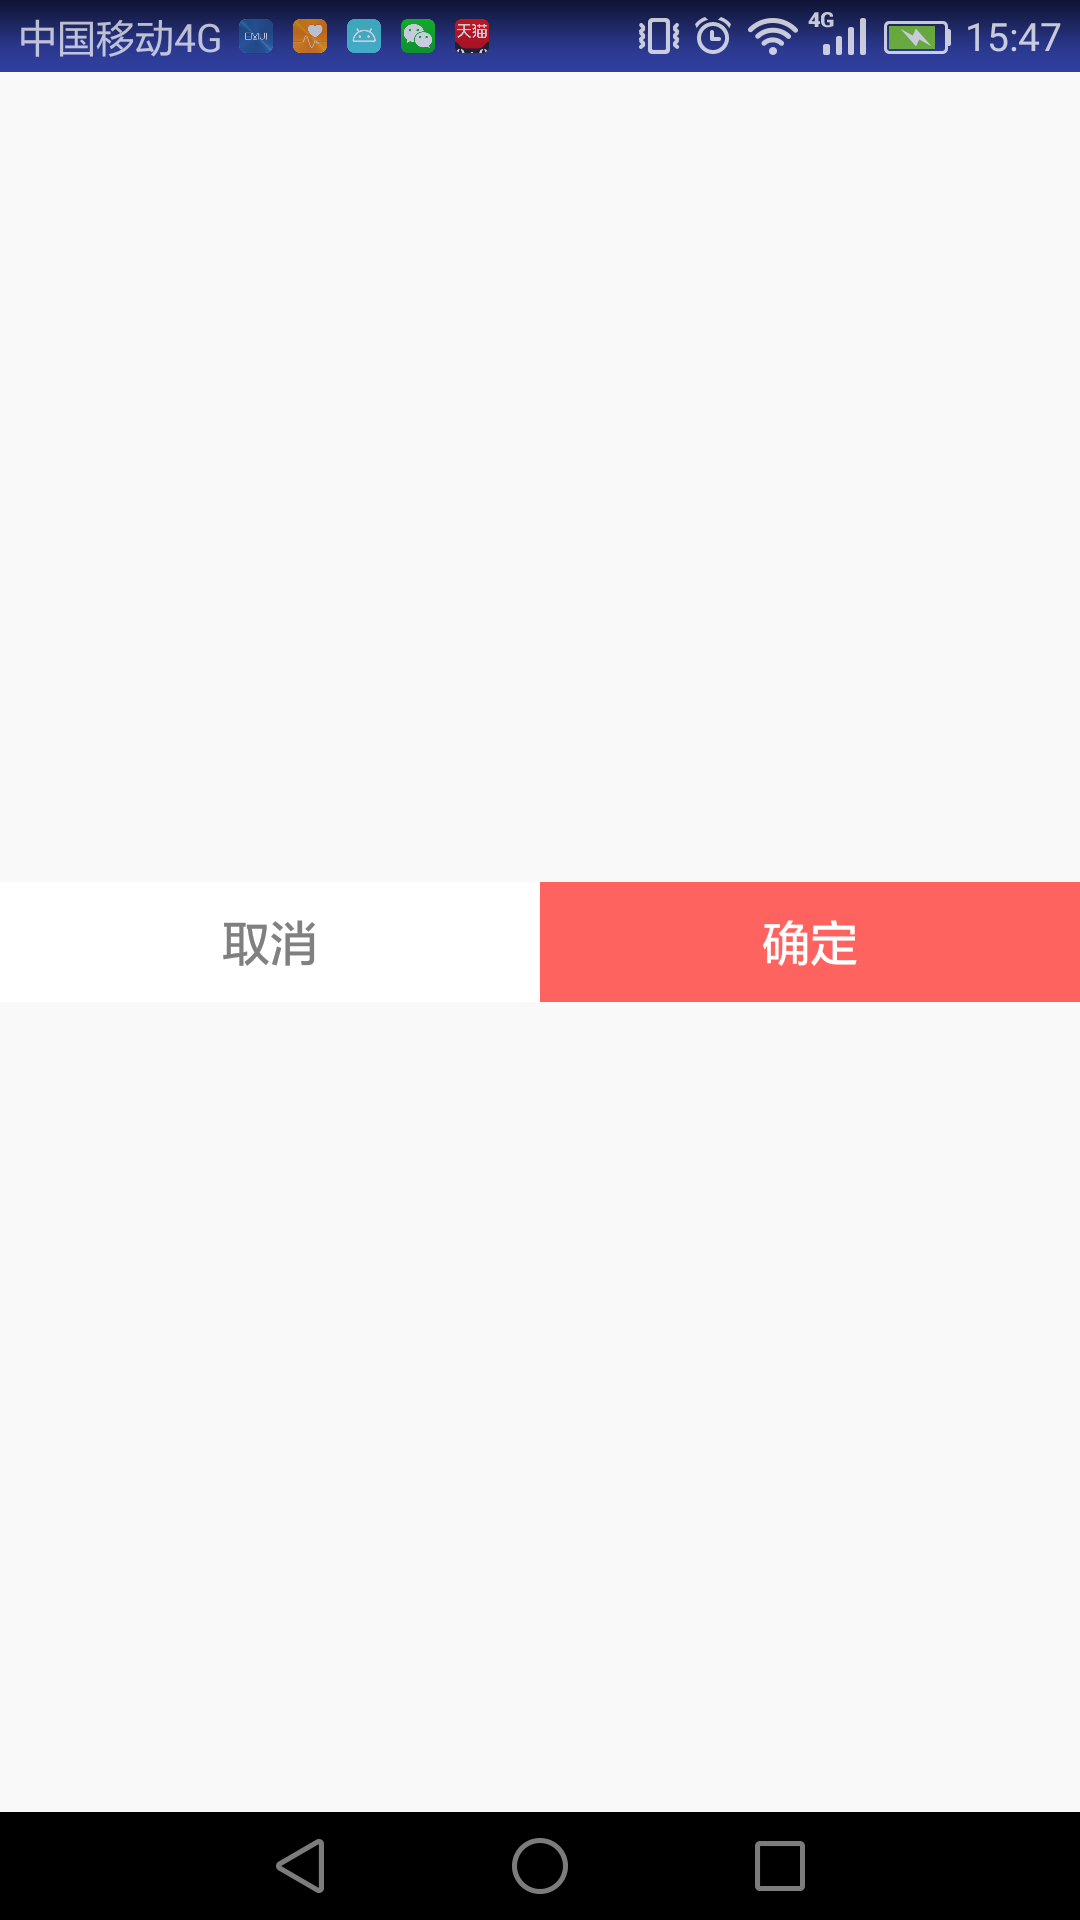
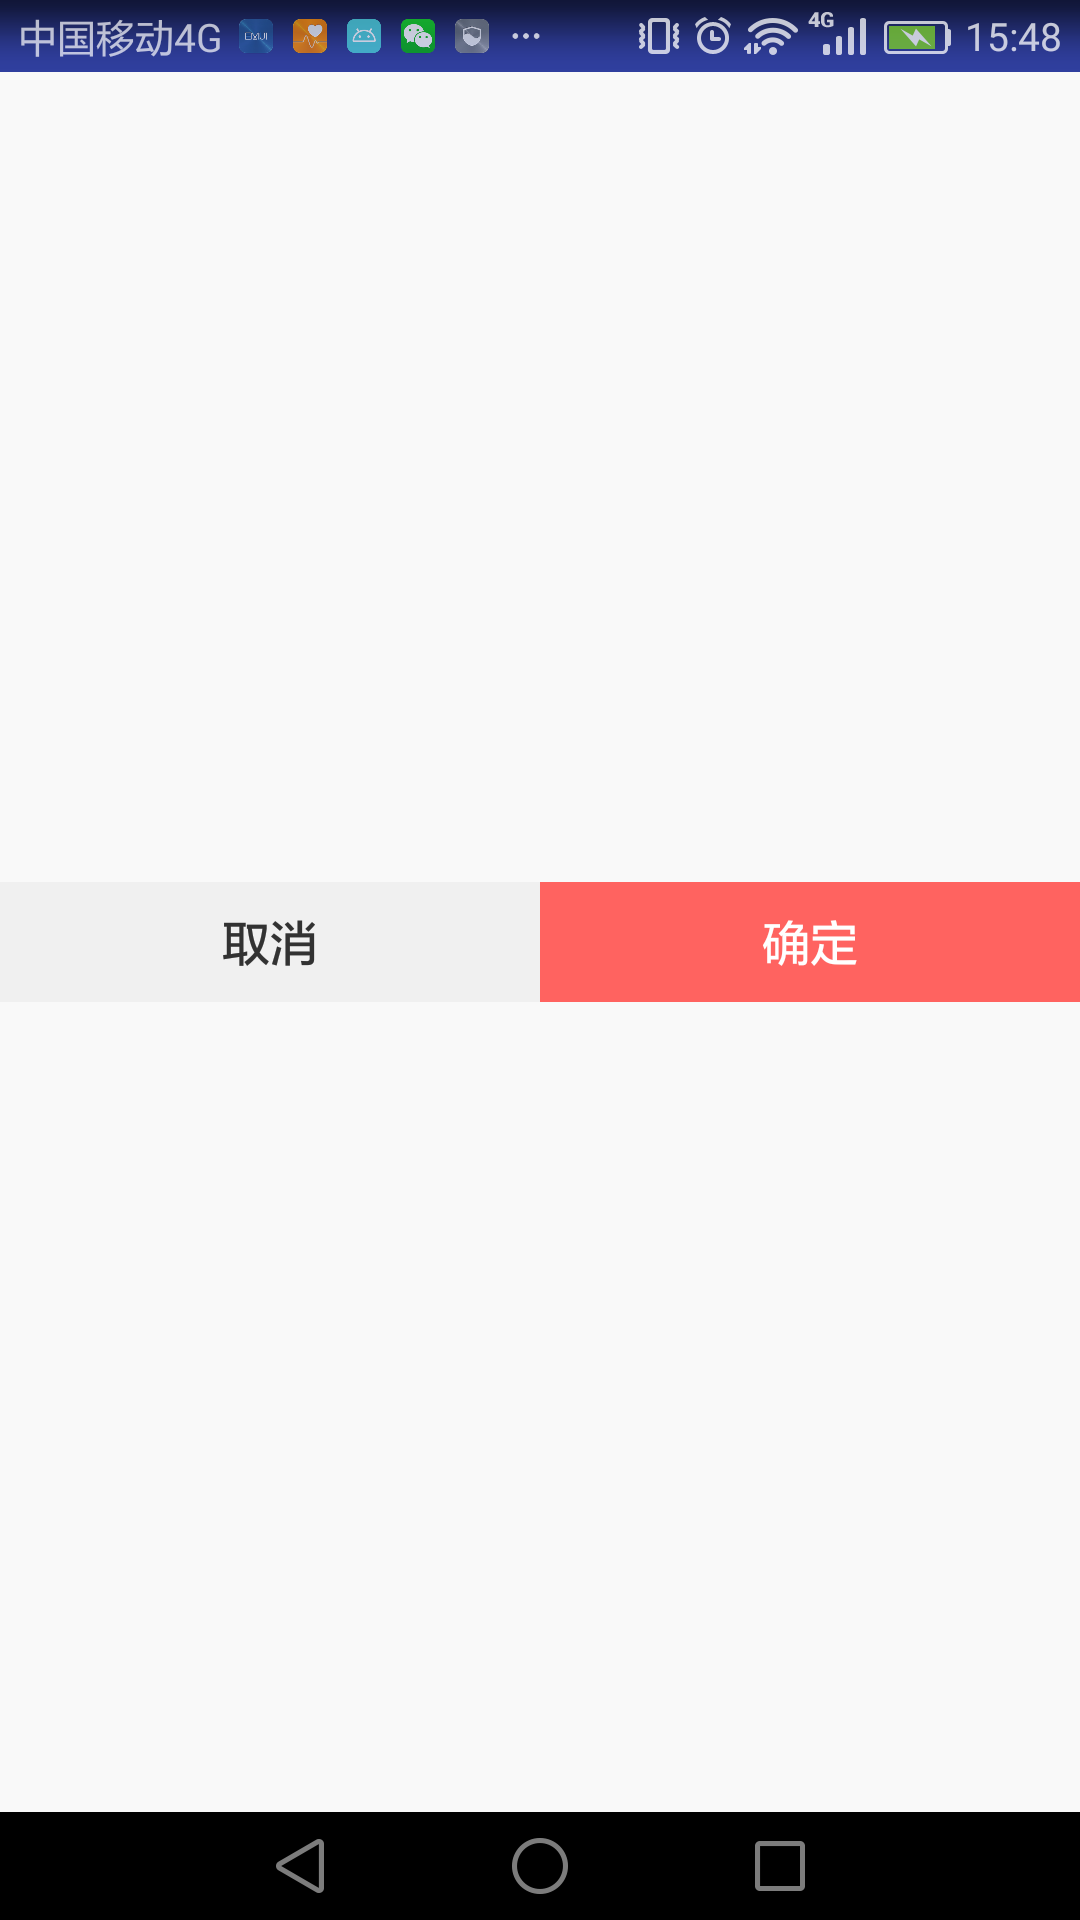

使用布局文件的是
<?xml version="1.0" encoding="utf-8"?>
<LinearLayout xmlns:android="http://schemas.android.com/apk/res/android"
    android:layout_width="match_parent"
    android:layout_height="match_parent"
    android:background="#f9f9f9"
    android:gravity="center"
    android:orientation="horizontal">

    <LinearLayout
        android:id="@+id/ll_cancel"
        android:layout_width="0dp"
        android:layout_height="40dp"
        android:layout_weight="1"
        android:background="@drawable/common_cancel_btn_selector"
        android:gravity="center"
        android:orientation="vertical">

        <TextView
            android:id="@+id/tv_cancel"
            android:layout_width="match_parent"
            android:layout_height="match_parent"
            android:gravity="center"
            android:text="取消"
            android:textColor="@color/common_black_text_color_selector"
            android:textSize="16sp" />
    </LinearLayout>

    <LinearLayout
        android:id="@+id/ll_sure"
        android:layout_width="0dp"
        android:layout_height="40dp"
        android:layout_weight="1"
        android:background="@drawable/common_sure_btn_selector"
        android:orientation="horizontal">

        <TextView
            android:id="@+id/tv_sure"
            android:layout_width="match_parent"
            android:layout_height="match_parent"
            android:layout_gravity="center"
            android:gravity="center"
            android:text="确定"
            android:textColor="@color/common_white_text_color_selector"
            android:textSize="16sp" />
    </LinearLayout>
</LinearLayout>
同时需要在代码中设置ll_sure、ll_cancel的点击侦听:
        ll_cancel.setOnClickListener(this);
        ll_sure.setOnClickListener(this);
如果需要在代码中动态修改,实现方式如下:
tv_sure.setCompoundDrawablesWithIntrinsicBounds(id, 0, 0, 0);
ll_sure.setBackgroundResource(R.drawable.common_sure_btn_selector);
tv_sure.setTextColor(getResources().getColorStateList(R.color.common_white_text_color_selector));


 1万+
1万+

 被折叠的 条评论
为什么被折叠?
被折叠的 条评论
为什么被折叠?
 到【灌水乐园】发言


