


部署Nginx
第一步:下载、上传到服务器后
yum install pcre-devel automake make zlib zlib-devel gcc-c++ libtool openssl openssl-devel -y
tar -zxvf nginx-1.20.2.tar.gz -C /usr/local/src
![]()
useradd nginx -s /sbin/nologin -M
[root@localhost nginx-1.14.2]# .configure \
> > --user=nginx \
> --group=nginx \
> --prefix=/usr/local/nginx \
> --with-http_ssl_module \
> --with-http_sub_module \
> --with-http_stub_status_module \
> --with-http_gzip_static_module \
> --with-pcre
[root@localhost nginx-1.14.2]# make && make install
[root@localhost nginx-1.14.2]# cd /usr/local/src/nginx-1.14.2/sbin/nginx -t
[root@localhost nginx-1.14.2]# cd /usr/local/src/nginx-1.14.2/sbin/nginx
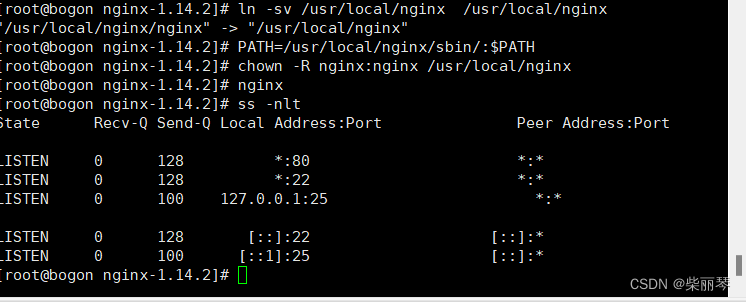
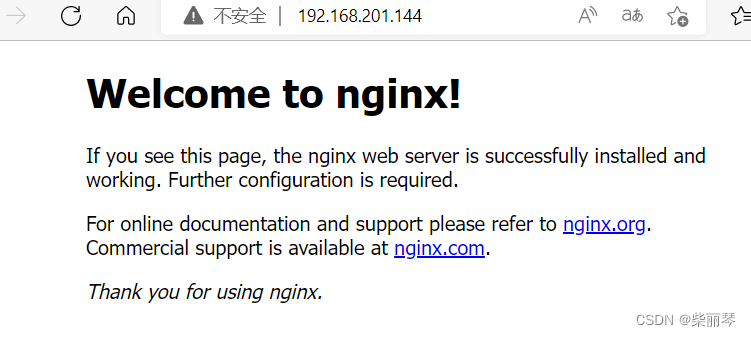
在浏览器中测试192.168.201.144
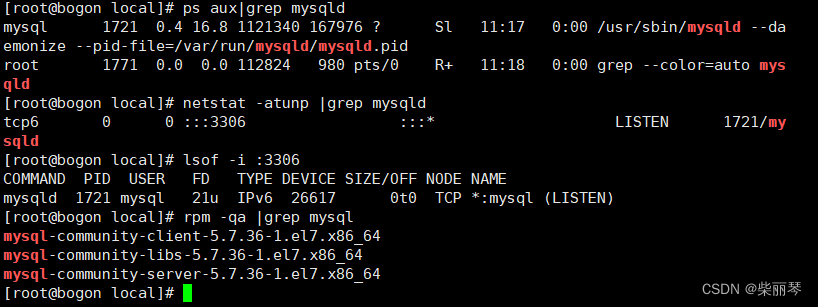
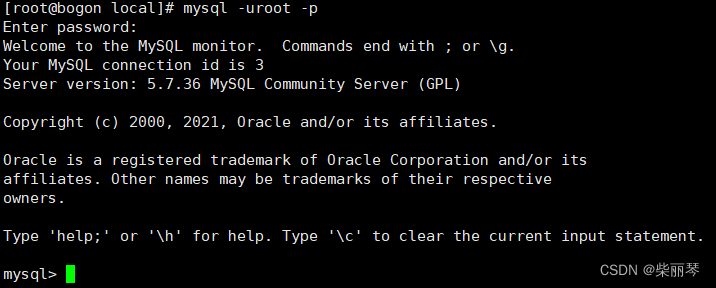
安装MySQL
先将压缩包上传到local目录下,将压缩 包解压


安装PHP
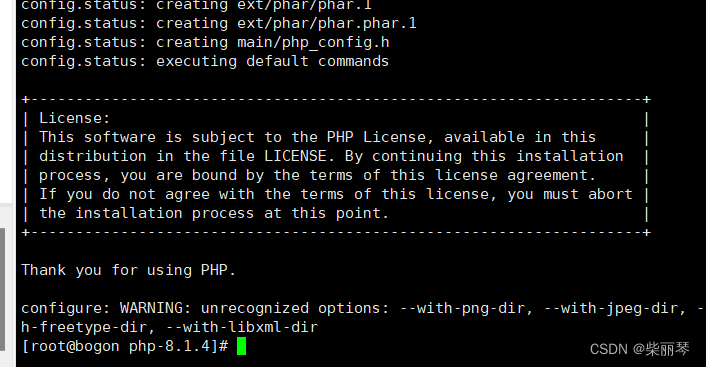
tar -zxvf php-8.1.4.tar.gz -C /usr/local/
yum install zlib libxml libjpeg freetype libpng gd curl libiconv zlib-devel libxml2 libxml2-devel libjpeg-devel freetype-devel libpng-devel gd-devel curl-devel openssl-devel libxslt-devel -y
./configure --prefix=/usr/local/php8 --with-apxs2=/usr/bin/apxs --with-mysql=/usr/share/mysql --with-xmlrpc --with-openssl --with-zlib --with-freetype-dir --with-gd --with-jpeg-dir --with-png-dir --with-iconv --enable-short-tags --enable-sockets --enable-zend-multibyte --enable-soap --enable-mbstring --enable-static --enable-gd-native-ttf --with-curl --with-xsl --enable-ftp --with-libxml-dir
make && make install
编译成功会显示下图
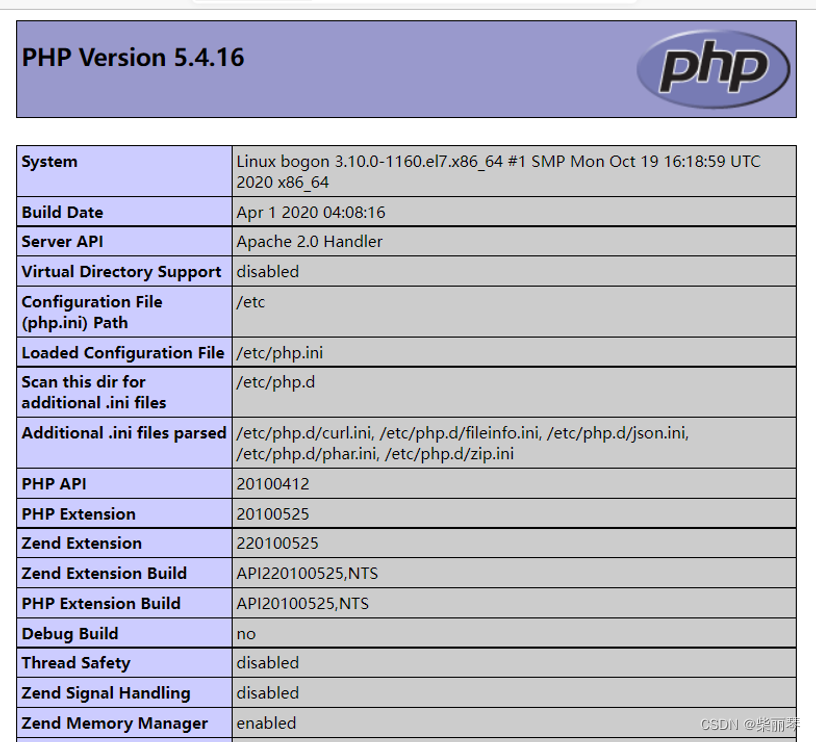
在浏览器用192.168.201.144 访问
[root@bogon local]# yum install unzip -y
[root@bogon local]# unzip wordpress-4.9.4-zh_CN.zip
[root@bogon local]# mv wordpress /var/www/html/
[root@bogon local]# chown -R nginx:nginx /var/www/html
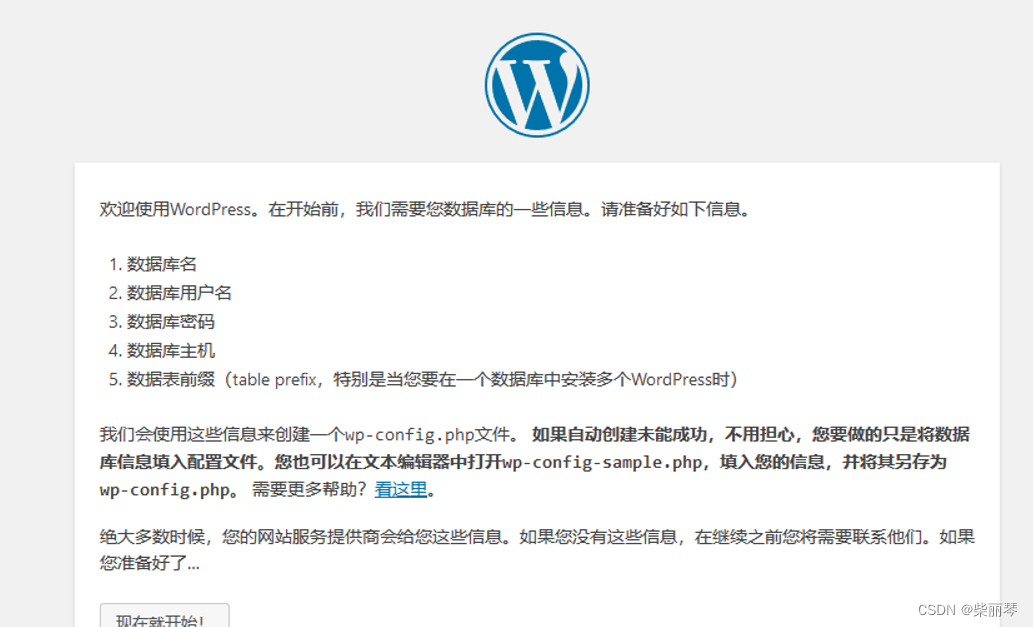
接下来按部就班就可以,一直到出现下图安装成功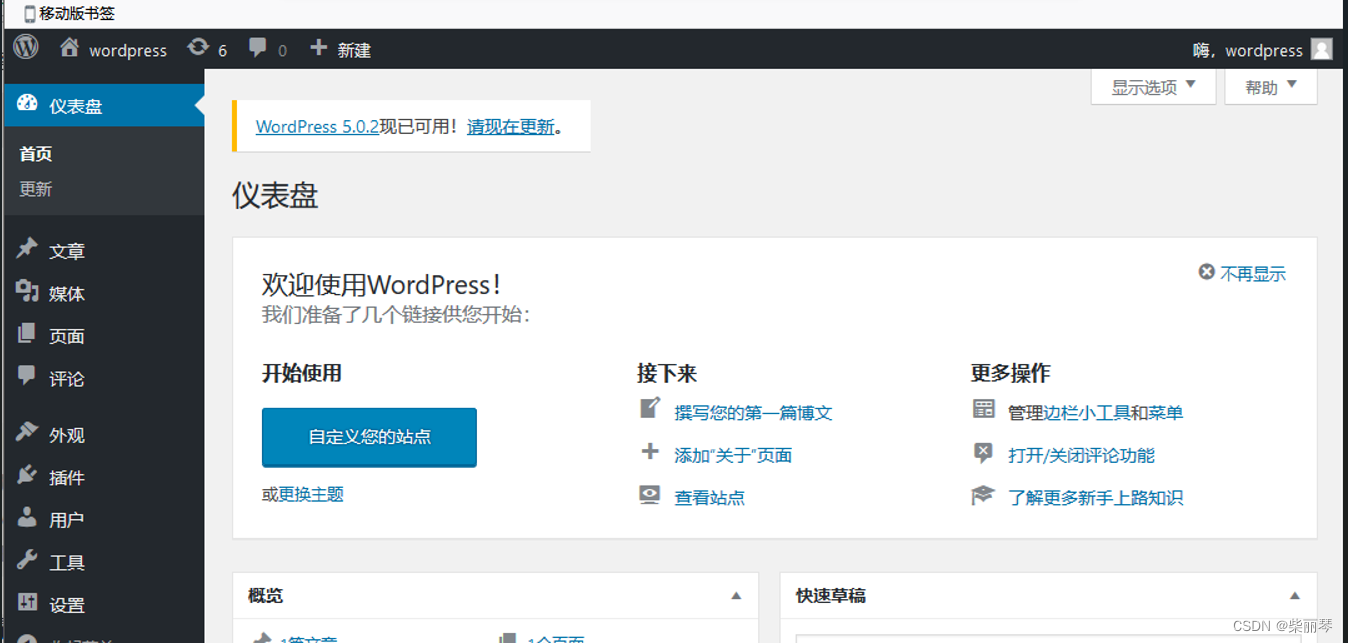


 836
836


 被折叠的 条评论
为什么被折叠?
被折叠的 条评论
为什么被折叠?
 到【灌水乐园】发言


