


说起组件传值,首先要介绍再vue中什么是组件。
组件(Component),是vue中很强大的一个功能,可以将一些可重用的代码进行重用。所有的vue组件同时也是vue实例,可以接受使用相同的选项对象和提供相同的生命周期钩子。用一句话来概括:组件就是可以扩展的HTML元素,封装可重用的HTML代码,可以将组件看做自定义的HTML元素。在vue项目中,所有.vue结尾的文件都是一个组件。
注意:注意组件和hooks的区别,一句话来说:组件是封装UI的,hooks的封装逻辑的。
组件分类
组件可以分为两类,分别是局部组件和全局组件
(1)局部组件
引入组件后,需要在components对象里进行注册,注册后可以直接进行使用。(注意:在setup语法糖出来之前是这样的,但是在使用了setup语法糖后,就不需要进行注册了,引入后可以直接使用)
插入setup语法糖的相关知识:<script setup>
Vue 3 引入了一个新的 <script setup> 语法,它提供了一种更简洁的方式来编写组件。在使用 <script setup> 时,你可以通过 import 语句直接引入组件,而无需显式注册。然后,你就可以在模板中直接使用这些组件了:
请注意,<script setup> 是 Vue 3.2+ 中的一项实验性功能,它简化了组件的编写方式。在这个语法中,导入的组件会自动在模板中可用,无需显式在 components 选项中注册。
综上所述,虽然 Vue 3 中的组件注册方式有所变化,但无论是全局还是局部注册,或者是使用 <script setup>,你仍然需要以某种方式“引入”或“注册”你的组件,以便在模板中使用它们。
转回来,在局部组件中,我们引入组件后,需要在components对象里进行注册,注册后可以直接进行使用。
上代码:
在代码中,TestComponent就是一个局部组件,在script中进行注册,在template中以标签的形式进行使用。
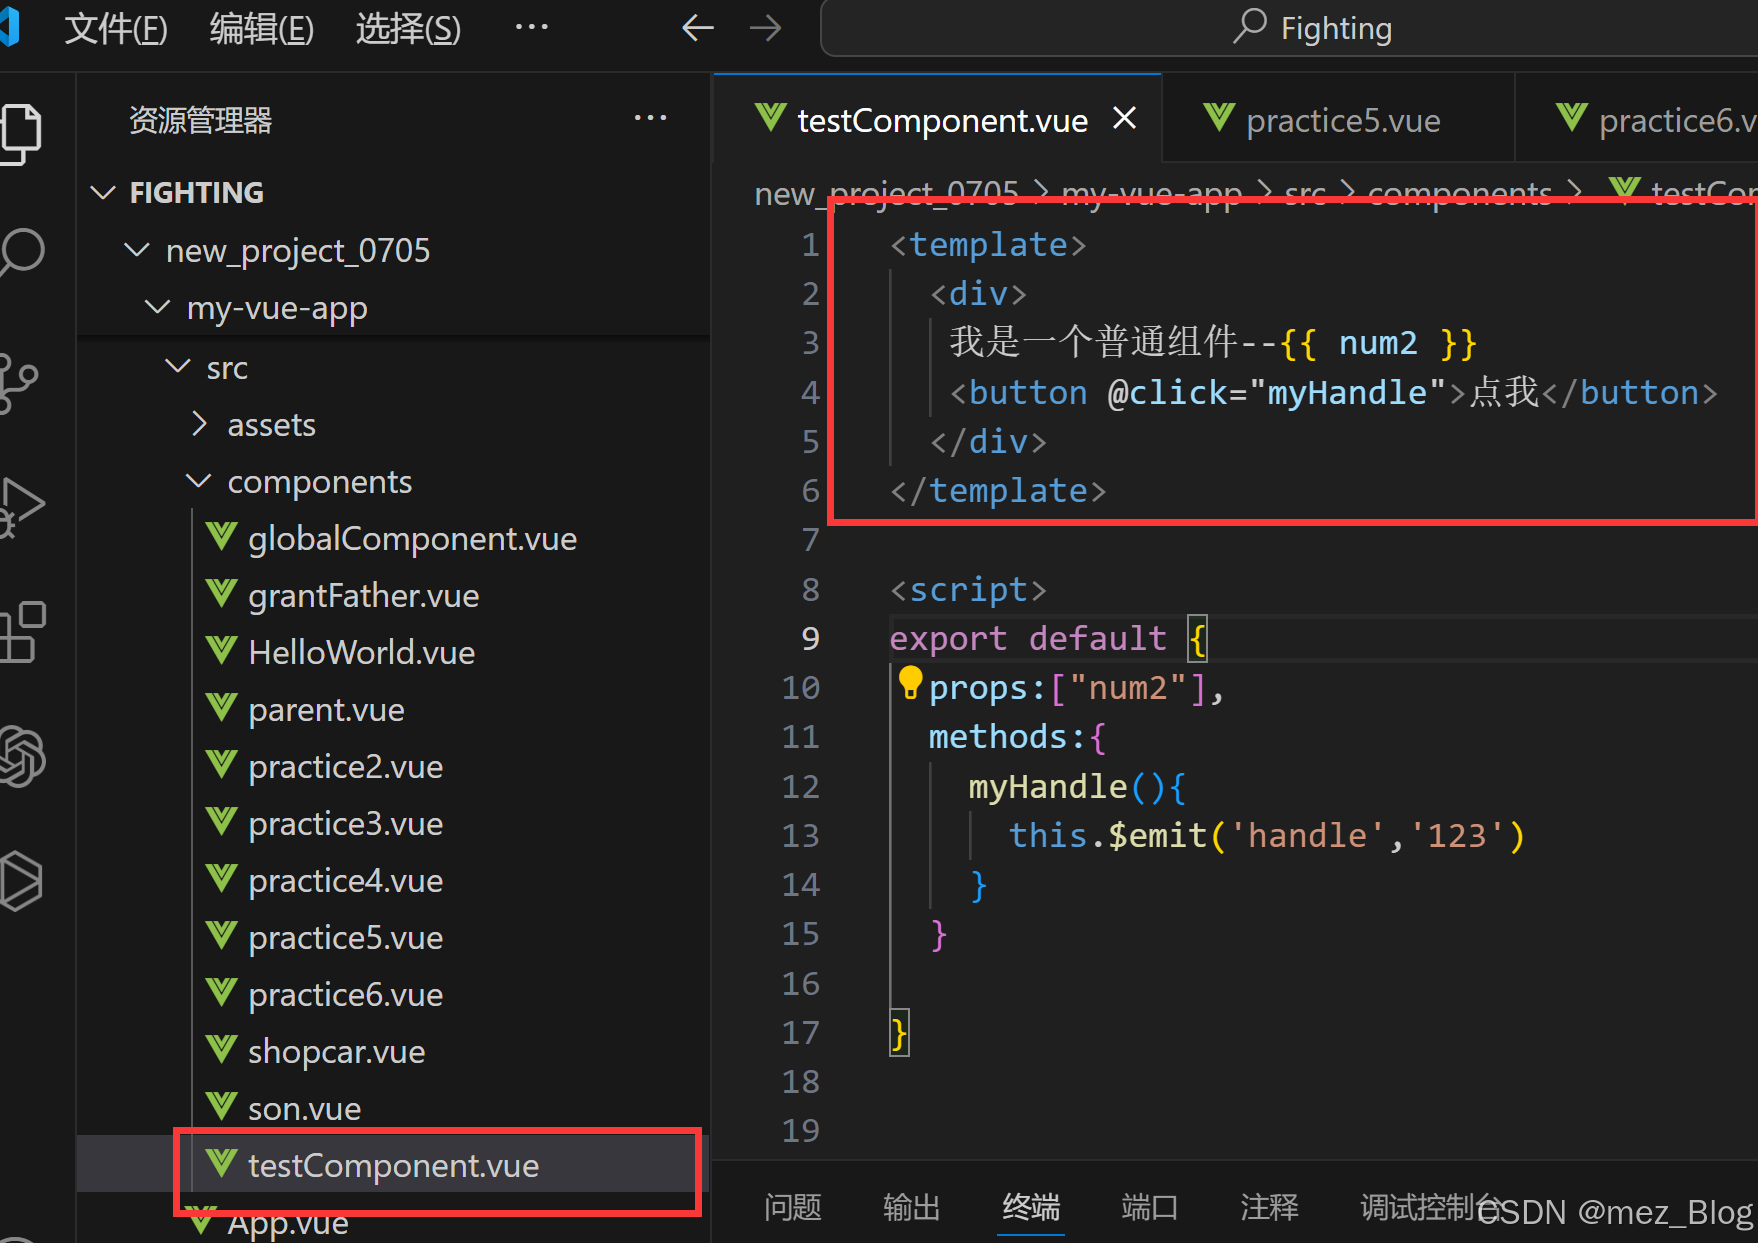
我们看一下TestComponent.vue的内容
(2)全局组件
这里的重点不是将什么是全局组件,什么是局部组件,下面也是简单介绍一下全局组件的注册与使用,注意它和局部组件的注册是不同的。
在 Vue 2 中,全局注册一个组件:
Vue.component('my-component', MyComponent);
在 Vue 3 中,由于没有了全局的 Vue 实例,你需要通过应用实例(由 createApp 创建)来全局注册组件:
import { createApp } from 'vue';
import MyComponent from './MyComponent.vue';
const app = createApp({});
app.component('my-component', MyComponent);
app.mount('#app');
组件传值
下面来到重点,组件传值,总体可以分为三类:父与子,祖与孙,兄弟之间的传值。
注意:在组件之间的关系,比如父子关系是相对的,一个组件是另一个组件的父组件,但是这个父组件也可能是其他组件的子组件或孙组件等。
①父传子
一句话概括:在父组件的子组件标签上定义属性,子组件使用props接收
上代码:
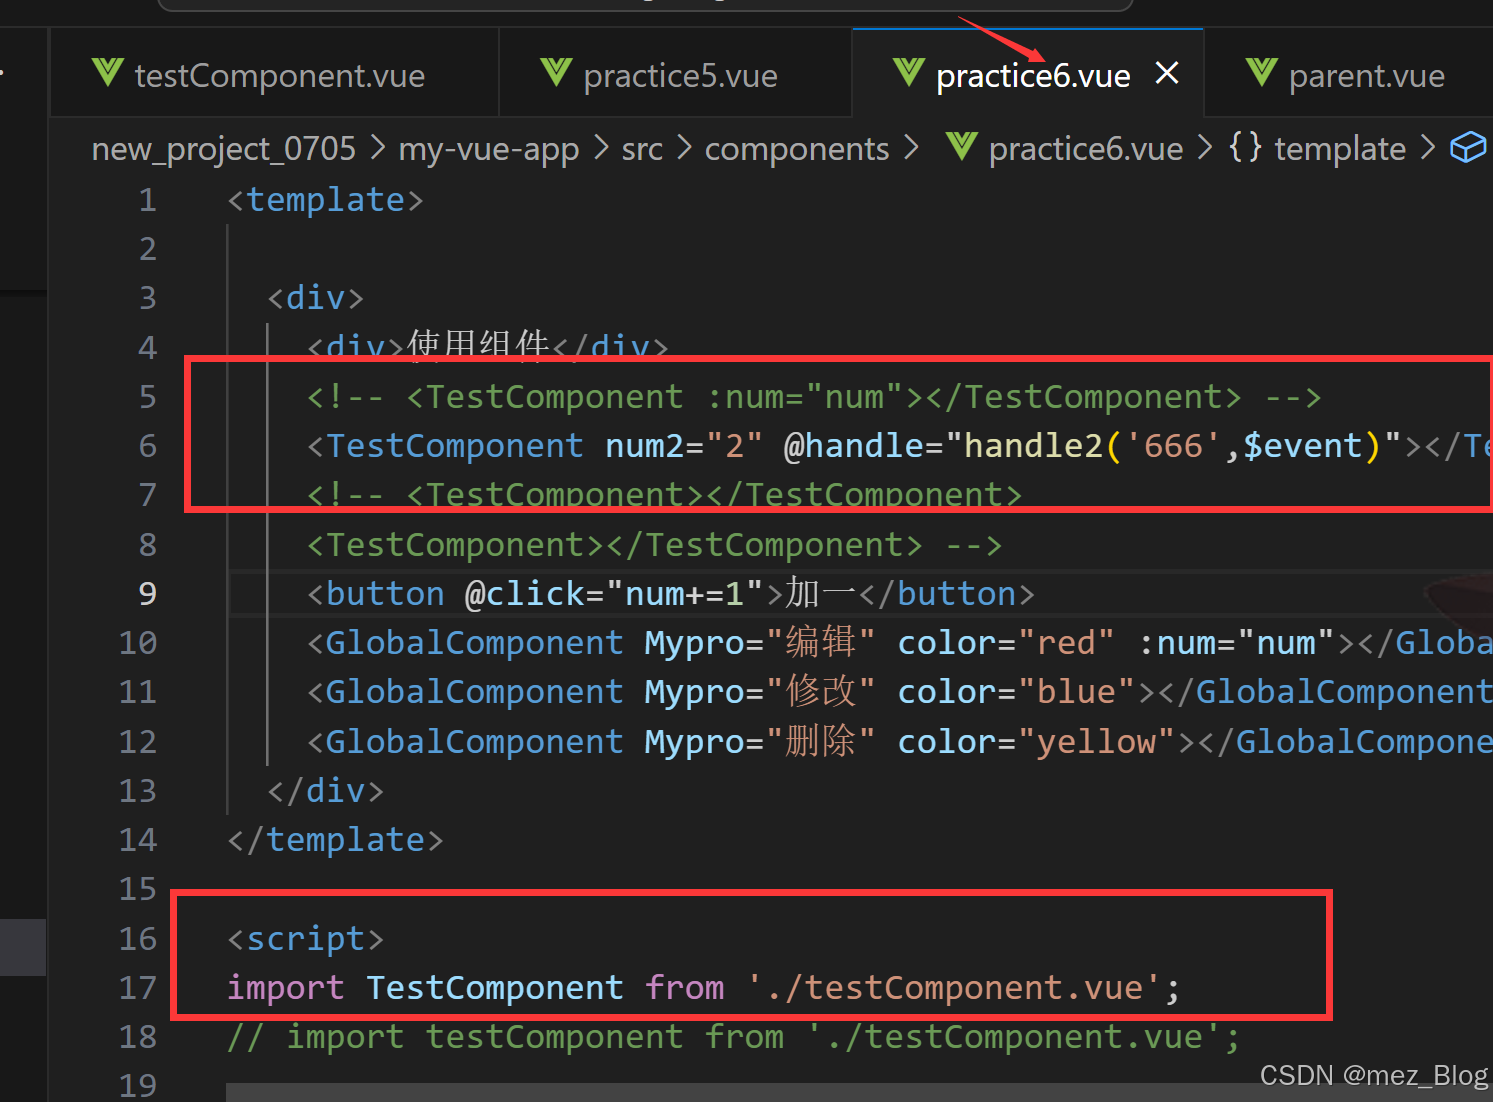
在该组件中,我们使用了TestComponent组件,那么这个组件和使用的组件之间就构成了父子关系,我们想给子组件 TestComponent组件传值(父传子),就需要在子组件的标签竖向上写上传递的属性(注意:此属性以子组件为准)num2,其值为2,那么来到子组件这边。
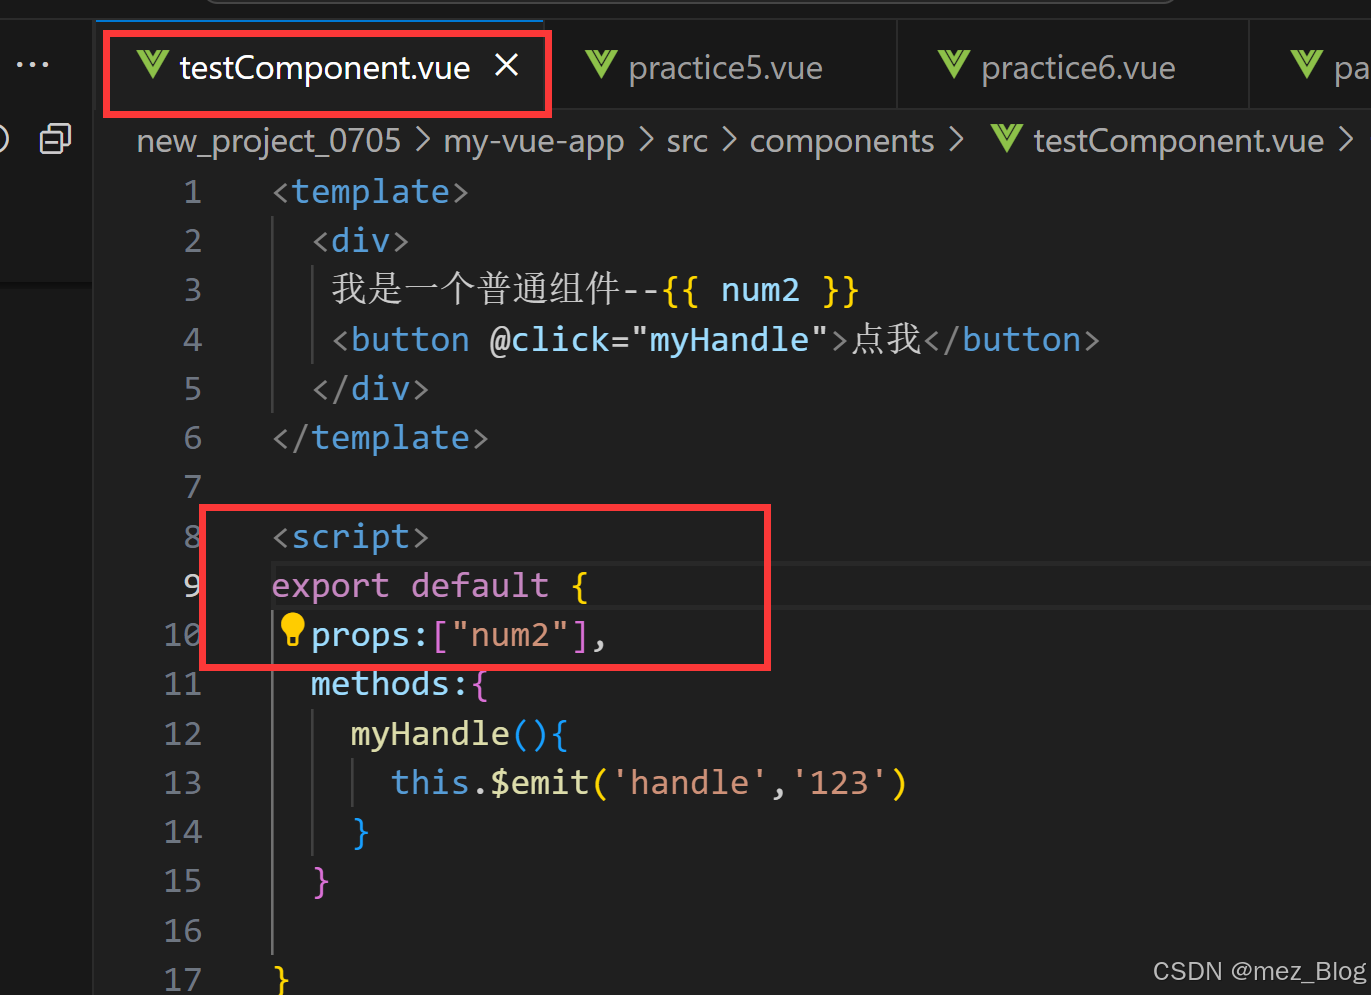
使用props进行接收,它右边的接收形式有两种,一种是数组,另一种是对象,只不过对象那个没必要,就使用常用的数组形式即可。(注意:这里传递过来的属性需要加引号,小编就因为没有加引号报错了)。
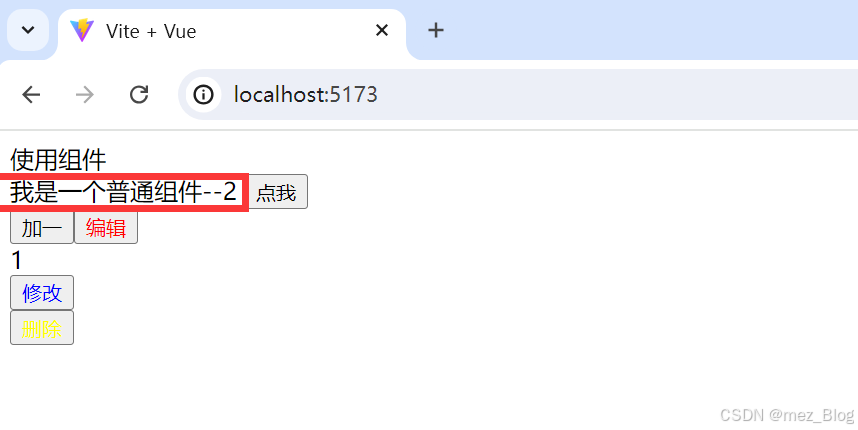
这样,父传子就成功传递了。
②子传父
通过事件传递,子组件使用$emit传递一个事件给父组件。$emit第一个参数是事件名,第二个参数要传给父组件的参数。父组件在子组件标签上使用@接收传过来的事件
上代码:
在子组件中传递一个事件
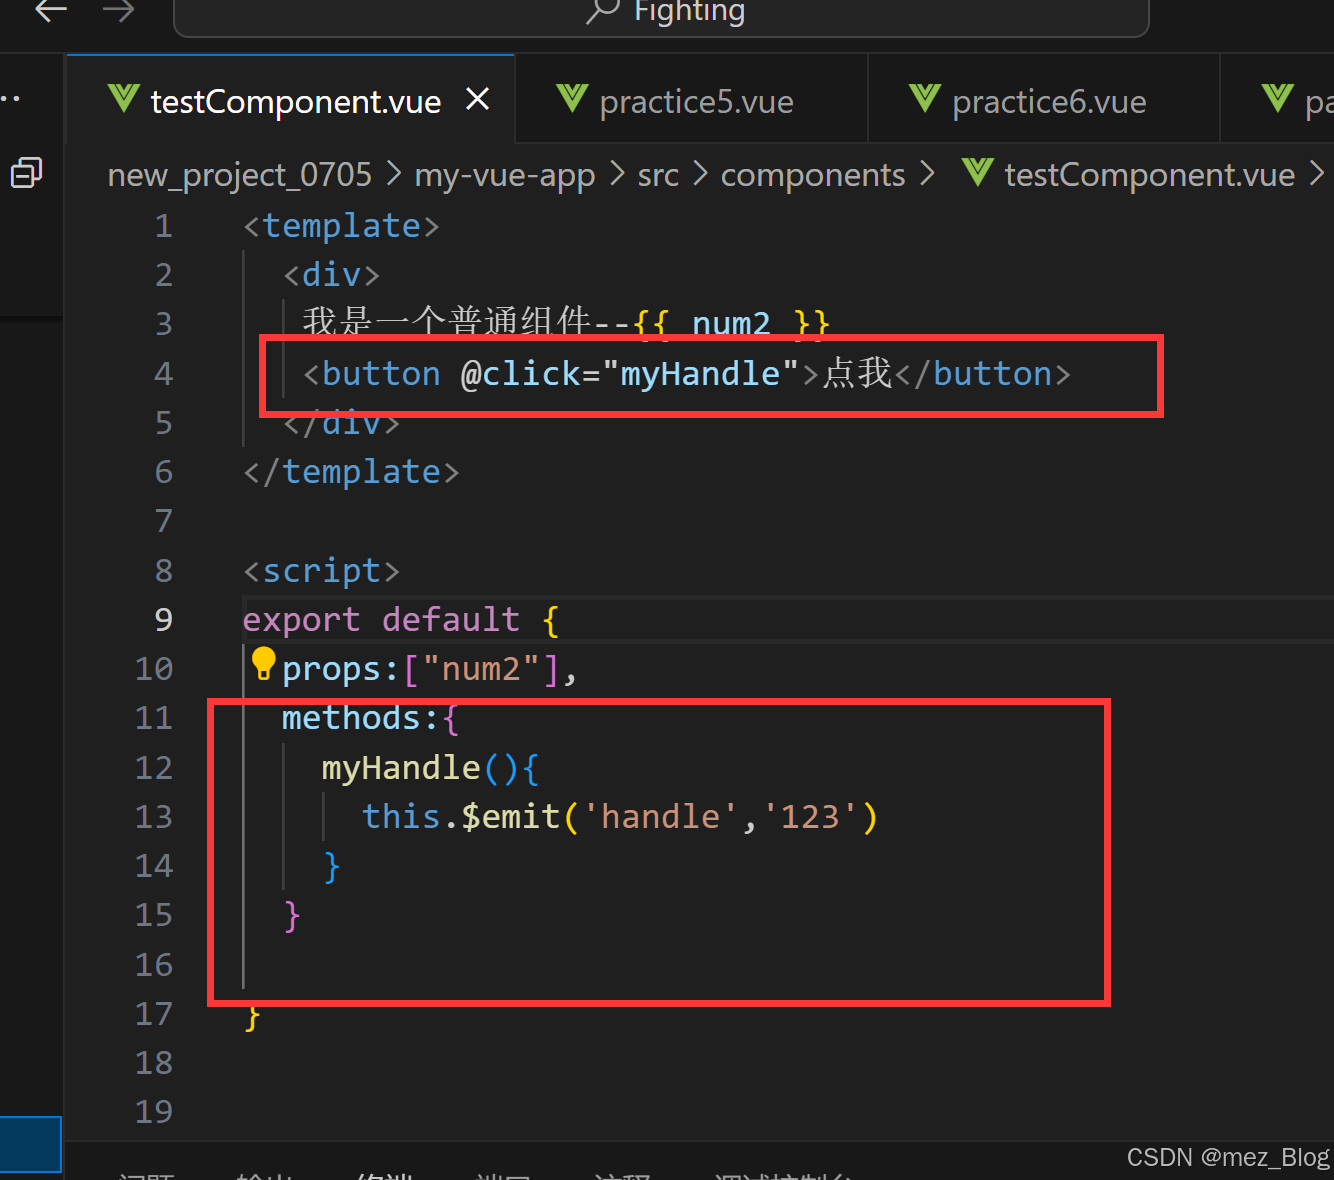
子组件传递了handle事件,并且传递了一个值123
来到父组件这里,
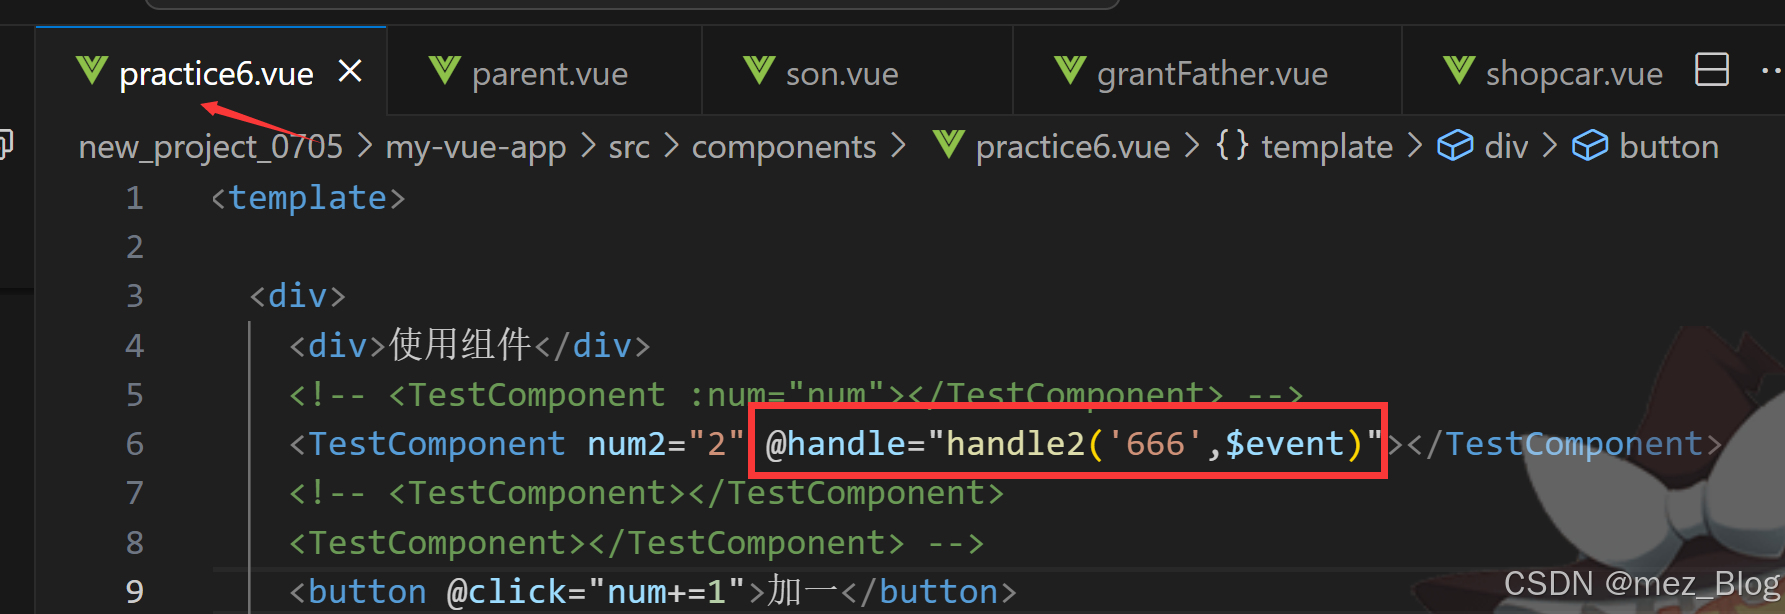
使用@符号加上子组件传递过来的事件名,在父组件中,也传递了自己的值,如果想要获取子组件传递过来的值,和一开始的事件默认事件一样,也是使用$event。
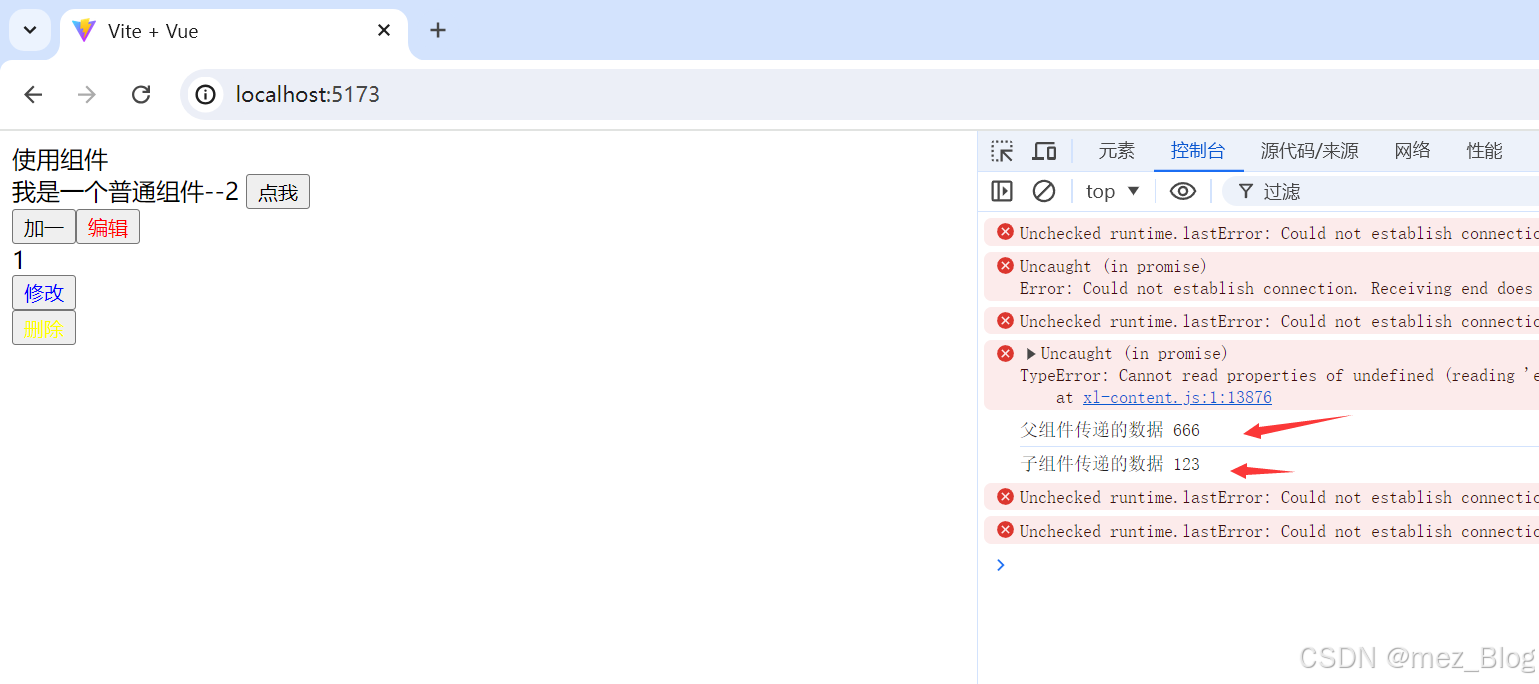
来看效果:
来看handle2的代码:
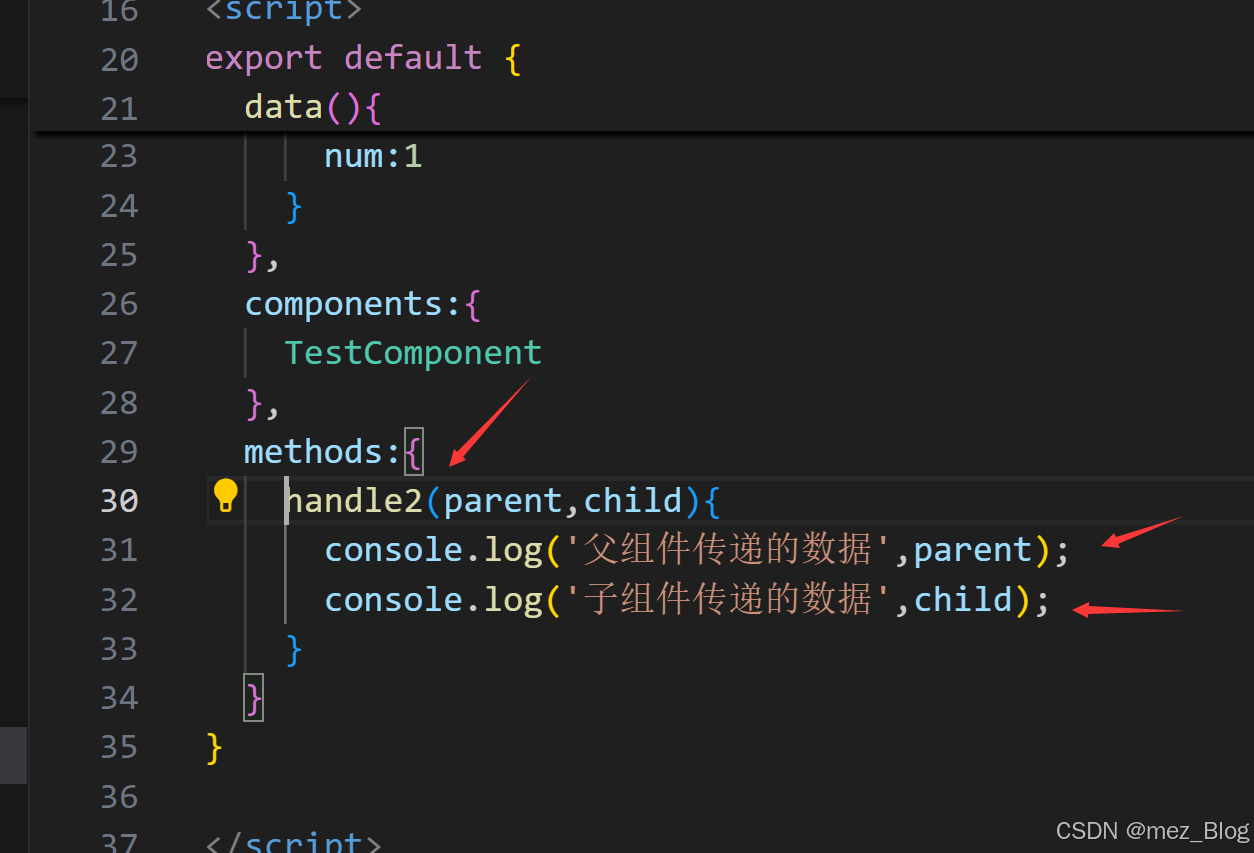
第一个参数是父组件自己传递的值,后面的是$event获取的子组件的值。
③祖孙传值
provide / inject 依赖注入
provide:可以让我们指定想要提供给后代组件的数据或方法
inject:在任何后代组件中接收想要添加在这个组件上的数据或方法,不管组件嵌套多深都可以直接拿来用
先看结构关系
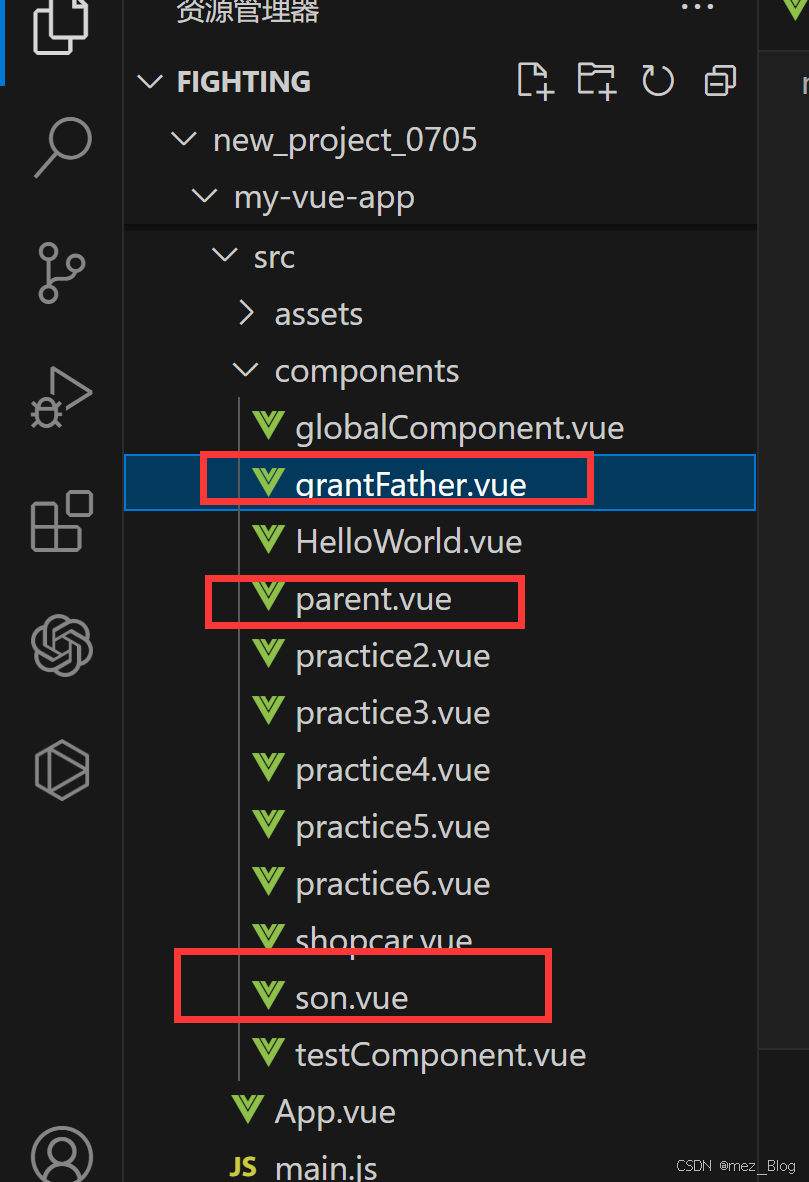
grandFather.vue
parent.vue
son.vue
来看运行效果,在祖先组件中,我们使用了parent组件,而在parent组件中,使用了son组件,这样就构成了祖孙关系,在上级组件进行provide下发name,而在后代组件中使用inject进行注入。
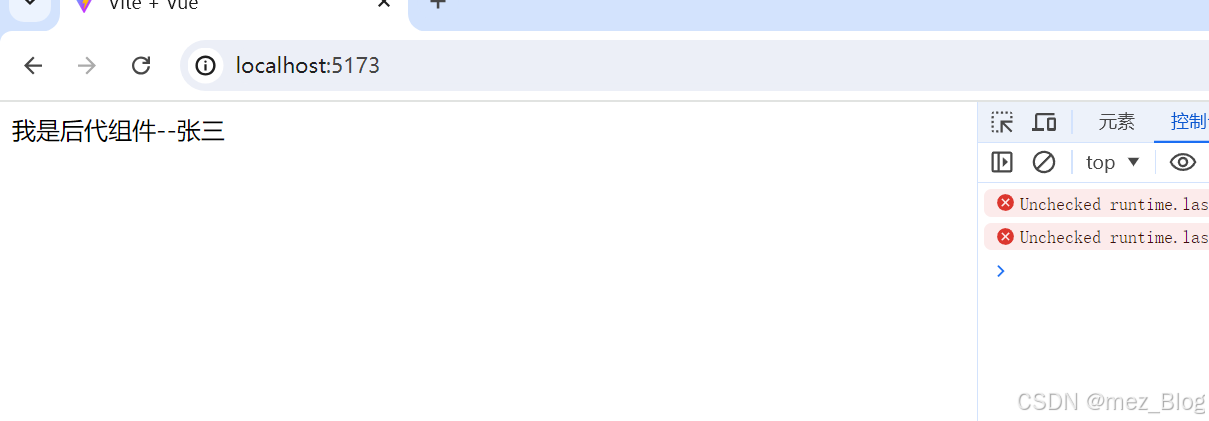
在vue调试工具中也可以看到下发的name属性

④兄弟传值
一般使用状态管理解决
event bus
EventBus 是中央事件总线,不管是父子组件,兄弟组件,跨层级组件等都可以使用它完成通信操作。
在 Vue 3 中,由于 Vue 2 中的全局事件总线(Vue.prototype.$emit 和 Vue.prototype.$on)被移除,我们需要使用其他方式来实现类似的功能。在 Vue 3 中,可以使用 mitt 这个第三方库来创建一个事件总线。
介绍一下使用Vuex实现兄弟传值
在Vue.js项目中,Vuex通常被用作状态管理库,尤其是在大型或复杂的应用中,它提供了一种集中管理所有组件共享状态的方式。对于兄弟组件之间的通信,Vuex可以作为一个很好的解决方案,因为它允许状态被全局访问和修改。
1. 安装和设置Vuex
首先,确保你的项目中已经安装了Vuex。如果还没有安装,可以通过npm或yarn来安装:
npm install vuex --save
# 或者
yarn add vuex
然后,在你的Vue项目中设置Vuex。通常,这会在src/store目录下完成,但你可以根据项目的需要进行调整。
2.使用Vuex并配置store
3. 在Vue实例中使用Vuex
在你的Vue实例(通常是main.js或app.js)中,你需要引入并使用Vuex store。
4.在兄弟组件中使用Vuex
假设你有两个兄弟组件BrotherOne.vue和BrotherTwo.vue,你想从BrotherOne传递一个消息到BrotherTwo。
BrotherOne.vue
BrotherTwo.vue
BrotherOne组件通过input和button来更新和发送消息。当点击按钮时,它调用this.$store.commit('setMessage', this.localMessage);来触发Vuex中的setMessage mutation,该mutation将新的消息存储在Vuex的state中。
BrotherTwo组件则通过计算属性message来监听Vuex state中的message变化,并实时显示在页面上。


 466
466

 被折叠的 条评论
为什么被折叠?
被折叠的 条评论
为什么被折叠?
 到【灌水乐园】发言


