


python+pytest+pytest-html+allure集成测试案例
下面是python+pytest+pytest-html+allure四个组件同时集成使用的简单案例。
1. 项目结构
project/
│
├── src/
│   ├── __init__.py
│   ├── main.py
│
├── tests/
│   ├── __init__.py
│   ├── conftest.py
│   └── test_main.py
│
├── __init__.py
├── requirements.txt
├── pytest.ini
└── README.md
安装上述目录以此创建测试文件,文件内容参考如下。
2. 依赖文件
在requirements.txt文件中添加的依赖项,内容如下:
pytest
pytest-html
allure-pytest
requests
2. pytest 配置文件
创建配置文件pytest.ini:
[pytest]
addopts = --html=report.html --self-contained-html --alluredir=allure-results
其中:
--html=report.html --self-contained-html为pytest-html的参数,运行测试后,会在当前路径下生成report.html的报告,同时html集成了CSS样式内容。
--alluredir=allure-results为allure-pytest的参数,指定allure结果文件的路径。
3. 被测试的模块
src/main.py文件内容如下,实现一个接口,通过requests的get方法请求测试站点的资源。
def get_post(post_id):
    import requests
    response = requests.get(f"https://jsonplaceholder.typicode.com/posts/{post_id}")
    return response.json()
说明:
JSONPlaceholder 是一个免费的在线 REST API,用于测试和原型开发。它提供了一系列虚拟的 API 端点,开发者可以用来模拟实际的
RESTful API请求和响应。这对于开发和测试前端应用程序、学习和实验 API 调用等非常有帮助,而不需要自己搭建服务器或实际的数据存储。
4. 编写测试用例
将fixture写入到tests/conftest.py:
import pytest

@pytest.fixture(scope="session")
def base_url():
    return "https://jsonplaceholder.typicode.com"
测试用例tests/test_main.py,内容如下:
from src.main import get_post

def test_get_post(base_url):
    post_id = 1
    post = get_post(post_id)
    assert post["id"] == post_id
    assert post["title"] is not None
    assert post["body"] is not None
5. 准备运行环境
下面通过windows环境进行测试:
- 创建一个虚拟环境并激活
在项目路径下打开cmd窗口,使用下面命令创建测试的虚拟环境:
> python -m venv pytest-demo
> .\pytest-demo\Scripts\activate
- 安装依赖项
> pip install -r requirements.txt
6. 运行测试和生成报告
> pytest
说明:
由于测试站点在国外,测试时偶尔会出现网络问题,可以多运行几次测试。
如果遇到错误ModuleNotFoundError: No module named 'src' ,可以尝试如下解决办法:
方法 1:调整 PYTHONPATH
确保项目根目录在 PYTHONPATH 中。可以在运行 pytest 前设置 PYTHONPATH 环境变量:
在 Unix 或 macOS 上:
export PYTHONPATH=$(pwd)
pytest
在 Windows 上:
set PYTHONPATH=%cd%
pytest
方法2:pytest.ini配置
在 pytest.ini 中添加 pythonpath 设置:
[pytest]
addopts = --html=report.html --self-contained-html --alluredir=allure-results
pythonpath = .
方法3:使用相对导入
from ..src.main import get_post
同时需要在项目根路径project/下创建一个__init__.py文件,指示当前文件夹为一个包。
方法4:在conftest.py中添加路径
在 tests/conftest.py 文件中手动添加src的绝对路径到 sys.path:
import sys
import os
sys.path.append(os.path.abspath(os.path.join(os.path.dirname(__file__), '..', 'src')))
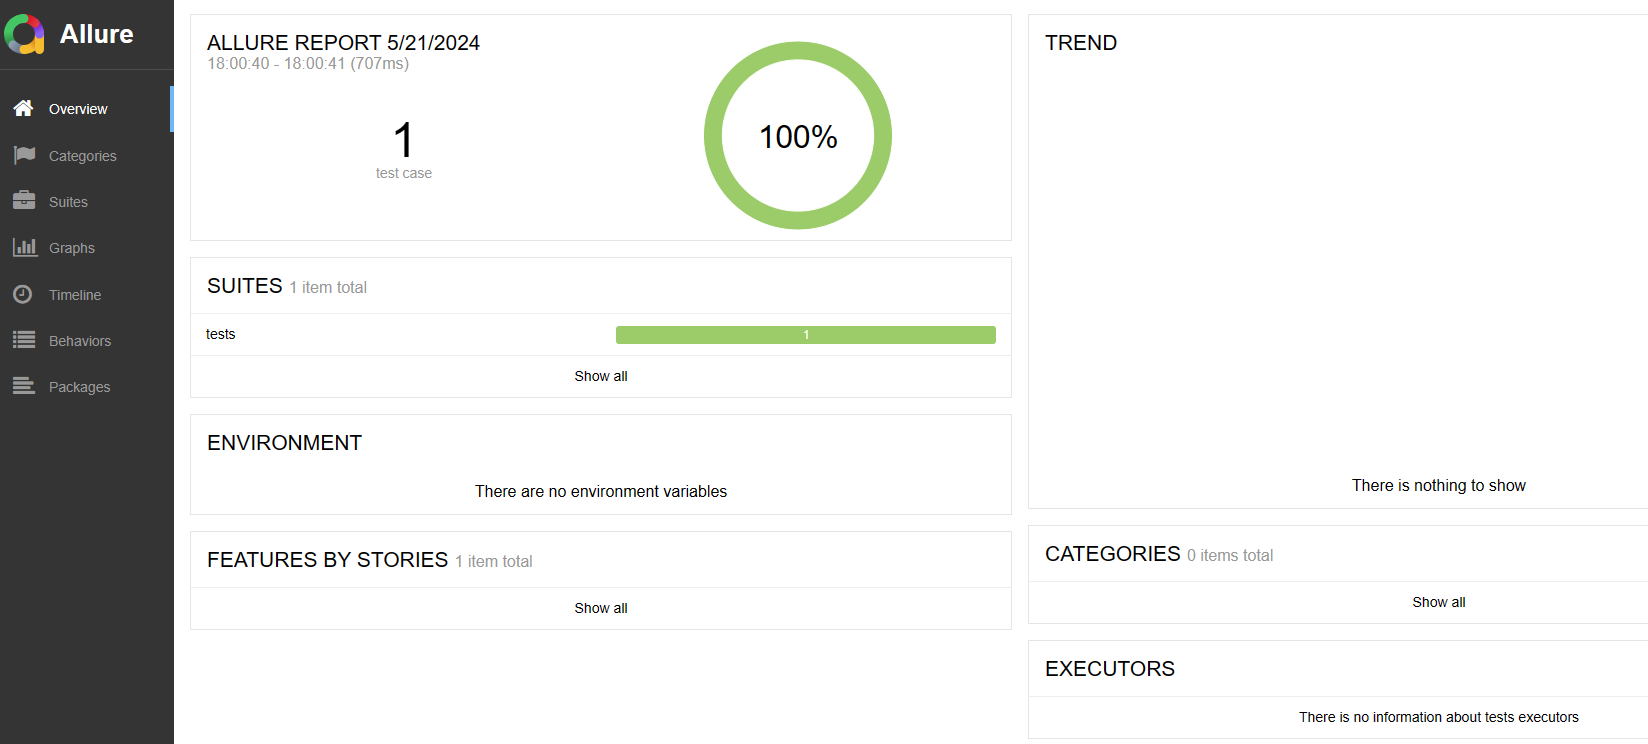
7. 查看测试报告
allure serve allure-results
执行上述命令后会自动打开浏览器,显示Allure报告:
另外根路径下也生成了由pytest-html生成的报告:
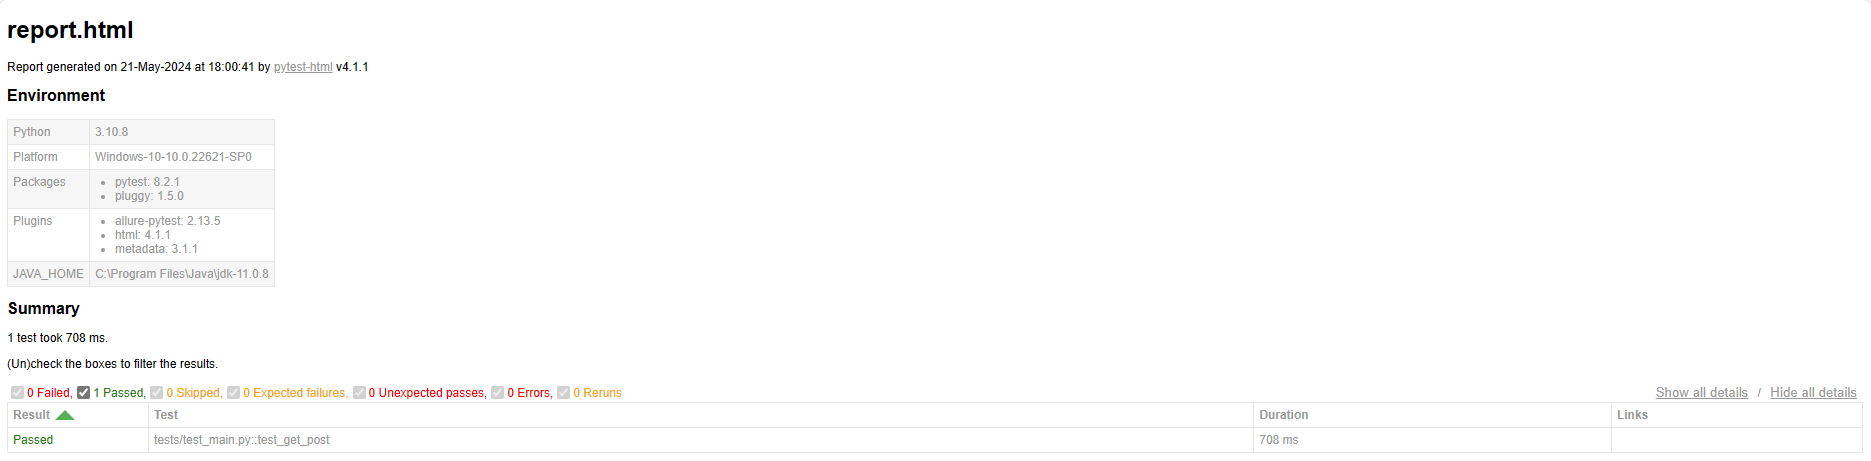
对比可以看出allure报告框架的功能更强大一些。
本文由mdnice多平台发布


 被折叠的 条评论
为什么被折叠?
被折叠的 条评论
为什么被折叠?
 到【灌水乐园】发言


