


 本文介绍Android中通知的多种监听方法,包括显示监听、点击监听及监听删除等,并提供具体实现方式和注意事项。此外还讨论了自定义通知样式及解决同时展示多个通知时的问题。
Android Notification
显示监听
方法一:通过在通知展示前进行监听
好处:不需要新增权限。
有以下问题:
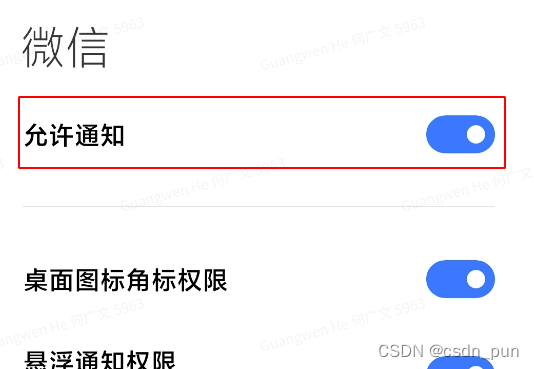
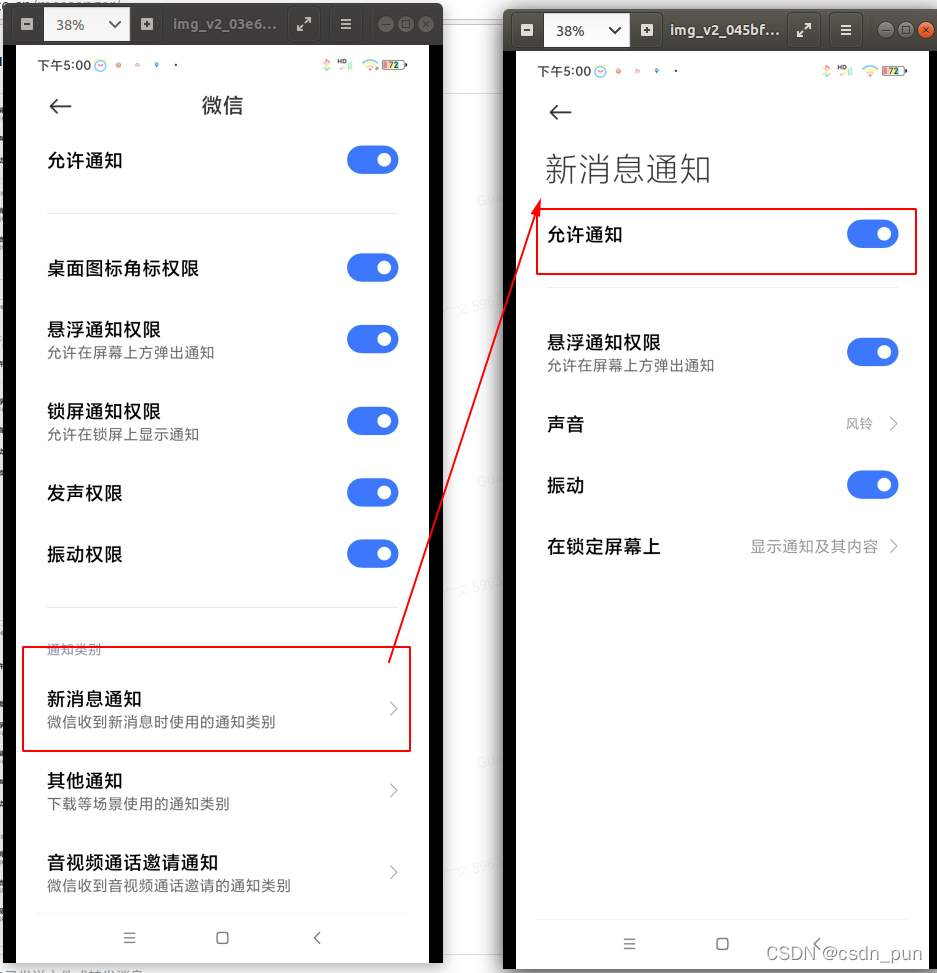
1、普通的通知栏通知,需要判断“允许通知”是否有开,并且判断对应的“通知类型”是否有开。而且“允许通知”与“通知类型”两个开关是相互独立的,不能只判断“允许通知”。
判断通知的总开关状态
//判断通知的总开关状态
boolean isNotificationsEnabled = NotificationManagerCompat.from(context).areNotificationsEnabled();
判断通知的类型Channel状态
//判断通知的类型Channel状态
boolean isNotificationChannelEnabled;
if (Build.VERSION.SDK_INT >= Build.VERSION_CODES.O) {
    NotificationManager manager = (NotificationManager) context.getSystemService(Context.NOTIFICATION_SERVICE);
    NotificationChannel channel = manager.getNotificationChannel(CHANNEL_ID);//对应通知类型的Channel Id
    isNotificationChannelEnabled = channel.getImportance() != NotificationManager.IMPORTANCE_NONE;
} else {
	//因为Android 8之后才有的 Notification Channel,所以小于 Android 8 的我就判断总开关
    isNotificationChannelEnabled = NotificationManagerCompat.from(context).areNotificationsEnabled();
}
2、锁屏/悬浮通知,这两个通知在部分手机上是有独立开关的,目前并没有这些开关的监听回调,所以该方法将无法监听这两种通知是否真的有展示。
方法二:写一个Service继承NotificationListenerService
好处:可以精确监听,并且提供了很多的方法控制Notification
有以下问题
1、使用NotificationListenerService需要“BIND_NOTIFICATION_LISTENER_SERVICE”权限,因为该权限的级别是“signature”,你需要与系统相同签名的情况才能使用。
2、需要引导用户开启权限,如下是启动的代码逻辑。
private void openNotificationAccess() {
	//跳转页面,让用户开启权限
	startActivity(new Intent("android.settings.ACTION_NOTIFICATION_LISTENER_SETTINGS"));
}

private boolean checkNotificationListener() {
//判断当前应用是否有“ACTION_NOTIFICATION_LISTENER_SETTINGS”权限
String pkgName = getPackageName();
String flat = Settings.Secure.getString(getContentResolver(), "enabled_notification_listeners");
if (!TextUtils.isEmpty(flat)) {
  final String[] names = flat.split(":");
  for (int i = 0; i < names.length; i++) {
      final ComponentName cn = ComponentName.unflattenFromString(names[i]);
      if (cn != null) {
          if (TextUtils.equals(pkgName, cn.getPackageName())) {
              return true;
          }
      }
  }
}
return false;
}
点击监听
方法一:通过设置通知中Intent的跳转的Activity中加参数
好处:容易操作,自由度高
有以下问题
1、如果是跳转不同的Activity进行后续操作,不好统一控制,建议跳转至中间页进行处理。
方法二:通过这是一个BroadcastReceiver监听
与使用Activity没有什么区别,就一个有界面一个没有界面。
//参考代码
private void showNormlNotification() {
    Intent intent =new Intent(this, NotificationActivity.class); //中转的Activity
    intent.putExtra(NotificationController.NOTIFICATION_TYPE,""); //自己定义的参数,在Activity中接收参数自行处理

//    Intent intent = new Intent(context, NotificationBroadcastReceiver.class); //BroadcastReceiver
    PendingIntent contentIntent = PendingIntent.getActivity(this,NORML_NOTIFICAON,intent,PendingIntent.FLAG_MUTABLE);

    NotificationCompat.Builder builder = new NotificationCompat.Builder(this, CHANNEL_ID)
            //必须!! 填写小图标
            .setSmallIcon(R.drawable.ic_launcher_foreground)
            .setContentTitle("norml notification")
            .setContentText("norml notification content")
            //点击事件触发的PendingIntent
            .setContentIntent(contentIntent)
            //优先级决定,你是以什么形式展示notification
            .setPriority(NotificationCompat.PRIORITY_DEFAULT);

    NotificationManager mNotificationManager = (NotificationManager) this.getSystemService(Context.NOTIFICATION_SERVICE);
    mNotificationManager.notify(NORML_NOTIFICAON,builder.build());
}
监听删除
方法一:通过继承NotificationListenerService
同上:显示监听 -> 方法二
方法二:在Notification.Builder中设置 setDeleteIntent
好处:操作方便,使用简单
与点击一样,这里我就用 BroadcastReceiver 来监听
//参考代码
private void showNormlNotification() {
    Intent intent =new Intent(this, NotificationActivity.class); //中转的Activity
    intent.putExtra(NotificationController.NOTIFICATION_TYPE,""); //自己定义的参数,在Activity中接收参数自行处理
    Intent dIntent = new Intent(context, NotificationBroadcastReceiver.class); //BroadcastReceiver

    PendingIntent contentIntent = PendingIntent.getActivity(this,NORML_NOTIFICAON,intent,PendingIntent.FLAG_MUTABLE);
    PendingIntent deleteIntent = PendingIntent.getBroadcast(this,NORML_NOTIFICAON,dIntent,PendingIntent.FLAG_MUTABLE);

    NotificationCompat.Builder builder = new NotificationCompat.Builder(this, CHANNEL_ID)
            .setSmallIcon(R.drawable.ic_launcher_foreground)
            .setContentTitle("norml notification")
            .setContentText("norml notification content")
            .setContentIntent(contentIntent)
            //手动删除监听
            .setDeleteIntent(deleteIntent)
            .setPriority(NotificationCompat.PRIORITY_DEFAULT);

    NotificationManager mNotificationManager = (NotificationManager) this.getSystemService(Context.NOTIFICATION_SERVICE);
    mNotificationManager.notify(NORML_NOTIFICAON,builder.build());
}
同时展示多个通知,点击事件响应异常
原因及处理
PendingIntent contentIntent =
PendingIntent.getActivity(this,NORML_NOTIFICAON,intent,PendingIntent.FLAG_MUTABLE);
在PendingIntent创建的时候,没有明确设置 第二个参数“ requestCode” 多个不同类型或不同功能模块的Notification使用同一个 requestCode,自主定义 requestCode 区分好即可。
对于创建PendingIntent 最后一个参数"flag",请自行查看官方文档下的这些参数代表的场景。根据不同的场景设置正确的参数。
可选参数如下
PendingIntent.FLAG_UPDATE_CURRENT
PendingIntent.FLAG_CANCEL_CURRENT
PendingIntent.FLAG_NO_CREATE
PendingIntent.FLAG_ONE_SHOT
PendingIntent.FLAG_UPDATE_CURRENT
//最后这两个参数是android 12新加的,而且是必须设置。
PendingIntent.FLAG_IMMUTABLE
PendingIntent.FLAG_MUTABLE
自定义通知样式
Android 7的自定义View设置的方式与之后的版本有差别
Notification.Builder customNotification = createNotificationBuilder();
RemoteViews remoteViews = new RemoteViews(mContext.getPackageName(), R.layout.layout_notifcation_ard11);
if (android.os.Build.VERSION.SDK_INT >= android.os.Build.VERSION_CODES.N) {
    customNotification.setCustomContentView(remoteViews);
}else {
    customNotification.setContent(remoteViews);
}
在Android 12以前,可以做到“完全自定义”即不受限制随意定义,在Android 12后为了让通知栏通知能方便用户处理,不允许在“完全自定义”必须会有应用icon存在,而且高度也有了限制。
详细的自定义使用流程,以及android 12的变动请查看: 安卓官方文档


 602
602

 被折叠的 条评论
为什么被折叠?
被折叠的 条评论
为什么被折叠?
 到【灌水乐园】发言


