


Hugo is a great tool to start a blog.
Hugo是创建博客的绝佳工具。
I use Hugo myself in this blog, since more than 2 years. I have a few reasons for loving using Hugo.
两年多以来,我一直在此博客中使用Hugo。 我有几个喜欢使用Hugo的理由。
It is simple, boring, flexible, fast.
它简单 , 无聊 , 灵活 , 快速 。
The main reason is that it is simple. There’s not much you have to learn to get started.
主要原因是它很简单 。 入门不需要太多的学习。
You write content in Markdown, a format that lets me use my favorite editor (Bear) to write posts.
您使用Markdown编写内容,该格式使我可以使用自己喜欢的编辑器(Bear)编写帖子。
Hugo is boring. Don’t get me wrong, this is a very positive thing. As a developer I am tempted to tweak things here and there all the time. There’s no fancy technology underlying Hugo. It’s built using Go, one of the languages I love the most, but that does not mean I want to dive into the internals of Hugo and change how it works.
雨果很无聊 。 不要误会我的意思,这是非常积极的事情。 作为开发人员,我很想一直在这里和那里进行调整。 雨果没有花哨的技术。 它是使用Go(我最喜欢的一种语言)构建的,但这并不意味着我想深入Hugo的内部并改变其工作方式。
And it does not surface any cool or next-generation stuff like many JavaScript frameworks tend to do.
而且它不会像许多JavaScript框架那样出现任何酷的或下一代的东西。
Hence it is boring, which gives me a lot of time to do what is really useful when working on a blog: writing content. I focus on the content, not on the content container.
因此,这很无聊,这使我有很多时间去做博客上真正有用的事情: 编写内容 。 我专注于内容,而不是内容容器。
That said, Hugo is pretty darn flexible. I started my own blog with an open source theme, then changed it completely over time. Sometimes I want to do things in my website that are out of the scope of a simple blog, and Hugo allows me to create those things.
就是说,雨果相当灵活 。 我以开源主题开始了自己的博客,然后随着时间的推移完全对其进行了更改。 有时,我想在网站上做超出简单博客范围的事情,而Hugo允许我创建这些事情。
Finally, another reason I love Hugo is that it is fast. Why? First, it has Go at the core, which is known to be a very fast language. And in the Go ecosystem, there’s no concept of 100 megabytes dependencies. Things are made to be as fast as possible. Plus, Hugo does not need to do some of the fancy stuff that is needed when using fancy technology. This is a by-product of being boring.
最后,我爱雨果的另一个原因是它速度很快 。 为什么? 首先,它以Go为核心,这是一种非常快速的语言。 在Go生态系统中,没有100 MB依赖性的概念。 事情要尽可能快。 另外,Hugo不需要执行使用高级技术时所需的一些高级工作。 这是无聊的副产品。
Anyway, enough with words.
无论如何,用言语就足够了。
Hugo is amazing, especially if you are a developer and you’re willing to write in Markdown. Non-tech people might just refuse to use Markdown, and it’s perfectly understandable.
Hugo很棒,特别是如果您是开发人员并且愿意用Markdown编写。 非技术人员可能只是拒绝使用Markdown,这是完全可以理解的。
Also, you have to be prepared for a Git-centric workflow to make things really click.
另外,您还必须为以Git为中心的工作流程做好准备,以使事情真正发生点击。
What you do is that you write a post using Markdown, then commit your changes to a Git repository, most commonly on GitHub, and some glue technology deploys the changes on the server that hosts the site.
您要做的是使用Markdown编写帖子,然后将更改提交到Git存储库(通常在GitHub上),并且某些粘合技术将所做的更改部署在托管站点的服务器上。
托管雨果网站 (Hosting a Hugo website)
A Hugo blog is completely static. This means you don’t need to host your own server, or use a special service for it.
一个雨果博客是完全静态的 。 这意味着您不需要托管自己的服务器,也无需为其使用特殊服务。
Netlify, Now and GitHub Pages are 3 great places where you can host a Hugo blog, for free.
Netlify,Now和GitHub Pages是3个免费托管Hugo博客的好地方。
The only cost is the one you have to sustain for the domain name. I can’t stress more the importance of having your own domain name. No .github.io or .netlify.com or .now.sh sites, please.
唯一的成本就是您必须维持的域名成本。 我不能再强调拥有自己的域名的重要性。 请没有.github.io或.netlify.com或.now.sh网站。
My own Hugo sites are hosted on Netlify.
我自己的Hugo网站托管在Netlify上。
选择一个域 (Choose a domain)
Put your blog under your own domain. Pick one. Use your own name. And use .com or .blog. Don’t try to be clever by using a localized domain, don’t use .io. .com just gives a better impression and it’s reusable for all your future projects, not just to host your blog. I picked that.
将您的博客放在您自己的域下。 选一个。 使用您自己的名字。 并使用.com或.blog 。 不要通过使用本地化域来变得聪明,不要使用.io 。 .com只会给人留下更好的印象,它可用于您以后的所有项目,而不仅仅是托管您的博客。 我选了
Oh and if you have an old domain lying around, just use that. Why? The older your domain is, the better.
哦,如果您周围有旧域名,请使用它。 为什么? 您的域越旧越好。
Note on subdomains: every subdomain, to Google, is a different website. So if your domain is flaviocopes.com, and you create your blog in blog.flaviocopes.com, then that’s a completely new website to Google, and it will have its own ranking separate from the main domain.
关于子域的注意事项:对于Google而言,每个子域都是一个不同的网站。 因此,如果您的域名是flaviocopes.com ,并且您在blog.flaviocopes.com创建了博客,那么对于Google而言,这是一个全新的网站,它将具有与主要域名不同的排名。
My suggestion is to avoid subdomains completely.
我的建议是完全避免子域。
安装雨果 (Install Hugo)
To install Hugo on macOS, from your terminal run
要在macOS上安装Hugo,请从终端运行
brew install hugoThe
brewcommand does not exist on your Mac? Check the Homebrew guideMac上不存在
brew命令? 查看自制程序指南
For Windows and Linux, check the official installation guide.
对于Windows和Linux,请查看官方安装指南 。
创建一个雨果网站 (Create a Hugo site)
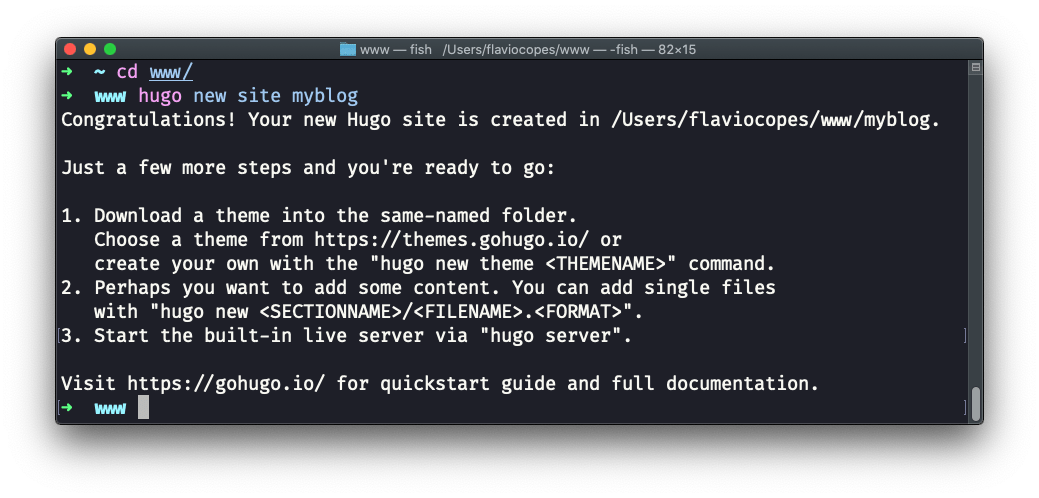
Once Hugo is installed, you can create a Hugo site by running
安装Hugo后,您可以通过运行以下命令创建一个Hugo网站
hugo new site myblogI suggest to run this into a www folder in your Home directory, because the command will create a new myblog folder where you run it.
我建议将其运行到Home目录中的www文件夹中,因为该命令将在运行它的位置创建一个新的myblog文件夹。
选择一个主题 (Pick a theme)
Now before you can start you need to pick a theme. I wish Hugo included a default theme to make things straightforward, but it does not.
现在,在您可以开始之前,您需要选择一个主题。 我希望Hugo包含一个默认主题,以使事情变得简单,但事实并非如此。
There’s a lot of choice on https://themes.gohugo.io. My personal recommendation is to start with https://themes.gohugo.io/ghostwriter/ and tweak it later.
https://themes.gohugo.io上有很多选择。 我个人的建议是从https://themes.gohugo.io/ghostwriter/开始,然后进行调整。
I also recommend to avoid the git clone workflow they suggest on that page, because you’ll be surely tweaking the theme in the future, and I find it best to have a single repository for both content and theme. It simplifies deployment.
我还建议避免使用他们在该页面上建议的git clone工作流程,因为将来您肯定会调整主题,而我发现最好为内容和主题创建一个单一的存储库。 它简化了部署。
So, go to https://github.com/jbub/ghostwriter/archive/master.zip to download the current version of the theme.
因此,请转到https://github.com/jbub/ghostwriter/archive/master.zip下载主题的当前版本。
Then unpackage it in the themes/ghostwriter folder in your newly created Hugo website:
然后将其解包到新创建的Hugo网站的themes/ghostwriter文件夹中:
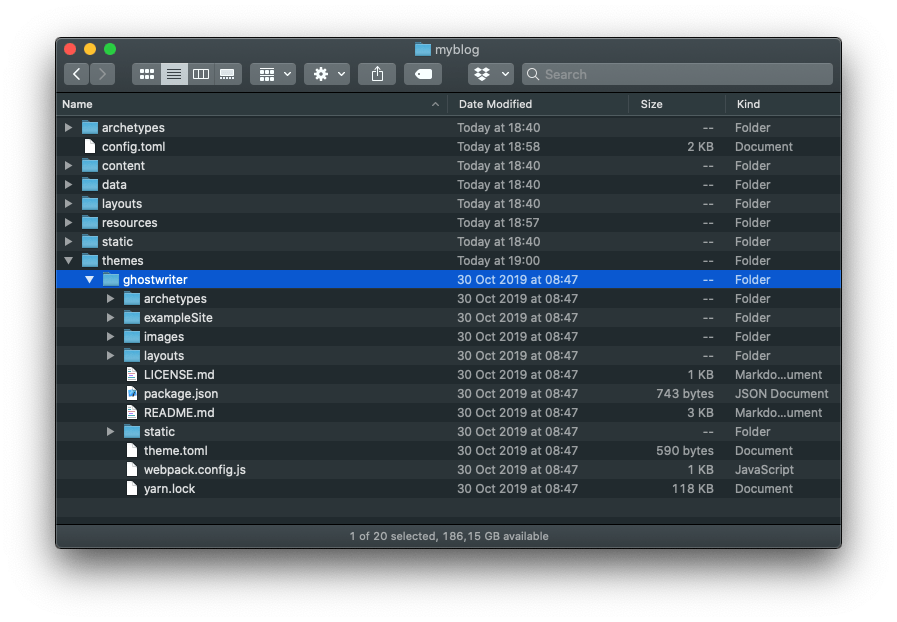
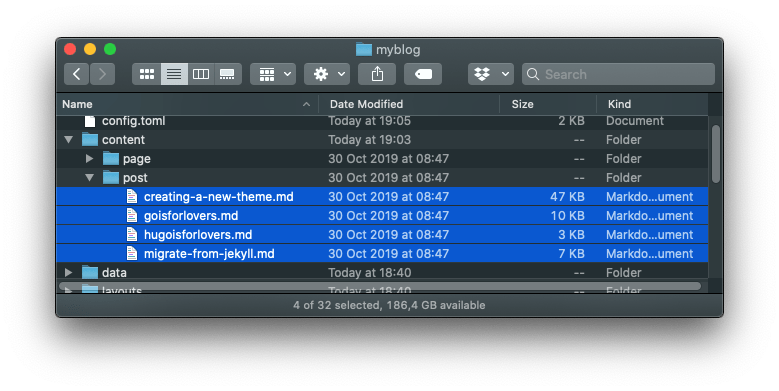
Notice there is a exampleSite folder in the themes/ghostwriter. Open it, and open its content subfolder. In there, you can see the page, post and project subfolders.
注意在themes/ghostwriter有一个exampleSite文件夹。 打开它,然后打开其content子文件夹。 在这里,您可以看到page , post和project子文件夹。
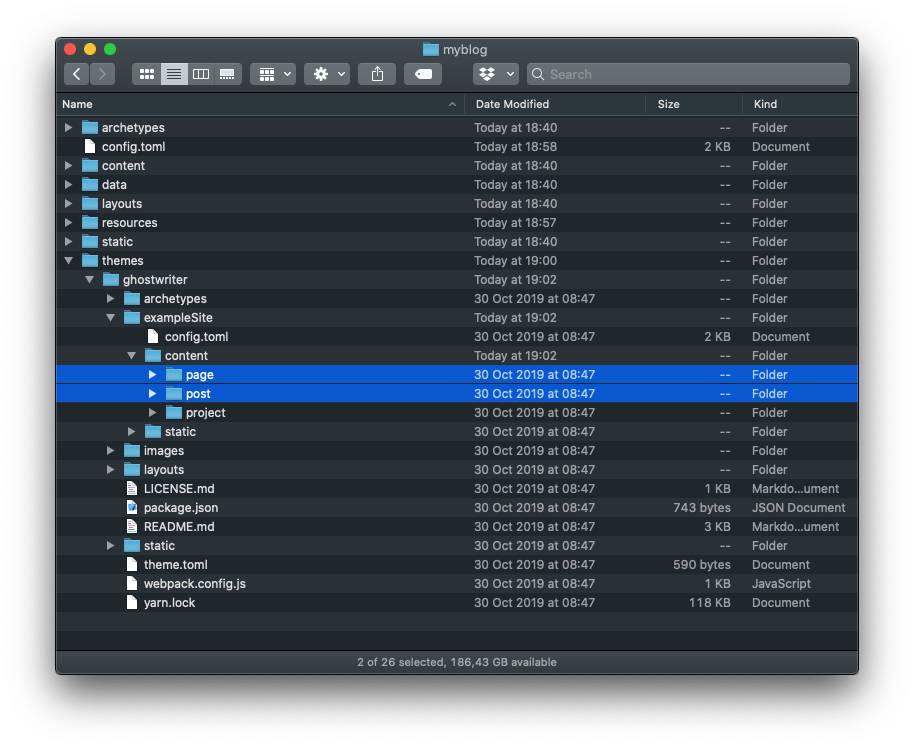
Copy page and post in the content folder of the site:
复制page并post到网站的content文件夹中:

配置 (The configuration)
The sample data also provide a sample config.toml file in themes/ghostwriter/exampleSite/config.toml. This is the Hugo configuration file, which tells Hugo some details of the configuration without you having to hardcode information in the theme.
示例数据还在themes/ghostwriter/exampleSite/config.toml提供了一个示例config.toml文件。 这是Hugo配置文件,它告诉Hugo一些配置细节,而您无需在主题中硬编码信息。
I recommend you to not copy that, because it has too many things, and instead use this:
我建议您不要复制它,因为它有太多东西,而应使用以下命令:
baseurl = "/"
title = "My blog"
theme = "ghostwriter"

[Params]
    mainSections = ["post"]
    intro = true
    headline = "My headline"
    description = "My description"
    github = "https://github.com/XXX"
    twitter = "https://twitter.com/XXX"
    email = "XXX@example.com"
    opengraph = true
    shareTwitter = true
    dateFormat = "Mon, Jan 2, 2006"

[Permalinks]
    post = "/:filename/"
You can freely customize the information in this file, later.
您以后可以自由自定义此文件中的信息。
Now from the command line, run:
现在从命令行运行:
hugo serve
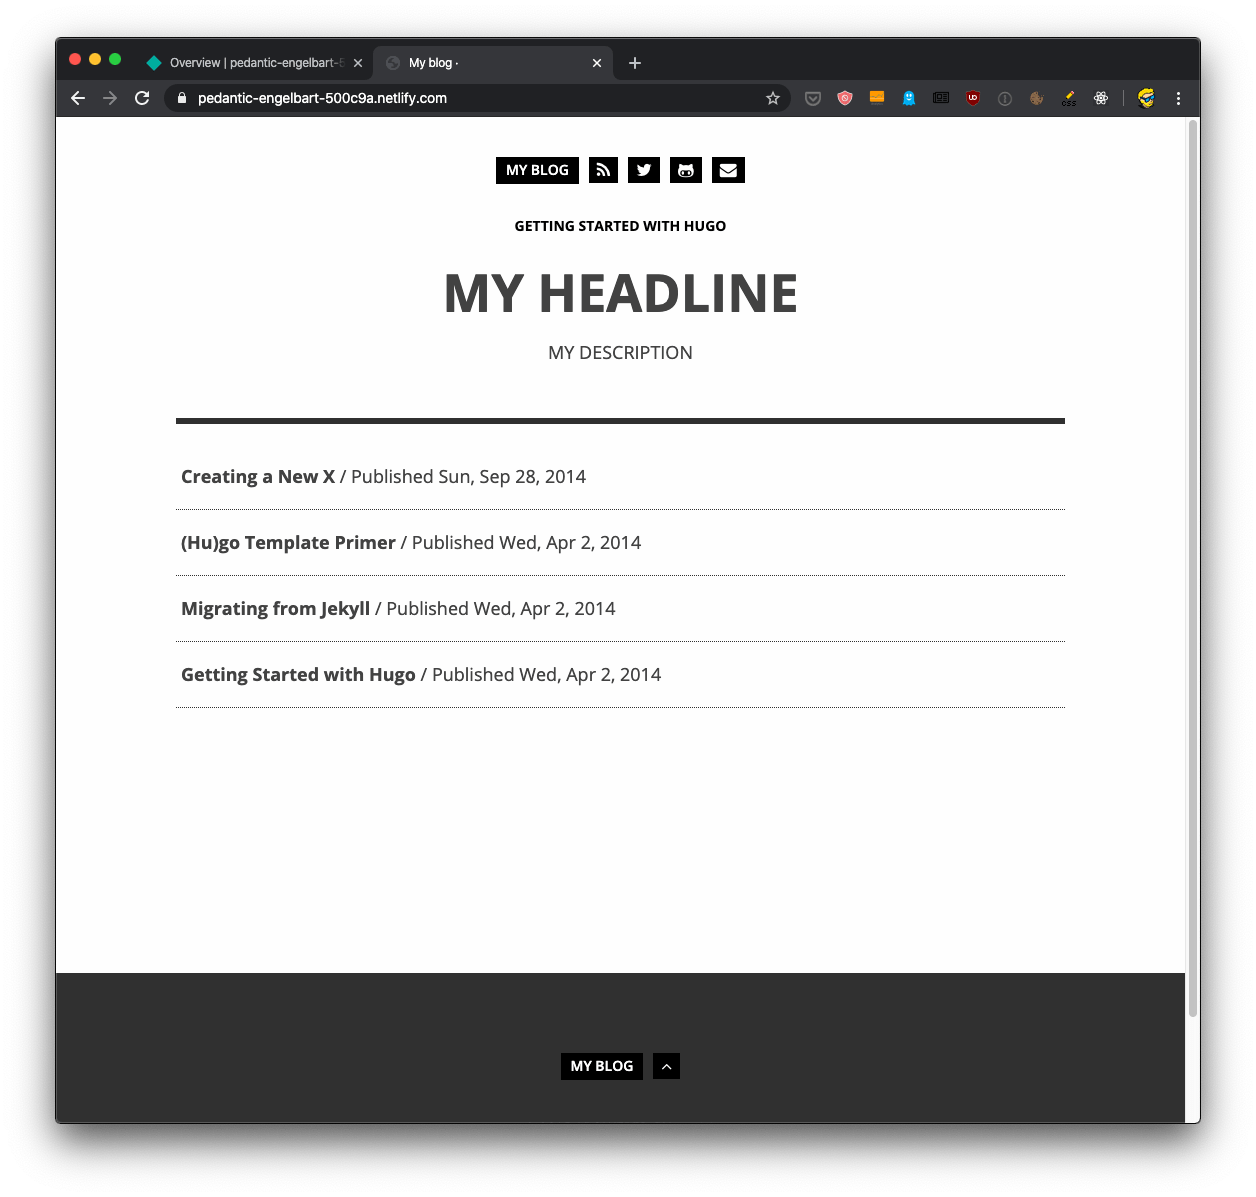
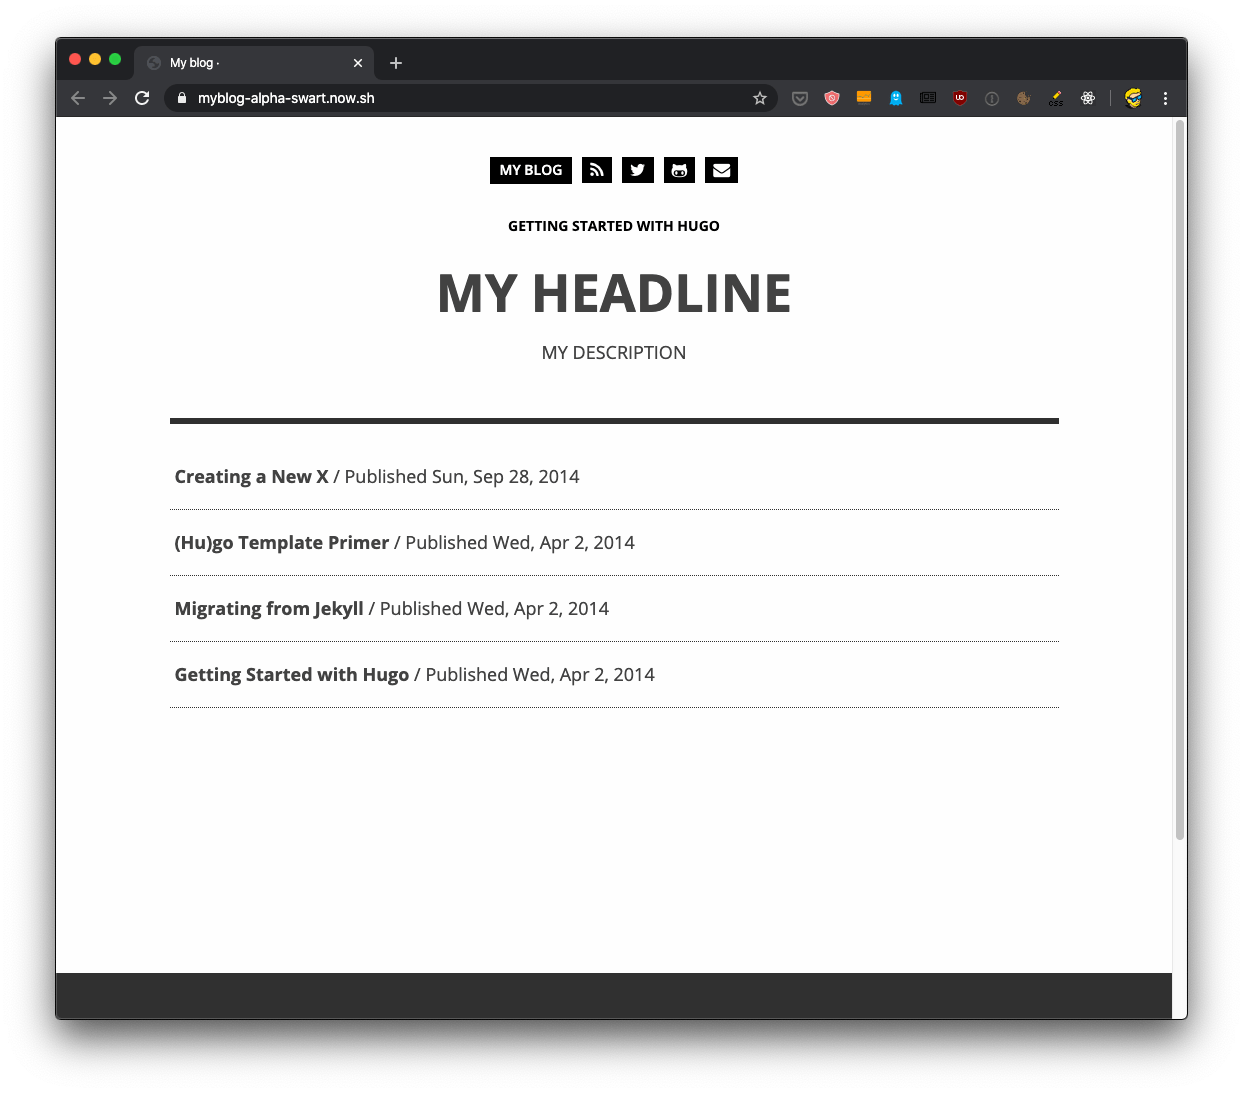
Open http://localhost:1313 in your browser, and you should be able to see the site live!
在浏览器中打开http://localhost:1313 ,您应该可以看到该站点!
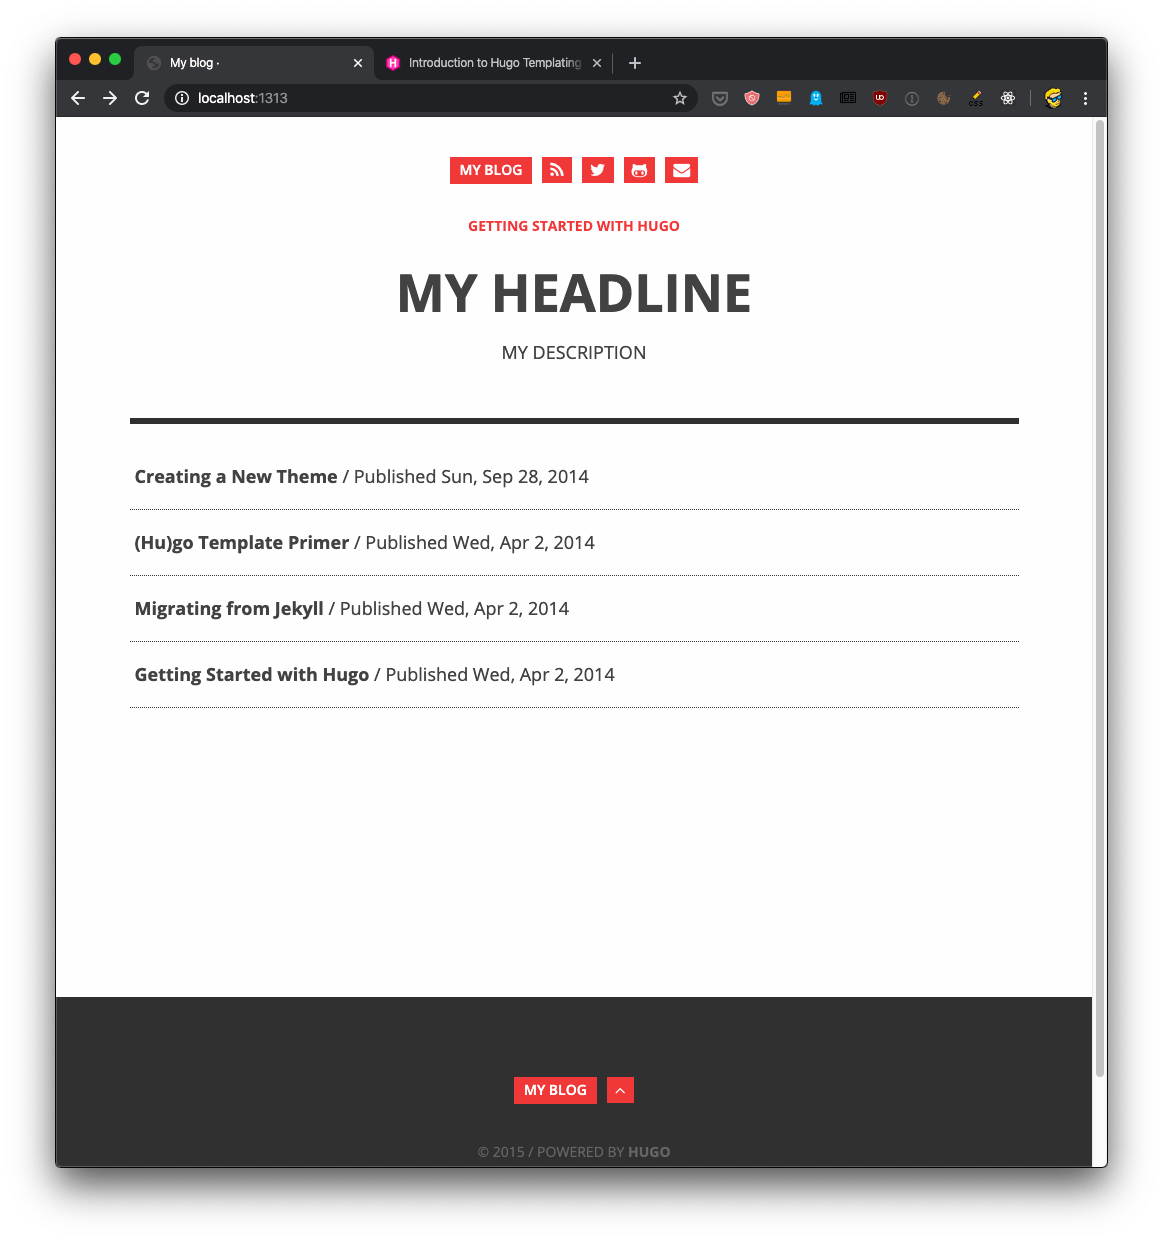
This is the site home page.
这是网站主页。
There is a list of posts that is taken from the content/post folder of your website:
以下是从您网站的content/post文件夹中获取的帖子列表:
Click the first, called “Creating a New Theme”:
单击第一个,即“创建新主题”:

You can open the file content/post/creating-a-new-theme.md to change anything in the post.
您可以打开文件content/post/creating-a-new-theme.md更改帖子中的任何内容。

If you save, the website will automatically update with the new content.
如果保存,网站将自动更新为新内容。

This is pretty awesome, right?
太棒了吧?
You can create a new post by creating a new .md file, prefixing it with anything you want. You can use incremental numbers, if you prefer. Or use a date.
您可以通过创建一个新的.md文件并在其前面加上所需的任何内容来创建新帖子。 如果愿意,可以使用增量数字。 或使用日期。
If something is not looking like you want, you can open the themes/ghostwriter/layouts folder and tweak it.
如果看起来像您想要的东西,则可以打开themes/ghostwriter/layouts文件夹并进行调整。
The “post” template is defined in themes/ghostwriter/layouts/post/single.html:
“帖子”模板是在themes/ghostwriter/layouts/post/single.html :

Hugo uses Go templates. The syntax can be pretty unfamiliar but the Hugo website does a very good job at explaining them in this Go templates introduction.
Hugo使用Go模板。 语法可能不熟悉,但是Hugo网站在此Go模板介绍中很好地解释了它们。
However, try to not look at customizing your template now.
但是,请尝试不要立即考虑自定义模板。
If you want to tweak the colors, add a <style> tag with some CSS in the themes/ghostwriter/layouts/partials/header.html.
如果要调整颜色,请在themes/ghostwriter/layouts/partials/header.html添加带有某些CSS的<style>标记。
For example, make links black:
例如,将链接设为黑色:
<style>
.site-title a, .button-square {
    background: black;
}
a {
    color: black;
}
</style>
Focus on the content instead.
专注于内容。
Remove the existing files, and write 2-3 posts to start with.
删除现有文件,并开始撰写2-3个帖子。
It’s too easy to get trapped in making things perfectly like you want, but the important thing is the content.
很难完全按照自己的意愿制作东西,但重要的是内容。
And the cleaner your site is, the better for your readers.
而且您的网站越干净,对您的读者越好。
Let me now write a little about deployment.
现在让我写一些有关部署的信息。
将Hugo网站部署到Netlify (Deploy the Hugo site to Netlify)
I want to showcase how to deploy a Hugo site in 2 of the services I enjoy the most: Netlify and Now.
我想展示如何在我最喜欢的两项服务中部署Hugo网站:Netlify和Now。
First, I’m going to create a GitHub repository to host the site.
首先,我将创建一个GitHub存储库来托管该站点。
I open GitHub Desktop, an app I use every day and is part of my workflow. It’s the simplest way to use Git.
我打开GitHub Desktop,这是我每天使用的应用程序,它是我工作流程的一部分。 这是使用Git的最简单方法。
From the File menu, I pressed the “New Repository” option:
在“文件”菜单中,我按下了“新建存储库”选项:
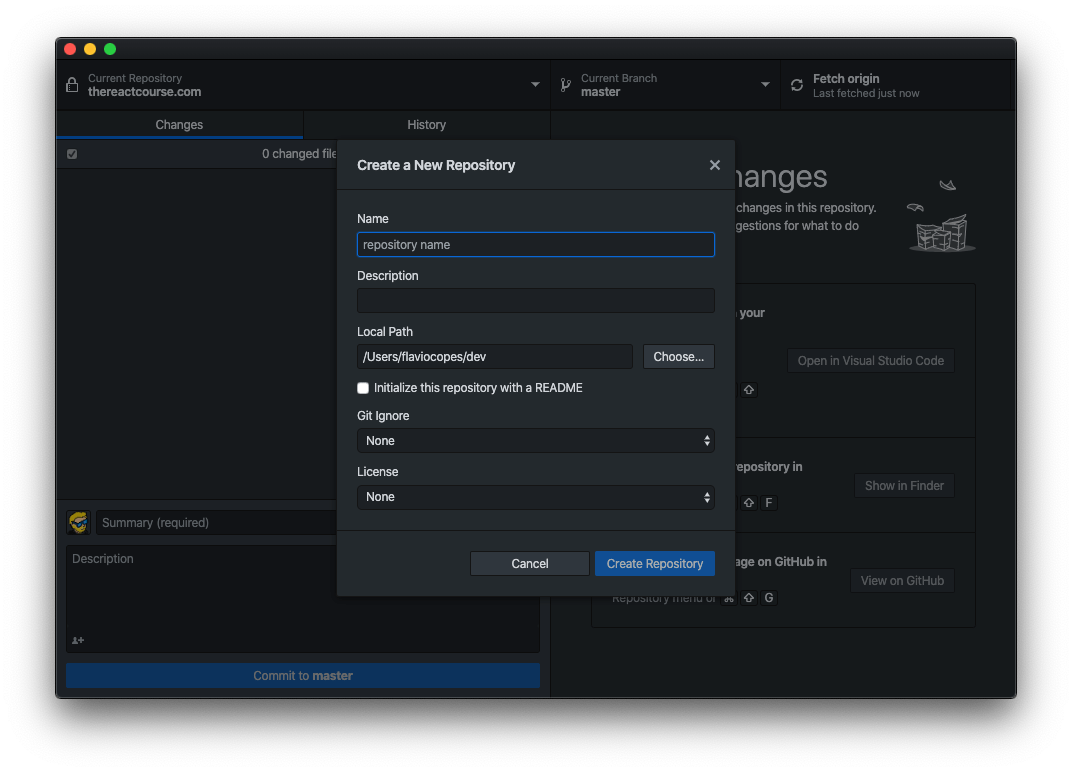
The same screen can be generated by simply dragging the myblog folder into the app.
只需将myblog文件夹拖到应用中,即可生成同一屏幕。
I gave the myblog name to the repository, and picked the correct path for the repo.
我给存储库指定了myblog名称,并为仓库选择了正确的路径。
The process automatically makes the first commit:
该过程将自动进行第一次提交:

Now we can click the “Publish repository” button to push the repo to GitHub:
现在,我们可以单击“发布存储库”按钮将存储库推送到GitHub:

You can keep the repo private, of course.
当然,您可以将存储库设为私有。
Once the repo is in GitHub:
一旦仓库进入GitHub:
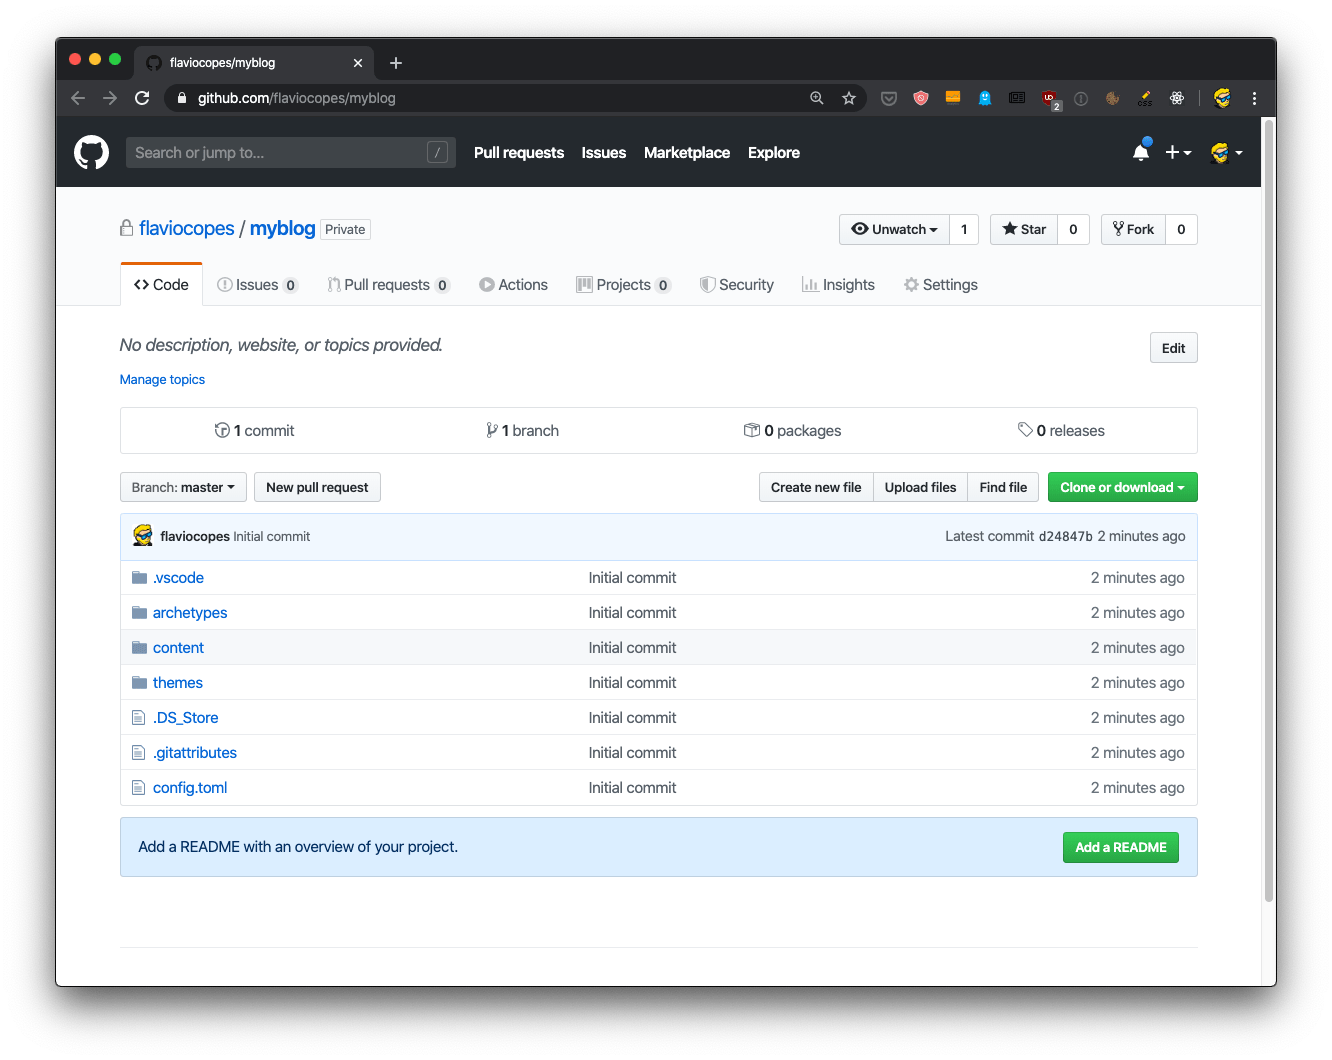
we can move to Netlify.
我们可以转到Netlify。
From my Netlify dashboard I pressed the “New site from Git” button:
在Netlify仪表板中,我按下了“来自Git的新站点”按钮:

Pressed GitHub, authorized Netlify to access my private repositories, then I picked the repo I just created:
按下GitHub,授权Netlify访问我的私有存储库,然后我选择了刚创建的存储库:

Netlify automatically identified it as a Hugo repo, and entered the build command automatically:
Netlify自动将其标识为Hugo存储库,并自动输入build命令:
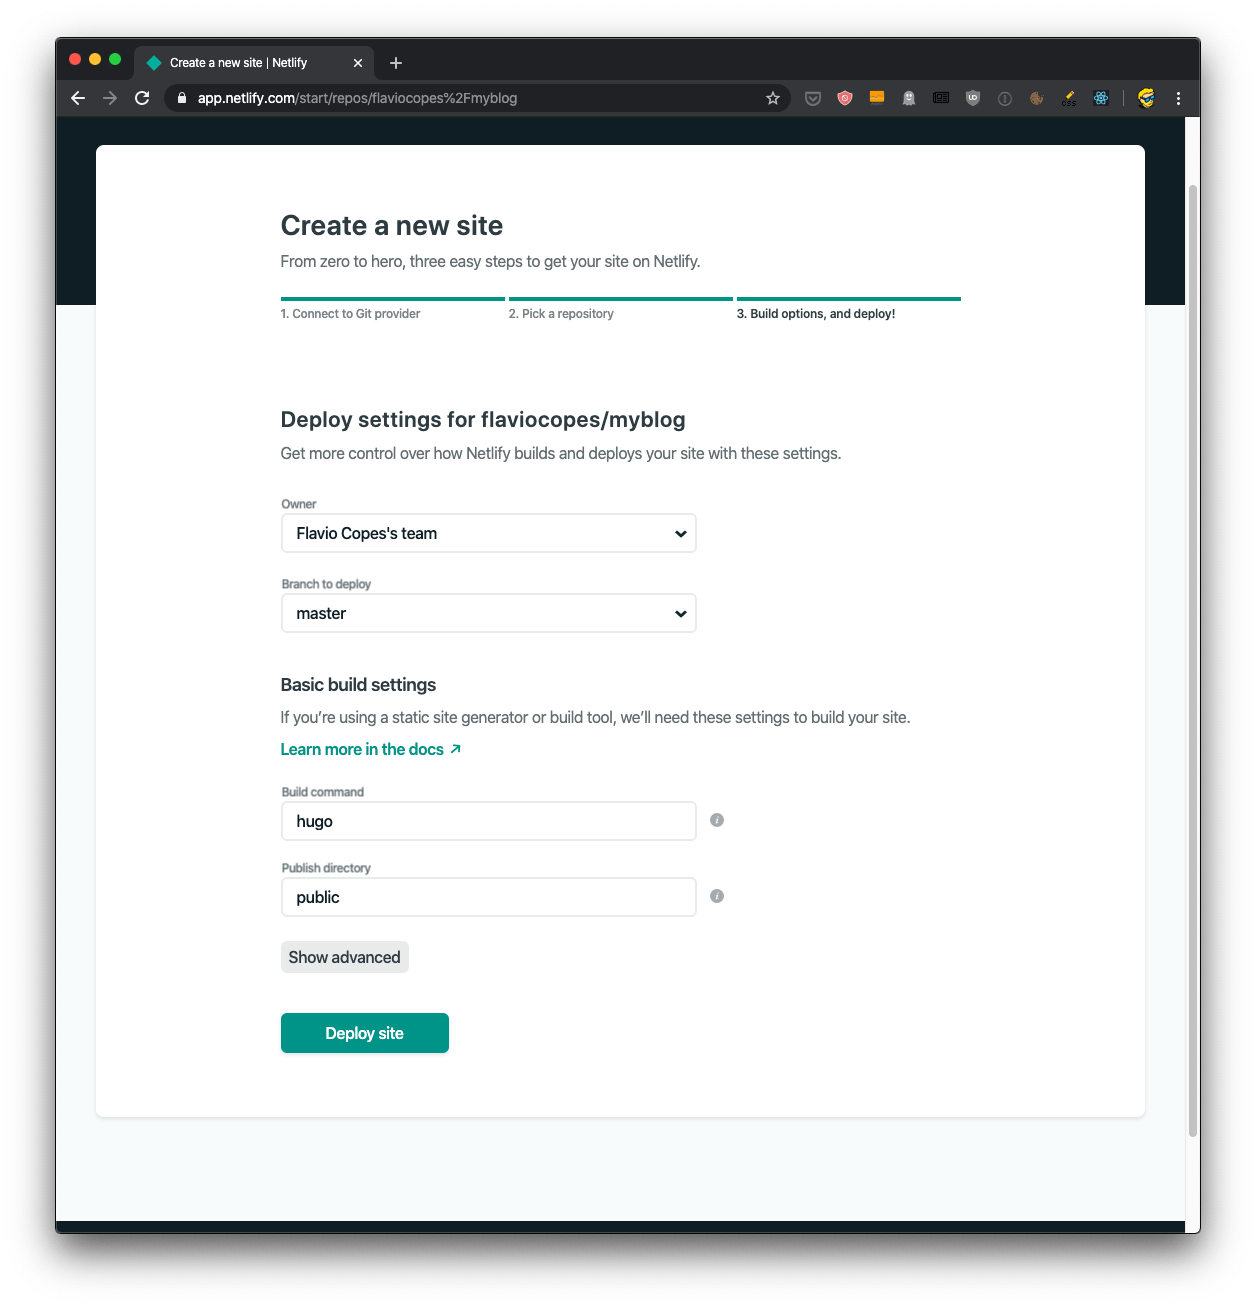
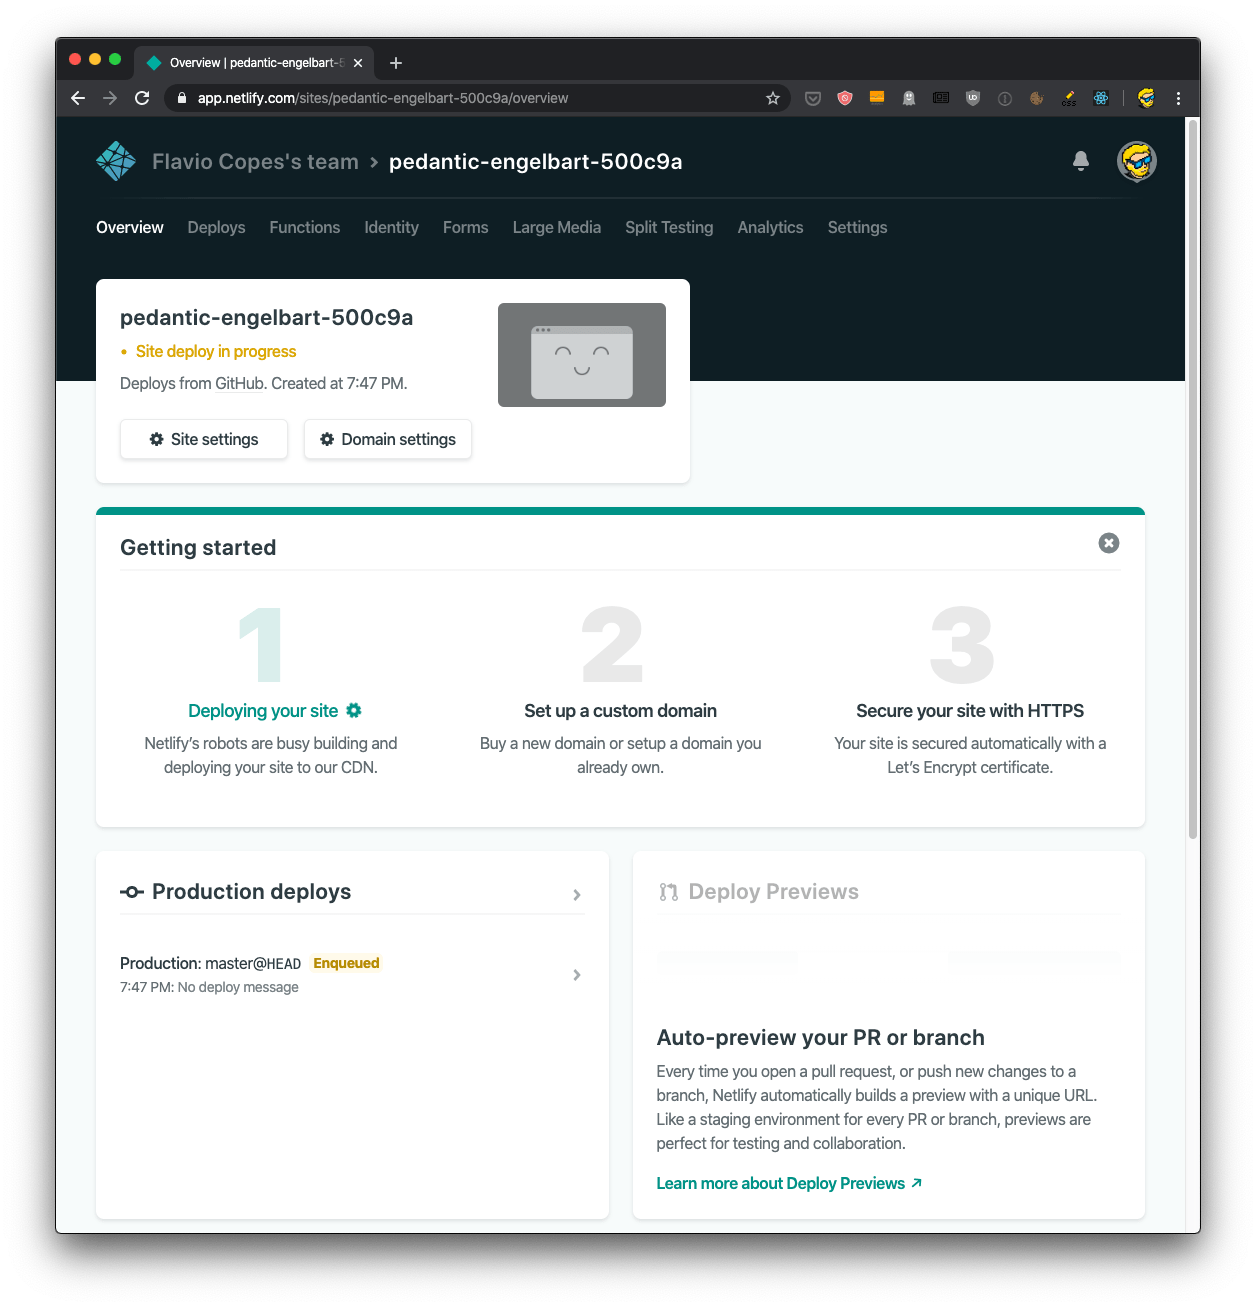
Clicking “Deploy site” starts the deploy process:
单击“部署站点”开始部署过程:
On a real site, I would set up a custom domain. Netlify has the option to purchase a domain through them, and it’s a very (VERY) straightforward process. I highly recommend it. The site can be live in just a few minutes from purchasing the domain.
在实际站点上,我将设置一个自定义域。 Netlify可以选择通过它们购买域名,这是一个非常非常简单的过程。 我强烈推荐它。 购买域名后,该网站仅需几分钟即可上线。
A random .netlify.com subdomain is attached to the site, in this case pedantic-engelbart-500c9a.netlify.com, and HTTPS is automatically enabled.
随机.netlify.com子域附加到该站点,在本例中为pedantic-engelbart-500c9a.netlify.com ,并且HTTPS自动启用。
We can therefore immediately see the site live:
因此,我们可以立即看到该站点:
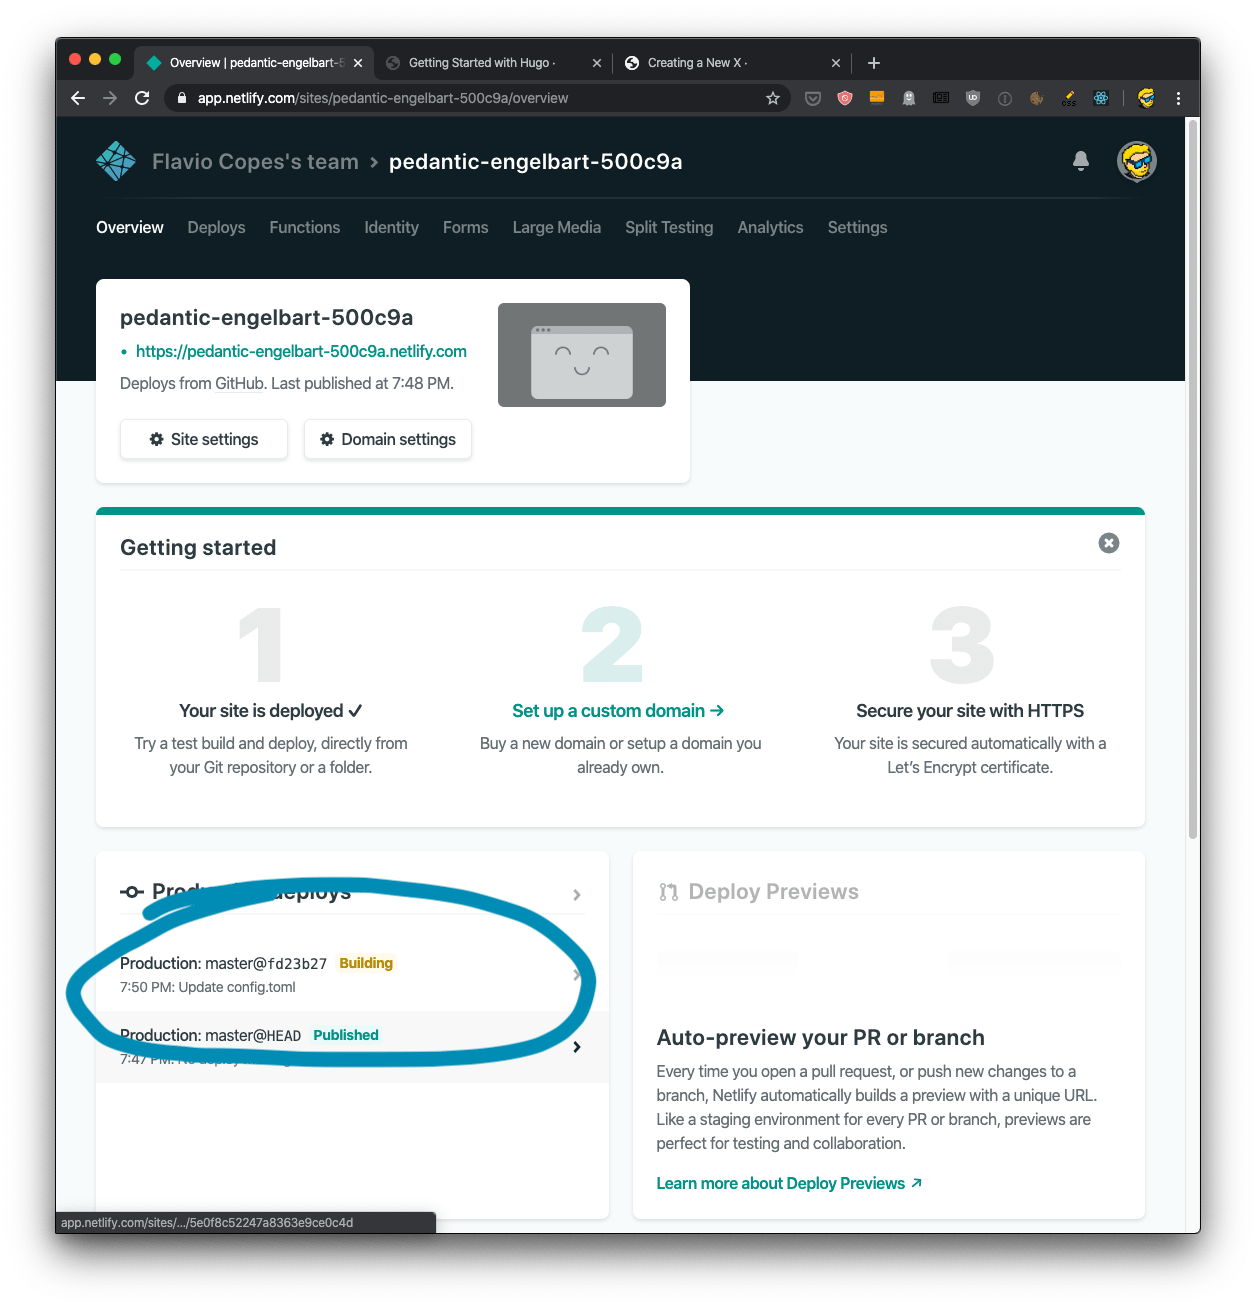
Now if you try to edit something in your local version, you just push the changes to GitHub, and Netlify will automatically update the site. You can see it building the site in the “Overview” panel of the site:
现在,如果您尝试编辑本地版本中的内容,则只需将更改推送到GitHub,Netlify就会自动更新站点。 您可以在网站的“概述”面板中看到它正在构建网站:
To know more about Netlify I recommend you check out my Netlify tutorial.
要了解有关Netlify的更多信息,建议您阅读我的Netlify教程 。
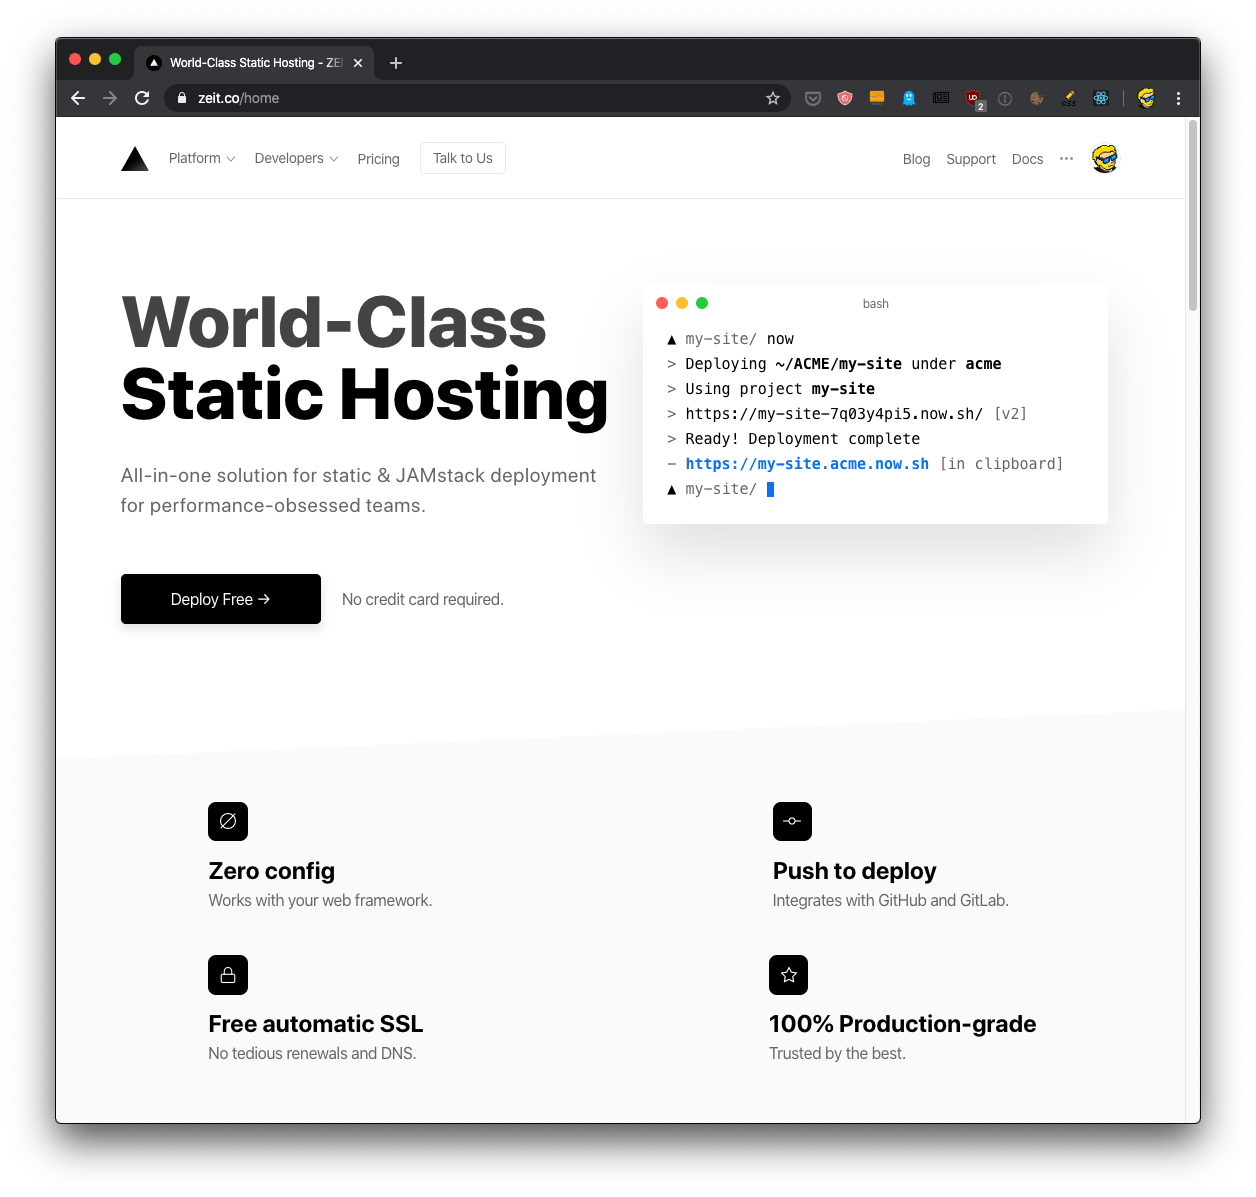
将Hugo网站部署到Zeit Now (Deploy the Hugo site to Zeit Now)
Zeit is now called Vercel, and this tutorial might be outdated
Zeit现在称为Vercel ,并且本教程可能已过时
Another awesome platform you can use for your Hugo blog is Zeit Now.
您可以在Hugo博客上使用的另一个很棒的平台是Zeit Now。
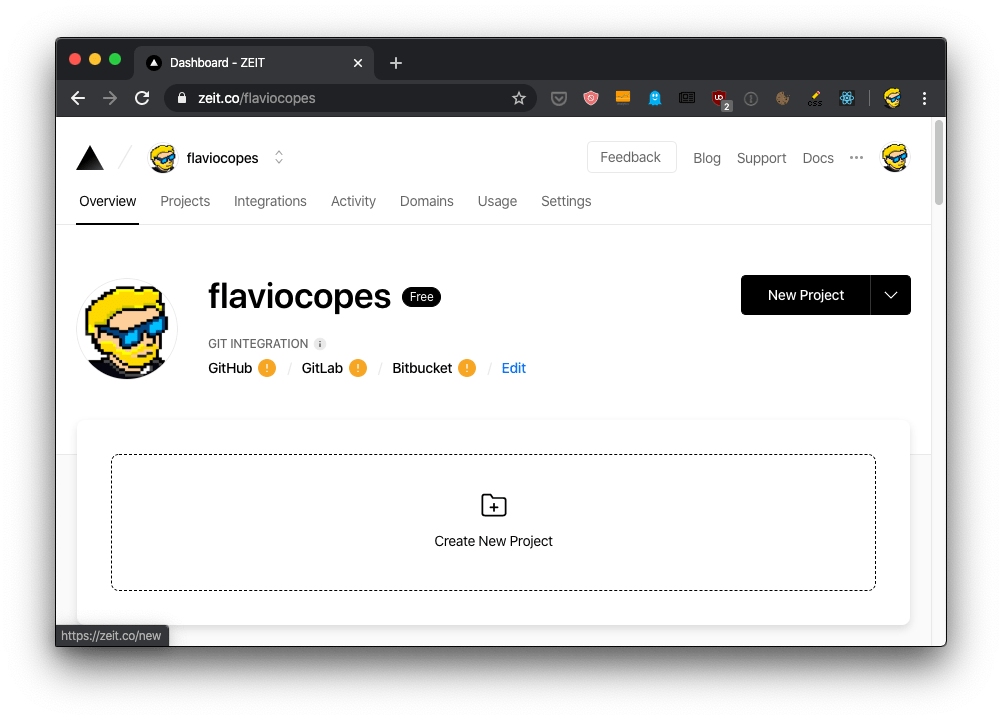
Once you sign up, from the dashboard you press the New Project button.
注册后,从仪表板中按“ 新建项目”按钮。
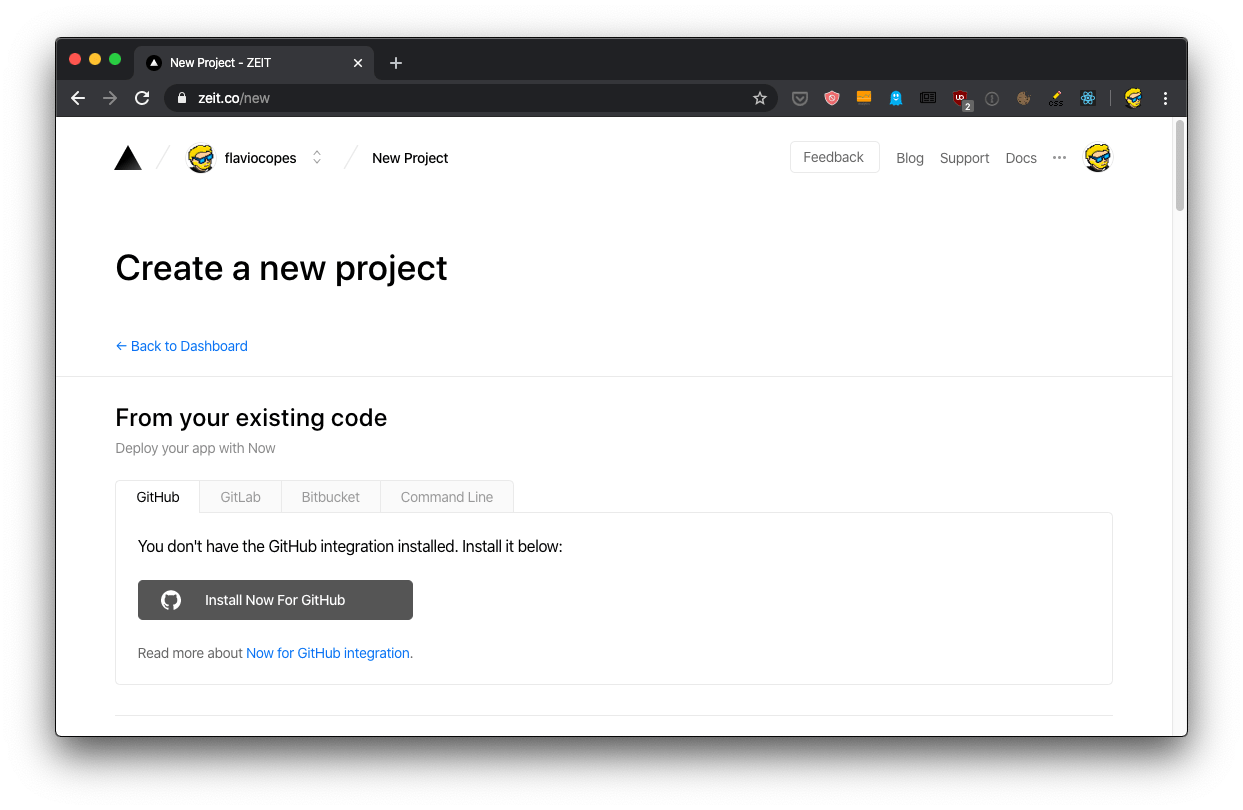
The first time you deploy from GitHub you have to first install the GitHub app clicking “Install Now For GitHub”:
首次从GitHub部署时,必须首先单击“立即为GitHub安装”来安装GitHub应用程序:
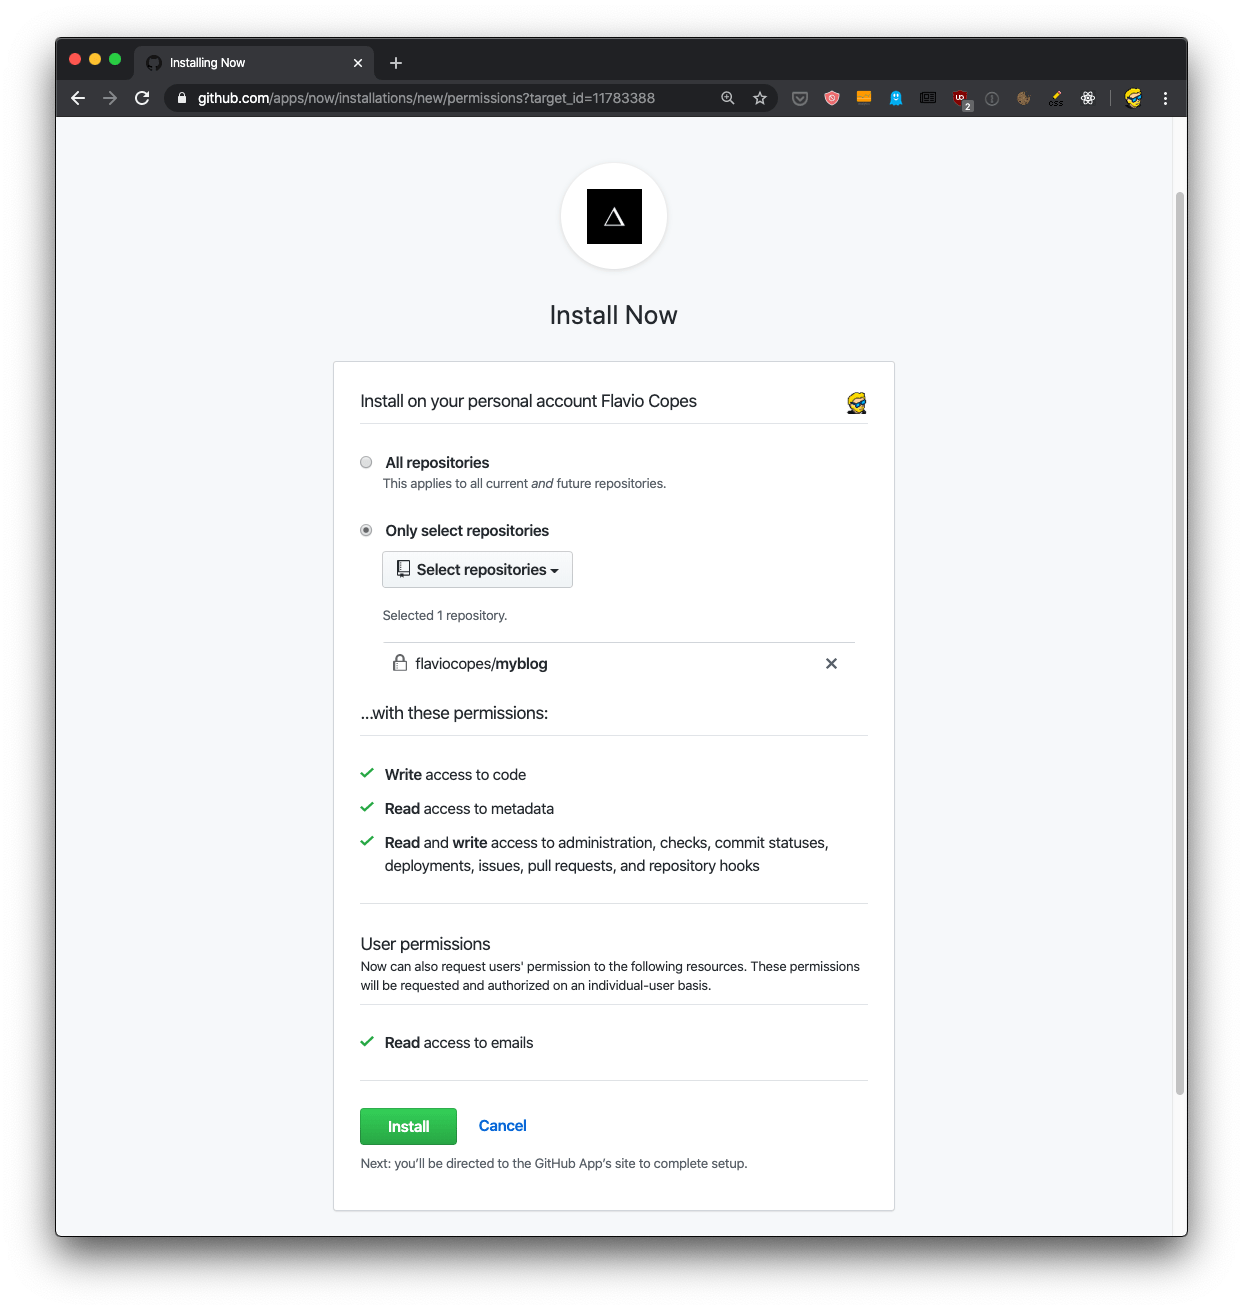
This brings you to the GitHub page for the app, where you can authorize it for all your repos, or just for some:
这会将您带到该应用程序的GitHub页面,您可以在其中为所有存储库或仅对某些存储库进行授权:
Once you get back, click the “New Project From GitHub” button:
返回后,单击“来自GitHub的新项目”按钮:

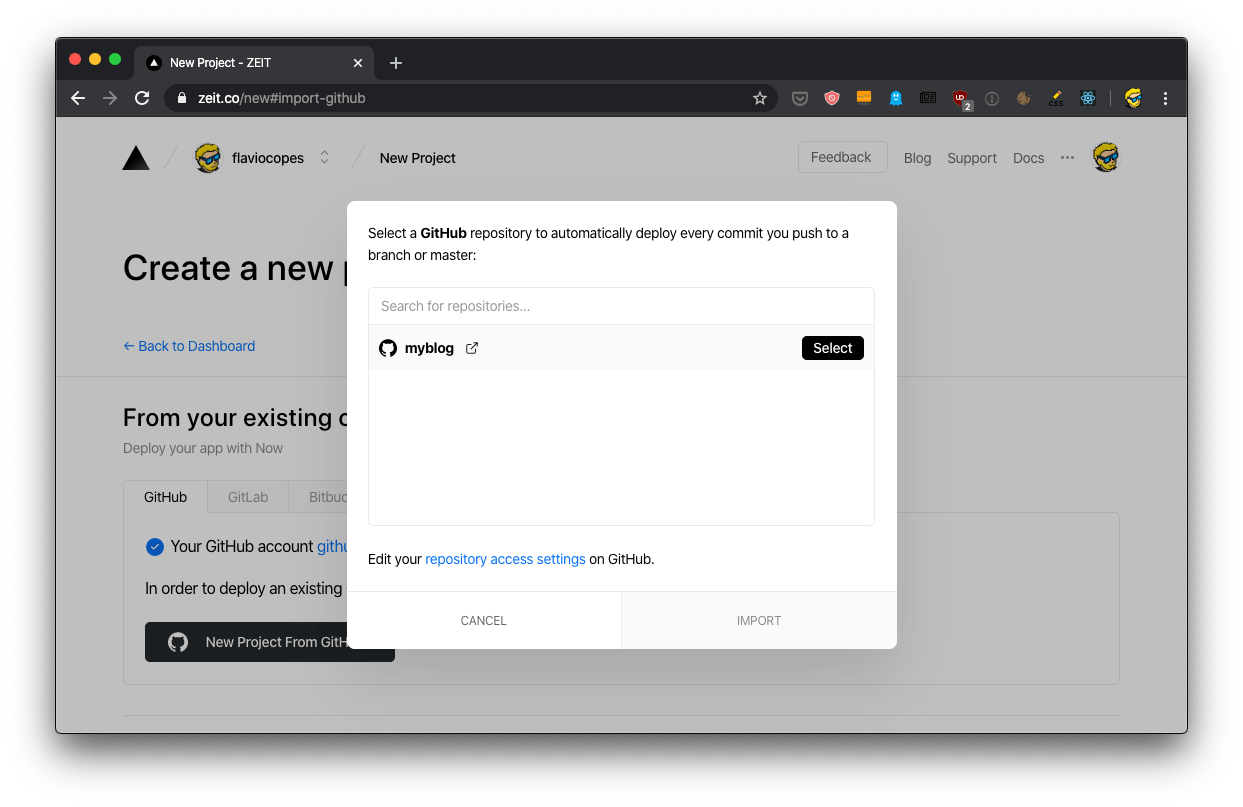
Select the project and click “Import”:
选择项目,然后单击“导入”:
In the meantime, go into the main folder of mysite and add a package.json file with this content:
同时,进入mysite的主文件夹并添加具有以下内容的package.json文件:
{
  "scripts": {
    "build": "hugo"
  }
}
This tells Now how to deploy the site.
现在,这将告诉您如何部署站点。
When you get back to the dashboard, the new deploy should start soon, and you will see the site working live:
回到仪表板后,新的部署应很快开始,您将看到该站点正在运行:

Note that in Now you have 3 URLs you can use to access the site:
请注意,在“现在您有3个URL”中,可以使用这些URL来访问站点:
myblog.flaviocopes.now.shmyblog.flaviocopes.now.shmyblog-alpha-swart.now.shmyblog-alpha-swart.now.shmyblog-git-master.flaviocopes.now.shmyblog-git-master.flaviocopes.now.sh
You can choose the one you prefer.
您可以选择自己喜欢的一种。
Plus, each deployment has its own URL, too. In this case I had myblog-h8xks5jhn.now.sh but it changes with every deployment.
另外,每个部署也都有自己的URL。 在这种情况下,我有myblog-h8xks5jhn.now.sh但每次部署都会改变。
And of course you can add your domain, too. Zeit has a great service to purchase your domain directly from them, available at https://zeit.co/domains.
当然,您也可以添加您的域。 Zeit提供了一项很棒的服务,可以直接从他们那里购买您的域名, 网址为https://zeit.co/domains 。
And if you prefer working with the command line, the now command lets you purchase domains from there, as well.
而且,如果您更喜欢使用命令行,那么now命令也可以让您从那里购买域名。
I highly recommend you check my Zeit Now tutorial.
我强烈建议您查看我的Zeit Now教程 。


 461
461

 被折叠的 条评论
为什么被折叠?
被折叠的 条评论
为什么被折叠?
 到【灌水乐园】发言


